Oursson MG1310/GA User manual

Meat grinder MG1310/GA MG1310/DC
MG2010/OR MG2010/RD
Instruction manual
with a warranty card

Congratulation on buying your new Meat grinder!

3
CONTENT
Introduction
4Safety Instructions
6Recommendations for the installation,
operation, maintenance and storage
6Features
7Purpose
7Preparing the meat grinder
8Product set MG2010/MG1310
11 Elements of Design
Operation
12 Assembling the meat grinder
16 Operation
16 Reverse
16 Automatic engine protection
Possible problems and solutions
17 Possible problems and solutions
Other
18 Specifications
19 Cleaning and maintenance
22 Servicing

4
INTRODUCTION
SAFETY INSTRUCTIONS
Danger symbol
A reminder to user about high voltage.
Warning symbol
A reminder to user about the necessity of operating exactly according to the instructions.
When using electrical appliances should take the following precautions:
• Use the device according to the following instructions manual.
• Install the device on a stable surface.
• Use only the tools, which are included in the product set.
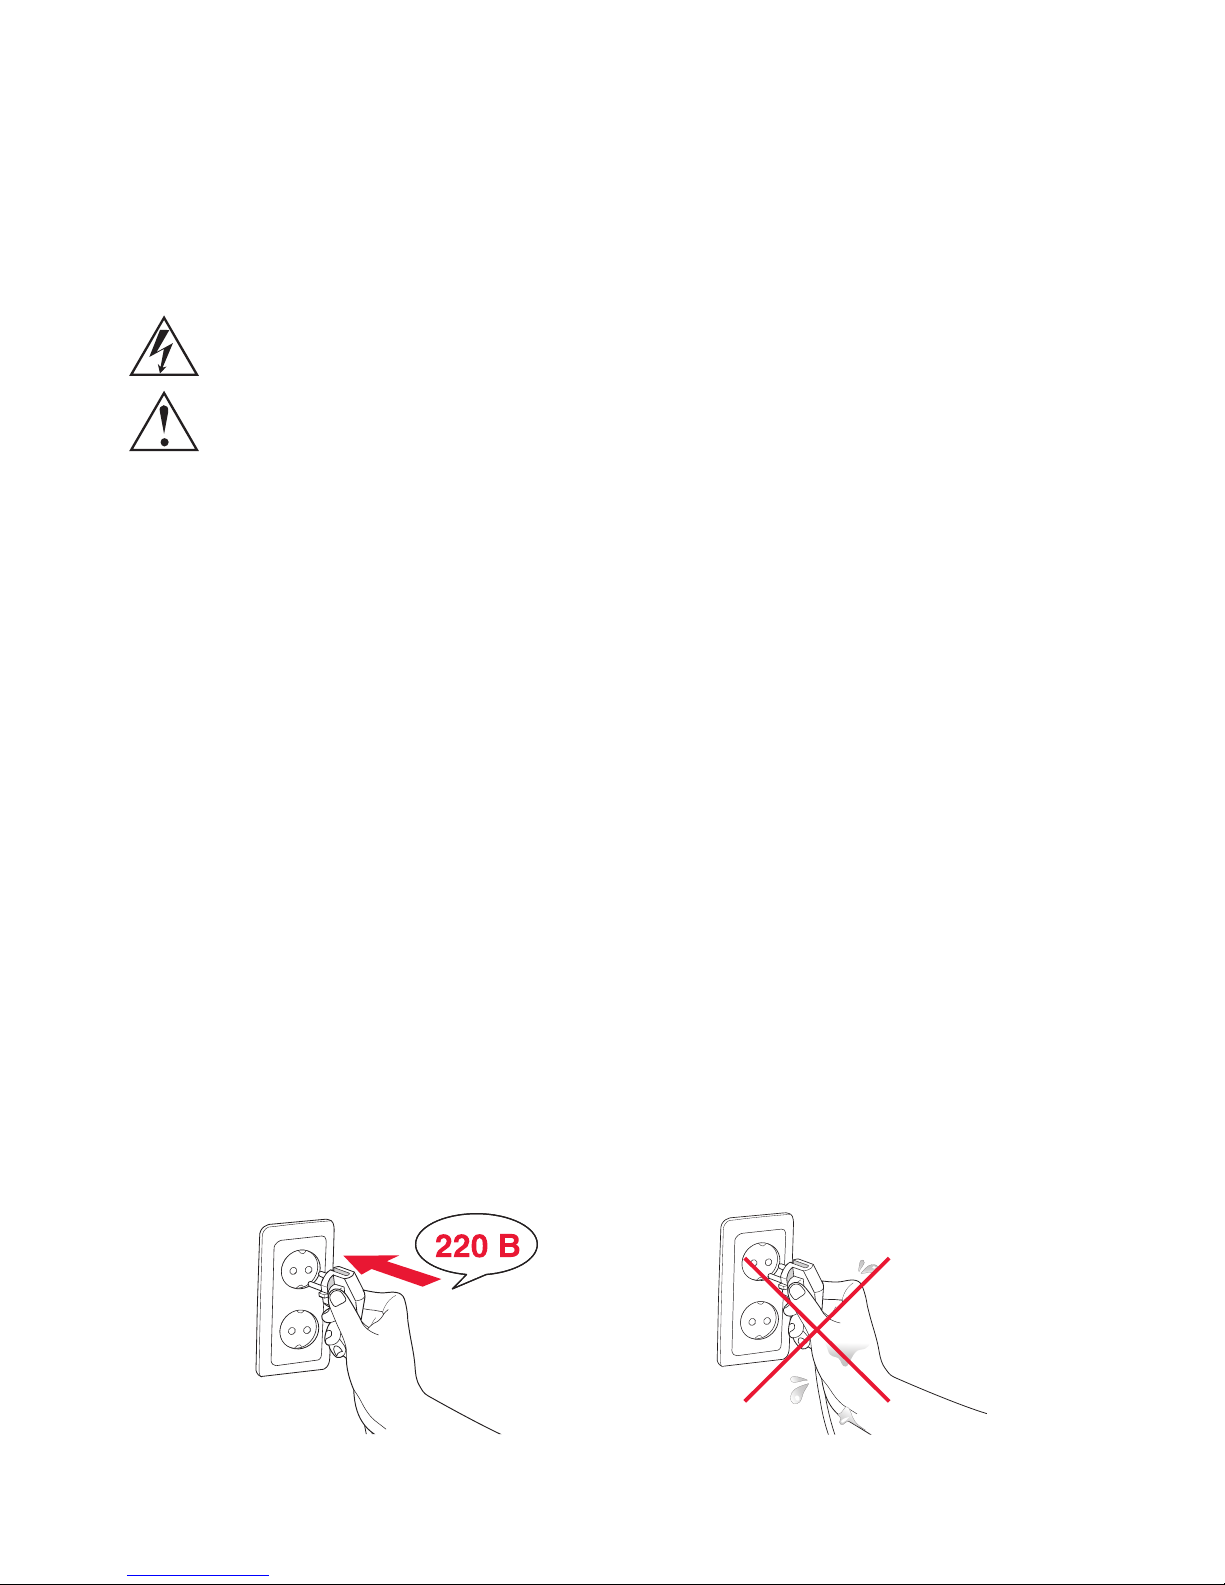
• To protect against risk of electrical shock do not put the cord in water or other liquid. If for some
reason the water got into the unit, contact an authorized service center (ASC) OURSSON AG.
• For power supply, use a power grid with proper characteristics.
• Do not use the device in areas where the air can contain vapors of flammable substances.
• Never attempt to open the device by yourself – it could possibly be the reason of an electrical
shock can lead to product malfunction and will invalidate the manufacturer’s warranty. For
repair and maintenance, contact only authorized service centers meant for repair of products
under the trademark OURSSON.
• When moved from a cool to a warm place and vice versa unpack it before use and wait 1-2 hours
without turning it on.
• In order to prevent electrical shock do not immerse the electric engine or the wires into the
water.
• Be particularly careful and cautious when using the device near children.
• Do not touch any moving parts, as this may cause injury.
• The power cord is specially made relatively short in order to avoid the risk of injury.
• Do not allow the cord to hang over the sharp edge of the table or touch hot surfaces.
• Do not connect this device to a grid which is overloaded with other appliances: it can lead to the
fact that the device will not function properly.

5
INTRODUCTION
• After use, make sure to disconnect the device from the power grid.
• Keep the device from bumps, falls, vibration and other mechanical influences.
• Make sure to disconnect the device from the power grid before cleaning or changing accessories.
• Do not use the device outdoors.
• This appliance is not intended for use by persons (including children) with reduced physical,
sensory or mental capabilities, or lack of experience and knowledge. They can only use the
device under the supervision of the person responsible for their safety, or after instruction on
the safe use of the device. Do not allow children to play with the product.
• Use the product for its intended purpose.
• This product is intended only for use in the home.
• If the power cord is damaged, it must be replaced by a specialist from the authorized service
center ( ASC ) OURSSON AG to avoid danger.
• Use only the tools, which are included in the product set.
• When cleaning the appliance do not use abrasives and organic cleaners (alcohol, gasoline,
etc.).
• When cleaning the device it is allowed to use a small amount of neutral detergent.
• Do not use the device for processing solid products as blades and nozzles can blunt.
• To avoid injuries, before assembly, place the device on a flat, clean surface.
• When moving the device, keep both hands on the body. Do not hold the device by the neck or
tray.

6
INTRODUCTION
• Please read the instruction manual before using the device. Keep the manual after reading for
further use.
• All illustrations in this manual are schematic representations of real objects, which may differ from
the actual images.
• To avoid injuries, be careful when assembling the cutting parts of the meat grinder.
• High performance:
60 kg/h for MG1310;
85 kg/h for MG2010;
• Automatic engine overheat protection;
• Reverse;
• Low noise level;
• Preparing mince;
• Preparing sausages and meatballs;
• Fruit and vegetables attachments;
• Hard cheese(Parmesan) attachment*;
• Perforated discs made of cast stainless steel;
• Anticorrosion coating of the screw;
• Stainless steel knife;
• Various colors:
MG1310/GA – green apple;
MG1310/DC – dark cherry;
MG2010/OR – orange;
MG2010/RD – red;
* Only for MG2010
RECOMMENDATIONS FOR THE INSTALLATION, OPERATION, MAINTENANCE
AND STORAGE
NOTE! Do not apply physical force to the device, as this may damage the device due
to the user’s fault.
NOTE! Do not allow bones or other solid objects to fall into the meat grinder. Before
grinding, make sure that the product is completely defrosted. Before grinding
meat or vegetables, make sure that they are cut in pieces that easily slip
through the filling tray’s opening.
FEATURES

7
INTRODUCTION
PURPOSE
OURSSON electric meat grinder is purposed for:
• Preparing mince;
• Preparing sausages;
• Preparing meatballs;
• Grating and slicing fruits and vegetables;
• Grating hard cheese (Parmesan).
PREPARING THE MEAT GRINDER
Before using the meat grinder, follow safety precautions and follow these steps:
• Unpack the meat grinder;
• Remove all packing material and stickers;
• Preserve the original packaging
• Check the product set
• Read the precautions
• Check the device for defects and deformities
• Wash the screw, knife, grating, attachments, pusher and filling tray under running water and
let them dry.
• Assemble the device the way you need it.
• Set the device on a solid, stable, flat, non-metallic surface away from heat sources. Make sure
that the stand doesn’t slip on the surface
• Plug in the device.
• Make sure there are no sparks or burning smell in the joints of the plug and socket. If there are
sparks and a burning smell, unplug the device, contact an organization serving your electrical
network, and authorized OURSSON AG service center.

8
INTRODUCTION
Name Schematic sketch Qty (pcs.)
in MG2010
Qty (pcs.)
in MG1310
Body 1 1
Filling tray 1 1
Pusher 1 1
Meat cutting block 1 1
Screw 1 1
Locking ring 1 1
Blade 1 1
PRODUCT SET MG2010/MG1310

9
INTRODUCTION
Name Schematic sketch Qty (pcs.)
in MG2010
Qty (pcs.)
in MG1310
Perforated disk 8 mm
holes
1 -
Perforated disk 5 mm
holes
1 1
Perforated disk 3,2 mm
holes
1 1
Separator 1 1
Locking attachment 1 1
Sausage attachment
(Sml)
1 1
Sausage attachment
(Midl)
1 1
Sausage attachment
(Big)
1 -
Vegetables cutting
block
1 1

10
INTRODUCTION
Name Schematic sketch Qty (pcs.)
in MG2010
Qty (pcs.)
in MG1310
Grater and slicer
pusher
1 1
Parmesan grater
attachment
1 -
Grater attachment
(Sml)
1 1
Grater attachment
(Big)
1 1
Slicer attachment (Big) 1 1
Slicer attachment (Sml) 1 -
Recipe book 1 1
Warranty card 1 1
Instructions manual 1 1

11
INTRODUCTION
ELEMENTS OF DESIGN
START/STOP button. Press START/STOP button to start the meat grinder engine. Press the
button again to stop the engine.
REVERSE button. If something got stuck in the meat grinder, turn it off by pressing START/
STOP button. Press and hold REVERSE button, so that the cutting screw begin to rotate into the
opposite direction, pushing the stuck product out.
Button to remove the cutting block. Hold this button and remove the cutting block by turning it
clockwise.
UNLOCK button. This button automatically protects the engine from overheating. After it worked,
press UNLOCK button for meat grinder to work properly again.
POWER button.Toturnonthemeatgrinder,movethePOWERbuttonintotheupperposition(•).
To turn off, move the button into the lower position.
Filling tray
Button to remove the cutting
block
START/STOP button
REVERSE button
UNLOCK button
POWER button
The power is on, when the
buttonisintheupperposition(•)
Cutting block
Body

12
OPERATION
ASSEMBLING THE MEAT GRINDER
FOR MINCE
NOTE! The product set may differ depending on the model. All assembling schemes
are presented for the MG2010 model.
NOTE! Follow the instructions when
placing the blade on the screw.
1. Insert the screw into the cutting block.
2.Place the blade with the cutting side onto the screw, as shown on the picture.
3. Place the selected perforated disk on the screw with a blade.
4. Tighten the assembled cutting block with the locking ring by turning it clockwise.
5. Insert the cutting block into the meat grinder, turn it counterclockwise and secure it until you
hear a click.
6. Attach the filling tray to the cutting block.
7. Place the pusher into the filling block’s opening.
RIGHT WRONG

13
OPERATION
FOR SAUSAGES
TIP! If necessary, you may place instead of the separator the blade and a necessary
perforated disk. At the same time, the filling ingredient will not be mince but whole
pieces of meat.
1. Insert the screw into the cutting block.
2. Place the separator onto the screw
3. Place the selected sausage attachment onto the separator.
4. Tighten the assembled cutting block with the locking ring by turning it clockwise.
5. Insert the cutting block into the meat grinder, turn it counterclockwise and secure it until you hear
a click.
6. Attach the filling tray to the cutting block.
7. Place the pusher into the filling block’s opening.

14
OPERATION
FOR MEATBALLS
1. Insert the screw into the cutting block.
2. Place the separator onto the screw
3. Place the locking attachment onto the separator. Tighten the assembled cutting block with the
locking ring by turning it clockwise.
4. Insert the cutting block into the meat grinder, turn it counterclockwise and secure it until you hear
a click.
5. Attach the filling tray to the cutting block.
6. Place the pusher into the filling block’s opening.
TIP! If necessary, you may place instead of the separator the blade and a necessary
perforated disk. At the same time, the filling ingredient will not be mince but whole
pieces of meat.

15
OPERATION
FOR VEGETABLES
1. Place the selected attachment into the vegetables cutting block.
2. Insert the vegetables cutting block into the meat grinder, turn it counterclockwise and secure it
until you hear a click.
3. Place the pusher into the vegetables cutting block.

16
OPERATION
OPERATION
REVERSE
AUTOMATIC ENGINE PROTECTION
Make sure that the meat grinder is assembled in one of the selected sets:
• Preparing mince
• Preparing sausages
• Preparing meatballs
• Cutting vegetables
Before assembling or disassembling the attachments, make sure that the device is unplugged.
Use the remove the cutting block button to assemble attachments.
1. Plug the device.
2. Power the device by pressing the POWER button.
3. Place a container under the cutting block, so that the grind products fall in it.
4. Start the engine by pressing START/STOP button.
5. Cut meat or vegetables in pieces that easily slip into the filling neck. Place the products onto the
filling tray, and carefully put them into the meat grinder with the help of pusher, not applying force.
6. To finish the operation, press START/STOP button.
7. Unplug the device.
8. After that you can disassemble the device and begin cleaning. To remove the cutting block, press
and hold the corresponding button and turn the block clockwise.
If something got stuck in the meat grinder, turn it off by pressing START/STOP button. Press and
hold REVERSE button, so that the cutting screw begin to rotate into the opposite direction, pushing
the stuck product out.
Automatic protection works to protect the engine from overheating and to avoid breakage. In case when
automatic protection turned on, press the UNLOCK button for meat grinder to work properly again.
NOTE! In case when REVERSE button did not help, you must unplug the device,
disassemble it and clean it by yourself.

17
POSSIBLE PROBLEMS AND SOLUTIONS
Possible
problems Possible causes Solutions
Meat grinder
doesn’t turn on.
There is no voltage in the
socket.
Unplug the device and wait until the
voltage normalizes.
Meat grinder
stopped working
• Fuse that protects the device
from overheating tripped.
• Maybe the automatic engine
overheat protection turned
on.
• Unplug the device and contact
OURSSON service center.
• Press UNLOCK button for the device to
work properly again.
There is a bad
smell when the
meat grinder is
working.
• Maybe the device is
overheated.
• When you turn it on for the
first time there may be a bad
smell due to the burn of the
moving parts.
• Reduce the working time with the
device.
• Bad smell during first use isn’t a
malfunction and will soon disappear.
Meat is badly
grinded
• Blade is set incorrectly
• Blades are blunt.
• Locking ring is not set
correctly.
• Set the blade correctly.
• Blades must be sharpened.
• Set the locking ring correctly.
NOTE! Only a specialist from the authorized OURSSON AG service center must do
the repair of the meat grinder.
POSSIBLE PROBLEMS AND SOLUTIONS

18
OTHER
SPECIFICATIONS
MODEL MG1310 MG2010
Power consumption, W 130 200
Rated voltage ~ 220V; 50 Hz
Performance kg/h 60 85
Dimensions (HxWxL), mm 400х205х310
Temperature requirements:
Operation +15to+35°С
Storage and transportation -40to+55°С
Humidity Requirements:
Operation 15-75%
Storage and transportation 15-75%
Weight, kg 3,5 3,75
Protection class I

19
OTHER
CLEANING AND MAINTENANCE
1. To remove residual meat, grind some bread.
2. Unplug the device.
3. Disassemble the meat grinder.
4. Thoroughly wash all removable parts of the device in a warm water with non-abrasive
detergents.
5. Wipe the body of the device with a damp cloth.
NOTE! Clean all the parts of the meat grinder immediately after use.
NOTE! After cleaning, wipe dry the body of the meat grinder to avoid rust.
NOTE! Do not use dishwasher to wash metallic parts of the device, because this
may lead to a rust. When cleaning non-metallic parts in a dishwasher,
water temperature must not be higher than 60 °C.

20
OTHER
This manual suits for next models
3
Table of contents
Other Oursson Meat Grinder manuals