J
; 2. The
following
table is
provided
for
the convenience
of
recording
the
programmed sec
urity
code.
MULTIPLE SECURITY CODE ENTRY TABLE
Code
Position
1
Tn
nsmlt1er Identification
Code
Position
2
Tr
ansmitter
Identificat
ion
Code
Position
J
Transmitter
Id
ent
if
ication
Code
Position
4
Transmitter
ldnetilication
Code Posi1ion 6
Tr
ansmitter
Identificat
ion
NOTE:
Identical codes
may
be entered in any
of
the locations.
This a
llo
ws
easy
removal
of
a code with a transmitter that
you
wish
to
remain authorized.
Adjustment
and Testing of the Reversing System
Th
e
prop
er
adjustment
and
testing
of
the
Reversing
System
is
important
for
the safety
of
everyone who u
ses
your door
an
d opener.
Failure to properly adjust and
test
may
result in serious personal injury
fr
om a closing garage door. The
System
consists
of an electronic
device
that
senses
motor
s
lowdown
due
to
increased load.
l\*14;1fllf[CI
The R
eve
rsing
System
is a
safe
ty
f
eature
that
rever
ses
the
door's
trave
l and r
eturns
it to
the
fully open position
if
the door encounters
an obstruction or r
es
istance
while closing.
less
For~
~re
Force
I
Force Level
mi
mi
r;:;i I
Indicator
~
0
~ ~ ~
F-
F•
SC
The force l
eve
l is indi
cated
by
the
small gr
een
light located next to
the l
ess
force button as
shown
. One
fl
as
h followed
by
a
pause
indicat
es
that
it is
set
for
the
l
east
force
that
the door
will
exert on
an
obst
ru
ction. Two to
seve
n flashes indicate six more increased
force levels. The
final
maximum force level
di
sp
l
ays
a continuous
lig
ht.
Operate the door and
set
the level to the lowest force that guarantees
p
ro
per door operation.
Ea
ch push of
the
"F
+"
more or "
F-"
less
force buttons
wi
ll
se
t the level accordingly.
Do
not
decrease
the
se
nsi
ti
vity to compen
sa
te for a binding or
st
icking door.
If
the
fo
r
ce
l
eve
l indi
cato
r is on continuously read warning below.
llllij;lfllftcl
If
sat
isf
ac
tory operation of the door/opener
cannot
be achieved by
fo
ll
ow
ing
th
e instructions above,
disconnect
the
opener from
the
door by pulling the
emergency
release
rop
e,
then check operation
of
the door alone.
If
door balance, rollers, and hinges operate smoothly,
without striking or binding in
the
jamb
s, r
eco
nnect
the
opene
r and
r
epeat
the sensi
ti
vity
adjustment
pro
ced
ure. If door/opener opera-
tion is sti
ll
un
satisfac
tory,
contact
an
Ove
rh
ead Door
Di
stributo
r.
P
age
12
As a final
check,
piece a
1"
thick board on the floor
in
the centf'·
~
the
do
o
r.
When the door strikes this board it should reverse v
2
seconds
and fully open.
If
it
does
not, go to
page
10,
step
For your
safety,
it is recommended that the reversing mechanism
be
adjusted to perform properly. Check it every six
months
or
call a
profes
si
onal door service person to
check
it for you.
If,
for
any
reason,
the
opener is not functioning properly, immediately discon-
nect
the opener from the door
(Em
e
rg
ency Release Operation) and
do not
reconnect
until
the
problem is corrected.
If
satisfactory
operation of
the
door/opener
cannot
be
ac
hieved
by
following
the
instructions
above,
disconnect
the
opener
from
the
door
by pulling the Emergency Release rope, then
check
operation
of
the
door alone.
OPERATION
On
initial
power
application or
after
a
power
failure,
the
motor
will
always
run first in the open direction
when
signaled from either the
transmi
tt
er or wa
ll
pushbutton.
Ther
ea
ft
er
opener alw
ays
restarts
in
th
e direction opposite
it
s
la
st run.
TO
START
OPENER
:
TO PARK DOOR:
Press
tran
s
mitter
pushbutton
or wall
pushbutton
1 time.
Press
transmitter
pushbutton or wall
pushbutton
while
door
is opening.
GENERAL INFORMATION
1.
When
"Emergency"
or "Manual" operation of
door
is r
eq
uired,
pull
rel
eas
e co
rd
suspended
from carriage or trolley.
2.
To
reconnect
the
opener, place the manual rele
ase
l
ever
in the
horizontal position and run the opener.
It
will
automatically
r
eco
nnect.
IOperate door only when fully visible
and
clear
of
all
I
persons and obstructions.
3.
If
light
does
not wo
rk
when
opener is
in
use
, replace light bulb.
U
se
60
watt
rough
se
rvice Overhead Door bulb. To remove the
lens, push in on sides and r
emove
. Replace lens by inserting
ret
ai
ner t
abs
into the
ir
hol
es
and pushing l
ens
to
snap
tabs
into
place.
4.
Oil
door hinges,
roll
ers and springs on
ce
each year with
30
weight
oil. Wipe off
any
excess
oil.
5.
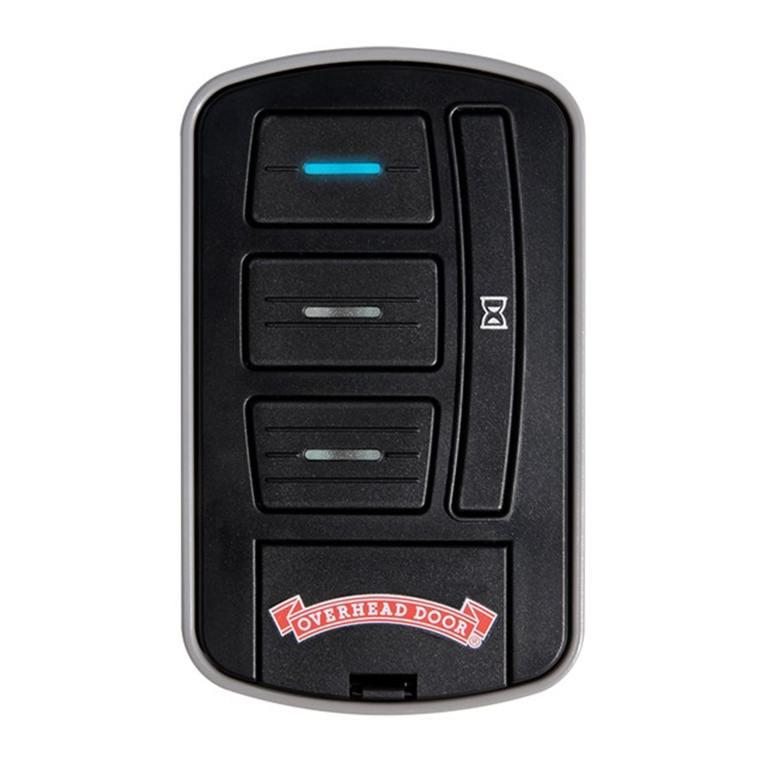
Transmitter is equipped with a 12 volt
battery
.
Do
not
substitute
with
any
other
voltage battery.
6.
Opener motor is protected against burnout by an internal protector
which
will
stop motor
if
door is opened and closed too many times
in
succe
ss
ion, or
if
some
other
overload condition exists.
If
motor
stops,
allow it to cool 10-15 minutes, then press
wall
pushbutton
to
re
sume operation.
7.
It
is
sugges
ted
that
every
6
month
s
door
be
di
sco
nnec
ted
from
opener and manually operated. Door should open
and
close
freely.
If
door do
es
not operate freely,
contact
an author
iz
ed
Overhead Door distributor.