OWL Intuition TSE220-120 User manual

© 2 Save Energy Limited 2012 1
Getting started with
The Network OWL Gateway sits at the heart of your Intuition system and
makes your home cloud connected for both monitoring and control.
Ethernet cable
Network OWL Gateway
with external antenna
Plug top mains power supply
(100 - 240V AC / 5V DC)
with UK and Euro adaptors
IN THE BOX:

2 © 2 Save Energy Limited 2012
OVERVIEW
This manual describes how to install and commission the
Network OWL ready for the addition of other Intuition
products /devices (sold separately). See manuals supplied
with those products / devices for further instructions.
BEFORE YOU START
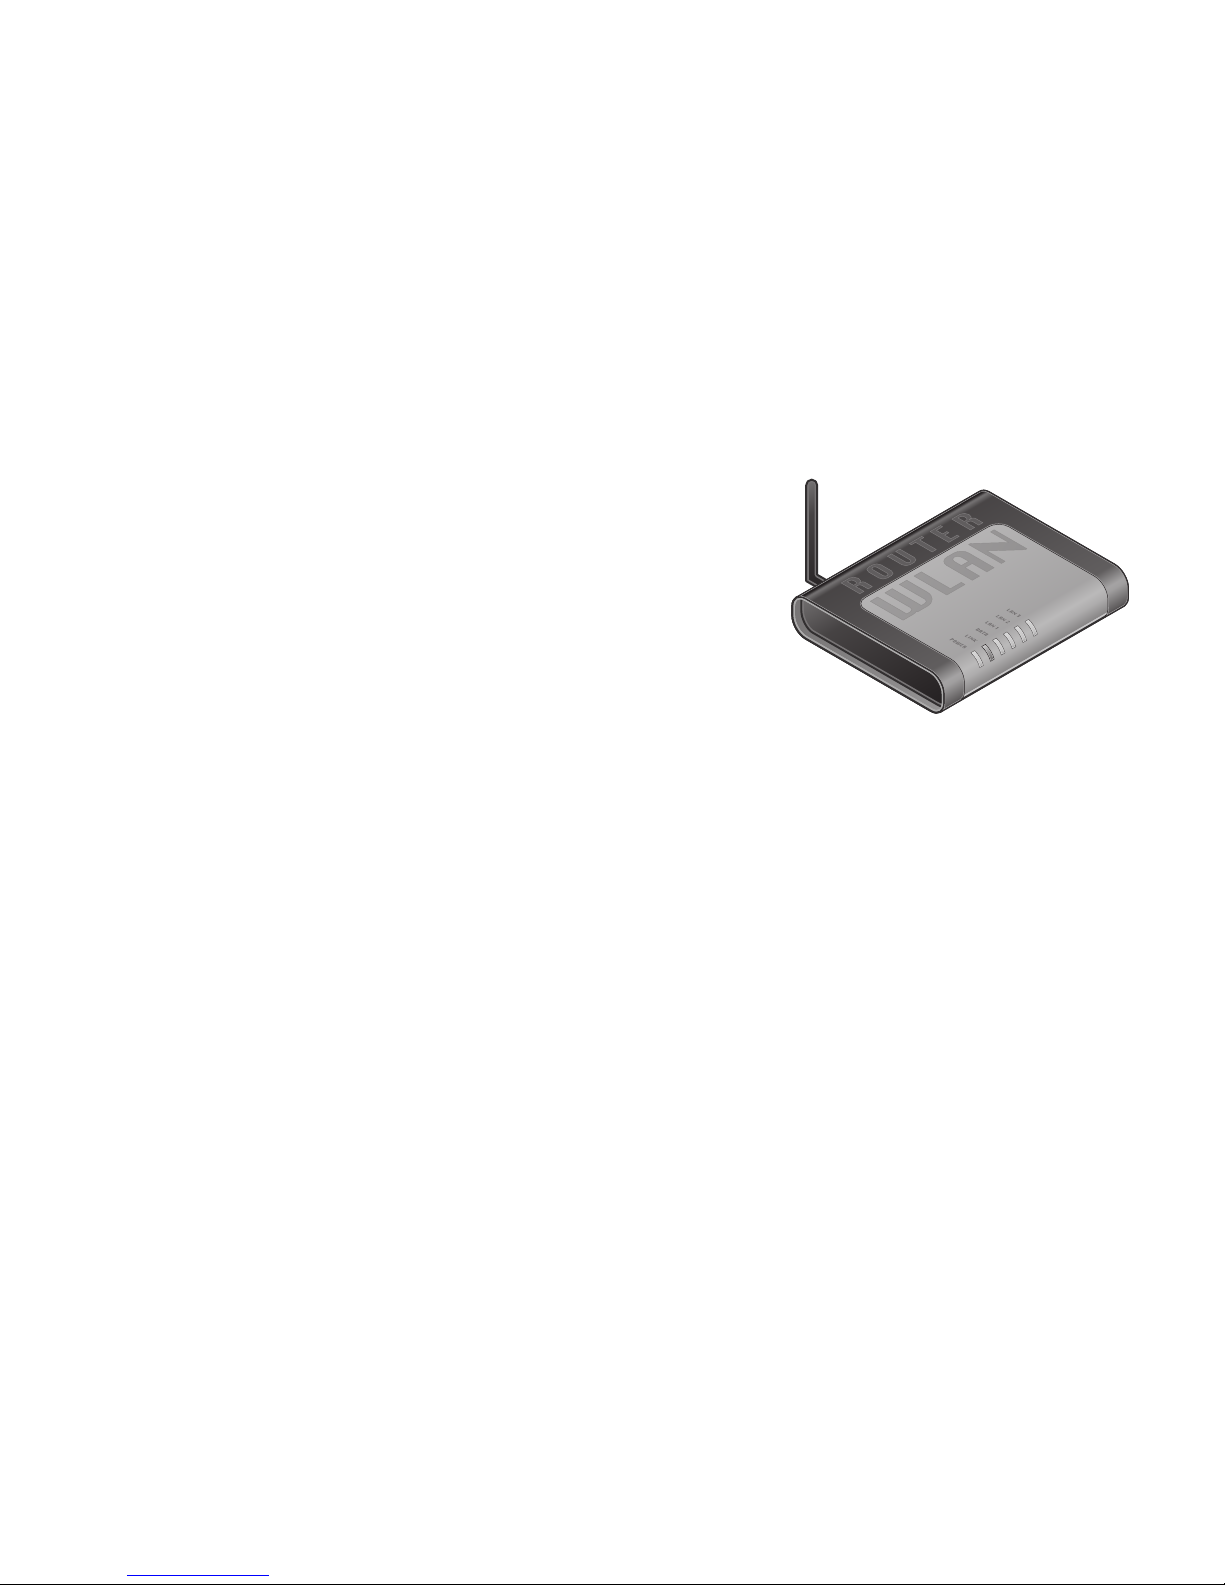
Please locate and check that you have a spare LAN port
available on the back of your broadband Internet router. You will
need to plug in the supplied Ethernet cable. If all of the ports are in
use, you can add more connections by purchasing an Ethernet Switch / Hub. You will also
need a spare mains socket available close by for the supplied Plug top mains power supply.
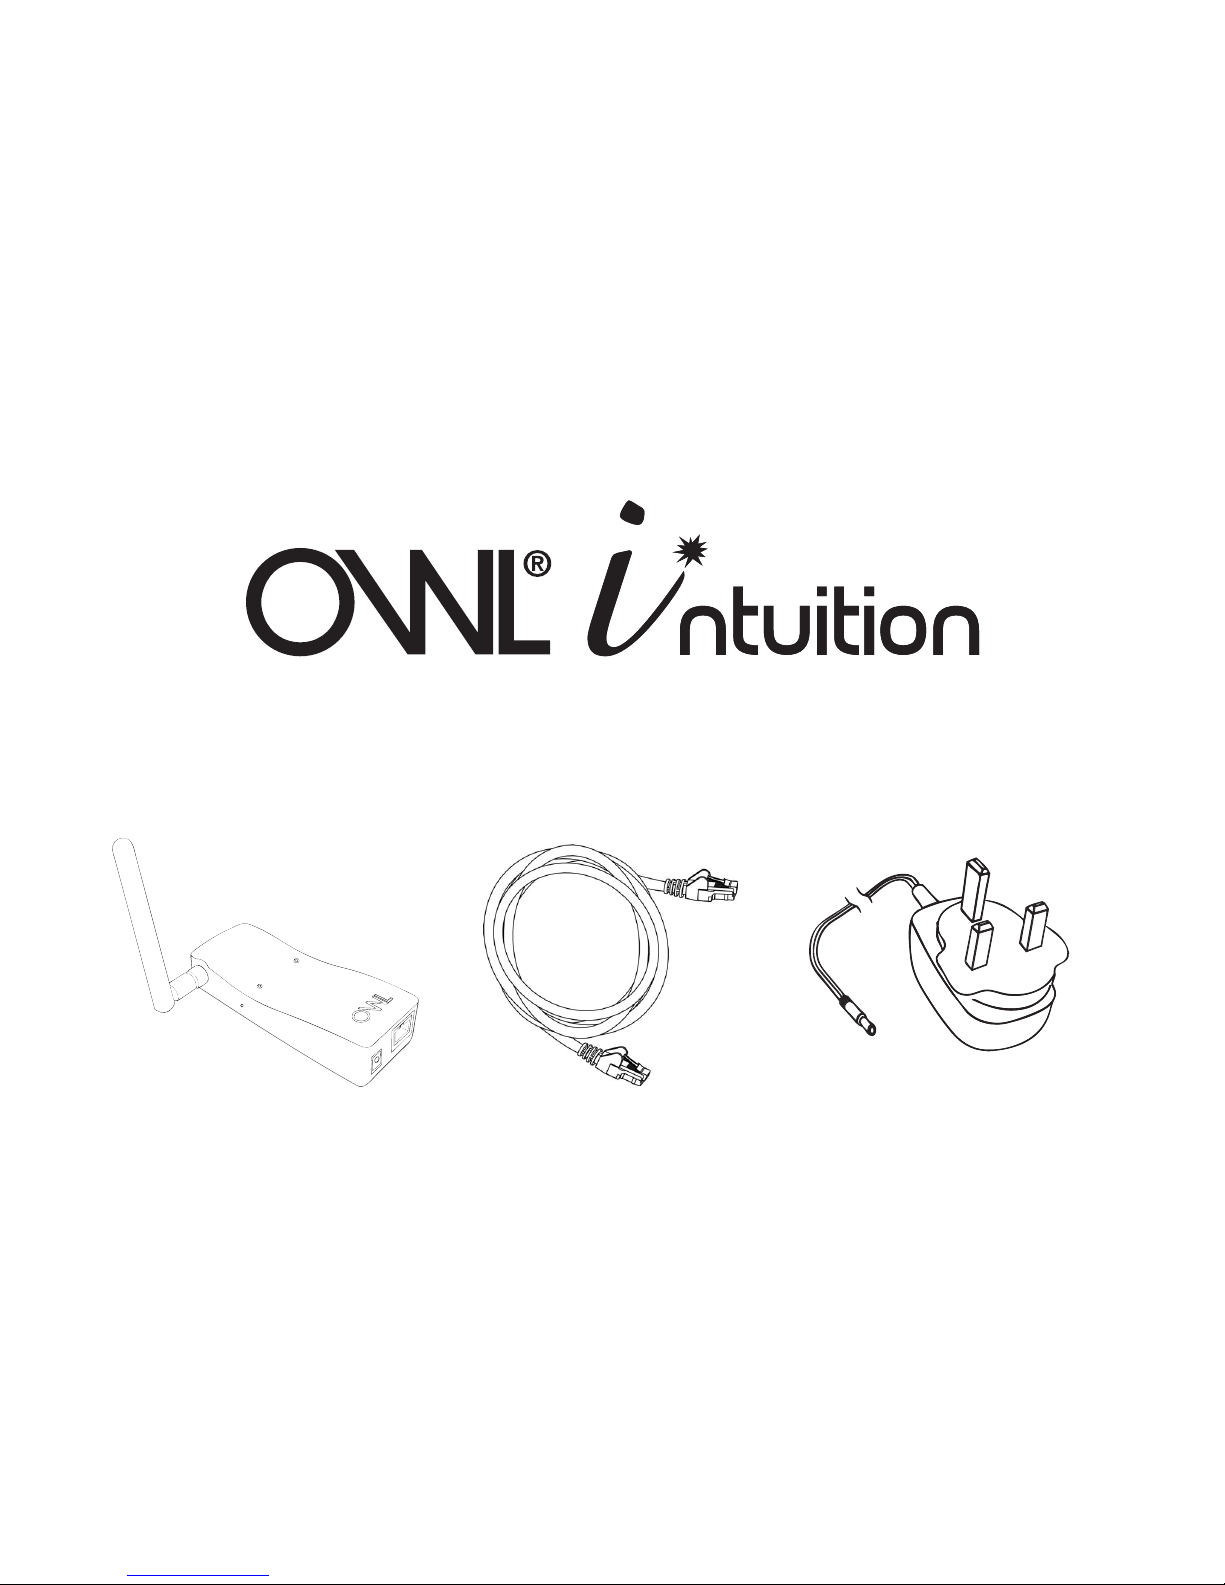
STEP ONE - Connect to Internet & Power Network OWL
Ensure antenna is screwed, nger tight, onto brass connector on side of the Network •
OWL.
Plug the Ethernet cable into the base of the Network OWL and a spare LAN port on•
your existing broadband Internet router.
Ensure the connector latches with an audible “click” at both ends.•
Select UK or Euro mains adaptor as required. Fit to the power supply and rotate 90°•
until it latches into place.
Plug the power supply into the mains and insert the DC jack connector into the base•

© 2 Save Energy Limited 2012 3
of the Network OWL.
The green LED on the top of the Network OWL will start ashing. After a few seconds •
the blue LED will start ashing slowly. This is Device Pairing Mode used when set-
ting up other OWL Intuition Products / Devices. For now wait until the blue LED stops
ashing (about 90 seconds).
Check that the green LED is now ashing with a “triple blip” pattern. •
(- - - - - - - - -). This indicates that the Network OWL is online and connected to the
OWL servers.
Do NOT proceed to STEP TWO until this ashing pattern is observed.•
CHECK FINGER
TIGHT
PLUG IN DC POWER CONNECTOR
PLUG IN ETHERNET CABLE
BLUE LED
GREEN LED
RESET
BUTTON
NETWORK OWL

4 © 2 Save Energy Limited 2012
If your Network OWL does not go online (“triple blip”):
The Network OWL can normally connect to the OWL servers when plugged into a•
normal domestic broadband router which has a default security conguration.
If the Network OWL does not connect within 5 minutes:•
Ensure that your Internet connection is working by connecting to a familiar sitea.
using your web browser.
Check Ethernet cable connections - remove cable and ret a few times at both b.
ends to remove any dust on the connections.
Try rebooting your broadband router by powering down for 10 seconds and thenc.
power back up. Allow 5 minutes for everything to re-establish itself.
IMPORTANT Note for business users:
If you wish to use a Network OWL connected to a business / commercial LAN then•
please note that it is usual for the internal IT Security Department to restrict which
Internet ports are open for use.
You will need to ensure that ports numbered 5004 and 5222 are opened outbound.•
Without this the Network OWL will not be able to connect to the OWL servers and
your Intuition system will not function.
Note: The table opposite describes the meanings of the LEDs visible on the front face of
the Network OWL.

© 2 Save Energy Limited 2012 5
Network OWL LED Meanings
LED Pattern Meaning
Blue Steady ash following power up N-OWL is in pairing mode
Blue Flash every 12 to 60 seconds Data received from paired Device
Blue Off for longer than 60 seconds N-OWL is not paired or Device is out of radio
range
Green Rapid ashing N-OWL is starting up
Green Single blip pattern
(- - - -)
1) N-OWL is running
Green Double blip pattern
(- - - - - - - -)
1) N-OWL is running &
2) Connected to LAN, DHCP IP address allocated
Green Triple blip pattern
(- - - - - - - - - - - -)
1) N-OWL is running &
2) Connected to LAN, DHCP IP address allocated &
3) Connected to OWL servers (N-OWL Online)
Green Single long ash Connecting to OWL log servers
Green Double long ash Uploading logged data to OWL servers

6 © 2 Save Energy Limited 2012
STEP TWO - Create Intuition online account
Using the web browser on your computer open up the following page:•
https://www.owlintuition.com (this is a secure connection).
Click “Create Account”•
Ensure you select• System Type: Network OWL Gateway
Fill in the information requested (see following table for explanation of the information•
required).
Press the “Create Account” button.•
Successful account creation and conguration will be conrmed.•
Please keep a note of your details below and press the “Finish” button.•
My username: My password: My Network OWL MAC ID:
4 4 3 7 1 9 _ _ _ _ _ _
IMPORTANT: If you want to use with an existing OWL Electricity
Transmitter you need to pair this Transmitter to the Network OWL rst
and then select System Type: Intuition-e during the Create Account
process. Please download and follow the pairing instructions from
http://www.theowl.com/uploads/downloads/gettingstartedintuition.pdf.

© 2 Save Energy Limited 2012 7
Account Set Up Information Required
Item Value Notes
Username Letters &
digits
Choose a memorable account username a minimum of 6
characters long. Not case sensitive.
Password Letters &
digits
Choose a memorable password a minimum of 6 charac-
ters long. Password is case sensitive.
Email Valid email
address
Enter the email address you wish us to be able to contact
you on.
Network OWL
MAC ID
12 characters MAC ID can be found on back of the Network OWL and
starts 443719...... Enter the full 12 characters.
Country Select from
list
The country where this OWL Intuition system is physi-
cally installed.
Timezone Select from
list
The time zone where this OWL Intuition system is physi-
cally installed.
Use Daylight
Saving
Tick Tick this box to enable automatic adjustment for daylight
saving. (Not available for all countries.)
Currency Select from
list
Select the currency symbols to be used by this account.

8 © 2 Save Energy Limited 2012
Item Value Notes
Postcode Letters &
digits
UK only - enter just the rst part of your postcode eg. For
RG24 9LR just enter RG24.
Town Letters Outside UK only - enter the name of the nearest Town
or City to where this OWL Intuition system is physically
installed.
STEP THREE - Log in to your OWL Intuition account
You can now log in to your OWL Intuition account with your new username and password
at: https://www.owlintuition.com
STEP FOUR - Locating your Network OWL
The Network OWL should ideally be hung on the wall in a free area as far from large metal
objects as possible. Position the antenna in a vertical orientation.
If necessary you can replace the Ethernet cable with a longer cable (up to 100 meters
long). If installing a long Ethernet cable is a problem, you can use a “Powerline Range
Extender” or “Wireless Range Extender” - please search for these common products online.
STEP FIVE - Install your OWL Intuition Devices
Please now follow the instructions provided with the other OWL Intuition Devices (e.g.
Electricity Monitoring or Heating Control products)

© 2 Save Energy Limited 2012 9
Useful Information
Network OWL Factory Reset:
You can Factory Reset the Network OWL by pressing the reset button while the power is
on. Carefully insert a paperclip into the small hole and hold the button pressed for a mini-
mum of 10 seconds and release. The green LED will ash rapidly. After about 30 seconds
the blue LED will start a steady ash. After a Factory Reset you must work through this
guide again but when following STEP TWO tick “Account Exists” to reuse your original ac-
count and password.
Network OWL Ethernet port LEDs:
These LEDs have the following meanings: Green – link ok / up; Yellow – data activity.

10 © 2 Save Energy Limited 2012

© 2 Save Energy Limited 2012 11

12 © 2 Save Energy Limited 2012
Customer Support
If you have any further questions please check our frequently asked questions at:
http://www.theowl.com/faqs.html
(please ensure you state your Network OWL MAC ID)
2 Save Energy Limited operate a policy of continuous development and improvement,
therefore the content of this document is subject to change without notice.
Document Version 2.0 - December 2012
Table of contents