manuals.online logo
Brands
  1. Home
  2. •
  3. Brands
  4. •
  5. Oxford Instruments
  6. •
  7. Power Supply
  8. •
  9. Oxford Instruments Andor Shamrock 500i User manual

Oxford Instruments Andor Shamrock 500i User manual

Unpack the Spectrograph
2
3
1Prepare your Facility Install Software (SDK2 or Solis)
Shamrock 500i & 750 Quick Start Guide
Spectrograph
Accessories
Shamrock 500i or
750 Spectrograph
(model as ordered)
Power Supply USB 2.0 Cable
Type A to Type
B (3 m)
Camera(s)
(when applicable)
Documentation
scan or visit:
andor.oxinst.com/
welcome
Software
(copy supplied)
Hex Key Set
You must have administrator access on your PC to perform this installation.
These instructions cover installation of both Andor Solis and Andor SDK if ordered. A copy of the software is provided
within the spectrograph box. Additionally, the latest software les are available to download on request, please sign
in or create an account at andor.oxinst.com/downloads
Windows: Switch on the PC, run the setup exe from the supplied copy or the downloaded le: e.g. AndorSDK2Setup-
<version>.exe
1. Conrm the version of software (minimum is v2.1.x).
2. Follow the on screen prompts.
3. Select the installation directory when prompted.
4. If prompted for select the required hardware (spectrograph and/or camera) type.
5. On the nal window click on “Install”. Continue to follow the on screen prompts.
Shamrock will require SDK2 or Solis installation, please see quick start guide for specic
camera model software requirements.
Online access to technical documentation is available at: andor.oxinst.com/downloads
Please follow these guidelines when unpacking the Shamrock:
1. The Shamrock should be placed in the environment it will be used in for a few hours before
adjustment and rst use.
2. Environment should be dust free.
3. Spectrograph should be placed on a at, stable support (e.g. optical table); Shamrock feet
are designed to be secured on an optical table with appropriate screws.
The Shamrock 500i or 750 can be supplied with a range of accessories as specied at the time of ordering. Please
check the supplied items against the packing list to ensure all items are present.
Handle the spectrograph and accessories
with care.
Use correct power supply and cables.
Observe anti-static precautions when
installing the spectrograph, camera and
accessories.
Operate at a constant temperature between
0°C and 30°C (temperature uctuation during
operation may result in calibration drift).
Store between -25°C and 50°C.
Ensure sucient clearance around
spectrograph and power supply vents
(Do not block vents when operating on
benchtop).
Please observe the following warning when
lifting the spectrograph:
Operation of the spectrograph close
to intense pulsed sources (e.g. plasma
and X-ray sources) may compromise
performance.
Keep dry, <70% humidity non-condensing.
Refer to the user manual for further information
MAN-15477
SR500&750QSG 0921 R1
Set up Solis on the Shamrock 500i & 750Set up the Shamrock Spectrograph
Connect the Camera Troubleshoot
?
6
5
Refer also to the Shamrock 500i and 750 user guide
Ensure that the power to the spectrograph is turned o and ensure that the switch on the rear of
the spectrograph to set to OFF
Remove the Flipper Mirror locking screws
For dual output and/or input congurations, the locking screws must be removed before
turning on your Andor Shamrock spectrograph.
• 500 model - There are locking screws located as shown in the following gures:
• 750 model - The ipper mirror locking screws are located on the underside of the unit. Carefully tilt or lift the
Shamrock to allow access.
Connect the Power and USB Cables
1. Ensure the power to the spectrograph is turned o and ensure that the switch on the rear of the spectrograph to
set to OFF (0).
2. Connect the power cable to the power supply input on the rear panel of
the spectrograph.
3. Connect the USB cable to the USB input on the rear panel of the
spectrograph.
4. Connect the other end of the USB cable to an available USB connection
on the PC.
5. Plug in the power supply to the mains, but do not switch the power on.
Conguring Solis for the Shamrock
1. Power on the Shamrock and if appropriate
the detector and wait until the short start-
up tone signals it has nished system
checks.
2. Start Solis.
3. Solis will auto detect the Shamrock and
show a dialog on startup alerting the user
of this.
4. Once fully loaded the Spectrograph
control UI will show with the auto detected
peripheral controls.
5. Please refer to your camera and Shamrock
user manuals for any further setup or
calibration steps required before using your
system. Above Accessories are automatically detected and
displayed in the Solis software.
Connect the Camera to the PC
Depending on the camera model supplied there are three types of possible connectivity between the camera and
the PC:
• USB 2.0 or 3.0
• Cameralink
Please refer to the Quick Start Guide provided with the Andor camera for full installation directions applicable to
the specic camera model.
Note that if camera is ordered for the second output port, it will arrive detached and the
attachment procedure as per user manual must be followed.
Online access to technical documentation is available at: andor.oxinst.com/downloads
Ensure that the camera AND the PC are switched OFF.
Power Switch Power Input Fuse Holder USB
Rear panel
A pre-aligned camera and spectrograph package comes pre-tted with a ange. For a standalone spectrograph,
the unit is supplied with a camera ange, the camera must be attached to the ange and the ange attached to
the spectrograph body with the screws supplied. Please see the spectrograph user guide for mounting information.
Flipper
mirror
locking
screw
Spectrograph is not recognised by Solis
• Ensure that the Shamrock has nished its system checks before attempting to connect with it.
Check the connections between the camera, PC and spectrograph.
Camera is not recognised by PC
• Check that the camera power and USB cable are connected securely and the mains power cable is inserted.
• Check that the drivers have been installed properly
(Control Panel /System/Hardware /Device Manager /Imaging Devices).
Shutter is not opening
• The shutter should always be controllable open/closed in the Solis GUI (when shutter is present). When the I2C
cable or the BNC input is used, the ‘BNC’ option should be selected in the software to enable operation of all
shutter modes.
• Check opening/closing times have been properly setup.
Communication error when selecting side port
• When shipping, a locking screw is used to secure the ipper mirror in dual exit systems. This needs to be
loosened fully/removed before use.
Please see the Hardware Guide for further information on Troubleshooting.
Online access to technical documentation is available at: andor.oxinst.com/downloads
4

This manual suits for next models

1

Other Oxford Instruments Power Supply manuals

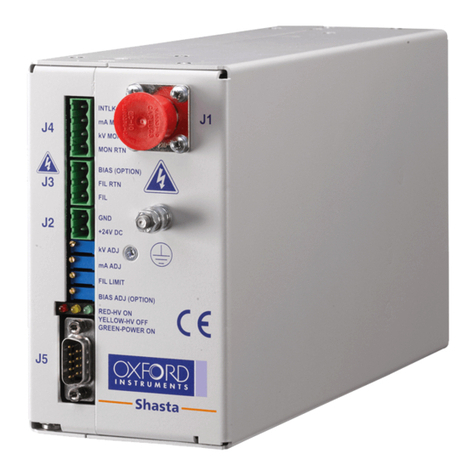
Oxford Instruments Shasta User manual

Oxford Instruments

Oxford Instruments Shasta User manual

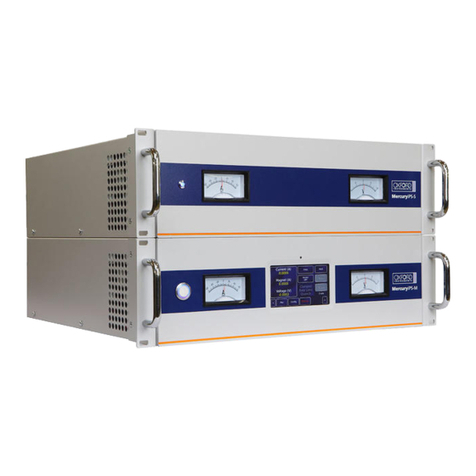
Oxford Instruments NanoScience MercuryiPS User manual

Oxford Instruments

Oxford Instruments NanoScience MercuryiPS User manual

Oxford Instruments TC948 User manual

Oxford Instruments

Oxford Instruments TC948 User manual

Popular Power Supply manuals by other brands

TDK-Lambda 203 Operator's manual

TDK-Lambda

TDK-Lambda 203 Operator's manual

Farfisa 1281E manual

Farfisa

Farfisa 1281E manual

HP J9405B Product End-of-Life Disassembly Instructions

HP

HP J9405B Product End-of-Life Disassembly Instructions

Magpowr PS90 Instruction manuals

Magpowr

Magpowr PS90 Instruction manuals

SECO-LARM Enforcer ST-1206-1.5A Brochure & specs

SECO-LARM

SECO-LARM Enforcer ST-1206-1.5A Brochure & specs

Simplex 4100-5120 installation instructions

Simplex

Simplex 4100-5120 installation instructions

IDEC PS5R-V Series manual

IDEC

IDEC PS5R-V Series manual

Akyga AK-ND-71 user manual

Akyga

Akyga AK-ND-71 user manual

Altronix R248220 Series installation guide

Altronix

Altronix R248220 Series installation guide

Sense KFT-2410R instruction manual

Sense

Sense KFT-2410R instruction manual

Elektro-Automatik PS 9040-40 2U operating guide

Elektro-Automatik

Elektro-Automatik PS 9040-40 2U operating guide

sks 300090 manual

sks

sks 300090 manual

NI PXIe-1075 user guide

NI

NI PXIe-1075 user guide

BEL LEC120 Series Installation instruction

BEL

BEL LEC120 Series Installation instruction

Life technologies novex PowerEase 500 user guide

Life technologies

Life technologies novex PowerEase 500 user guide

nextys NCU120-12 instruction manual

nextys

nextys NCU120-12 instruction manual

Simco-Ion IQ Power HL Installation and operating instructions

Simco-Ion

Simco-Ion IQ Power HL Installation and operating instructions

KEPCO KLP 600-4-1.2K user manual

KEPCO

KEPCO KLP 600-4-1.2K user manual

manuals.online logo
manuals.online logoBrands
  • About & Mission
  • Contact us
  • Privacy Policy
  • Terms and Conditions

Copyright 2025 Manuals.Online. All Rights Reserved.