1312
Troubleshooting
Problem Possible Cause Solution
Grinder does not
start after pressing
the OXO button
Grinder not plugged in Plug power cord into 110V/120V outlet.
Bean hopper is not
attached properly
Gently remove and reinstall bean hopper
ensuring it is seated properly.
Grinder overheated Wait 30 minutes to allow Grinder to cool down;
after 30 minutes try the Grinder again.
Grinder stops mid-cycle
Foreign item trapped in burrs
Unplug power cord and remove hopper. Inspect
hopper, upper and lower burrs. Remove any
foreign objects.
Grinder overheated Wait 30 minutes to allow Grinder to cool down;
after 30 minutes try the Grinder again.
Grinder is louder than normal Grinder blocked
with foreign item
Unplug power cord and remove hopper. Inspect
hopper and burrs, and remove any foreign
objects.
One type of roast continuously
clogs Grinder
Dark, oily beans can
clog grounds chute
Unplug power cord and remove hopper.
Use a small exible brush to clean grounds chute,
where grounds dispense. If problem persists, use
coffee Grinder cleaning tablets.
Grounds container overlls and
coffee grounds back up into
chute
Grinder is clogged Unplug power cord and remove hopper. Use a
small exible brush to clean grounds chute.
Troubleshooting
Problem Possible Cause Solution
Grinder starts but produces no
coffee grounds
Hopper trap door is blocked Check to ensure there are no beans stuck
in the hopper’s trap doors.
Grounds chute is clogged Use a small exible brush to clean grounds chute.
Beans not owing out of hopper
Remove hopper lid and stir beans in hopper with
a wooden spoon to help separate oily beans
that can stick together. Replace lid and try
grinding again. If problem persists, empty hopper
completely and wipe down the inside with a
damp cloth or hand wash with warm, soapy
water. Let dry before relling with beans.
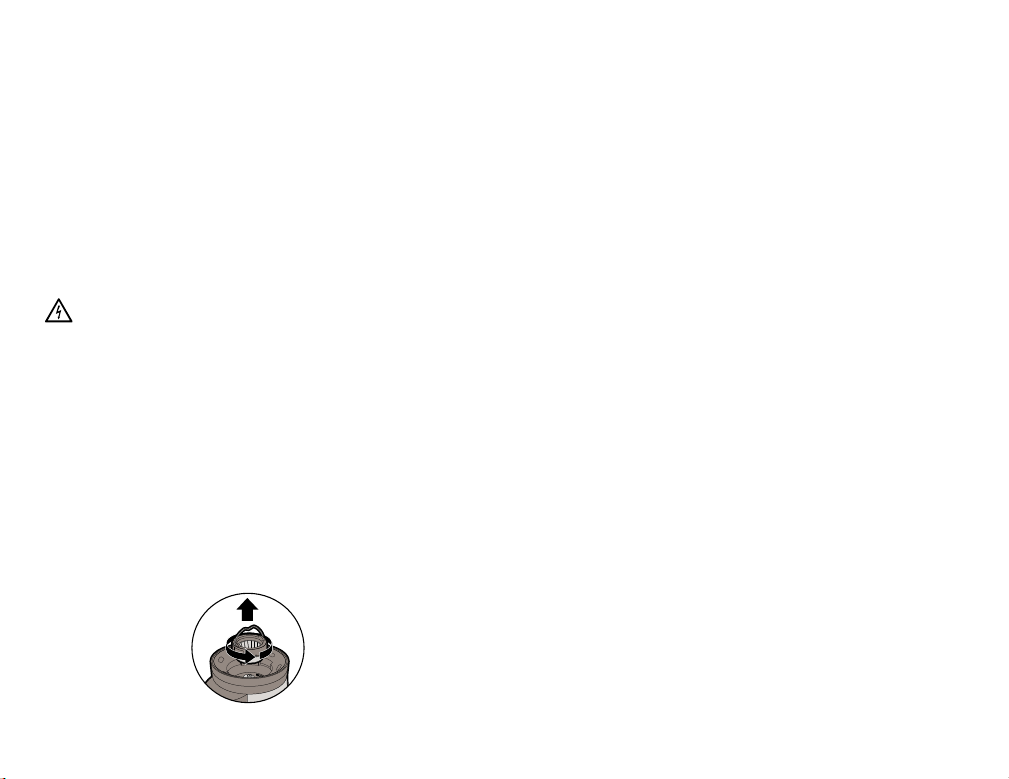
Upper burr is not fully
locked into place
Turn handle clockwise rmly to ensure burr is
locked in place; it will click into place when secure.
More static than usual
Many factors contribute to the
amount of static created while
grinding coffee, including different
types of coffee beans and roasts and
the humidity level in the air.
Wipe down surfaces with damp towel and dry
thoroughly. You may also let the grounds rest
in the grounds container for 30 seconds before
moving the container from the Grinder. This will
allow the static to dissipate.
Grounds container not seated
properly underneath chute
Ensure Grinder base is completely clear of coffee
grounds. Position grounds container onto base,
pushing back until it’s fully seated under chute.
The container will lightly click into place.
For the most up-to-date troubleshooting information, visit www.oxo.com