Installing Batteries
-4-
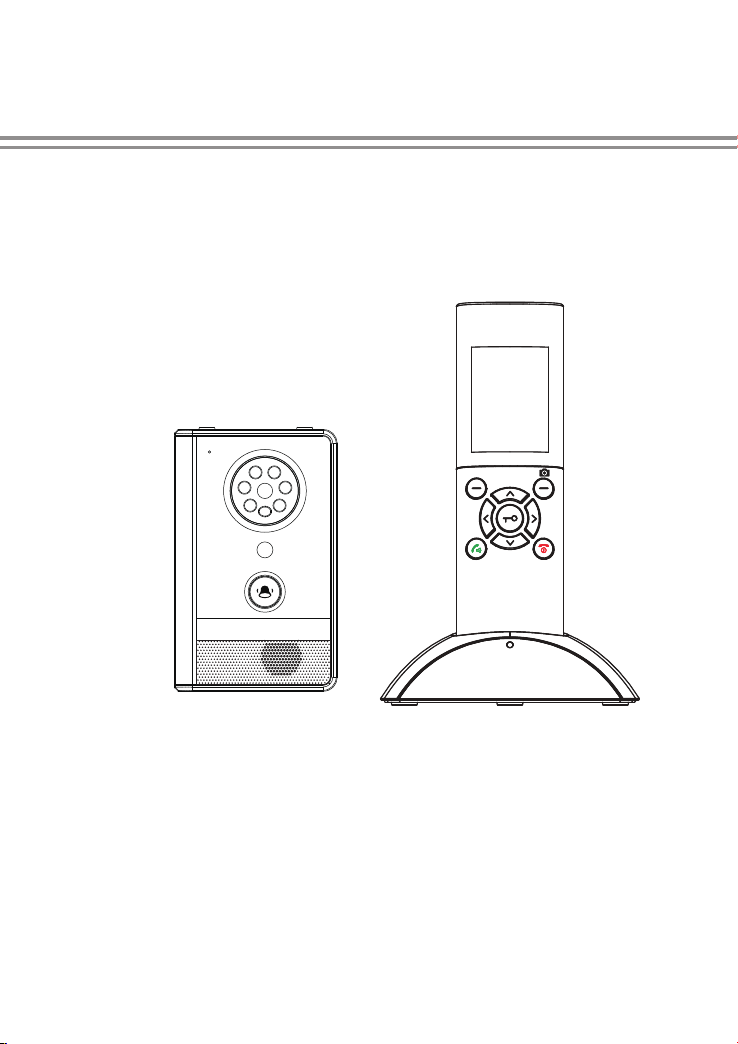
Indoor Handset
The rechargeable lithium battery (3.7V, 1100mA) come with your indoor handset.
Install the battery before use.
1.
2. Insert new battery as indicated, matching correct polarity(+,-).
3. To replace the battery cover, slide the cover up until it snaps in place.
Notes:
1. To activate battery please remove protective cover from the battery prior to
use.
2. The battery need to be replaced if they do not recover their full storage
capacities after recharging.
3. When replacing the battery, make sure using good quality re-chargeable
lithium battery. Never use other battery or conventional alkaline battery.
1
2
Lithium battery
Battery case
Battery compartment cover
Protective cover