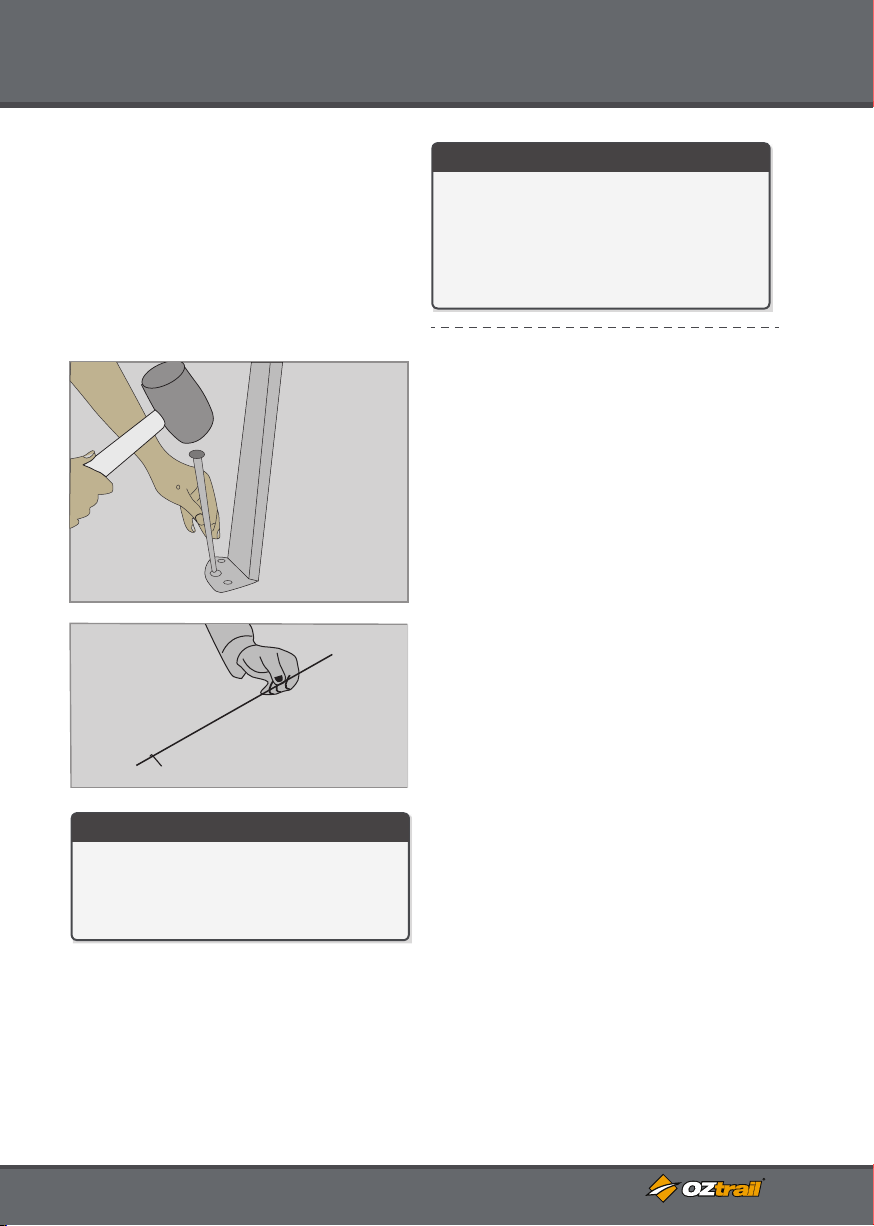
HELPFUL HINT
It is not necessary at any stage of
assembly to apply more than a small
force on the frame. If a small force is not
sufficient to carry out each described
step, then re-align the frame and try
again.
8
INSTRUCTIONS TO FIT OPTIONAL
OZTRAIL GAZEBO ACCESSORIES
REMOVABLE AWNING KIT
ATTACHMENT INSTRUCTIONS
STEP 1:
Identify the two side support frame arms,
the fabric awning and the front spreader
pole.
GUTTER SYSTEM KIT ATTACHMENT
STEP 1:
Position two 3m x 3m OZtrail Gazebos
side by side.
INNER KIT ATTACHMENT
INSTRUCTIONS
STEP 1:
Ensure the site under the Gazebo is level
and clear of all stones, twigs, etc.
STEP 2:
Unpack the contents of your Gazebo
inner kit. Unfold the fabric and layout with
the floor against the ground and the wall
and roof fabric facing up.
STEP 3:
On each corner of the floor there is an
elasticised hook attached. Connect this
hook to the base of the frame upright
poles. Located midway along the side of
the floor there are peg out webbing loops.
With the pegs provided peg out these
webbing loops firm but not tight.
STEP 4:
On each corner of the roof there is an
elasticised hook attached; connect this
hook to the top of the frame’s upright
poles. Located midway along the edge of
the roof there are “J” hooks on webbing
loops; connect these “J” hooks to the
scissor action struts of the Gazebo frame.
Midway up the wall corners there are ties;
wrap these ties around the frame’s upright
poles and tie together, firm but not tight.
STEP 2:
Unpack and align the Gutter System.
STEP 3:
Locate the Velcro on the inside edge of
the adjoining canopies.
STEP 4:
Locate the corresponding Velcro on the
Gutter System.
STEP 5:
Simply attach the Gutter System by
joining the Velcro on the Gutter and the
Canopy.
STEP 6:
The hose can be attached to the leg of the
Gazebo and the flow directed away from
the Gazebo.
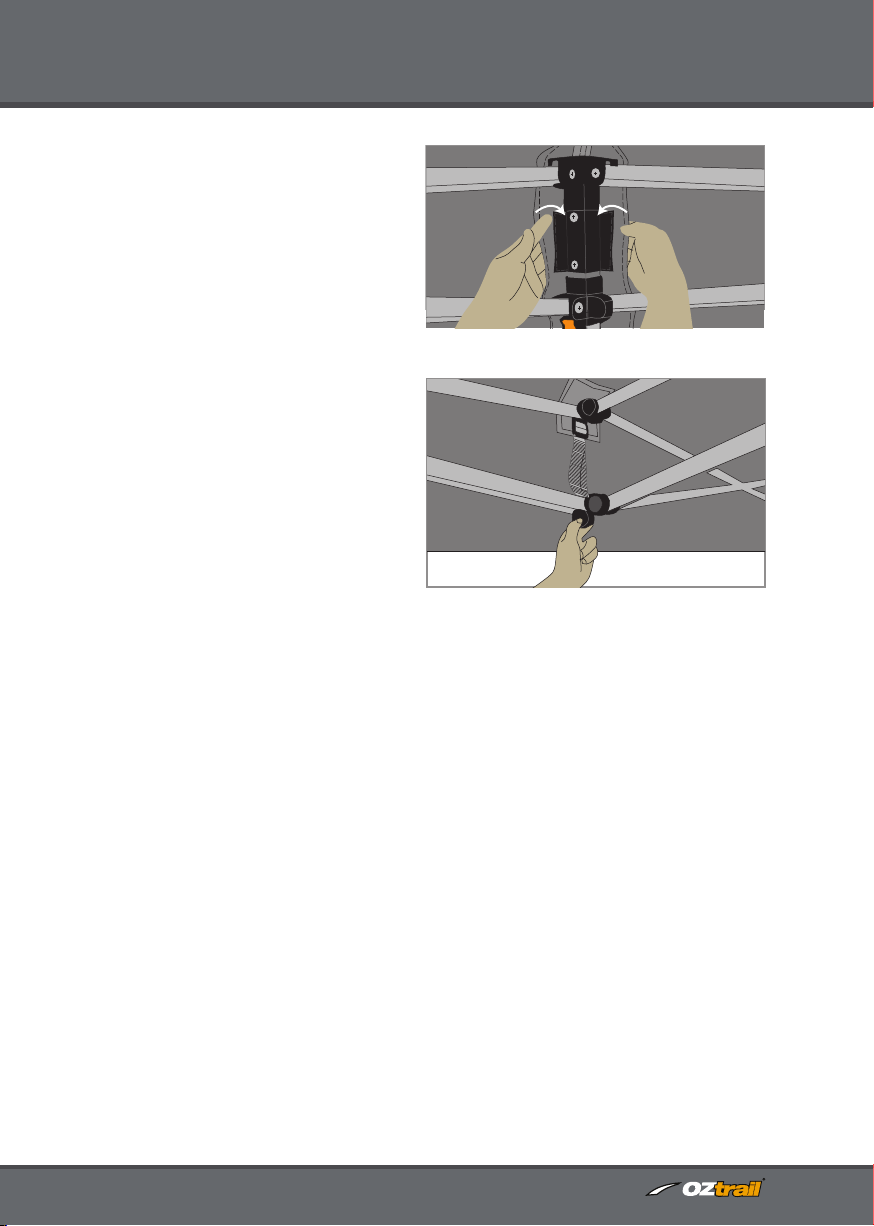
STEP 2:
Attach the two side support frame arms
to the upright legs of the Gazebo
approximately 150mm below the base of
the canopy.
STEP 3:
Align the fabric awning and insert the
corner webbing pockets of the awning
onto the ends of the side support arms.
With the help of another person slide the
spreader pole through the sleeve that
runs across the front edge of the fabric
awning. Attach the spreader pole to the
support arms and tension.
STEP 4:
Attach the corner hooks on the fabric
awning to the ring on the corner hub
located at the top of the Gazebo legs.
Now align and join the Velcro tabs along
the edge of the awning fabric and Gazebo
roof fabric. Check the awning is firm, but
not tight and remains firm.