PAL 64-EGB-CGS User manual

GUIDES AND WARNINGS
IMPORTANT INFORMATION:
DO NOT CONNECT THIS 12V LIGHT DIRECT TO A 120V CIRCUIT.
1) Ensure that the electrical system for your pool conforms with
all the requirements of the National Electrical Code (NEC) and all
relevant local codes and ordinances.
2) This 12V Underwater Light must be installed in accordance with
the National Electrical Code by a Certied Electrician or a Qualied
Pool Technician. NOTE: No Bonding Terminal is required on the
forming shell since the xture is an all plastic construction and
complies with NEC article 680 Requirements.
3) This Underwater light is designed for use with the PCR-4 AND
PCR-2D UL Listed Class 2 LED Driver.
The Junction Box and the low voltage transformer is located at
least 4 (four) inches (10.16 cm) above ground level or eight (8)
inches(20.3 cm) above maximum water level, whichever is higher.
The Junction Box must be at least 48 inches (1.22 m) from the edge
of the pool.
To be certain that the pool or spa electrical system meets all
applicable requirements, the electrician should also consult the local
building department.
CANADIAN INSTALLATION
Be sure the electrical system of your pool conforms with the
following requirements of the Canadian Electrical Code (CEC), CSA
C22.1 and all local codes and ordinances. A licensed or certied
electrician must install the electrical system to meet or exceed those
requirements before the light and (xture-housing) is installed.
Failure to do so could result in death or serious injury to service
technician, pool users or others due to electrical shock.
2
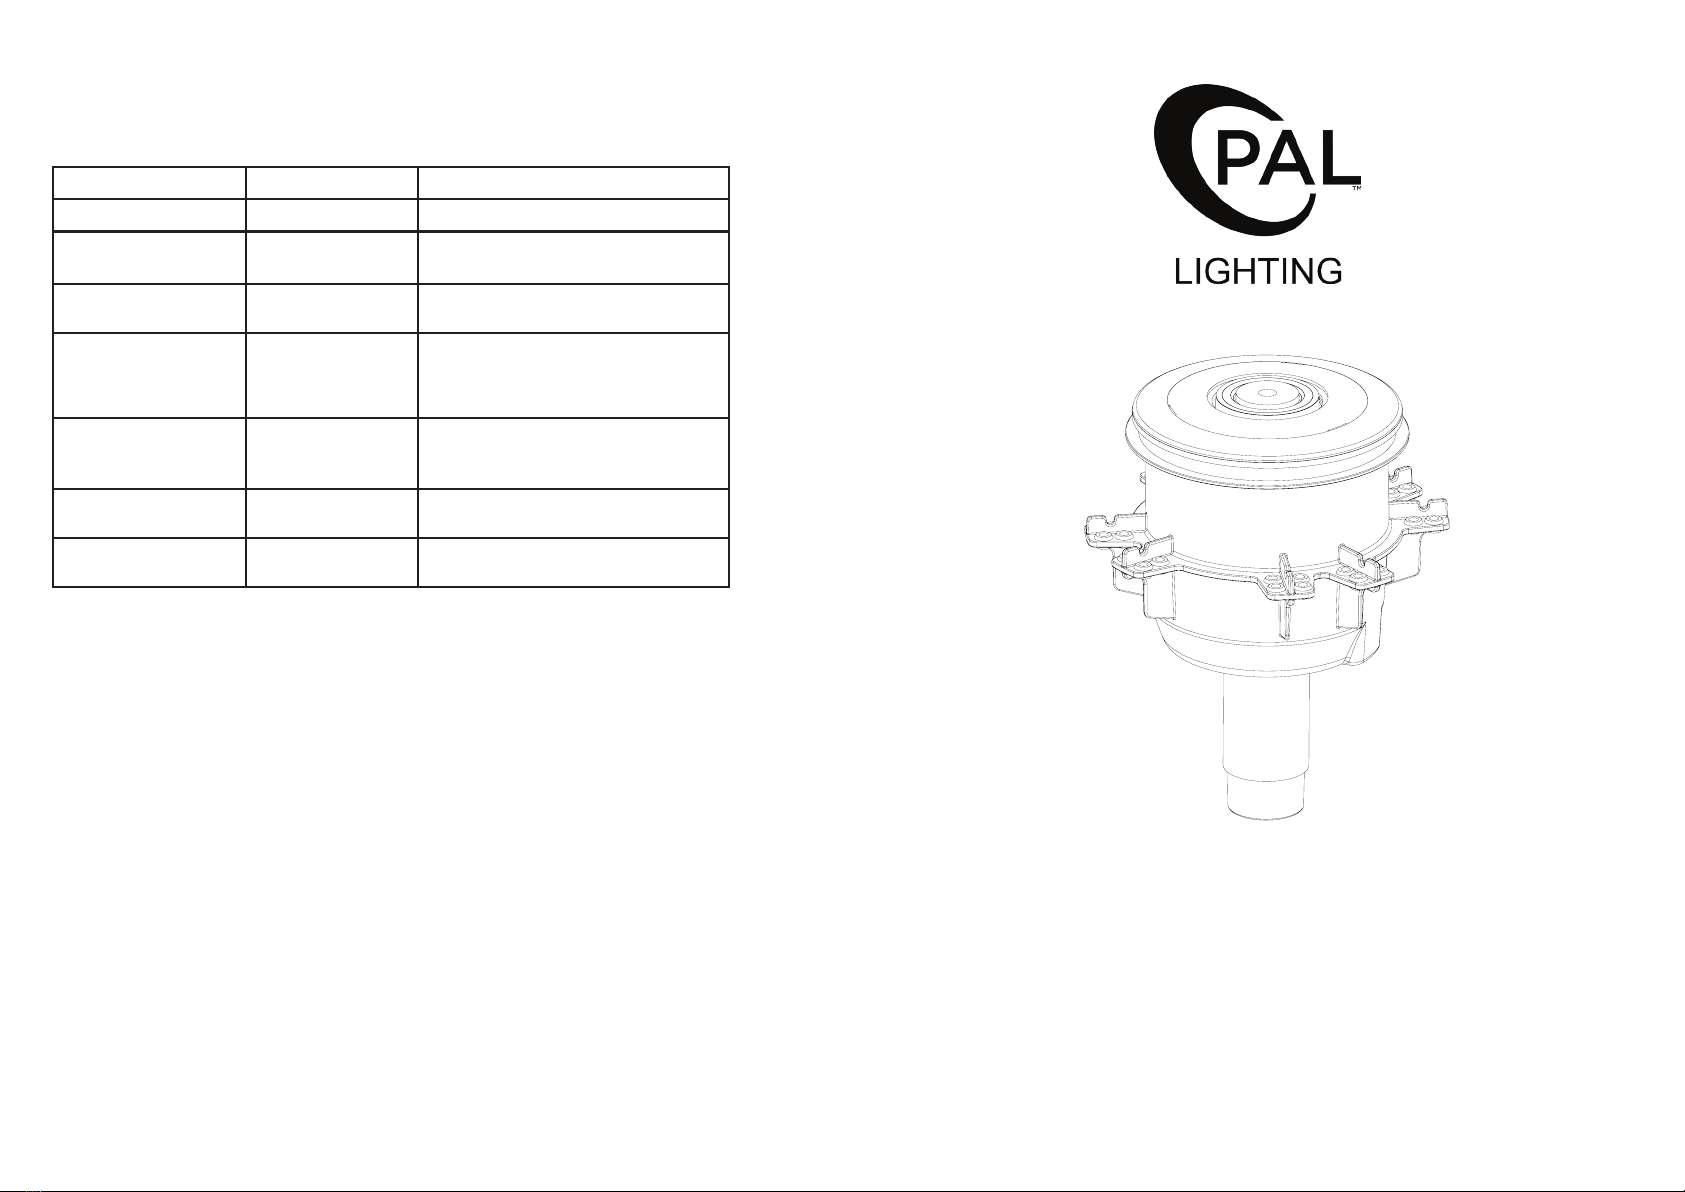
CONNECTING TO DRIVER
PAL COLOR TOUCH DRIVER
The PAL 64-EGB-CGS is powered by the PAL PCR-4/PCR-2D Class 2
LED drivers which are controlled by the PCT-1 remote control or optional
Wi-Fi (when tted). Refer to PCR-4 or PCR-2D for Detailed Installation
Instructions.
PCR-4 Driver
50 watts (PCR-4U-CL)
PCT-1 Transmitter
NOTE:
• Must turn o power before making DIP switch selection.
• When synching PAL lights to other OEM lights, static colors will match but color
change mode timing may vary.
• If the PAL Lights are to be used with Automation, do not use the handheld remote
control and disconnect the Wi-Fi module from the board if so equipped.
• If the Automation does not turn the PAL lights on or o and there is power to the
driver, press the S1 button one time to turn on the PAL Driver.
• Note that the PAL features of innite color selection and dimmability are not avail-
able while in Cloned mode.
PCR-2D Driver
16 watt version (PCR-2D-16)
35 watt version (PCR-2D-35)
55 watt version (PCR-2D-60)
DIP 1 DIP 2 CLONING DIP SWITCH
SETTING
OFF ON JANDY
OFF OFF PENTAIR
ON OFF HAYWARD
ON ON PAL
1/2” PVC
Conduit
Adaptor
1/2” PVC
Conduit
1/2” PVC
Conduit
Adaptor
1/2” PVC
Conduit
Refer to PCT-1 information
sheet for full operation
details & features
Cloning Feature
8

OR
OR
OR
OR
OR
OR
OR
OR
OR
OR
OR
OR
OR
OR
OR
OR
INSTALLATION FOR GUNITE/CONCRETE POOLS
Secure niche to steel
reinforcing bars using wire
in 4 positions
2 3/4” (MAX)
2” (MIN)
3/4”
(MAX)
2” (MIN)
CONCRETE
COVERAGE
Wipe around niche perimeter and
ll with 2 pack bonding to seal plastic to
concrete
Niche can be trimmed if sticking out
from concrete shell max 3/4”
OR
OR
OR
OR
Remove protective caps from plug and light socket by unscrewing.
Insert plug into light and secure with screw-on cap.
Secure Bubbler assembly to
Niche using 6xM4 screws
Finish with face plate
by inserting over Bubbler
assembly and twisting.
N.B. Shown with snorkel.
Use correct center cap for
requirements.
36
Step 1. Fixing Bubbler Niche to Steel
Step 4. Installing Luminaire
Step 2. Conduit and Fittings
To pipe ttings provided
- small uses 1 1/2” SCH40 coupling or elbow
- large uses optional Snorkel tting with 1
1/2” SCH40 coupling or elbow
*Snorkel and coupling not provided
NOTE: use PVC solvent cement on
all provided ttings.
Before installing luminaire screw on internal pipe tting.
Side and Bottom Conduit
options. Unused conduit
hole block with provided
cap.
NOTE: conduit adapter
uses 3/4” and 1” conduit.
Step 2. Concrete Stage
Except when the luminaire is installed in an area of the swimming pool
that is not used for swimming and the lens is adequately guarded to
keep any person from contacting it, the luminaire shall be installed
in or on a wall of the pool, with the top of the lens opening not less
than 457 mm (18 inches) below the normal water level of the pool. For
supply connection, use only an isolating low voltage power supply
with ungrounded output, evaluated for swimming pool use.
A
A
SECTION A-A
SCALE 1 : 2
SOLIDWORKS Educational Product. For Instructional Use Only.
A
A
SECTION A-A
SCALE 1 : 2
SOLIDWORKS Educational Product. For Instructional Use Only.
OR
If using snorkel.

OR
OR
OR
OR
OR
OR
OR
OR
OR
OR
OR
OR
OR
OR
OR
OR
1. Remove Niche protective cap 2. Draw cable through conduit
3. Tighten cable nut by hand only
Cable Seal
Cable and plug assembly. N.B. Do not remove
protective cap until installation of light.
Wing Nut
Apply PVC solvent
cement to render ring.
N.B. Do not
remove protective
cap until pool
nish is applied.
N.B. Do not
remove protective
cap until pool nish
is applied
If using optional
A&A Snorkel, install
inner tube and
snorkel now
Fit rendering
to concrete niche.
Adjust render ring
for ush nish.
7/8” (MAX)
1/2” (MIN)
Pool Finish
Apply nish to top
edge render ring max
7/ 8 ”
4 5
Step 3. Installing Cable
SIDE ENTRY CONDUIT:
- Must t Wing Nut and Cable Seal
before pulling cable through
NOTE: Leave sucient cable length
to remove for servicing

CONTENTS
Guides and Warnings 2
Installation for Gunite/Concrete Pools 3
PAL Color Touch Driver 7
Troubleshooting 8
Terms and Conditions 8
GUNITE/CONCRETE NICHE BUBBLER INSTALLATION
OR
OR
OR
OR
TROUBLESHOOTING
Model: 4 Wire Evenglow Light
ISSUE REASON ACTION
Light not turning on (1) Faulty Globe. Replace Globe.
Light not turning on (2) Faulty Driver. Check Driver output under load using a
multimeter. 12volts DC.
Light not turning on (3) Cut Cable. Check the voltage at light using a multi-
meter.
Light not turning on (4) Driver not connected
to GPO or switched
on.
Check Driver is connected to power, check
power indicator LED is lit on your Driver.
If still no indicator light, send back to PAL
for repair.
Light not turning on (5) Faulty LED Driver
inside control box.
Push the test button inside control box,
if lights still doesn’t turn on then send
product back to PAL.
Lights out of sync (1) Light incorrectly
wired to control box.
Check color wire sequences connecting
to control box.
Lights out of sync (2) Lights incorrectly
wired to LED lamp.
Check color sequences to LED lamp ter-
minal block inside the light.
TERMS AND CONDITIONS
PAL PRODUCT WARRANTY DETAILS
The PAL product is guaranteed against defects in materials and/or workmanship, under normal
domestic use for (12) twelve months.
Except as otherwise provided for by law, this guarantee becomes invalid if in the opinion of the
Company the product has been misused, abused, damaged in transit, incorrectly installed, or con-
nected to an electrical supply not corresponding with the products specication or a non-approved
PAL power supply.
The Company is not responsible for forwarding freight charges or losses in transit.
If any part of the product proves to be defective within the warranty period, the defective part will
be repaired or replaced, free of charge and at the discretion of Bellson Electric.
Bellson Electric shall not be liable for any loss of prots or any consequential, indirect or special
loss, damage or injury of any kind whatsoever arising directly or indirectly from Bellson Electric
products. This limitation does not apply to any liability under the Australian or New Zealand con-
sumer legislation.
PLEASE REGISTER YOUR PRODUCT WARRANTY DETAILS ONLINE AT:
www.bellson.com.au/register.htm
OR You MUST retain some proof of purchase to provide evidence of the DATE of the original pur-
chase.
7