5
1. Removing paint and varnish with hot air jet and scraper.
2. Removing self-adhesive stickers and trim.
3. Loosening rusted or overtightened nuts and metal screws.
4. Thawing frozen pipes, frozen door locks, padlocks, etc.
WARNING: Do not attempt to thaw plastic pipes!
5. Highlighting the natural woodgrain of wooden surface before staining or varnishing.
6. Fast drying of paints and varnishes. This is especially useful when color matching is
required by adding several coats of the paint or varnish.
7. Softening old putty before removal and replacement.
8. Drying out wet, damaged timber prior to filling with compound and refinishing.
9. Shrinking PVC shrink-wrap sheeting for packaging protection.
10. Waxing and dewaxing skis.
11. Shrinking polyvinyl wire joints.
Keep the air intake and outlet opening clean and free of dirt and debris.
Use only a damp cloth and general household cleaning agent to wipe the gun clean. Do
not use turpentine, paint thinner, gasoline, or similar substances to clean the gun.
OTHER JOBS FOR THE HEAT GUN
CARE AND MAINTENANCE
6
WARNING:
WARNING : IMPORTANT SAFETY INSTRUCTIONS READ THESE INSTRUCTIONS
PERSONS REMOVING PAINT SHOULD FOLLOW THESE GUIDELINES:
Hidden areas such as behind walls, ceilings, floors, soffit boards and other panels may contain flammable
materials that could be ignited by the heat gun when working in these locations. The ignition of those
materials may not be readily apparent and could result in property damage and injury to persons.
When working in these locations, keep the heat gun moving in a back-and-forth motion. Lingering or
pausing in one spot could ignite the panel or the material behind it.
Extreme care should be taken when stripping paint. The peelings, residue and vapors of paint may contain
lead, which is poisonous. Any pre-1977 paint may contain lead and paint applied to homes prior to 1950 is
likely to contain lead. Once deposited on surfaces, hand to mouth contact can result in the ingestion of lead.
Exposure to even low levels of lead can cause irreversible brain and nervous system damage; young and
unborn children are particularly vulnerable.
Before beginning any paint removal process you should determine whether the paint you are removing
contains lead. This can be done by your local health department or by a professional who uses a paint
analyzer to check the lead content of the paint to removed.
1. Move the work piece outdoors. If this is not possible, keep the work area well ventilated. Open the
windows and put an exhaust fan in one of them. Be sure the fan is moving the air from inside to
outside.
2. Remove or cover any carpets, rugs, furniture, clothing, cooking utensils and air ducts.
3. Place drop cloths in the work area to catch any paint chips or peelings. Wear protective clothing such
as extra work shirts, overalls and hats.
4. Work in one room at a time. Furnishings should be removed or placed in the center of the room and
covered. Work areas should be sealed off from the rest of the dwelling by sealing doorways with drop
cloths.
5. Children, pregnant or potentially pregnant women and nursing mothers should not be present in the
work area until the work is done and all clean up is complete.
6. Wear a dust respirator mask or a dual filter (dust and fume) respirator mask which has been approved
by the Occupational Safety and Health Administration (OSHA), the National Institute of Safety and
Health (NIOSH), or the United States Bureau of Mines. These masks and replaceable filters are readily
available at major hardware stores. Be sure the mask fits. Beards and facial hairs may keep masks
from sealing properly. Change filters often.
7. Use caution when operating the heat gun. Keep the heat gun moving as excessive heat will generate
fumes which can be inhaled by the operator.
8. Keep food and drink out of the work area. Wash hands, arms and face and rinse mouth before eating
or drinking. Do not smoke or chew gum or tobacco in the work area.
9. Clean up all removed paint and dust by wet mopping the floors. Use a wet cloth to clean all walls, sills
and any other surface where paint or dust is clinging. Use
a high phosphate detergent or trisodium phosphate (TSP) to wash and mop areas.
10. At the end of each work session put the paint chips and debris in a double plastic bag, close it with tape
or twist ties and dispose properly.
11. Remove protective clothing and work shoes in the work area to avoid carrying dust into the rest of the
dwelling. Wash work clothes separately. Wipe shoes off with a wet rag. Wash hair and body thoroughly
LEAD-BASED PAINT SHOULD ONLY BE
REMOVED BY A PROFESSIONAL AND SHOULD NOT BE REMOVED-USING A HEAT GUN.
DISPOSABLE PAPER MASKS ARE NOT ADEQUATE.
DO NOT SWEEP, DRY DUST OR VACCUM.
SAVE THESE INSTRUCTIONS.
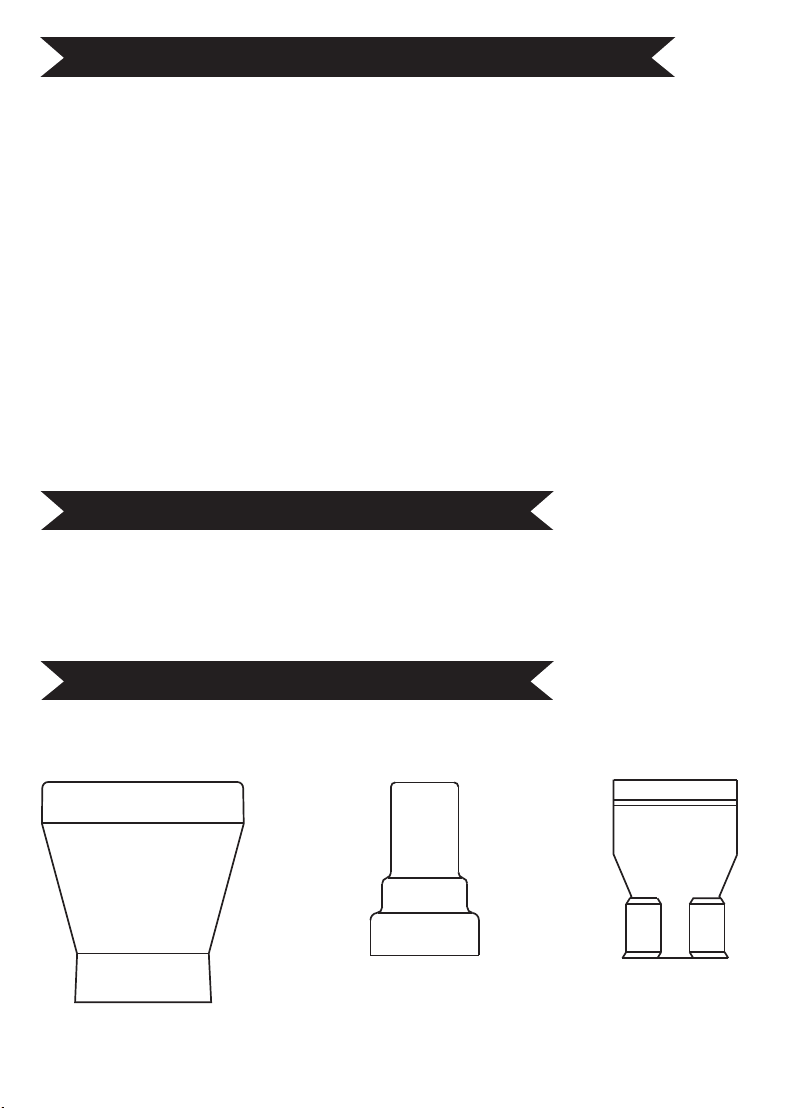
OPTIONAL ACCESSORIES
011148 014415-1 014449