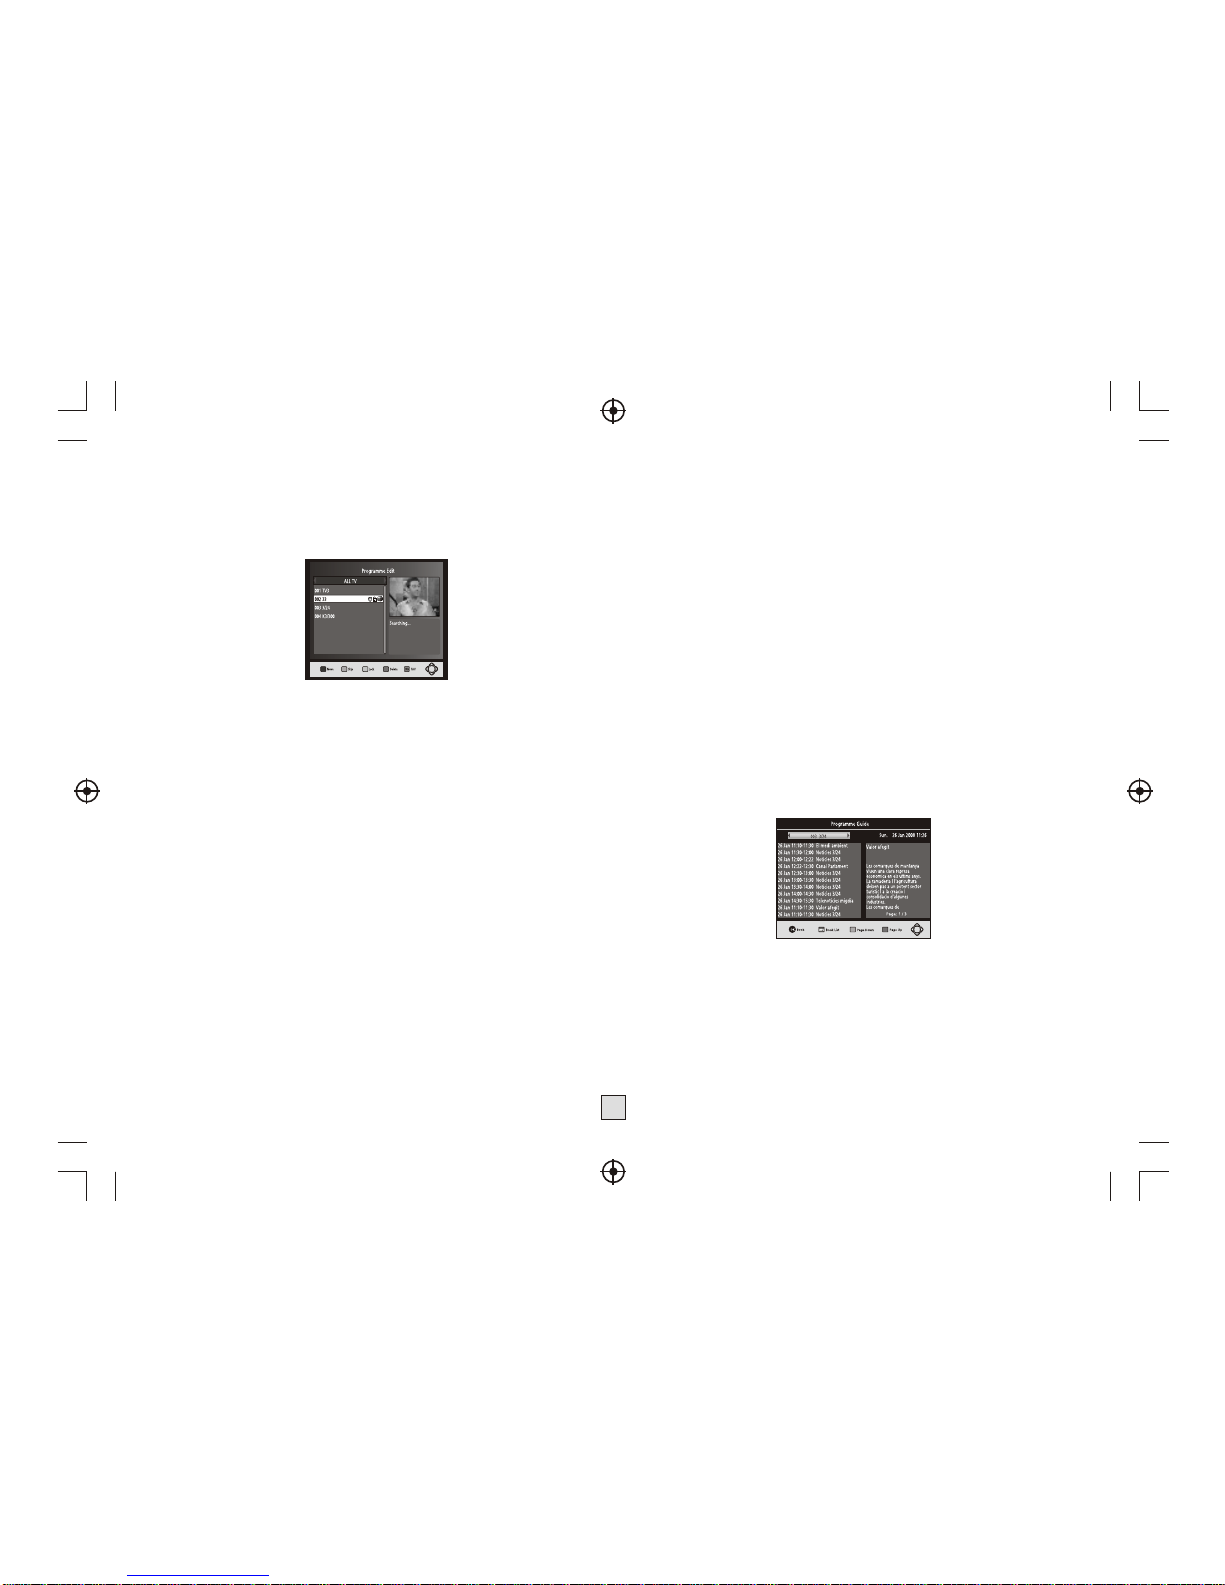
Palsonic HDSTB250 User manual

User Manual
Please read thisUser Manual carefullyto ensure properuse of thisproduct and keepthis manual
for future reference.
High DefinitionDigital SetTopBox
HDSTB250
CHANNEL
HDSTB250

1) Read these instructions.
2) Keep these instructions.
3) Heed all warnings.
4) Follow all instructions.
5) Do notuse this apparatusnear water.
6) Clean onlywith dry cloth.
7) Do notblock any ventilationopenings, install inaccordance with the
instructions.
8) Do not installnear any heat sourcessuch as radiations, heatregisters,
stoves, or other apparatus(including amplifiers) that produceheat.
9) Do notdefeat the safetypurpose of thepolarized plug. Ifthe provided
plug does notfit into youroutlet, consult anelectrician for replacement
of the obsolete outlet.
10) Protected thepower cord frombeing walked onor pinched particularly
at plugs, conveniencereceptacles, and thepoint where theyexit from
the apparatus.
11) Onlyuse attachments/accessories specifiedby the manufacturer.
12) Unplug thisapparatus during lightingstorms or whenunused for long
periods of time.
13) Refer allservicing to qualifiedservice personnel. Servicingis required
when the apparatus hasbeen damaged in anyway, suchas power-
supply cord or plugis damaged, liquid hasbeen spilled or objectshave
fallen into theapparatus, the apparatushas been exposedto rain or
moisture, does notoperate normally,or has beendropped.
14) Mains plug isused as the disconnectdevice, the disconnect device
shall remain readilyoperable.
15) The ventilationshould not beimpeded by coveringthe ventilation
openings with items, suchas newspapers, table-cloth, curtains,etc.
16) No nakedflame sources, suchas lighted candles,should be placedon
the apparatus.
17) Attention shouldbe drawn to theenvironmental aspects of battery
disposal.
18) The useof apparatus inmoderate climate.
WARNING: To reduce the riskof fire or electricshock, do not expose
this apparatus torain or moisture.
WARNING: The batteriesshall not be exposedto excessive heat such
as sunshine, fireor the like.
Important Safety Instructions
The symbol indicates that there are important operating and
maintenance instructions in the literature accompanying this unit.
The symbol indicates that dangerous voltages constituting a risk of
electric shock are present within this unit.
CAUTION:
When the apparatuswas in electrostaticcircumstance, it maybe
malfunction and needto reset byuser.

CHANNEL
Tableof Contents
1
1. Front panel
2. Rear panel
1
2
3
4
5 COMPONENT VIDEO OUT:
6
7
8
RF IN : This socket connects to your external Aerial.
RF LOOP THROUGH: This socket will bypassthe RF signal toeither yourTV or
another video system.
COAXIAL: This socket connects to aCoaxial cable on your surround soundsystem.
These sockets connect toyour TV componentinput
terminals.
HDMI
MAINS CABLE: This is used to connectto yourmain powersupply.
VIDEO: This socket outputs compositevideo signal.
AUDIO L/R: This socket outputs Analog AudioL/R signal.
High definition audioand videooutput used to connect toa HDMI device
12345678
Front and Rear Panel
Front and Rear Panel........................................................................... 1
Remote Control.... ............................................................................... 2
Connecting to aTelevision.....................................................................3
Connecting to a DVDRecorder or VCR...................................................3
Connecting to an Audio System.............................................................4
First Time Installation...........................................................................4
Troubleshooting...................................................................................9
Technical Specifications.......................................................................9
3456
1 POWER BUTTON: Used to turn on/off the main power supply.
2
3 STANDBY INDICATOR: Used to visually show power state of the set top box,
the LED will turn red if the set top box enter standby mode.
4REMOTE CONTROL SENSOR: Used to receive the signal from the remote control.
5 CHANNEL UP/DOWN: Used to change channels without using the remote control.
6 USB:
LED DISPLAY WINDOW: Used to display channel number.
Data input from USB storage devices.
100-240V~
50/60Hz

OK
MUTE
TTX
INFO
FWD
EPG
CH+
CH-
FAVOURITE
GOTO
REV
STANDBY
RECALL
PREV NEXT
TV/RADIO
MENU EXIT
PAUSE STOP REPEAT
SUBTITLE
AUDIO
PLAY
VOL+VOL-
123
456
7890
CHANNEL
2
Installing the Batteries
Remove the battery cover fromthe and put 2xAAA size
batteries inside the compartment.
The diagram inside the Battery Compartment shows thecorrect way to
install the batteries.
Remote Control
OPEN
CLOSE
1.Open thecover 2.Install batteries 3.Close thecover
Using theRemote Control
Touse theRemote Control, point it towards the frontof theDigital Set Top Box.
The Remote Controlhas arange ofup to7 metresfrom theSet Top Boxat an
angle ofup to60 degrees.
The Remote Controlwill notoperate ifits pathis blocked.
Sunlight or very bright light will decrease the sensitivity of the
Remote Control.
Remote Control
1. MUTE:Mute or RestoreAudio Output.
2. INFO:Displays additional channelinformation.
3. TTX:Displays Teletext Information.
4. SUBTITLE:Selects Subtitles Language.
5. EXIT: Exits the currentMenu or returnsto the
previous Menu.
6. OK:Confirms an entryor selection. Displays
the list ofchannels.
7. RIGHT /LEFT:Navigates through theMenus.
Increases or decreasesvolume.
8. TV/RADIO:Switches from TVfunction to Radio
function and fromRadio to TV.
9. RECALL:
10. GOTO:Selects the playtime of media.
11. PREV: Skips to theprevious track during
playing media andskips to theprevious channel
during playing DTV.
12. NEXT: Skips to thenext track duringplaying.
media and skipsto the nextchannel during
playing DTV.
13. REPEAT: Selects Repeat orturn off Repeat
mode.
14. STOP:Stops media play.
15. STANDBY:
16. EPG:(Electronic Program Guide)Turns the
program guide on.
17. AUDIO:Selects anAudio Language orAudio Mode.
18. UP /DOWN: Navigates through theMenus. Selects thenext or previous
Channel.
19. MENU:Turns on MainMenu.
20. FAVOURITE: Turns on FavouriteMenu.
21. 0-9 (NumericButtons): Selects a channelor setting.
22. FWD:Searches forwards duringmedia play.
23. REV:Searches backwards duringmedia play.
24. PLAY: Starts or resumesmedia play.
25. PAUSE:Pauses media play.
26. COLOUR BUTTONS:
Used to switchbetween the last
two viewed channels.
Switch the productto on orstandby.
Operate different functionin TEXT screen.

100-240V~
50/60Hz
100-240V~
50/60Hz
3
TVAerial
Connecting to a DVD Recorder or VCRConnecting to a Television
TVAerial
Cr
Cb
Composite
For a basicconnection from yourSet Top Box tothe television,
use the Compositeconnection outlined below.
For a higherquality connection, usethe Component Video
connection outlined belowcombined with theComposite Audio.
For the highestquality connection usea direct HDMIconnection, see below.
HDMI
YELLOW
VIDEO IN
(Audio) (Video)

100-240V~
50/60Hz
4
Connecting to an Audio System
BASS
TREBLE
ECHO
DOWN UP
VOLUME
INPUT SELECTOR
MUTE
KARAOKE
CHANNEL
TEST
MODE
3STEREO
PROLOGIC
BYPASS
EXCITE
POWER
MIC
2
1
1
MICVOL
2
MIC
Amplifier
Coaxial
Coaxial cable
First Time Installation
(1) Select [OSDLanguage] andpress RIGHT/LEFTkey toselect an language
(2) Select [Country] and pressRIGHT/LEFTkey to select your countryof
residence
(3) Select [ChannelSearch] andpress RIGHT or OKkey to begin Automatic
channel search
(4) Once channeltuning iscomplete, youare now ready to watchTV
After all connections havebeen made properly, switch onTV and make
sure the receiver isconnected to the MainPower. Press Powerbutton to
switch receiver on. If you are usingthe receiver forthe first timeor
restored to Factory Default,the Main Menu willappear on yourTV
screen.
Basic Operation
(1) Program ManageSettings
Toaccess the Menu,press the MENUbutton and select[Program]. The
Menu provides optionsto adjust theProgram Manage Settings.Select an
option and press OKor RIGHT toadjust that setting.Press the EXIT
button to exitthe Menu.

5
(2) Program Edit
Toedit your programpreferences (lock, skip,favourite, move ordelete),
you will needto enter theProgram Edit Menu.This Menu requiresa
password to access.Enter the defaultpassword '000000'.
Move a TVor Radio Program
1. Select thepreferred program thenpress the REDbutton. Amove symbol
will appear
2. Press UP/DOWNto move theprogram
3. Press OKto confirm
4. Repeat theabove steps tomove more channels
Lock Program
You canlock selected programsfor restricted view.
Lock a TVor Radio Program:
1.Select the preferredprogram then pressthe YELLOW button. A lock-
shaped symbol isdisplayed. The programis now markedas locked
2. Repeat theprevious step toselect more programs
3. To confirm andexit the menu,press the EXITbutton
4. Press theYELLOW button todisable the lockedprogram
5. To view thelocked program, youwill be requireto enter eitherthe default
password '000000' oryour last setpassword.
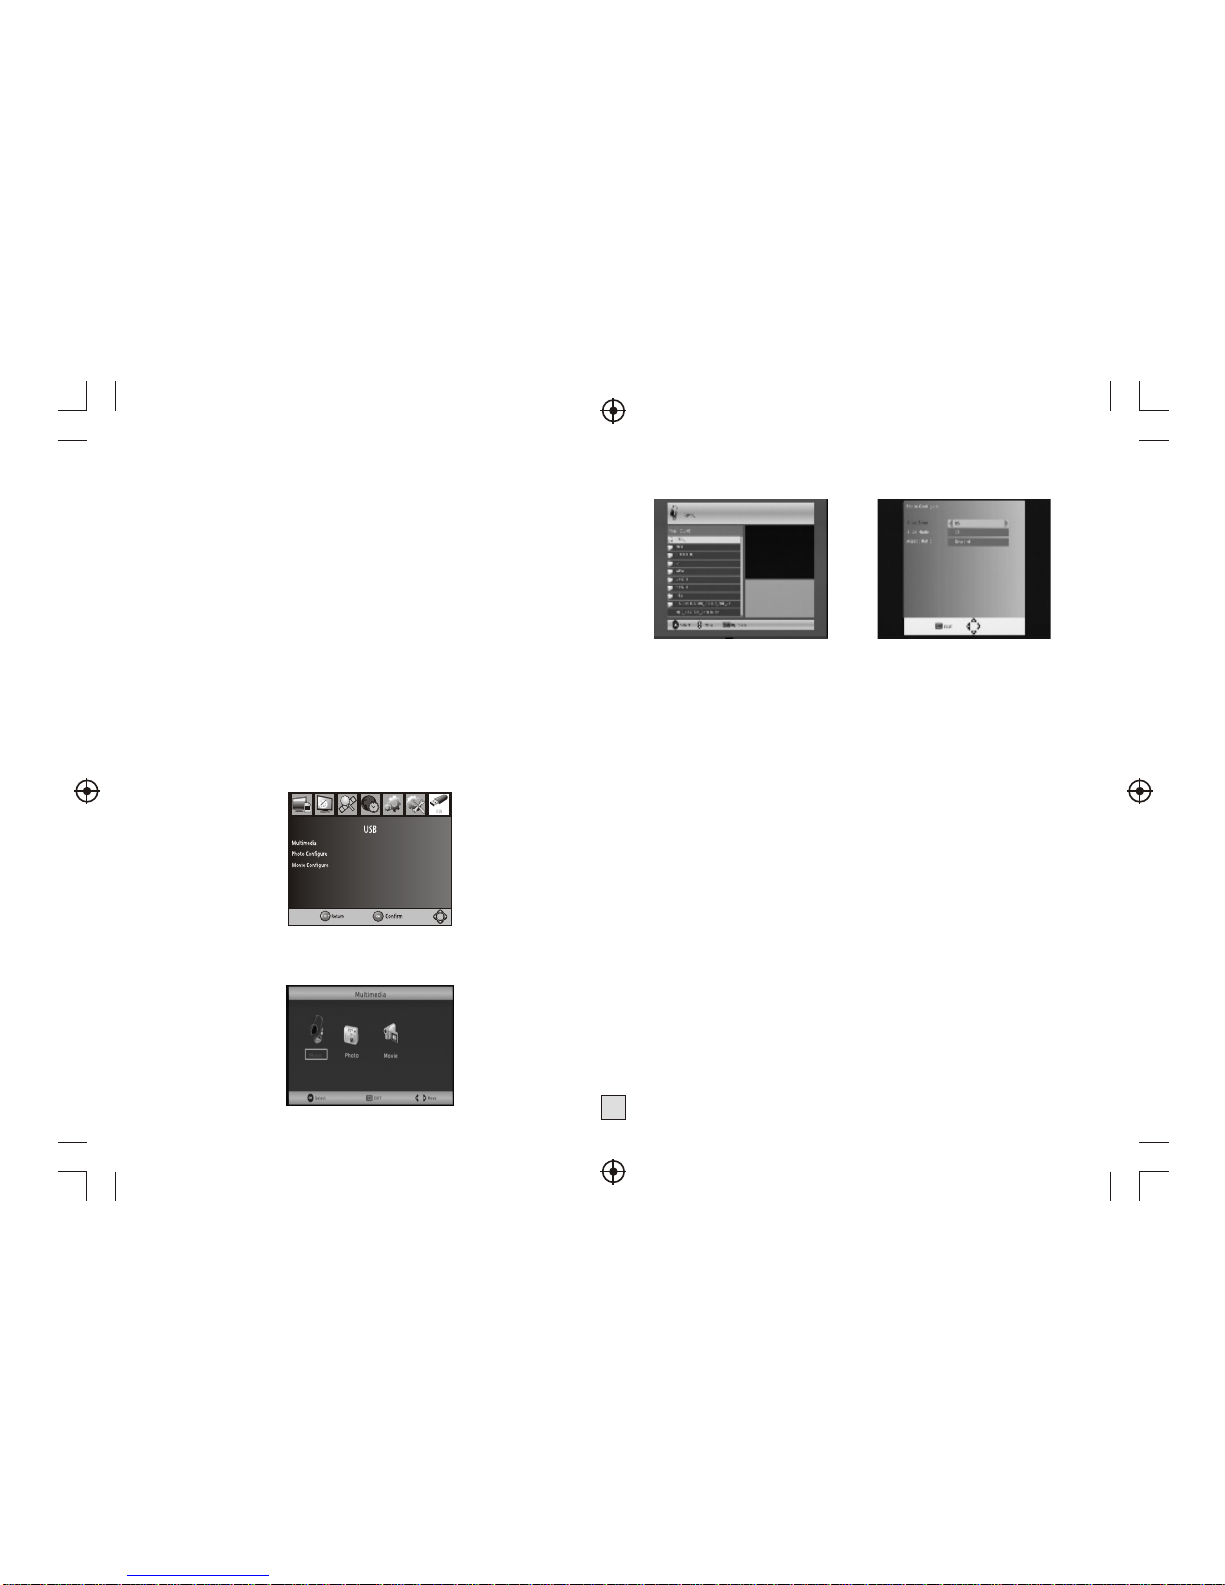
(3) EPG (Electronicprogram guide)
The EPG isan on-screen TVguide that showsscheduled programs seven
days in advancefor every tunedchannel. Press theEPG button onthe
Remote Control toaccess guide.
You canuse the UP/DOWNkey to selectthe preferred program.If there is
more than onepage of information,use the BLUEbutton for pageup and
the YELLOW buttonfor page down.
(4) Sort
Sort your channelsfrom the followingoptions:
[LCN] - Sortthe channels inascending order
[Name] - Sortthe channels inalphabetical order
[Service ID] -Sort the channelsaccording to thestation
(5) LCN (Logicalchannel number)
Set LCN onor off.
Set Favourite Program
You cancreate a shortlist offavourite programs that youcan easily access.
Set Favourite TVor Radio program:
1. Select the preferred program then pressthe FAVOURITE button.
A heart-shapedsymbol will appear andthe program is markedas a
favourite.
2. Repeat the previousstep to select moreFavourite programs.
3. To confirm and exitthe Menu, press theEXIT key
Disable favourite TVor Radio Program:
Press the FAVOURITE button on theRemote Control with the
heart-shaped symbol.
View Favourite Program
1. Press the Favouritebutton and the FavouriteMenu will appear.
2. Press UP/DOWN toselect your Favourite Programs.
3. Press OK toselect your favourite program.
Delete a TV orRadio Program
1. Select the Programand then press theBLUE button
A messagewill appear. PressOK to delete theprogram
2. Repeat the previousstep to select moreprograms to delete.
Skip TV or RadioProgram
1. Select the programyou would like toskip and press theGREEN button.
A skipsymbol is displayed.The program is markedas a skip.
2. Repeat the previousstep to select moreprograms.
3. To confirm and exitthe menu, press EXITkey.
Disable a skipTV or Radio program:
Press the GREEN buttonon the skip programwith the skip symbol.

6
(1). Aspect Ratio
(2). Resolution
(3). TV format
You mustset the displayformat to either4:3 PanScan, 4:3Letter Box,16:9
Full Screen or Auto toget the maximumdisplay when watchingTV.
If the videodoes not appearcorrectly, changethe setting. Thissetting is
to
match the mostcommon setting forHDMI.
[480i]: for NTSCsystem TV.
[480P]: for NTSCsystem TV.
[576i] for PAL systemTV.
[576P]: for PAL systemTV.
[720P]: for NTSCor PALsystem TV.
[1080I]: for NTSCor PALsystem TV.
If the videodoes not appearcorrectly, youneed to changethe settings.
This should matchthe most commonsetting for TVsin your country.
[NTSC]: for NTSCsystem TV.
[PAL]: forPALsystem TV.
(6) Video Setting
To accessthe Menu, press MENUthen select [Picture].The Menu
provides options toadjust the videosettings. Press UP/DOWNto select an
option and press RIGHT/LEFTto adjust that setting. Press EXITto exit the
menu.
1 . AutoSearch
Search and installall channels automatically. This optionoverwrites all
preset channels.
1. Select [AutoSearch] and pressOK or RIGHTto start channelsearch.
2. To cancel channel search,press EXIT.
2. Manual Search
Install new channelsmanually. Thisoption adds newchannels without
changing the current channelslist.
1. Select [ManualSearch] then press OK or RIGHT. The channel search
screen will appear.
(7) Channel Search
and M
SC s
to exit M
To access the menu,press MENU select [Search Channel].The enu
provides options toadjust the earch hannel settings.
Select an optionand press RIGHT/LEFTto adjust thesetting .
Press EXIT the enu

7
2. Press the RIGHT/LEFTkey to select thechannel frequency
Enable Antenna Powerif an external activeantenna is connected.
(8) Time Setting
M then M
Press UP/DOWN to s
s .
3. Press OK tostart searching channels
If a channel isfound, it is savedand added to thechannels list. If channels
can’t be found, thenexit the menu.
(3) Country
Select your country ofresidence.
(4) Antenna power
To accessthe enu, press MENU select [Time]. The enu provides
options to adjust thetime settings.
elect an option andpress RIGHT/LEFT toadjust the
setting .Press EXIT toexit the menu
(1) Time offset
(2) Country Region
Select the CountryRegion when [TimeOffset] is setto Auto.
To access the enu, press MENU select [Option]. Themenu provides
options to adjustthe
Select an optionand press to adjust thesetting.
Press EXIT the enu
Select auto or manualfor GMT offsetadjustments.
(3) Time Zone
Select the Time Zone Offsetwhen [Time Offset] is setto Manual.
(4) Sleep
If this setting isoff, this functiondoes not work. Ifthis setting is not off,
a message will popup after your preferredtime to inform you,that the device
will go in to sleep mode.
This message willappear under noany operation.Auto-off function canbe
set in a timeperiodat 0-12 hours.
Standard setting is 3hours.
Press STANDBYbutton to exitsleep / auto-offmode.
(9) Option M and
OSD Language, SubtitleLanguage and Audio Language.
RIGHT/LEFT
to exit M
(1) Parental Guidance
You canrestrict access tochannels that are unsuitable
for children. To restrict/lock thechannel you will needto enter either the
default password '000000' oryour own password.
(2) Set Password
Set or change thepassword for locked programs. Enter your old
password or the defaultpassword '000000'. You will then beasked to
enter your new password.Toconfirm re-enter yournew password. Once it
is confirmed, press EXITto exit the Menu.
(1). OSDLanguage
(2). AudioLanguage
(3). SubtitleLanguage
(4). Digital Audio
Toaccess the enu, press MENU select [System].The menu
provides options to adjustthe system settings.
elect an option andpress RIGHT/LEFT to
adjust the setting.
Press EXIT toexit the enu .
Select an OSDlanguage
Select the preferred audiolanguage for watchingTV channels.
If the languageis not available,the default programlanguage will beused.
Select the preferredsubtitle language.
Select digital audiooutput mode.
(10) System Setting
M and
Press the UP/DOWN keyto s
M

8
(3) Restore Factory Default
Reset your SetTop Boxto the Default FactorySettings.
In Main Menu select[Restore Factory Default] andpress OK or RIGHTto
select. Enter your passwordor the default password'000000' and press
OK to confirm.This option will deleteall preset channels andsettings.
(4) Information
View model, hardwareand software information.
(5) Software update
If the status isset 'ON ', itwill scan new softwarefrom broadcast according
to your preferred timein ' 'Start time' '.
(11)USB
To accessthe Menu, press theMENU button and select [USB].The menu
provides options to playbackMusic and Photo files,it can support
MP3,WMA,JPEG,BMP files, Theunit will only supportUSB device with
FATand FAT32 file system. Itwill not support NTFSfile system.
(1)Multimedia: if no USBdevice plug in,a warningmessage "No USB Device
is Found" displays, otherwiseyou can select theMusic or Photo typein this
menu and press OKto enter the filebrowser and select thefile to playback.
(2) Set Password
Set or changethe password forlocked programs. Enteryour old
password or the defaultpassword '000000'. You will then beasked to
enter your newpassword. To confirm re-enteryour new password.Once it
is confirmed, pressEXIT to exitthe Menu.
(2)Photo configure:
-Slide Time: adjust slide show interval to1~8 seconds.
-Slide Mode: adjust slide show effect as mode 0~59 or random.
-Aspect Ratio: Keep displays the picture as its original aspect,
Discard displays the picture in full screen mode.
- We
- With
- Some
- Even
(3) Movie Configure
- Aspect Ratio:
[Keep]: Play movie as itsoriginal aspect.
[Discard]: Play movie in full screen mode.
- Subtitle Specific:
[Small]: Displays the subtitle as small mode.
[Normal]: Displays the subtitle as normal mode.
[Big]: Displays the subtitle as big mode.
- Subtitle BG:
[White]: Displays the subtitle in white background.
[Transparent]: Displays the subtitle in transparent background.
[Grey]: Displays the subtitle in grey background.
[Yellowgreen]: Displays the subtitle in yellowgreen background.
- Subtitle Font Color:
[Red]: Displays Subtitle in red font.
[Blue]: Displays Subtitlein blue font.
[Green]: Displays Subtitlein green font.
Note:
cannot guarantee compatibility (operation and/or bus power) with all
USB mass storage devices and assumes no responsibility for any loss of
data that may occur when connected to this unit.
large amounts of data, it may take longer for the system to read the
contents of a USBdevice.
USB devices may not be properly recognized.
when they are in a supported format, some files may not play or
display depending onthe content.

9
Video Decoder Format MPEG4 AVC/H.264 HP@L4
MPEG2 M[email protected]
Output Format 576P ,720P, 1080i,4:3 and16:9
Output Port HDMI
Audio Decoder Format MPEG-1 (layer1&2)
Audio output Digital audio: S/PDIF
Power Voltage 100-240V~ 50/60Hz
Power Max 8W
Item Sub Item Parameter
Tuner Input Frequency 170~230MHz
470~860MHz
RF Inputlevel -25~-82dBm
IF Bandwidth 7MHz and8MHz
Modulation QPSK,16QAM,64QAM
Technical Specifications
The image stopped
suddenly or mosaic
Problem Potential Reasons Whatto do
No picture Power isn't connected Connect the power
The power switch isnot on Switch on the power
Screen shows
No Signal DVB-T cable not connected
Plug in the DVB-Tcable
Incorrect setting Reset setting
No sound from
speaker No or incorrect connection
with audio cable Connect the audio cable
correctly
Sound on mute Turn off mutefunction
Incorrect sound track Try another soundtrack
Only sound, no
image on the
screen
No or incorrect connection
with AVcable Make sure cables are
connected correctly
The program is aradio
program Press <TV/RADIO> key to
shift into TVmode
Remote Control
is not responding The battery is exhausted Change battery
Remote Control is not
facing or close enough
to the SetTop Box
Adjust the position ofthe
Remote Control and move
closer to the unit
The signal is tooweak Strengthen the signal
Troubleshooting
Table of contents
Other Palsonic Set-top Box manuals