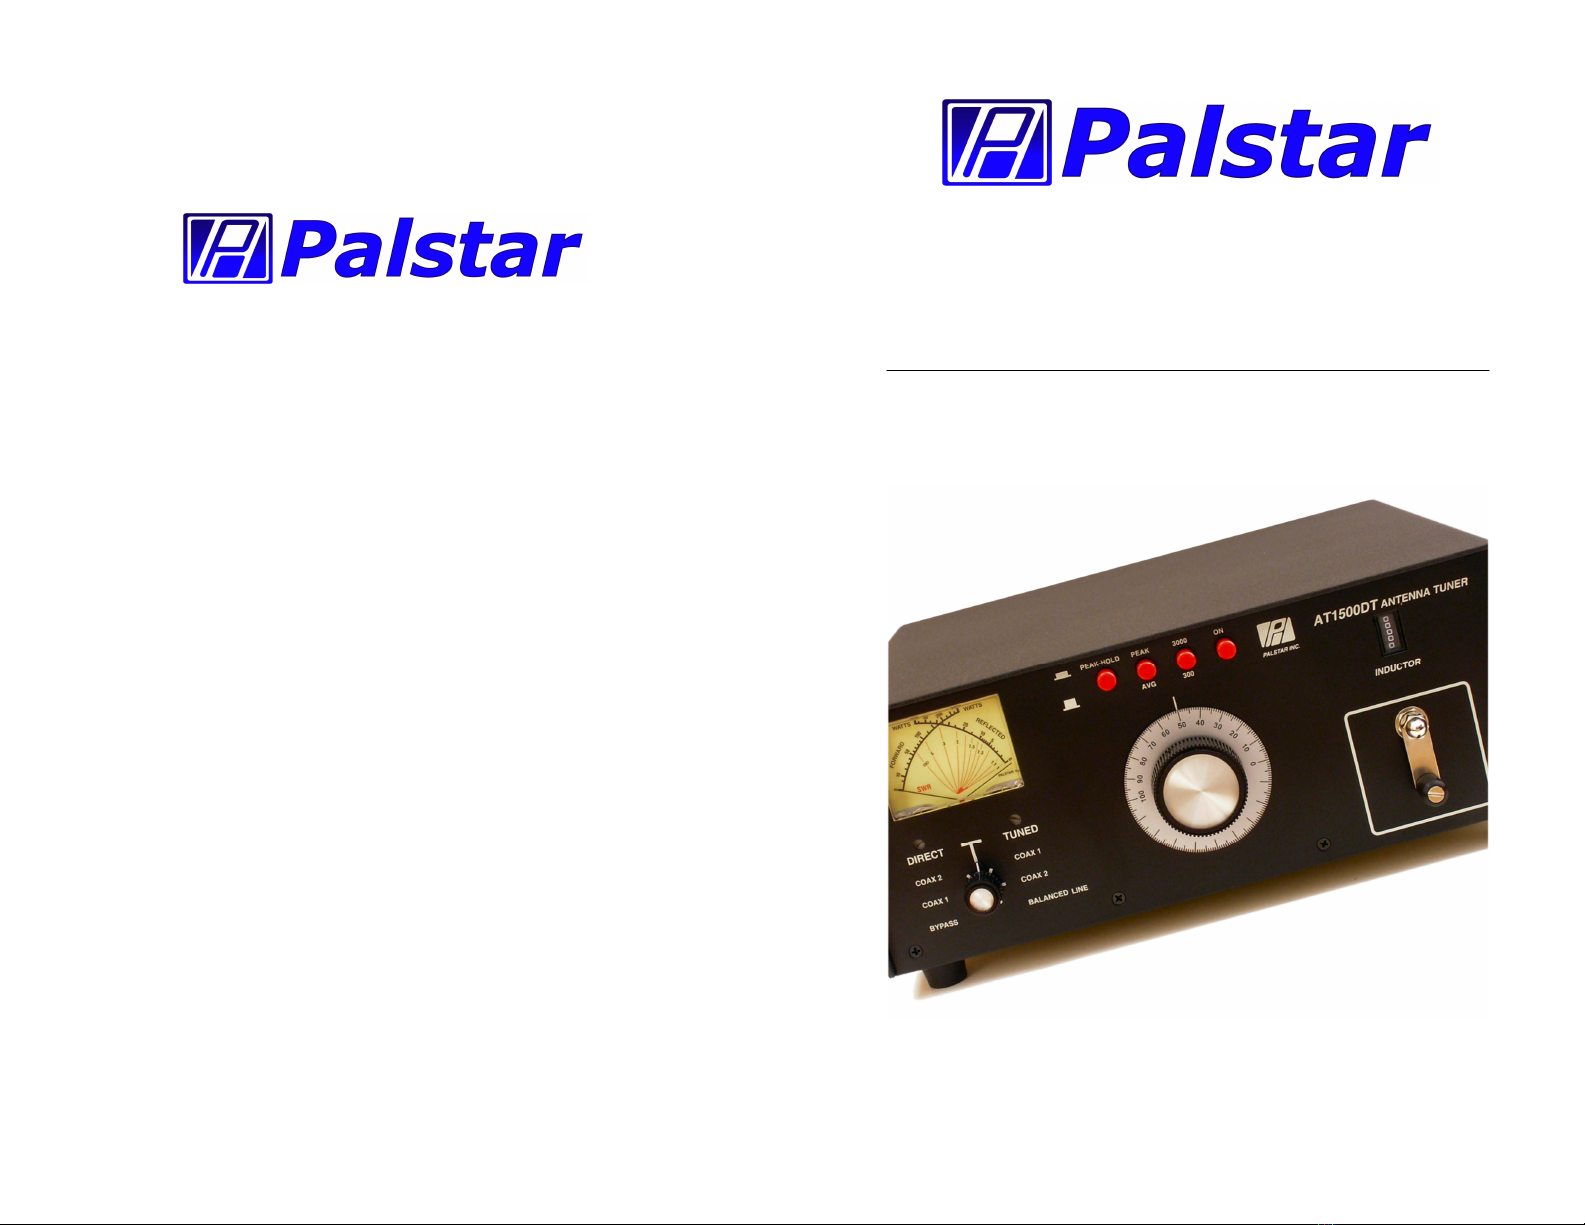
1-800-773-7931 WWW.PALST AR.COM
2 Important Safeguards
WARNING: TO PREVENT FIRE OR
ELECTRICAL SHOCK DO NOT
EXPOSE TO RAIN OR MOISTURE
1. Read Instructions—All the safet and
operating instructions should be read before
the appliance is operated.
2. Retain Instructions—The safet and
operating instructions should be retained for
future reference.
3. Heed Warnings—All warnings on the
appliance should be adhered to.
4. Follow Instructions—All operating and
use instructions should be followed.
5. Cleaning—Unplug this appliance from the
wall outlet before cleaning. Do not use liquid
cleaners or aerosol cleaners. Use a damp
cloth for cleaning.
6. Do Not Use ttachments—not recom-
mended b the manufacturer or the ma
cause hazards.
7. Water and Moisture—Do not use this
product near water—for example, near a
bathtub, wash bowl, kitchen sink, laundr tub,
in a wet basement, or near a swimming pool—
and the like.
8. ccessories—Do not place this product on
an unstable cart, stand, tripod, bracket, or
table. The product ma fall, causing serious
injur to a child or adult, and serious damage
to the appliance.
9. Ventilation—This product should never be
placed near or over a radiator or heat register.
This product should not be placed in a built-in
installation such as a bookcase or rack unless
proper ventilation is provided or the manufac-
turer’s instructions have been adhered to. An
slots or openings in the cabinet are provided
for ventilation. To ensure reliable operation of
the video product and to protect it from over-
heating, these openings must not be blocked
or covered. The openings should never be
blocked b placing the product on a bed, sofa,
rug, or other similar surface.
10. Grounding or Polarization—this product
is equipped with a 3-wire line cord receptacle.
It is intended for use with a 3-wire properl
grounded power socket. Do not defeat the
safet purpose of the supplied line cord and
plug.
11. Power Sources—This product should be
operated onl from the t pe of power source
indicated on the marketing label. If ou are not
sure of the t pe of power supplied to our
home, consult our appliance dealer or local
power compan .
12. Power-cord Protection—Power-suppl
cords should be routed so the are not likel
to be walked on or pinched b items placed
upon or against them. Pa particular attention
to cords at plugs, convenience receptacles,
and the point where the exit.
13. Lightning—For added protection for this
product during a lightning storm, or when it is
left unattended and unused for long periods of
time, unplug it from the wall outlet.
WARNING: TO REDUCE THE RISK OF FIRE OR ELECTRIC SHOCK, DO NOT
EXPOSE THIS APPLIANCE TO RAIN OR MOISTURE. DO NOT
OPEN THE CABINET WHILE OPERATING. REFER SERVICING TO
QUALIFIED PERSONNEL ONLY.
CAUTION: TO PREVENT ELECTRIC SHOCK, DO NOT USE THE THREE WIRE
CORD WITH AN EXTENSION CORD RECEPTIACLE OR OTHER
OUTLET UNLESS THE BLADES CAN BE FULLY INSERTED TO
PREVENT BLADE EXPOSURE.
An appliance and cart combination should
be moved with care. Quick stops, exces-
sive force and uneven surfaces ma cause
the appliance and cart combination to
overturn.
The lightning flash with arrow head
s mbol, within an equilateral triangle, is
intended to alert the user to the presence
of uninsulated “dangerous voltage” within
the product’s enclosure that ma be of
sufficient magnitude to constitute a risk of
electric shock to persons.
The exclamation point within an equilateral
triangle is intended to alert the user to the
presence of important operating and
maintenance (servicing) instructions in the
literature accompan ing the appliance.
Service and Warranty 15
1-800-773-7931 WWW.PALST AR.COM
Limited Warranty
Palstar Inc. warrants products manu actured by it to be ree rom
de ects in material and workmanship under normal use and service for
a period of one 1) year from the date of delivery to the first
buyer (the “Warranty Period”). Palstar Inc’s obligation under this war-
ranty is limited to repair or replacement o the product; at its option at
the Palstar actory in Piqua, OH.
E ective only when the product is returned to the actory with all
transportation charges prepaid and examination o the product discloses
in Palstar’s judgment, to have been de ective during the Warranty Pe-
riod.
The Warranty Period shall not extend beyond its original term with
respect to interim in-warranty repairs by Palstar. This Warranty Period
shall not apply to any product which has been repaired or altered by
anyone other than Palstar without prior written authorization. War-
ranty does not extend to any products which have been subject to dam-
age rom improper installation, application or maintenance in accor-
dance with the operating speci ication. Palstar neither assumes nor au-
thorizes any person to assume or it any obligation or liability other than
herein stated.
Repair Policy
When sending in a product or service, please “double” box it care-
ully and ship it insured or your protection. Please include a note clearly
describing the problem, how you wish the item returned and how you
wish to pay or the service. Package your unit properly. Palstar, Inc. is
not responsible or merchandise damaged in shipment. Our service rate
is $30 per hour (1/2 hr. minimum).
Return Policy
All returns must receive prior authorization rom Palstar. Returned
items must be received in original—AS SHIPPED– condition including
the original box, manuals, accessories, and copy o sales receipt. Returns
must be within 14 days o purchase. Returned items are subject to a
25% restocking ee. Shipping is not re undable.