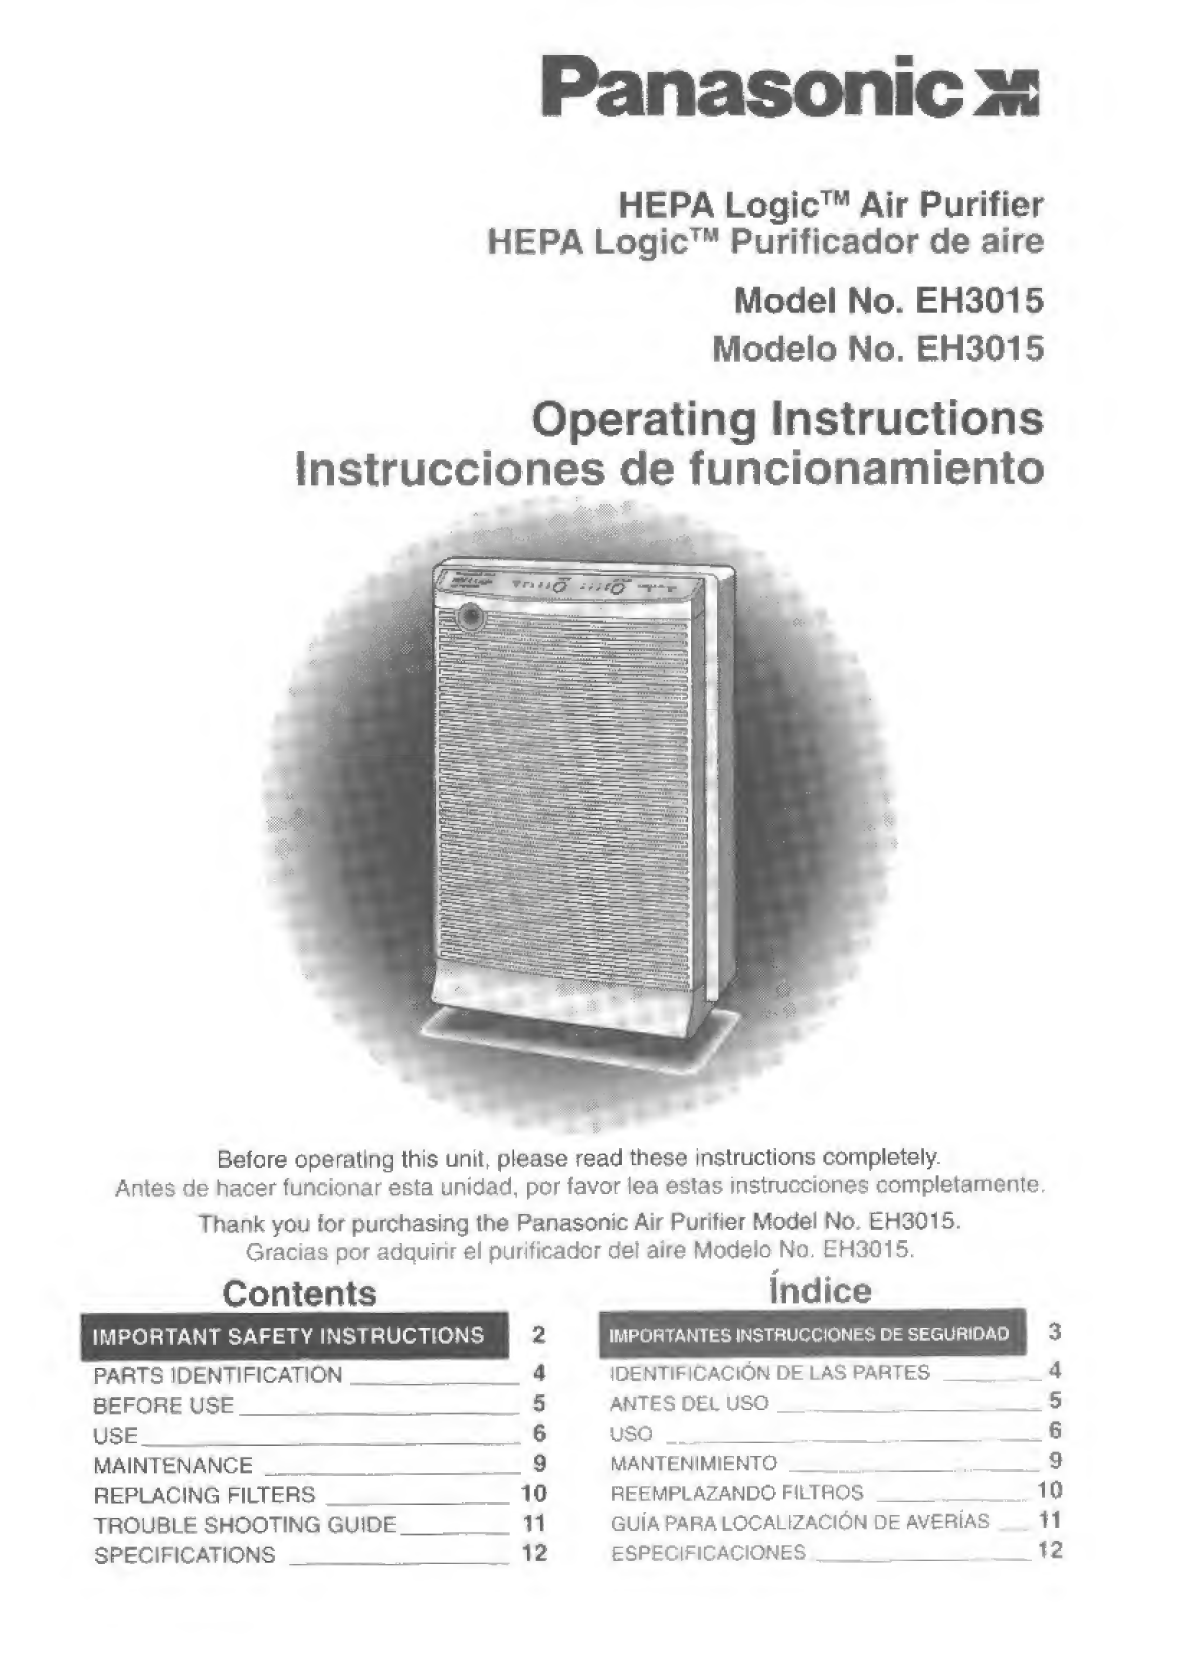
Panasonic HEPA Logic EH3015 User manual
Other Panasonic Air Cleaner manuals

Panasonic
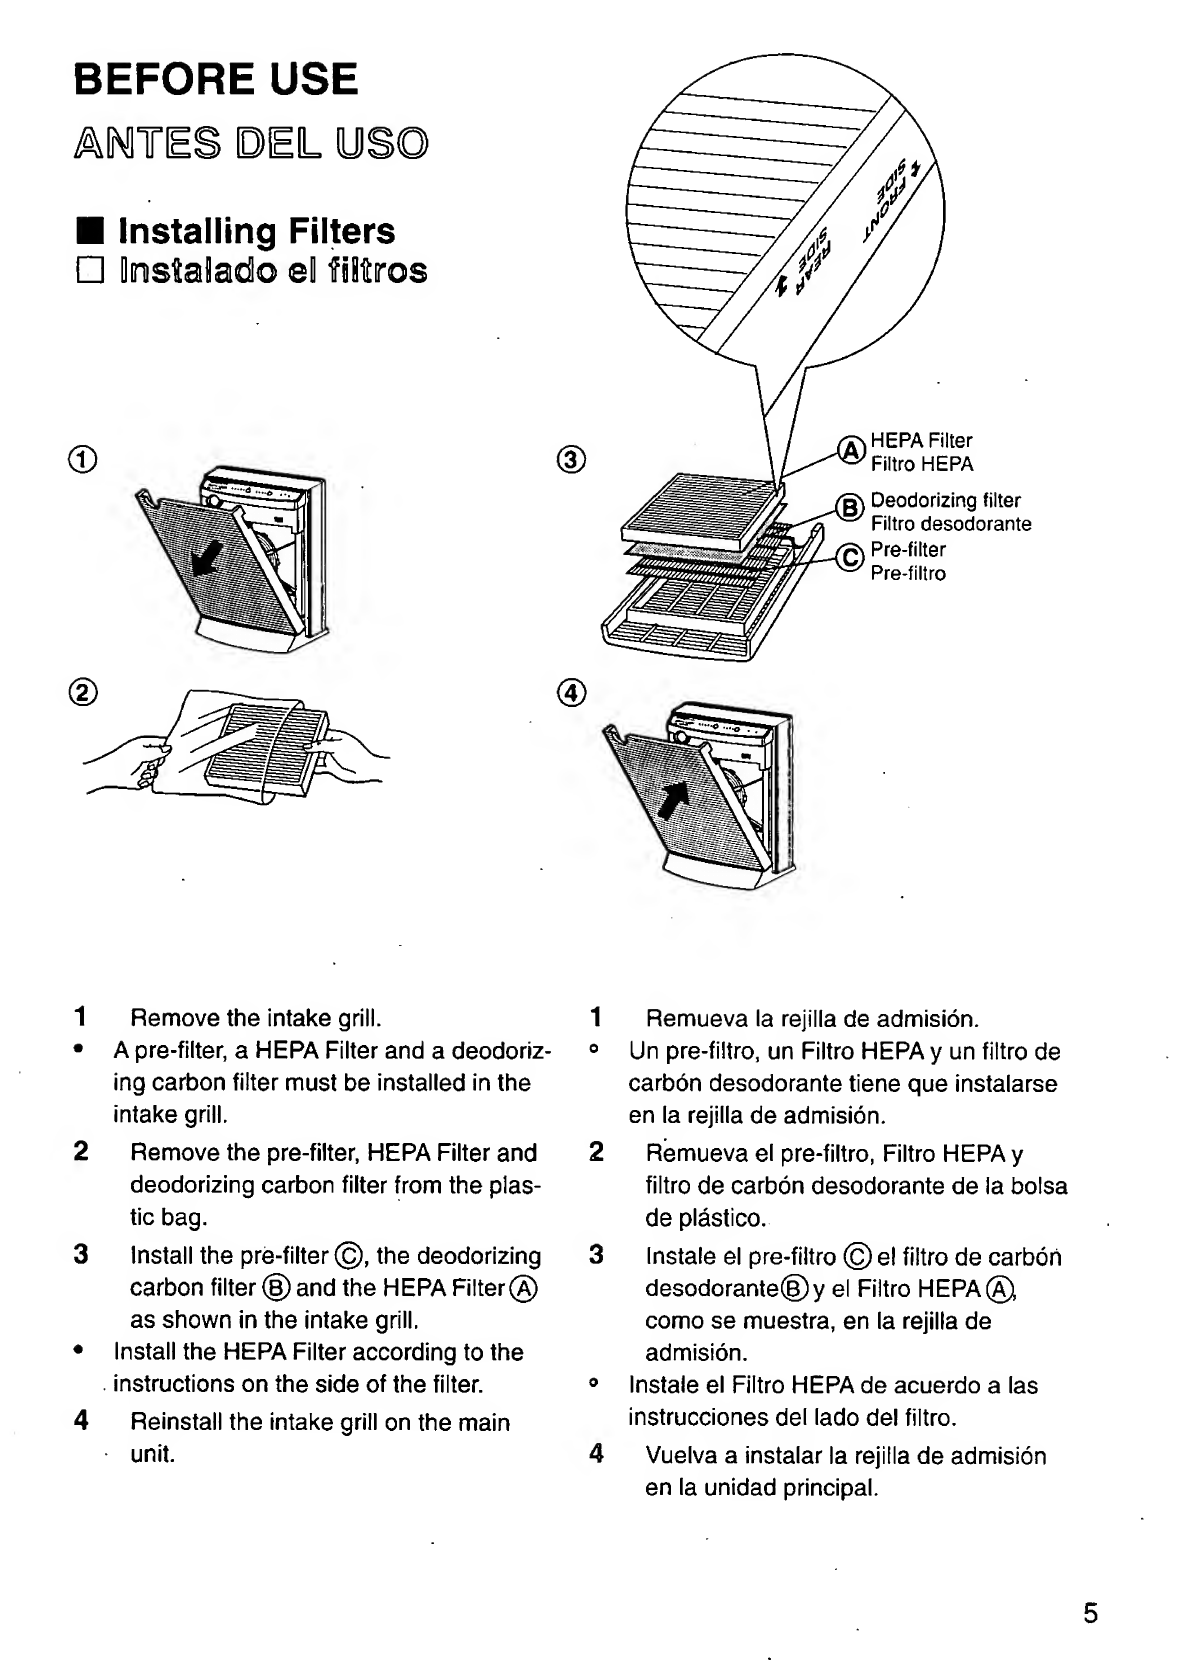
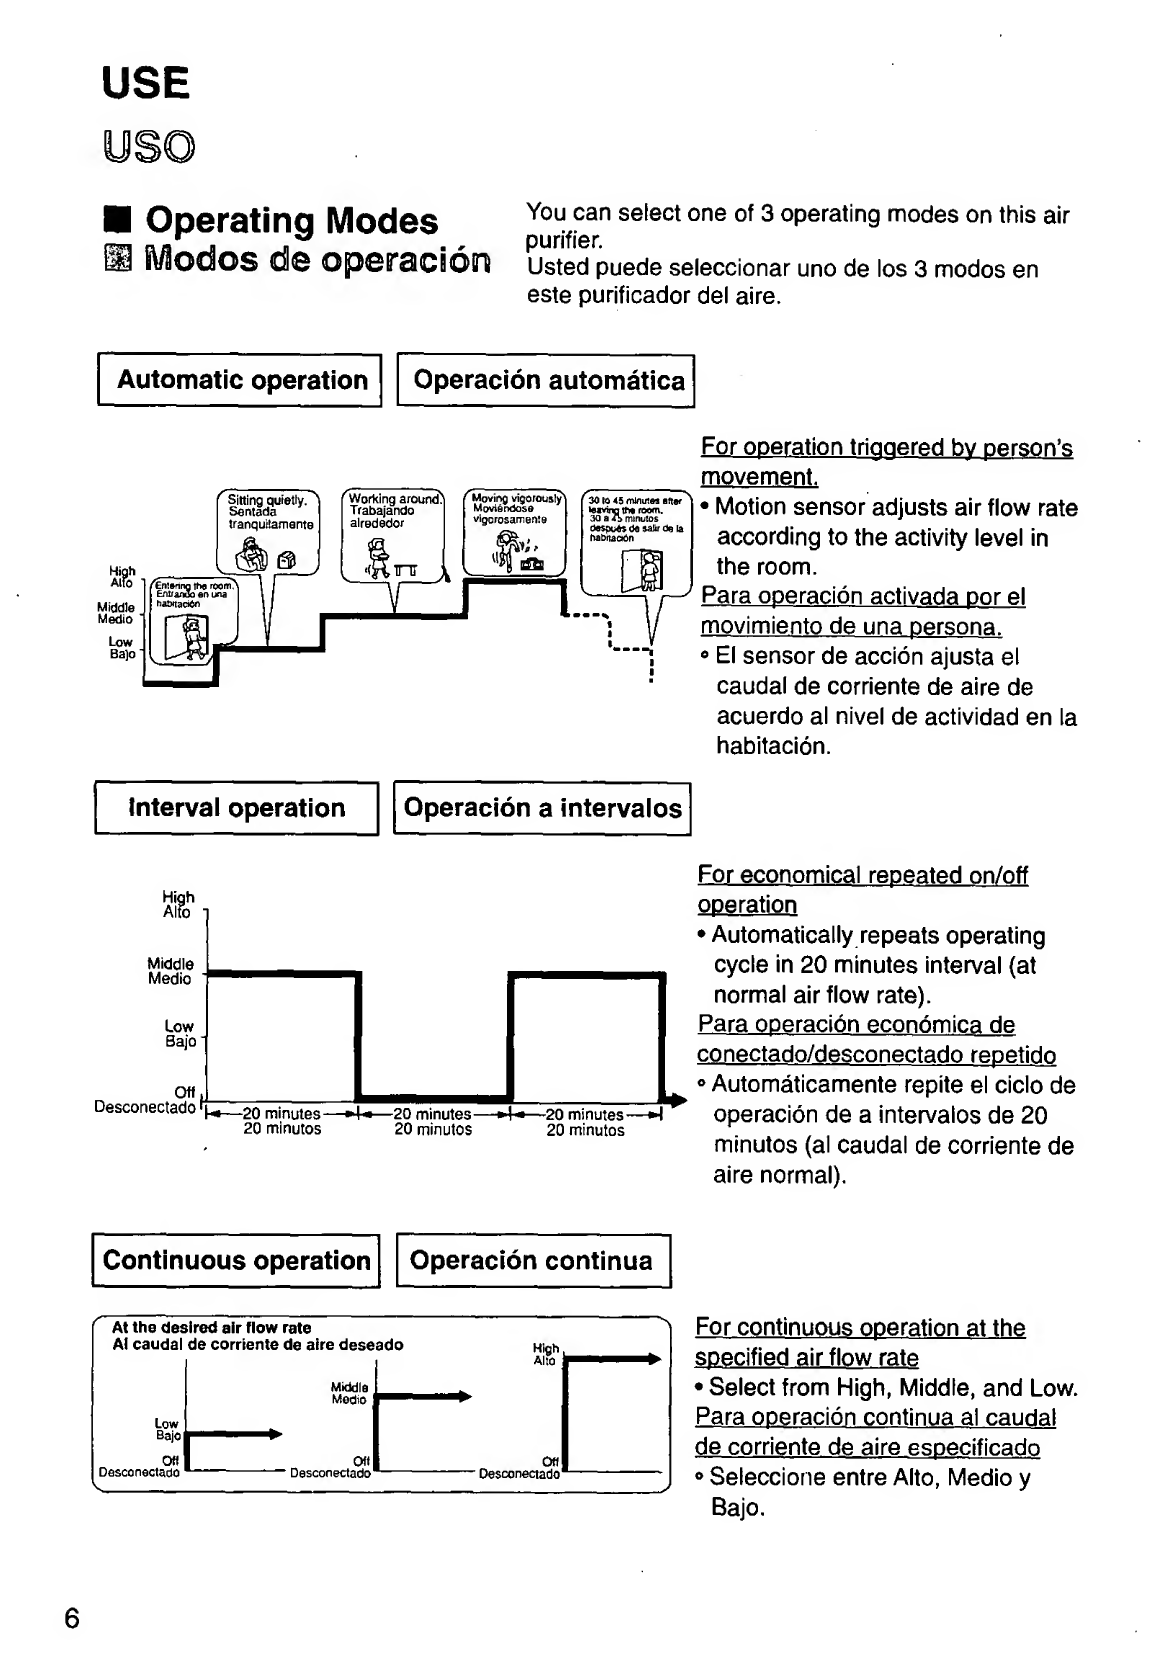
Panasonic EH3015 - AIR PURIFIER-PHCC User manual

Panasonic
Panasonic F-PZT175H User manual

Panasonic
Panasonic F-PXU70A User manual

Panasonic
Panasonic F-PXH55H User manual

Panasonic
Panasonic FP10HU1 User manual

Panasonic
Panasonic F-PXV35M User manual

Panasonic
Panasonic F-VXR70H User manual

Panasonic
Panasonic F-PXV35H User manual

Panasonic
Panasonic F-YAR25H User manual

Panasonic
Panasonic F-PXJ30M User manual

Panasonic
Panasonic FP15JU2 User manual

Panasonic
Panasonic EH3012 - AIR PURIFIER-PHCC User manual

Panasonic
Panasonic F-PXL45M User manual

Panasonic
Panasonic F-PXT175H User manual

Panasonic
Panasonic F-VXR50M User manual

Panasonic
Panasonic F-VXR50H User manual

Panasonic
Panasonic F-PXM55M User manual

Panasonic
Panasonic F-VXM35A User manual

Panasonic
Panasonic F-PXT70H User manual

Panasonic
Panasonic F-PXU70A User manual