Read these operating instructions carefully before using the unit. Follow the safety instructions on the unit and the applicable safety instructions
listed below. Keep these operating instructions handy for future reference.
1) Read these instructions. 10) Protect the power cord from being walked on or pinched partic-
2) Keep these instructions. ularly at plugs, convenience receptacles, and the point where
3) Heed all warnings. they exit from the apparatus.
4) Follow all instructions. 11) Only use attachments/accessories specified by the manufacturer.
5) Do not use this apparatus near water. 12) Use only with the cart, stand, tripod, bracket, Q
6) Clean only with dry cloth. or table specified by the manufacturer, or sold s?
7) Do not block any ventilation openings. Install in accordance with the apparatus. When a cart is used, use B
with the manufacturer’s instructions. caution when moving the cart/apparatus
8) Do not install near any heat sources such as radiators, heat
registers, stoves, or other apparatus (including amplifiers) that combination to avoid injury from tip-over.
13) Unplug this apparatus during lightning storms ii
2
produce heat. or when unused for long periods of time. z
9) Do not defeat the safety purpose of the polarized or grounding- 14) Refer all servicing to qualified service personnel. Servicing is 0
type plug. A polarized plug has two blades with one wider than required when the apparatus has been damaged in any way,
the other. A grounding-type plug has two blades and a third such as power-supply cord or plug is damaged, liquid has been
grounding prong. The wide blade or the third prong are provided spilled or objects have fallen into the apparatus, the apparatus
for your safety. If the provided plug does not fit into your outlet, has been exposed to rain or moisture, does not operate nor-
consult an electrician for replacement of the obsolete outlet. mally, or has been dropped.
This unit has an internal hard disk capable of recording and
playback (referred to hereon as HDD).
In order to prevent damage to the HDD or to hard disk con-
tents, the recording of noise or interruption of normal func-
tioning, you are advised to take the following precautions
when installing or using the unit:
l
Do not expose to vibration or rough treatment.
DO not place in an enclosed area so that the rear cooling fan
and the cooling vents on the side are covered up.
@Do not place in an area where the changes in temperature are
extreme. Sudden, extreme changes in temperature may cause con-
densation (+below). Using the unit when there is condensation inside
will damage the HDD and may lead to breakdown. Use of the unit in
areas subject to temperature changes of more than 20 degrees an
hour is not recommended.
l
Do not place in areas with high humidity.
l
Do not place the unit in any orientation other than horizontal.
~DO not disconnect the AC plug from the household AC outlet
while the unit is on, shut off the electricity supply to the area in
which the unit is installed or move the unit while it is on.
+lf moving the unit, first turn the power “OFF”” and remove
the AC plug from the household AC outlet. Wait 2 minutes
before moving.
’ Press [&, DVD POWER] and confirm that “BYE” disap-
pears from the display.
n Conditions contributing to the occurrence of condensation
In any of the cases listed below, allow the unit to adjust to the room tem-
perature by leaving it for approximately 2 hours with the power on.
l
When the room is steamy or the humidity is high
l
If there is a sudden change in temperature, for example:
+The unit is moved from a cold to a warm place or vice versa.
+A heater is used to warm the area up quickly in winter or an
air conditioner is used to cool the area quickly in summer.
+The air from an air conditioner flows directly onto the unit
(please take action to ensure this does not happen).
W In the event of a power failure
If a power failure occurs, contents in the process of playback/
recording as well as already recorded, saved or dubbed HDD
contents may be damaged.
n Safeguards against accidental loss
Data may be lost if the HDD suffers damage. Any contents you
wish to keep permanently should be dubbed or transferred to
DVD-RAM or DVD-R.
The HDD in this unit reserves a part of the storage space for use
as a system management area.
In order to maximize the efficacy of recording using
this unit, a variable bit rate recording system is used.
This system may sometimes show the amount of
time remaining for recording as being more or less
than the amount of time remaining.
*If the remaining time is insufficient, erase any unwanted pro-
grams to create enough space before starting recording.
l
When erasing programs, you should aim to create ample space
on the storage media for the intended program. This is
because the time available for recording may not increase in
exact proportion to the time represented by the programs you
erase.
CAUTION:
TO PREVENT ELECTRIC SHOCK MATCH
WIDE BLADE OF PLUG TO WIDE SLOT,
FULLY INSERT.
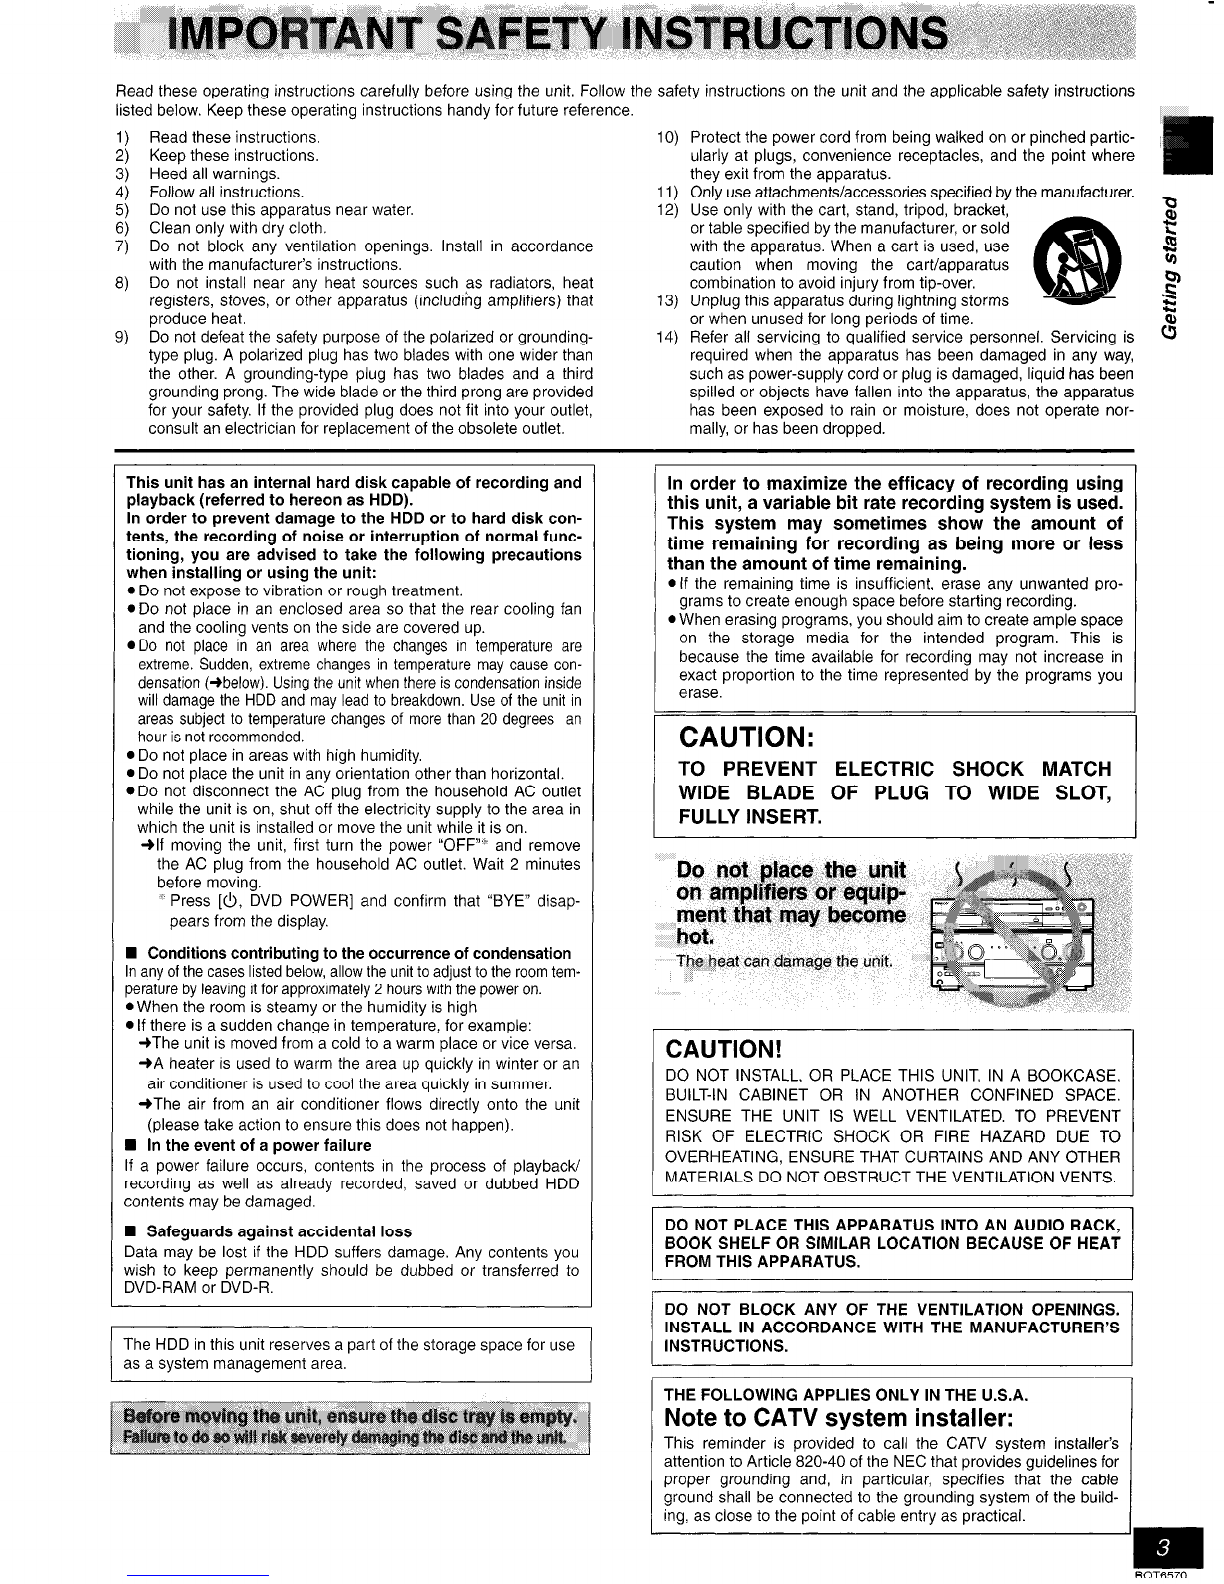
Do not place the unit
on amplHkrs or equip-
ment that may become
hot,
The heat can damage the unit.
CAUTION!
DO NOT INSTALL, OR PLACE THIS UNIT, IN A BOOKCASE,
BUILT-IN CABINET OR IN ANOTHER CONFINED SPACE.
ENSURE THE UNIT IS WELL VENTILATED. TO PREVENT
RISK OF ELECTRIC SHOCK OR FIRE HAZARD DUE TO
OVERHEATING, ENSURE THAT CURTAINS AND ANY OTHER
MATERIALS DO NOT OBSTRUCT THE VENTILATION VENTS.
DO NOT PLACE THIS APPARATUS INTO AN AUDIO RACK,
BOOK SHELF OR SIMILAR LOCATION BECAUSE OF HEAT
FROM THIS APPARATUS.
DO NOT BLOCK ANY OF THE VENTILATION OPENINGS.
INSTALL IN ACCORDANCE WITH THE MANUFACTURER’S
INSTRUCTIONS.
THE FOLLOWING APPLIES ONLY IN THE U.S.A.
Note to CATV system installer:
This reminder is provided to call the CATV system installer’s
attention to Article 820-40 of the NEC that provides guidelines for
proper grounding and, in particular, specifies that the cable
ground shall be connected to the grounding system of the build-
ina. as close to the ooint of cable entrv as oractical.