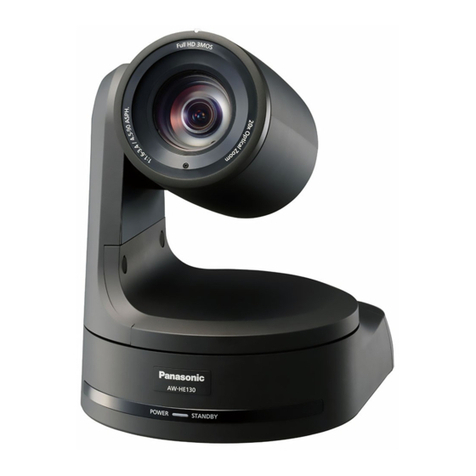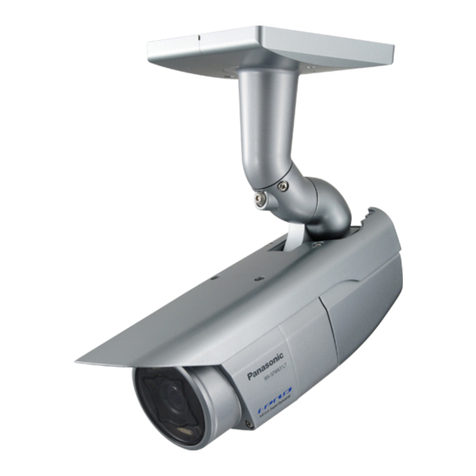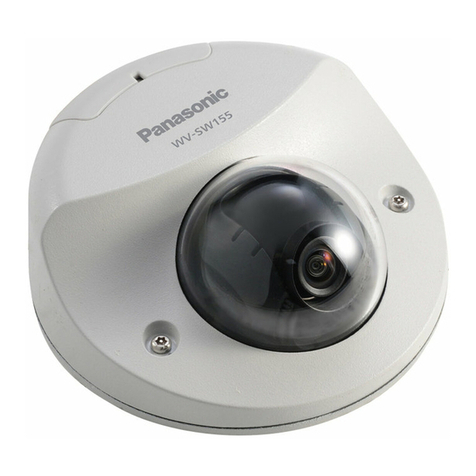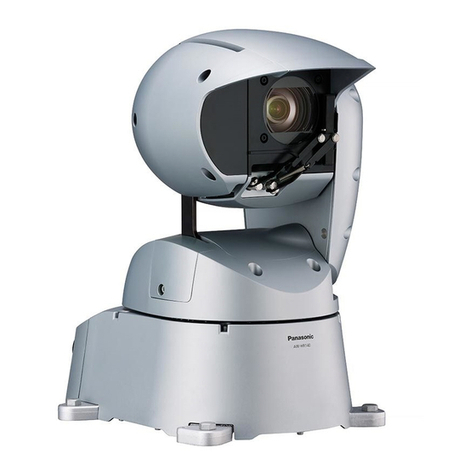
Before installation, always disconnect the power
plug
Wheninstalling,alwaysusethesuppliedcomponents.
Donotdisassembleormodifythewallmountadaptor.
Tightening up the mounting screws
• Tightenupthescrewsandboltssecurelytothedegreethatis
appropriateforeachofthematerialsusedinthemountinglocation
andstructures.
• Aftertighteningupthescrewsandbolts,checkthatthereisno
unsteadinessandthatthepartshavebeentightenedsecurely.
• Usethespecifiedtoolsandtightenthescrewsfirmly.
• Tightenupthescrewsusingthespecifiedtorquedriver.Donot
useelectricaldriversorimpactdrivers.
When the unit is no longer going to be used, do
not leave it lying around, but be absolutely sure
to dispose of it properly.
Fordetailsonhowtoremovetheunit,referto“Removingthe
camera”(→page13).
When installing, transferring or disposing of
the unit, be absolutely sure to hold it by its
pedestal area.
Problemsmayresultifthecameraheadisheldorrotated.
Do not attach a filter, hood, extender or other
parts to the unit.
Use the dedicated AC adaptor and power cable
provided with the unit.
ConnecttheACadaptorandpowercabletothepowerinlet
securely.
Installing the AC adaptor
• Donotplacetheadaptordirectlyontoaceilingpanelorothersuch
surface.
Extremedangerisposedwhenwaterhascollectedonthesurface
asaresultofleakingrain,forinstance.
Securetheadaptorfirmlytothebottomorothersurfaceofa
reinforcingmembermadeofchannelsteelwheredustandother
foreignmatterwillnotaccumulate.
(→page11)
• Securetheadaptorfirmlysothattherewillbenochancethatitwill
fallofforfalldown.
Secureitusingastrengthwhichcanwithstandthemass(approx.
0.3kg(0.66lb))oftheACadaptor.
Install the accessory AC adaptor near the main
power outlet, and position it in such a way
that its power plug can be plugged into and
unplugged from the outlet easily.
WhenconnectingtheACadaptortoapoweroutletontheceilingor
onanyothersurfacewheredustmaycollect,wipeofftheduston
thepowerplugatperiodicintervalsasananti-trackingmeasure.
Power switch
Thisunitdoesnothaveapowerswitch.Thepowerturnsonwhen
itspowerplugisconnectedtoapoweroutlet.Whenthepower
isturnedon,thepan,tilt,zoomandfocusingoperationsare
performed.*1Beforeproceedingwithmaintenance,beabsolutely
suretodisconnectthepowerplugfromthepoweroutlet.
*1TheunitissettoStandbymodeunderfactorydefaultsettings.
Whenturningtheunitforthefirsttime,releasetheunitfrom
Standbymode.
Fordetails,refertotheOperatingInstructions.
Connecting the power cable
BeabsolutelysuretoconnectthepowercableoftheACadaptor
throughacircuitbreakerusingoneofthefollowingmethods.
(1) Connectthepowercablethroughapowercontrolunit.
(2)
Connectthepowercabletoacircuitbreakerinapower
distributionpanelwithacontactdistanceof3.0mm(1/8
inches)ormore.
Useacircuitbreakerwhichiscapableofshuttingoffallthe
polesofthemainpowersupplywiththeexceptionofthe
protectivegroundconductor.
(3) InstalltheACadaptornearthepoweroutlet,andconnectit
throughthepowerplug.
Grounding
Beforeoperatingtheunit,checkthatSIGNALGNDhasbeen
securelygrounded.
If there is a possibility of noise interference
Eitherwirethecablessothatthepowercable(ceilinglightcord)of
AC100V*1(AC220V*2 )ormore,andthesignalcableareplaced
atleast1meter(3.3ft)apart.
Alternativelyruneachcablethroughitsownmetalconduit.
(Themetalconduitsmustbegrounded.)
*1ForAW-HE130WP,AW-HE130KP
*2ForAW-HE130WE,AW-HE130KE
Radio signal interference
IftheunitispositionednearaTVorradiotransmittingantennaora
strongelectricalfieldormagneticfield(suchasthatgeneratedbya
motor,transformerorpowerlines),itsimagesmaybedistortedand/
ortheimagesmaybeaffectedbynoise.
When connecting the cables, ensure that the
connector areas will not be subject to any load.
Doingsomaycausemalfunctioning.
Allowing the generated heat to escape
Thisunitallowstheheatgeneratedinsidetoescapefromits
surfaces.
Donotinstalltheunitinalocationwhereitwillbesurroundedby
wallsorothersurfacesandwhereheatwillbetrapped.
Inaddition,theheatisdissipatedtothebottompanelwhichwill
warmupovertime:Thisisnormalandnotindicativeofanytrouble.
PoE+ power supplies
UseaPoE+(IEEE802.at)compatiblehuborpowersupplydevice.
4 5
Installation precautions (continued)
