manuals.online logo
Brands
  1. Home
  2. •
  3. Brands
  4. •
  5. Panasonic
  6. •
  7. Receiver
  8. •
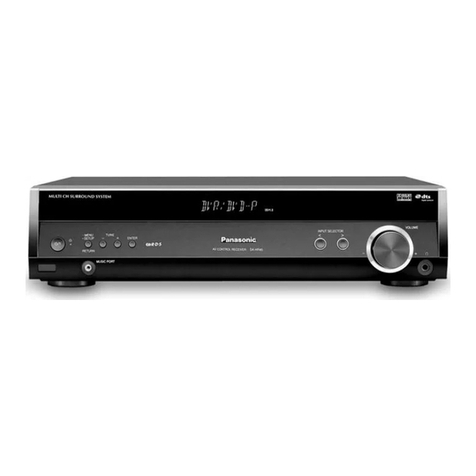
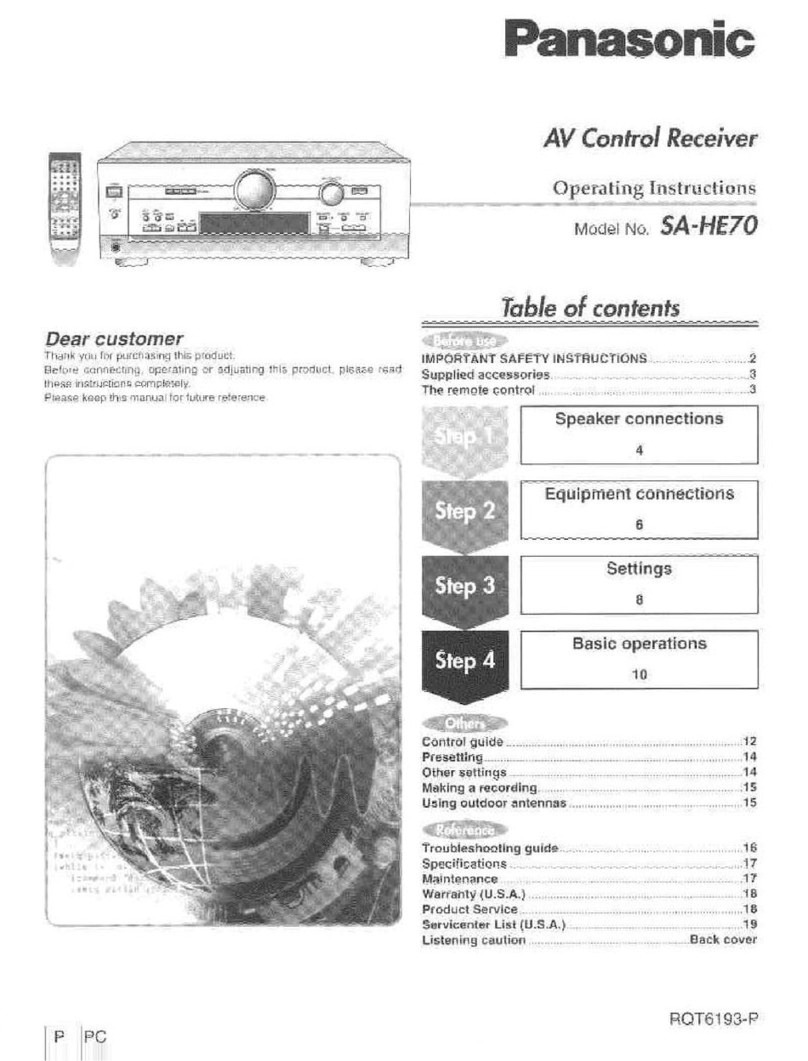
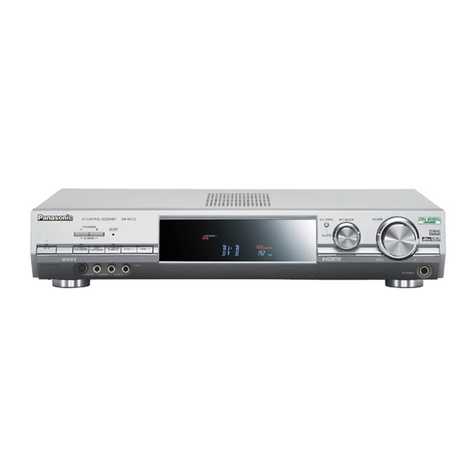
  9. Panasonic SAHE200 - RECEIVER User manual

Panasonic SAHE200 - RECEIVER User manual

Read these operating instructions carefully before using thu unil. IWow Lhe safety instructions on the lmit arid the safety precarriinns listed
below. Keep these operating instructions handy for future reference.
Fewer ~~~r~~..-Conri~ct the unit to a power source of the type
described in these instructions ur as marked on the rrnii.
-The unit is equipped with a polarized power plug
lade is wider than
the
other. This safety feature
ensures that the plug fits into your ho~usehald AC outlet only one
way. If the plug doesn’t fit one way, try reversing it. If the plug
still doesn’t fit, contact an electrician to replace the obsolete
outlet. Do not attempt to defeat the safety purpose of the plug.
~wer car ~~~~o~i~~--Route the AC power supply cord so
that it will noi be walked on or pinclled by items placed on or
against it. Never take hold af the plug or cord with wet hands.
Always grasp the plug body firmly
when
connectirlg alid
it.
-When connecting the AC power supply cord, he
overload the household AC outlot, extension cord,
or outlet from any other device as this can result in fire or electric
shock. s--Turn the unit off when it is not in use. Unplug
the unit from the household AC outlet if it is not to be used for a
lang time, Unplug the ring lightning storms.
t~ao~~e~~~ and ace r&+-Use only the attachmenls and
accessories recommended in these operating instruclions.
1.
3.
5.
7.
~~~~~~~~On-Situate the unit so that it receives proper
ventilation. Do nal install in a confined space such as a
bookcase or cabinet. Allow at least IO cm (4 inches) clearance
from the rear of the unit. To prevent the risk of electric shack or
fire due to overheating ensure curtains and other materials do
unit’s ventilation.
i&---Ensure objects and liquids do not get into
exposing the unit to excessive smoke, dust,
chanical vibration, and shock.
-Situate the unit away from equipment and devices
that generate strong magnetic fields.
-Do not place heavy objects on top of this unit.
~~~~~Flace the unit on a flat, level surface.
Carts and -4Jse the unit only with carts
and stands mended by the mat~ufacturer.
Move carts with care. Sudden stops, excessive
force, and uneven surfaces can cause carts to
overturn.
~ajj and oe~~i~~ ~nt~r~~-...-Donot mount the unit
on
walls 01
ceilings unless specified in the instructions.
-Do not use the unit near water, such as
near a bathtub or swimn~ing pool. Avoid damp basements.
2. ~~~~--“Situ~~te the unit away from heat sources, such as
radiators.
Do not situate where te~i~eratures fall below 5°C (&IT) or rise
above 35°C (95%).
3. ~~~~~ ~~~~~“,,.~ake care when setting up an outdoor antenna
that it is not near overhead power lines, electric lights, or
electrical circuits, and that there is no danger of the antenna
falling on power lines, electric lights, or electrical circuits. When
installing an
auldaar
antenna, take extreme care not lo toucl~
such power lines or circuits, as contact with them can be fatal.
4” ria ~~~~~~~~j~~~--lf you connect an outdoor
antenna. ground the antenna syslein to protect against voltage
surges and built,up static charges. Section 810 of the National
Electrical Code, ANSlliWPA No. 704 990, provides ir~f(~rmr~tioli
about grounding of the mast and supporting structure. grounding
of the lead-in wire to an antenna discharge
~lr-121,
size of
~ro~rldit~g conductors, locatiorl of antenna-discharge unit,
connection in grounding electrodes, and requirements for the
grounding electrode. Refer to this diagram.
AiN’rI.NNA
ILEAD IN
Wi!?E
~%%liAflGE IJNIT
(MIX SECTlON6l@20)
POWER SERVICE GROUNDING
ELECTRODE SYSI‘C.M
(NEC ARI 250, mwr M)
NEG-NA I’IONAL III ECTfIICAl. CODE
(See page 23 for details.)
Unplug the unit from the household AC outlel before cleaning.
Clean with a damp cloth.
Da not use abrasive pads, scouring powders, or solvents,
--The unit should be serviced by
(a) The AC power supply cord or the plug has been damaged; OI
(b) Objects or liquids have gotten into the unit; or
(c) The unit has been exposed to rain; or
(d) The unit does not operate normally or exhibits a marked
change in performance; or
(e) The unit has been dropped ar the cabinet damaged,
~rv~~~~~-Do not attempt to service the unit beyond that
described in these operating instructions. Refer all other
vicing ta authorized servicing personnel.
~~~a~~~~~~ ~~~~~-~/~ierl parts need replacing ensure the
servicer uses parts specified by the manufacturer or parts that
have ihe same characteristics as the original parts,
Unautharized substitutes may resuli in fire, electric shock, or
other hazards.
~~~e~~ check--After repairs or service, ask the servitor lo
perform safety checks In confirm that the irnit is in proper
working condition.
The ligli~ttit~g flash wilh arrowhead symbol, within
an equilateral Iriatrgle, is Wended to alert the user
to Ihe presence of uninsulated “dangerous voltage”
wil‘hin the pro&&s enclosure that may be of suffi
cienl magnitude to corMi2itutea risk of electric shock
to persons.
The oxclama~inn poini within art eyuila&ral triangle
is Mended to aler’c the user Eo lho presence of
imporlanl operating anti maintenance (servicing)
instructions in the Ii’lertQturea~~o~lpatlying Ihe ap
pliance.
This equipment has been tested and found to comply with the
limits for a Class B digital device, pursuanl lo Pat? .I5 of the
FCC Rules.
These limits are designed to provide reasonable proteclion
agninst harmful interference in ;a re?sidential insiallaiion. This
equipment generates, uses and ct~ radiate radio frequency
energy and, if no’r installed and usotf in accordance wilh the
instructions, may cause harmftul interference Zo radio
cnmmunicalions, However, lhere is no gttarantee lhal
inlerference will nal occur in a par2icular installation. If this
equipment does cause harmful interference “roradio or television
recep’rion, which can be de~ertnitiod by “iurning the equipmenl off
and on, the user is encouraged 1o‘iry &I correct the interference
by one or more of the follo~iti~~ measures:
@Reorient or relocate the receiving antenna.
@Increase Ihe separalion between
Ilie
equipmenl arid receiver.
QConnect
the
eyuipment into an ouPleZon a circuil different
from that to which the receiver is connecled.
@Consult Ihe dealer or art experiencocf radio/TV Iechnician for
help.
Atly unauthorized changes or modifications to lhis equipment
would void the user’s aulhority TVopera’te this device.
This device complies wilh Part ‘I5 c)f Ihe FCC Rt~les. Operation
is subjecl to the followirtg ‘aweconditions: (1) This device may
not cause harmful inderference, and (2) ‘this device tnusl accept
any irt’rerference received, including in’terferettce thal may cause
undesired operation.
i.----- - .. ^ “..““_.._..__^___. ____ _.__.^__ _ ---“_..- ...)
Do no%place anything on lop of ‘this unit or block the heai
radiation vents in arty way. In particular, do IIO~place Pape decks
or CD/DVD players on ihis uni’l as heat radiated from il cat!
damage your suftw;,ire.
Llser memo:
,--__ .-. ..-. ...,,,,,,
.”. ..-.--- ---- .-.“.” .._
‘l”hc: model number and serial number of this product can be
found on either Ihe back or Ihe bottom of Ihe unit.
Please note them in Ehe space provided below and keep for
fulure reference.
SA-l-E200
-. -
1
Sulecling fine audio equiptnenl such as the unit you’ve just
purchased is only the start of your musical enjoyment. Now i’c’stime
lo consider
how
you cart maximize the fun and exciZement your
~qui~~tertt offers. This manufacturer and the Eleclronic lndu~~ries
Associaiion’s Consumer Electronics Group want you to geethe most
oui of your equipmenl by playing it at a safe level. One lhat lels the
sound come through loud and clear without annoying blaring or
distortion-and, most it~~ortantly, wi8lout affecting your sensitive
hearing,
We recommend you ‘to avoid ~rolofi~ed exposure lo excessive
noise.
Souncl cart be deceiving. Over time your hearing “camfat? level”
adapts to higher volumes of sound. So whal sounds “normal” can
aciually be loud and harmful to your hearing.
Guard agains this by setting your equipment al a safe level
BEFC)RE your hearing adapts.
To eslablish a safe level:
@Stat? your volume con&o1 al a low setting.
@Slowly increase the sound until you can hear il comforlably and
clearly, and wiChouadistortion.
Once you have established a comfortable eaund level:
@Sel the dial and leave it there.
‘I‘aking a minute to do this now will help io prevent hearing
damage or loss in the future. After all, we wanl: you listening for a
lifelime,
---- ,-11-...
Please check and iderltify the suy?pliedacce$sorie:;.
clll 1
Refer to the separate baoklel, “Remote
Control Operation Guide”, fur remote
control operation details.
__II -... ..^.__~_.. .,,,.. “. _^_^.__._
Use the
n~rmbers
indicated in parentheses when askiqj for
replacement parts.
,_ ’
(R6, AA, IJW3)
Insert so the poles (+ and -) match thuse in tl~eremoie crWol.
Do not use rechargeable type batteries
Aim at the sensor, avaidiny obstacles,
at a maximum range of 7 m (23 feet)
directly in front of the unit.
WItile (i.)
Red (I-1) 6
-.--~-_. -. ,,,“I_ I il”~i__.- “_^ _-_- ‘..... I,~_~ -....-. ” -,,, ^_I- --
/I
-..- Pi
-7
,...-..-
--
RQT6250
RCX-6250
has a ground terminal.
Adhesive tape
-.
I f:--
Attach to the stand and place on a flat s&ace. ‘--
(1 al
@Disconnect the FM indoor antenna.
Tile
antenna should be installed by a competent
technician.
6~Twist the coaxial cable’s shield braid firmly and
conriecl it to the GNLZterminal.
electrical storm.
-==i--;-;-e__m
.---.-.-.__-- -,__
li
AM loop antenna
.---..-.--__-._
-.-.-.-- ; (included)
._--- ---”
I
L--_.-... Vinyl-covered wire
..-~-
---.,,“CT- ,.-.... ...,..2
i----5-12 m ---+
(I 6-40 It)
horizontally across a
other convenient location.
Leave the loop
,~ --_~ -~.. I
Household AC outlet
AC power supply cord
(included) --.__
--._..
‘“‘....I&‘,
-- _.._. ..-
Connect this cord after
all other cables and
cords are connected.
The included AC power supply cord is for use with
e it with other equipment.
Power to the outlet is controlled by the
power switch of this unit. Audio
equipment rated up to a maximum of
80 W can be connected here. If
equipment exceeding this rating is
connected, the outlet may be rendered
inoperable. Consult your dealer to
replace the fuse.
I\
The unit consumes I W even when it is turned
off with [POWER, i/l]. To save power when
the unit is not to ho used for a long time,
unplug it from the ho~~seholdAC outlet.
- “/ “~_i.“__-l- .-- /.,.- ,i ,~c___11-Y If the unit is left unplugged for longer than a
few weeks, all settings will revert to the factoory
settings. Do the settings agairl if this occurs.
suit the size and number of speakers you c;onnocl.
or speakers tha’t call reproduce a full sound ratqe,
particularly the bass range below 100 IIL
L: For speakers that cannot adeyualely reprodtice the
bass range. This setting is sufficient for tnosl.speakers
if you are using a subwoofer.
“SUB.-WFR”is set:lo “YES” if you seloc:‘lLhir;setiing for
“FFKXW”.
: For speakers you haven? connedetl (cenler; sitrro~~nd
or surround back). You cannal change the “SIJR IHCK”
setting if you select ihis setting for “S~J~~~~~Jl~~~~“,
&E: If you connect one surraund bar:k speaker ‘CO‘cho
speaker ‘rerminal.
L: If you connect two surround back speakers via a power
amplifier lo Ihe pre-out Ierminal.
YES: If you connect a subwooier
: if you do noaconnect a subwoofer.
“FRONT” is set In “I.ARGE” if you select ‘L/I&selting.
CE
Changesothesoundfromthespeakersreachesyouatthesametime.
p%,*a,- .s,-,- -+b.T*,m>-
.A
,;:2’ /
&?
i,’
(;” ( )
Kully lighien the Terminal,
,/,% ,’ then inser’r,
‘,‘. ---._
,,, _-_i =- - I .- , x-xI I_-,--~---. .I
* E ‘I^”
and
“.“, ^_^I^ ---- ’ “Y
.._ .._,---_ \ .-....1
w
’ ”
SElEGr!x
ASPEAKERSI3
~~.“~:-.-.~““~~
/
-“” ___.. ~.-“. _.i L...- ._---. ~ -.-” ..^..~..-“.---..~~ ‘L.-- _- ^_._-~- ,. _---_I
4indicators
CM sampling ‘trequency
I
@akefindicators
:Yau have switched ta LOW IMP because you have
eakers with an impedance under 6 0,.
is output from speakers cannecled to
t A: surmund, and center terminals.
s output anly lram speakers connectecd
ant B terminals.
und is output from speakers conneeled lu
the front:A and B terminals.
I?,radio frequency, and
other general inkxmation.
we switched to manaural made with [FM MODE] to
rmproverecaptian.
: A stereo FWIbroadcast is tuned.
: Flashes during ~r~s~~~~flg.
!
II input P?xx%?& rated values.
Turn the A/D attenuator on ii:this occurs frequerirly (
input made indicators
Show the current DSP sound mode.
Lights when a source dirr?d made is selected.
_I
i I
Lights when the lape monitor is on.
~atlu~a~~ur~dunder license from Dolby L.aboratories.
“Dolby”. “Pm Logic” and the dauble-D symbol x(? Trademarksof ~anu~ac~ur~(~under license from Digi’lal
~Plieater
Syslsrns, Inc.
us Pat. No. 5,45’1,942, 5,9!%,W4, !5~!274,380,5,978,762 and
other
world--widt?patents issued and pending.
“TITS”, “IYFS-ES Extended Surround” and “Neo:6” are
trademarks of EXgiialTheater Systrxns, Inc. Copyright 1996,
2000 Digiial Thea&x l;ystotn~s~Inc. All riqhts reserved.
-~ _.. .- 2
To mute the; volume.
Far dimming Ihe unit’s display,
RQT6250
Enjoy an enltanced sound experience v&h greater presonco and
spread by using ihct;r: 81X (r;r)und fir?ld corilrol)
171odes with PCkA
or analog slerco sources.
~-.. ,. _~-~__ I,~ “..~~ ~-x j
Ynu can adjust tire effect of NJSIC and PANORAMA with thy
center width and dimension controls.
errtar Prol _.
This ~~djt~strnent
helps you
realize a more natural sound irnagc
when listening to music. Move sound out into the front speakers
to improve the overall front image, QTadd sound to the center
speaker to fix the center image.
Vou can choose a level between 0 (the center speaker iz
dominant) and 7 (center sound is spread out).
The default level is 3.
0 a~j~~~~Ihe aspect”
~~~~~~~~~~~~~~%r~~“.
ou can make up for dif in the output level of the froni
and sl.irr(~und speakers.
h(mr can choose a Ievel between ,43 and 4 - Increase the level
to move sound to the, front speakers, decrease to move it to the
stIrround speakers.
The tieiadt is level 0.
mode when playing movie software, especially
, recorded in Dalby Surround.
_-.~~- ‘-j __I.-.---_ ..~_ ,-- -- -I
rround effects lo stereo sources.
_,, -- .-~,-~..- _-__I
V’ou can adjust the effect of MUSIC with the center image contr
Center I nlrra
T!?is a~~just~~~?l~~helps you realize a more natural sound image
when listening in music. Move sound out into the front speakers
to improve the overall front image, or add sound to the center
s surround effects to stereo sollrce.5. speaker to fix the center image.
Yoir cafi clwos~ a
level between 0 (the center speaker is
1 dominant) and 5 (center sound is spread out).
\ IIE default level is 3.
_ .~~.~~~. %
L...
You cannot select the above modes when
lhc
“D’E” indicator is on.
Imparts the reflectiolr and sIpread of a largn concert hall.
I”,_*L.. ._- -. .j-~.-“~...T~~-~- -- __j j_II~
You can adjust the sound field by adjusting the level of the
speakers and the delay time of the surround speakers. These
adjustments cati be made for each SFG mode.
7-B sl %
3 [a.;
imo
] to ~~~~~e the belay th?.
Delay Lime can be set al TV-tnillisecond (ms) intervals between
IO and
100
Ins.
The factory setting is 50 rns for each mode.
--.- ,, “,,.....-~--___” -.-..~“-_-lx ,, ~~l_
ys the exciting and intimate atmosphere of a jazz club.
Recreates naturai sound ambience and direction.
,,.__/_ ~--_.. .“_,” ,--. --~~-_
~~~ r~~~d~
Heightens the sensation of expanded space with stereo sources,
rind augments monaural sources.
“..?. L--_ jx__- -~ .~-I _ _,. j.“~“~-“- ..~-.. . ”-
T”B
This mode uses the front and surround speakers so that sound is
n stereo regardless of the direction you are tat:@.
..-.x..-“__ ~_ _.~..,,_il _--. ----N._-.~.x.,i.
-wLII, .;_I.,-..=-” _//.”j L I... .-_\,*.y,_.-,/.LI_.,.
--..-. _--.I ..-
SIXJRCE IIWECT 1 or 2 turns off if you:
.--Select ~~~JRR~UP~~~mode,
Seleci ~Nt~~~~~~ SU~~R~~.JN~ mode,
- Select SW modes: or
- Select R~“,~~~~~~~~ modes,
While the S01fRCE IIIREC’I’ ‘I or 2 mode is selected, you cannot:
I Adjust the tone, or
- l.lse the subwoofw.
.- _---- ..-._ _.~__ ,. -.._,.
re stereo sound.
isplay (unless input is TUNW?), and turning on the I-ICISOUNlTI D o I-:
I-IQ sound mode uses a system that varies the actual gain of the
amgGer. This helps provide clear sound when listening at regular
volume levels,
You can only raise the voIur~~c!to -10 CfBwhr?n bIQ sound
mode
is
on and the level is automatically luwered to lhis love1 if you turn I-IQ
sound
mm&? ore when
the level is higher.
Using l/f algorithm technaloyy, this original Panar;onic feature
boosts the freqrencies uf the higher harnlnsks that are lost: during
record@ due t0 compression.
When We-master is
on,
the current level appears, then each time
you press the button:
ITFECT 1: for fast track; (pop i,snrIrock)
ElFFEW 2: for tri3cl;s with a variety oi:tempos (jazz)
EI~F4X‘I’ 3: for slow tracks (classical)
EIWXT 4: for compressed audio signals
NT: the re-master processing is off.
This unii autamatically detects whether input is digital or analog, hut
you can fix the input mode.
E”” PO sel 51 &(i
3
You can adjust the balance of Ihe front speakers.
iii
You can adjust ihe level nf
the bass
and treble
The STEREO DSP mode must be on and input must be either
analag QTPClVi signals. You czmut adjust the tone while the
:;OIJRCE I3iRECT mode is on or if IX/D S;CI-lINPUT’ is selected.
1QT6250
You can tune radio stations manually by selecting the station’s
frequency.
ILWDplayers can interfere witli radio reception. Turn
the
I.&T player
off or move it further away frowntho antennas if this occurs.
“107.9 Ml-h, press [I] - [0] * [7] * 191
FM ...0.l MHz
AM -I.10 kklz
@If yau do not press a button while the cursor is flashing, the
display returns to the frequency being received.
QIf the frequency has nof. been input correctly, “ERROR” will be
displayed.
re preset in channels 1 to 30.
re preset in channels 21 to 30.
(FIWstations are replaced ii any were preset in these channels.)
_- - ,,“,, .i .--.. --_--
During auiomatic presetting, the memory indicator (
the frequency scrolls. The rnemory indicatar and channel numbers
are displayed for a second when a station is preset.
The last station to be preset is displayed when presetting finishes.
For yoaar ~~~e~e~~~~
Even if the pawer supply cord is disconnected from the household
AC outlet, the staiions remain in memory for approximately one
month,
ns one at a time.
shes for about 5 seconds.
Hold down the butlons to change channels faster.
Press [{~~I~NN~l”. A or V ].
or
Press the numbered buttons.
For channels 1 Lo9, press the corresponding number.
For channels IO or over, press [>.IO/ENTEF:], then the two digits.
e.g. To selec%channel 21: [~~lO/ENTEl?~-p L2] * [I]
--..--.----._-.-..--.- .._.
883oft Y
Choose a level hetweeri 1 (dim)
and 5
(bright).
The facbry set’ting is LEVEL 2.
The factory setting is OFF.

Other manuals for SAHE200 - RECEIVER

4

Other Panasonic Receiver manuals

Panasonic TU-HDT206A User manual

Panasonic

Panasonic TU-HDT206A User manual

Panasonic CZ-TAW1 User guide

Panasonic

Panasonic CZ-TAW1 User guide

Panasonic CZ-RWRL3 User manual

Panasonic

Panasonic CZ-RWRL3 User manual

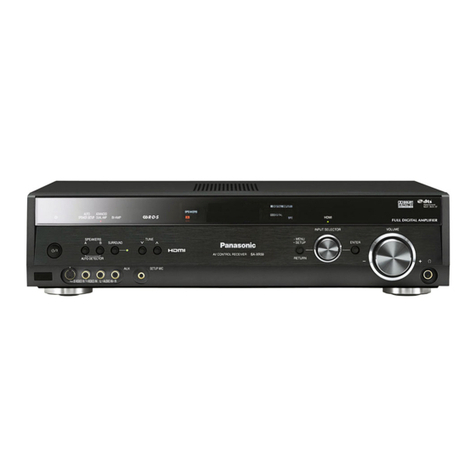
Panasonic SAXR58 - DIGITAL A/V RECEIVER User manual

Panasonic

Panasonic SAXR58 - DIGITAL A/V RECEIVER User manual

Panasonic CF-AA5713A Series User manual

Panasonic

Panasonic CF-AA5713A Series User manual

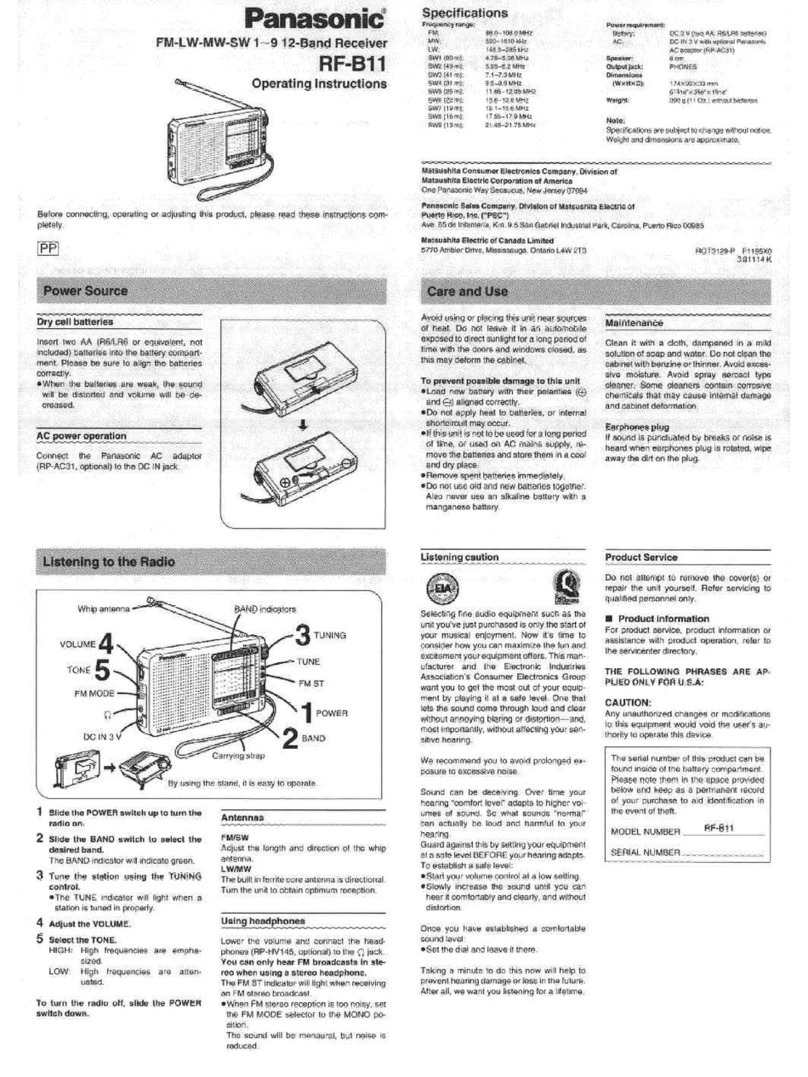
Panasonic RF-B11 User manual

Panasonic

Panasonic RF-B11 User manual

Panasonic AG-IA232TC-E User manual

Panasonic

Panasonic AG-IA232TC-E User manual

Panasonic RF-SW100 User manual

Panasonic

Panasonic RF-SW100 User manual

Panasonic SH-FX50T User manual

Panasonic

Panasonic SH-FX50T User manual

Panasonic TUIRD10 - DSS RECEIVER User manual

Panasonic

Panasonic TUIRD10 - DSS RECEIVER User manual

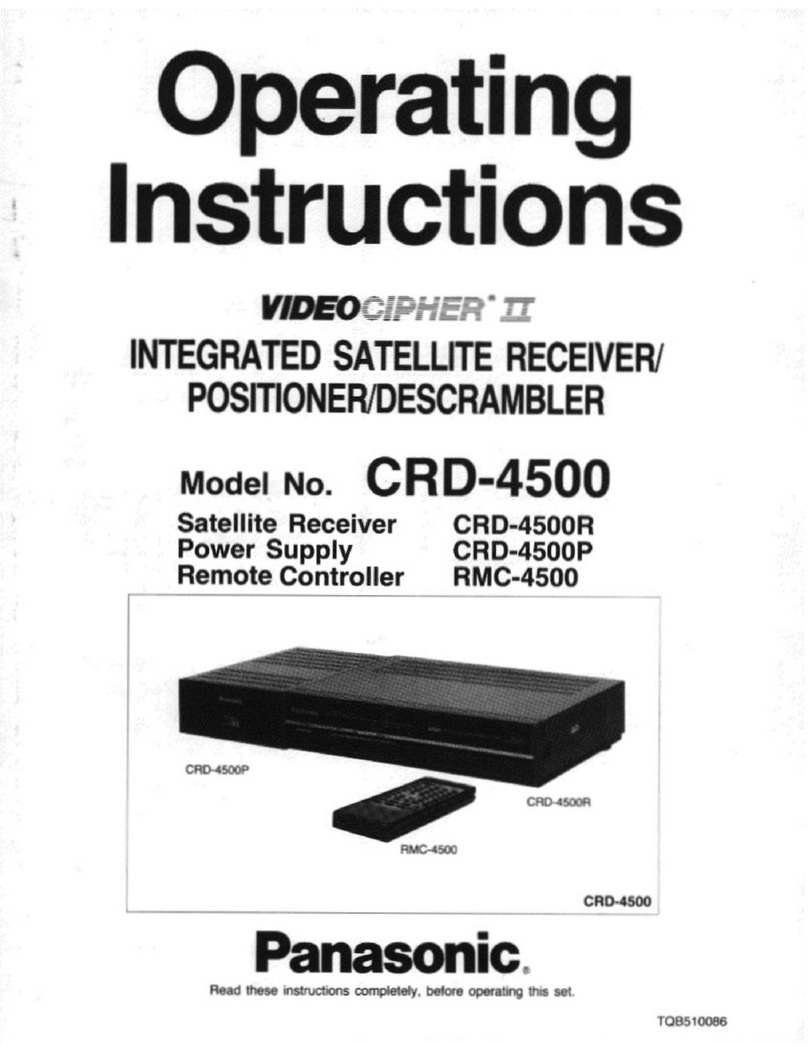
Panasonic VideoCipher II CRD-4500 User manual

Panasonic

Panasonic VideoCipher II CRD-4500 User manual

Panasonic SA-HE75E User manual

Panasonic

Panasonic SA-HE75E User manual

Panasonic SH-FX60 - Wireless Audio Delivery System User manual

Panasonic

Panasonic SH-FX60 - Wireless Audio Delivery System User manual

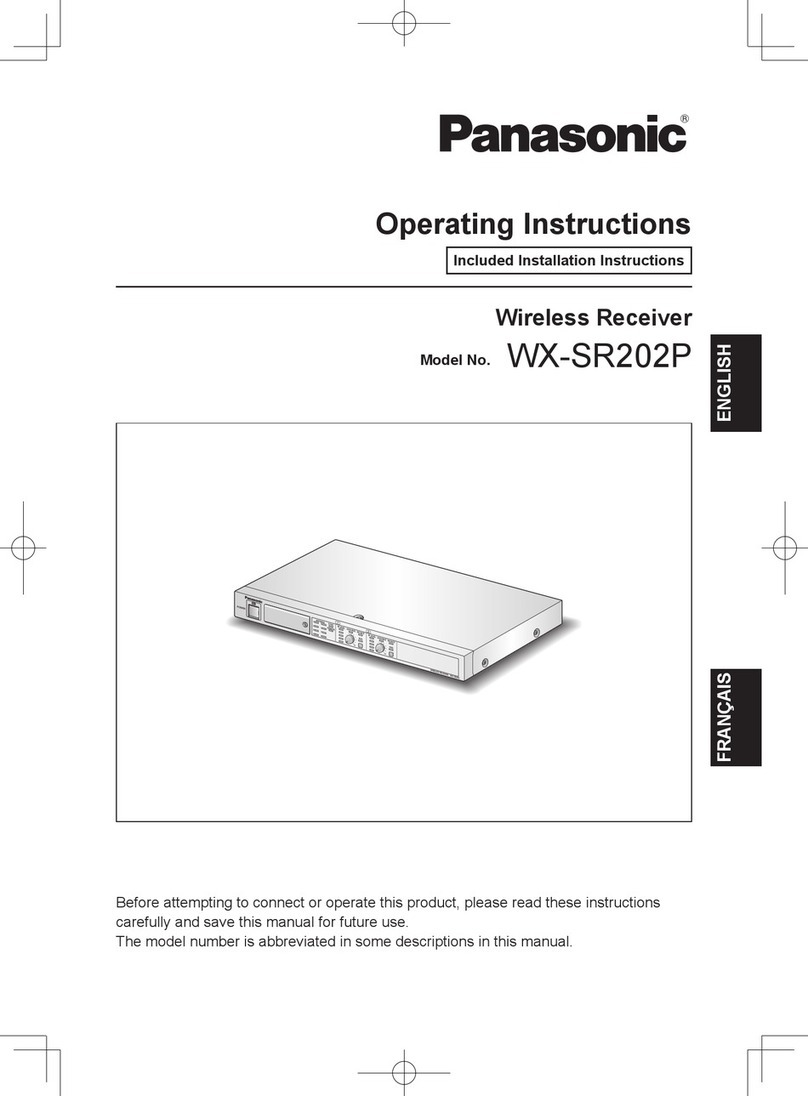
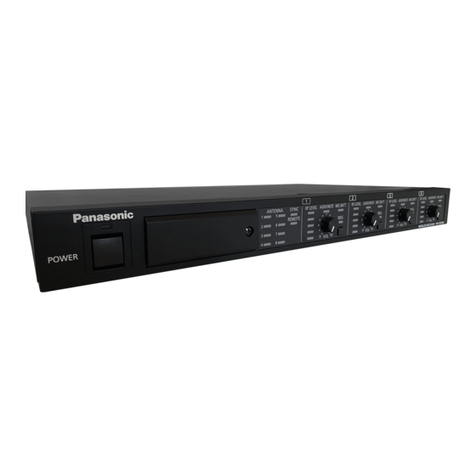
Panasonic WX-SR202P User manual

Panasonic

Panasonic WX-SR202P User manual

Panasonic WJNT204 - NETWORK IF UNIT User manual

Panasonic

Panasonic WJNT204 - NETWORK IF UNIT User manual

Panasonic CQ-VD5505W User manual

Panasonic

Panasonic CQ-VD5505W User manual

Panasonic CQ-C8351N User manual

Panasonic

Panasonic CQ-C8351N User manual

Panasonic SC-HT270 Operating User manual

Panasonic

Panasonic SC-HT270 Operating User manual

Panasonic RF-B65D User manual

Panasonic

Panasonic RF-B65D User manual

Panasonic CQ2650EU - AUTO RADIO/CASSETTE User manual

Panasonic

Panasonic CQ2650EU - AUTO RADIO/CASSETTE User manual

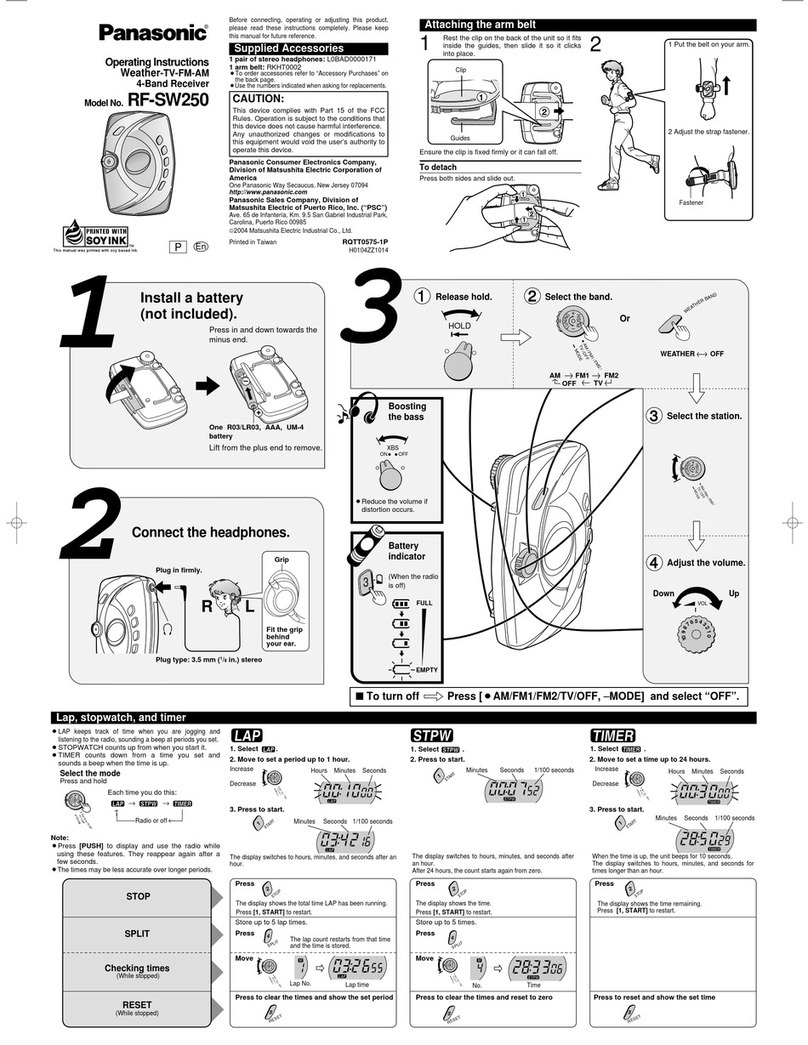
Panasonic RF-SW250 User manual

Panasonic

Panasonic RF-SW250 User manual

Panasonic CF-AA Series User manual

Panasonic

Panasonic CF-AA Series User manual

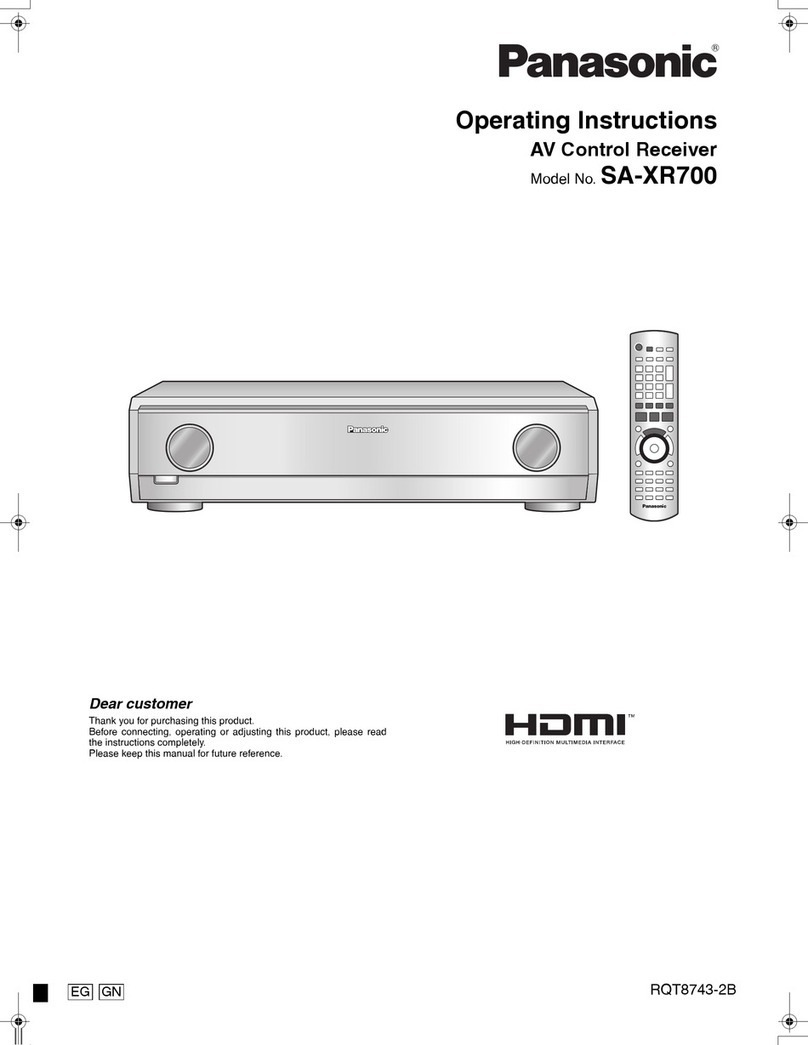
Panasonic HDMI SA-XR700 User manual

Panasonic

Panasonic HDMI SA-XR700 User manual

Panasonic CQVA70EU - CAR AUDIO/VIDEO SYS User manual

Panasonic

Panasonic CQVA70EU - CAR AUDIO/VIDEO SYS User manual

Popular Receiver manuals by other brands

Onkyo HT-R518 Quick setup

Onkyo

Onkyo HT-R518 Quick setup

Yamaha MusicCast RX-V4A Faq

Yamaha

Yamaha MusicCast RX-V4A Faq

Juhui RX Multi JH-KIT06 manual

Juhui

Juhui RX Multi JH-KIT06 manual

Surplus Pro BTR103 User instruction manual

Surplus Pro

Surplus Pro BTR103 User instruction manual

JVC RX-554VBK instructions

JVC

JVC RX-554VBK instructions

Magnadyne Linear Series Operation & installation manual

Magnadyne

Magnadyne Linear Series Operation & installation manual

Sony STR-DG300 Quick setup guide

Sony

Sony STR-DG300 Quick setup guide

Denon AVR-S920W owner's manual

Denon

Denon AVR-S920W owner's manual

JVC RX-DP20VBK instructions

JVC

JVC RX-DP20VBK instructions

hager 53610 quick start guide

hager

hager 53610 quick start guide

Yamaha HTR-5560 owner's manual

Yamaha

Yamaha HTR-5560 owner's manual

PCB Piezotronics Echo 673B01 user manual

PCB Piezotronics

PCB Piezotronics Echo 673B01 user manual

JVC RX-6500VBK - Dolby Digital/DTS Audio/Video... instructions

JVC

JVC RX-6500VBK - Dolby Digital/DTS Audio/Video... instructions

Motorola TIME WARNER DCT6200 Technical specifications

Motorola

Motorola TIME WARNER DCT6200 Technical specifications

ActionTec SBWD50A installation guide

ActionTec

ActionTec SBWD50A installation guide

Elvaco CMi5110 instructions

Elvaco

Elvaco CMi5110 instructions

sewerin AQUAPHON AF 50 operating instructions

sewerin

sewerin AQUAPHON AF 50 operating instructions

Onkyo HT-S5600 owner's manual

Onkyo

Onkyo HT-S5600 owner's manual

manuals.online logo
manuals.online logoBrands
  • About & Mission
  • Contact us
  • Privacy Policy
  • Terms and Conditions

Copyright 2025 Manuals.Online. All Rights Reserved.