manuals.online logo
Brands
  1. Home
  2. •
  3. Brands
  4. •
  5. Panasonic
  6. •
  7. Telephone
  8. •
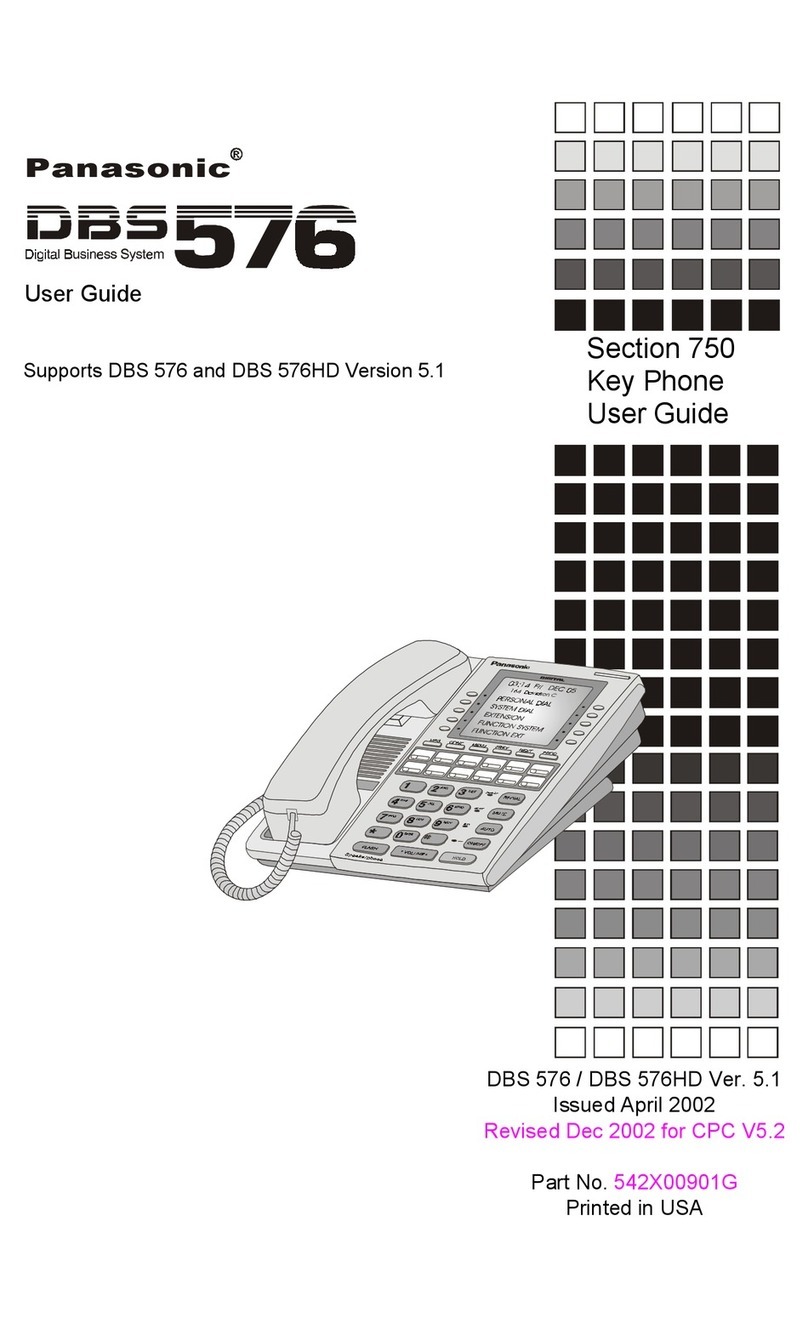
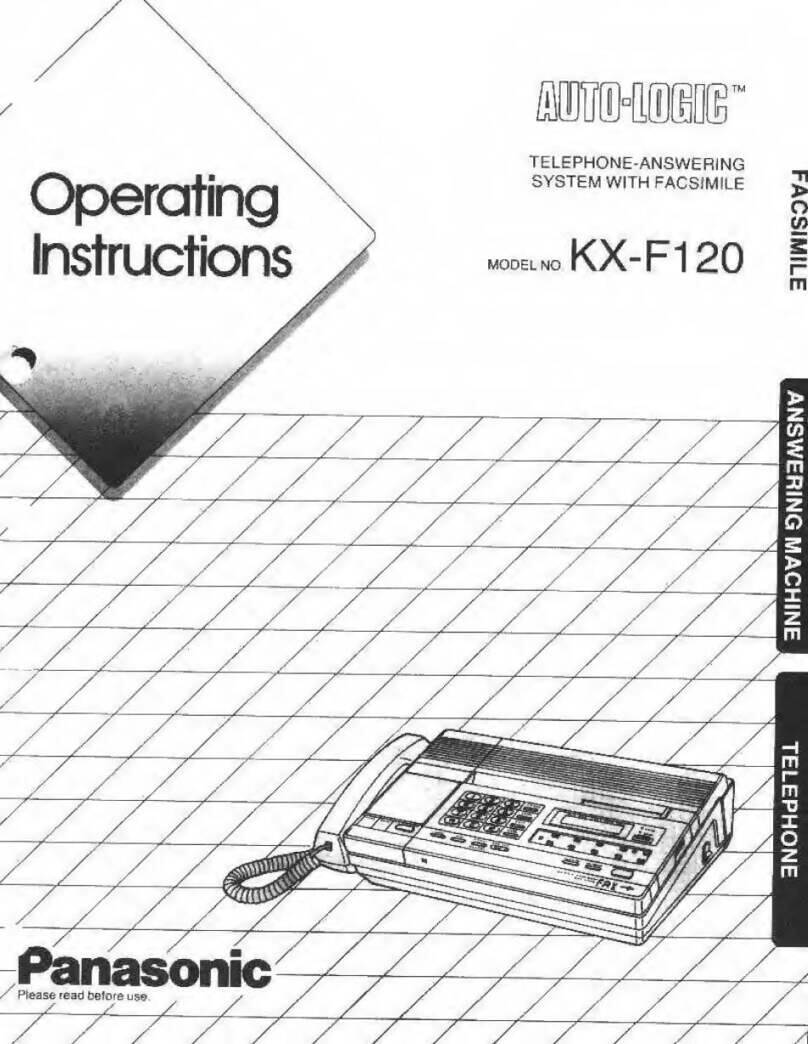
  9. Panasonic KX-T2740 - Easa-phone Integrated Telephone Mini-Cassette Answering... User manual

Panasonic KX-T2740 - Easa-phone Integrated Telephone Mini-Cassette Answering... User manual

Please read before use
La Referenoa
rdpida
en espaaol
puedeenconlrarseen las pagrnas
64-70
(Spanrsh
Quick Reference
can be found
on pages 64-70.)
2-LINEINTEGRATED
TELEPHONE
ANSWERING
SYSTEM
EASA-PHONE "
MODELNO
KX-T2740
w
apH
AUTO"IOBilG'"
;
l-eatures
Ilsfl:ffi !il.?"r;:n".rns
the
Panasonic
2-Line
Intesrated
relephone
It"^[i':::'f,a?.\::"1';ffffl,*U:"t Svstem'
'|s
capabre
ortwo
oursoins
Messages
(2
byusrng
lne
advanced
remote_conlrol
features
of
your
KX-T2740
you
can
also;
f 2-Line
Operation
;J': :',ffi,.r,?3ulo
serecrron
conference
car.
separare
oGM
s scparare
rrncrcr
swrrchcs
and
f Voice
Synthesized
Announcements
a i%|lt'JilJiav voice
r€rmorc
menu,
number
of.ca's.
anci
lime/dav
sramp
on
each
rcM
:::nJh33';.Jfl;: #Il,:,r:me, cal durarron
cal counrer
lor
each
irne,
tine
sereoron
ocM
I NewMessage
Transfer
Iets
you
record
an,nlro(iuctory
rransrer
message.
automarrcary
rransfers
you*rcorrrnq
messages
(afler
your
own
lransfer
messar;c)
to
aprcOctc,,nineo
lone
telephonr:
\,,,\4liil
X
I Tone Remote Control Syslem
lcts
voi-j
ac1
valcfrrilciror
,s
:.rjalrirs R.rirlolrjTurn
C)nOil TranSler
O|l Oll OG\4 Sw'tch
(i 2).
lloom MOnrlorrng
I Built-in
Speakerphone
lcr Irafc:.irca:
tInvcrsalronsorconlererccc::lls
I One-Touch/Speed Dialing
wlllr
20ore loLralr
a: r,OfiLrllOrs
anO
10
speedciralrnq
mgrn6rt
Slalions.
I Predialed Number Display
allows
youlo conlrrm
a telcrphonenLrmber
Lrelored aInq rt.
Quick
Reference
Cardior remote
operalron
can be louncj
on page 72.
DetachlhisCard
lromth(?Operatrng
Inslructrons
and carry
riiviih
you for
your convenrence
and
iI
I
I
S
\:
,l
I
t-
W
(
I
I
L
I<3-.
-
\i-. _\-?
Cbntents
@D
'::
ii
.^:1,
l
.i:
Features
Contents
Location
oi Controls
andJacks
)eleutll l9 (r rv urrYrq, - - -
lnitial
Settings
Settinq
the
Time
andDay """"""" "
;#;;;; Ctc(carrins
Party
contror)
;ffiiil i'n!
n,.d"'
ot
iinss
Settinq
theRemote
Code "" " "'
;:ffiil;arter'srecoroing.l1l^^; ................................
...
...
' ""'
6
7
I
11
tz
13
14
15
;Jilixn "; oCt',r
(outsolns
Messase)
i*o.",," Line
Selection
Mode
and
Preset
Line
Selection
Mode
ij.gt"**"0r" Central
officeLine
(C
OL)
Makinq
Calls
AutJmatic
Selection
Mode '
Making
Calls
Using
theSpeakerpnone
Hold
Operation " "" :" '. '
stoins
Pnon"
Numbers
l"r.lp:"9
Di1'19^;;;
ii"t'.i pnl"" Numbers
for.one
Touch
Dialing
CorrectinganErrorwntte>roringandErasingStoredNumber
1B
'19
20
20j
21
22
ZJ
24
tq
29
30
31
32
32
Predial
Function
Redialing
Automatic
Dialing
One'Touch
Dialing "" '
Speed
Dialing
Other
Features
-'u"." oJ
6eCnET
and
HYPHEN
Button
Features
"'
ito-ring
Pnone
Numbers
Behind
PBX
33
34
LrQnIgntS (cont
)
(:'A
B.lh
MY\\
General
V
&.,
OtherFeatures
Using
the
Pause
Button
Switchingfrom
PulseMode
toTone
Mode
(Tone
Button
Usage)
CalWaIng
Mute
Operation....................
Selectron
ofLineMode......
34
35
35
36
Settingthe ICM
RecordrngPosition
Selectinglhe Lineand Transmitting
OGM
Listening
to theRecordedMessages
Recording
a MessageMemo .
Recording
a 2 way
Conversation
(2way
Recording)
ErasingtheRecordedMessages
........
Screen
ng Calls
How
to
Operate
from
a RemotePhone
.........
..
......
Iransfer
OG'tl
Transfer
Incoming
Messages
JI
38
39
41
42
4J
43
44
53
&"'"**"-*-"'&
60
ol
62
64
71
73
74
75
76
Liquro
CryslarU,spray
Announcements
by the Unit
Troubleshoorr^q
Ou
oe ...
r^,-.-
-:- -
I
i{ererenctaf
aotoa
I
Wall
Mounl,ng
Maintenance
Accessory
OrderInformation
Others...
lmporlanlInformat,orr
\l
Lccation
ofControls
and
Jacks
€t)_--
S-€p:9
;cessones:
ACadaptor.....One
(P
3)
ft,,,lT\
>@w 4 wrred
telephone
line
cord
wrth
clear
green
plugs
.....One
2 wired
telephone
line
cord
wrth
transparentplugs.
.. .. One
(P.1) ,., @
A--
Handsetcord.....One
(P
4)
W**ffi
\ffim@"
(!;OGM Recording
(REC)Button : lt rsusedlo recordan OGM
fSln
use,
ANS,ANSSYSTEM
indicator.
(Seepage
16)
/OHOLD
Button : lt isused to pul thecalling
party
on holdduringa conversalion
@)Line
Buttons
and Indicators
OCONF (Conference)
Button : It isused
{or
3 wayconversalion
G)TIME/DAY
CHECK
Button : lt is used
fortheannouncement
of day and time.
OpnEOtnl Button : ll is used lc conlirmthe previously
dialed phonenumberbeforedialing.
,OAUTO/STORE
Button
: lt is'used to store
lhe telephone
numbers in memoryand to dralthe stored
telePhone
numbers
€)PAUSEBunon : lt is used to pause
whenprogramming
on a PBX,
or accessingan outside
lane
or a
computer-accessed
longdistanceservice.
{oFLASHButton : lt rsused ior callwaitingserviceand to access someof the leatures
ol yourPBX.
€)REDIAL
Button: ltisusedto redialthe
last
dialed
phone
number.
6VUff Button
and Indicator : lt is used
when
youdo notwanl your
voice
to be heardby otherparty
G)SP-PHONE
(Speakerphone)
ButtonandIndicator.
@Rewind
Button
(REW) : lt is used10
rewindthe ICM
tape.
('Fast ForwardButton
(FF) : lt ls usedtolasl fowardthe ICMtape.
(0)OGM
SELECT
Button : lt is usedtoselect
thedesired
OGM.
O,MEMO/2
WAY Button : The buttonserves
{orMEMOrecording
or 2 WAYconversation
recording.
GTTRANSFER
OGM Button : lt is usedto selecttransfer
OGM.
CDANS
SYSTEM
ONiOFFButton.
(ANSWET
SYSIEMON/OFF)
€DPOWER
FAILURE
LINEselector : This
switchservesto select
thelineto be used
when
a power
lailure
occurs.
€DLINE
MODEselector
: Normalythelinemodeselector
issetto A. set itto B when
your
unit
is
connected
to a PBX.
QlTelephone
Jack.
(L1
or L1/L2)
I
O3iTelephone
Jack.
(L2) ) (See
oage3-5)
€4rDC
Jack. )
o5''OGM
PLAYButton : lt is usedto play
theOGM.
QSICM
ERASE
Button
: lt isusedto
erasethe
lCM.
€TPLAYBACKPAUSE
Button : lt isused
to play
or stopthe recordedlCM.
@NEW
MESSAGE
(PB)
Button : lt isusedto playthenewmessages.
@ITRANSFER
Button
: This
button
isusedtotransferlCMs.
Oo)RINGER
volumeselector
LINE
2. (Seepage B)
fIRINGER
volumeselector
LINE
1.
(See
page
B)
(32CLEAR
Button
: This
button
servestodelele
commands
whiiestoring
phone
numberintomemory.
{3,D|AL|NG
MODE
selector.
(See
page
B)
(-3_TiTHYPHEN
Button : (Seepage 33)
05,VOfUUe
control: ll is usedto selectthedesired
volumelevel.
06)SECRET
Button : (Seepage 33)
(3])LOWER
Button : lt rsused to setthe lowermemorystatlon.
60PROGRAM
Button
: lt isused
to
program
telephone
numbers
andother
tunctions
(3.9.)M
icrophone (
MlC)
(4)Telephone
jackto connect
the handsetcord.
(OANS.
LINESELECTOR
: Thisswitch
serves
to select
the OGM'sfor each line.
(OLINE-OGN4
MODEselector
: Thisswitchseryes10selectthelinefor Incoming
calls.
Handset.....One
(P
4) OGM (Outgoing
Message)
lape (MC30) One ICM
(lncoming
Message)
tape
(MC30) . One
(P
3)-=-
l-o-l
l@l
lqE-*-all
lL61=.:agn!l
\('r ]ry
Wall-mountlng
adaptor" 'One
(P3)ffi
T'--{-) lwcl
l_-_--:" tw#-5,1
)
Installation
Be
sure
toinsert
the
cassettetapes
{or
outgoing
message(oGM)
andincoming
message
(lcM)
betore
connecting
theAC
adaptor.
1. Insert
the
cassette
tapes.
@ Remove
the
stopper
ofthemicro
cassette
tape.
@ Openthe
cassette
panel.
@ lnsert
the
micro
cassettetapeswith
the
fullreet
to
theleft,
2. Connect
theACadaptor
andHandset
Power
ouilet
(AC120V
60Hz)
Holder
Fasten the cord to the holder.
ACadaptor
(KX-A1
1)
Press
the
ANSSYSTEM
ON/OFF
switch
toturn
theunit
ON.
aThe
unit
willstart
to
reseltheOGM
tape
I USE
ONLypanasonic
AC
ADAPTOR
KX-AI
1.lf a power
failure
takes
place,
the
unitcanbe
used
asatypical
telephone.
4. Connect
the
telephone
linecord.
To connect
to a two-line
telephone
jack
4-wiredteleohone
linecord
withCLEAR
GREEN
plugs
telephone
4C)
t\
+ail
\
Two-line
iack
(RJ
1
fnstallation
lconr)
TRANSpARENT
ptugs
Y.€@i+.--
lfyou
use
theunit
asonty
a single-line
telephone
['"b?E:'Ji:""JJ:sffi:18',i:,i".]T,:il:,'JpJam
the
c
o
L
(ror
Ll)
to
"oN,,and
c
oL(ror
L2)
Toconnect
to two single_line
telephone
jacks
lote:
-When
using
this
connectjon,
you
can
use
only
LINE
2-line
telephone
features
are
nol
avarlable.
LINE
2
Single-line
telephone
jack
(RJ11C)
LINE
1
Single-line
telephone
jack
(RJt
tC)
t\
t/
''"'
<-wired
tetephone
line
cord
with
CLEAR
GREEN
ptugs
2-wired
telephone
line
cord
with
TRANSpARENT
ptugs
Select
the
Display's
Contrast
Choosethe
best
display
intensity
Press
the PROGRAM
button.
nA )6,^0
-lH '-lF
rp\ft\\
Press
"#" then
"0"
for
astart.
Select
one
among
1,
2 and
3
F!
r/\ Press
1(Low
intensity.)
Press
2 (Middte
intensity.)
Press
3(High
intensity.)
Press
thePROGRAM
button.
Memory
Card
Use
a pencil
ora ball-point
pen
tofillin
the
station
directory
with
stationname.(you
can
use
thereverse
sidefor
writing,
too.)
oRemove
the
cover
using
aninstrument
with
apointed
end,like
a pen.
.:
In
itial
Settings
These
settings
onlyhave
to
be
made
thelirst
time
you
use
the
unil,
andnot
evervtime
w
8x
",,"N8*0""'l
Place
the
Speed
Dialer
Name
Card
onto
the
unit
oWrite
stationnames
for
speed
dialing.
I
H
1LINE.OGM
MODE
tffi-l
ililt l
lul
ocirsEtEcr.
.L1-oGM1
L2-OGM2
Setthe
LINE
OGMMODEselector
OGM
SELECT:
The
preselected
OGM
(OGM
1
orOGM2)will
be
played
inanswertoa callcoming
in
oneither
line
(LINE
1
or
LINE2)
L1-OGM1,L2-OGM2: OGM
1Responds
acallonL'land
OGM
2answers
acallon
L2.
(See
page
38.)
2SettheLINEMODEselector
A..Normally
linemodeselector
is
sel
toA
B ..Set
it
to
B
when
your
unitisconnected
toPBX
(See
page
36)
7-LINE
LINEl
m
4..B
Motr1
LINE2
3poWER
FAILURE
IINFSEIECT
11"L2
Setthe
POWER
FAILURE
selector
This
switchserves
to
select
the
line
tobeusedwhen
a
power
tailureoccurs (See page 36 )
-4 R'NGEB
LNE1 LI^/f'2
oFF... HIGH
OFF... Htctl
LOW LOW
SettheRingerVolumeSelectortoHIGH
HIGH: Thering
sound
willbehigh.
LOW: The
ring
sound
willbelow.
OFF: The
telephone
willnotring.
5DIALING
MODE
PULS€. T IONE
Setthe
DIALINGMODEselector
toTONE
lfdialing
cannotbe done set
to "PULSE".
6Setthe
VOLUME
Itisusedtosetthedesired
volume
level
VOLUME
MIN --1 MAX
r----r--nrT[T--------'l
l___rlrxrxl_J
7A/VS.
t/NESETECIOR
[m
tul
AUTO...LINE1
LINE2
Set
theANS.LINE
SELECTOR
AUTO: Theunit
can
answera callcoming
througheither
LINE1
orLINE
2.
LINE
1: The
unitanswersa callcomino
throuohLINE
1
only.
LINE2: Theunit
answers
acallcominothrouqhLINE2
only /aoa nrno ?R I
\vuu Puvr vv./
Setting
the
Time
and
Day
Be
sure
that
thehandset
is
onthe
cradle,
the
Speakerphone
indicator
is
o{f,andthe
AC
adaptor
is
connected.
Until
you
setthe
time
and
day,the
Unitwill
nol
make
anannouncement.
67
ToConlirm
the
Time
andDav
1
Press
the
TIME/DAY
CHECK
button.
oThe unit
will
announce
thetimeand day.
oAM 12:00
flashes
on the LCD while
the
clockisnot
set
I In
case of a power
lailure
formorelhan 30 minutes,
theprogrammed
time shouldbe confirmed
again.
I The
accuracy
of the
clock will
be approximately
+45 secondsa month
al room lemperature.
n
1Press
the
PROGRAM
button.
TheDisolav
willshow
@
Example
:7:45
PM
Press
"#" then
press
"8"
toenter
thetime
andday adjusting
mode.
r--;-t
L{\ir
rp\ I
+
Enterthetime
(for
example
74 5)(O'!7' 44'
"5".
TheDisplav
will
show
theenlered
time.
Es01-q5
lfyou
madea mistake
entering
numbers,
press
"07 4 5"
x
t:
Pressit toset
AMorPM.
"PM"
and"AM"
arechanged
alternatelyeach
time
youpress
"
x " button.
.t+
1l
Press
"# " toadjust
the
day.
Each
time
youpress
the
"S" button,
theday
willbe
announced.
Keep
pressing
lhisbutton
untilthe
desired
day
isannounced.
Pressthe
AUTO/STORE
button.
A beep
isheard
and
the
unitannounces
thetimeand
day
Press
the
PROGRAM
button.
selecting
the
cpc (calfing
party
contr
Usually
the
CpC
mode
is
set
to
.,A,'
(for
no
call
waiting
servrce).
f.t^1gu
have
cail
waiting
service
orsome
lncoming
Meisages
areinterrupted,
set
ittoB.
"A"
is
the
initial
setting
when
the
unit
is
shjpped.
1Press
the
PROGRAM
button.
The
Dsplay
wiil
show
Press
"#,,,thenpress
,,1',
for
cpc settingr
"A"
will
be
disptayed.
Press
"'1
" or"2".
Press
"1"
for
mode
,,A"
(The
Disptay..
,,ff',)
Press
"2"
for
mode
,,8',
(The
Disptay
. ,,
! ")
Press
theAUTO/STORE
button.
The
Display
will
show
@
Press
the
PROGRAM
button.
The
regular
display
showing
the
time
and
the
number
of
calls
on
each
line
will
be
shown.
The
display
normally
shows
the
time
and
the
number
ofCalls
received
oneach
line.
j
j
I
E
';
i
d
f,
:;::::"i" rhe
handser
isonrhecradle,
thespeakerphone
indicaror
isoffandrhe
AC adaptor
is
Selecting
theNumber
ofRings
t isused
toselect
thering
time
whenthis
unitanswers
the
calls
1PressthePROGRAM
button.
TheDisplay
will
show
@
Press
"# ",then
press
"7"
fornumber
of
rings
setting.
[M
/r\
(/
Selectthenumber
ofrings
by
pressing
"0",
"1",
"2"...
or
"7".
"0"...Auto
(The
Display.
"1"...one
(The
Display..
"7"...7
rings
(LCDisplay..."
l")
. "8") See
"AUTO
Setting".
Press
theAUTO/STORE
button.
TheDisplay
will
show
@
$ er"r.thePROGRAM
button.
"2
rings"
is
theinitial
setting,when
theunit
isshipped
Function
oftheAUTO
setting
(TOLL
SAVER)
When
you
calltheunit
from
anoutside
phone,
thenumber
o{rings
that
ittakesfor
theunitto
answer
lellsyou
i{
thereareanynewmessages.
lf
the
unit
answers
onthe
2ndring:Thereis
alleast
one
newmessage.
lf
the
unit
answers
onthe
4th
ring:
There
arenonew
messages.
Hang
up
immediately
when
you
hear
the3rdring.
Because
the3rd
ring
indicates
thereare
no
new
messages.
Thiswill
save
you
thetollcharge
for
thecall
bentng
tneHemote
Code
Be
sure
that
thehandset
is
on
the
cradle,
the
speakerphone
indicator
rs
off,
and
the
AC
adaptor
is
connected. Press
the
PROGRAM
button.
The
Display
will
show
1@
#l+ xPress
"#" then
press
,,1(',
lor
remote
code
setting.
The Display
willshow
the previously
stored
remote
code
numDer.
Press
the
code
number
you
want.
The
Display
will
show
the
entered
number.
You
can
set
andremember
your
ownremote
code
number
Chooseyour
code
number
among
the
number
0-999.
Press
the
AUTO/STORE
button.
The
Display
will
show
Press
the
PROGRAM
button.
owe recommend
that
you
do not
useseven
(7),
eight
(B),
andzero(0)
asa remote
code
number,
since
these
numbers
are
the
command
numbers,lor
,,ianceiling
tn"'nn.*". rrrrode,,
and,.Re_
recording
the
OGMs".
9@
IJ

Other Panasonic Telephone manuals

Panasonic KX-TG4732B User manual

Panasonic

Panasonic KX-TG4732B User manual

Panasonic KX-TGP500B04 User manual

Panasonic

Panasonic KX-TGP500B04 User manual

Panasonic KX-TGP60 User manual

Panasonic

Panasonic KX-TGP60 User manual

Panasonic PanaVoice Courier User manual

Panasonic

Panasonic PanaVoice Courier User manual

Panasonic T-Mobile KX-HDV130 User manual

Panasonic

Panasonic T-Mobile KX-HDV130 User manual

Panasonic EASA-PHONE KX-T61630 User manual

Panasonic

Panasonic EASA-PHONE KX-T61630 User manual

Panasonic KX-DT546 User manual

Panasonic

Panasonic KX-DT546 User manual

Panasonic KX-TS4100 User manual

Panasonic

Panasonic KX-TS4100 User manual

Panasonic KX-TA824 Owner's manual

Panasonic

Panasonic KX-TA824 Owner's manual

Panasonic KX-T2373MXW User manual

Panasonic

Panasonic KX-T2373MXW User manual

Panasonic KX-TG2257S - 2.4 GHz Digital Cordless... User manual

Panasonic

Panasonic KX-TG2257S - 2.4 GHz Digital Cordless... User manual

Panasonic Easa-Phone KX-T1000 User manual

Panasonic

Panasonic Easa-Phone KX-T1000 User manual

Panasonic EASA-PHONE KX-T61630 User manual

Panasonic

Panasonic EASA-PHONE KX-T61630 User manual

Panasonic KX-T7400 Series Installation and operating instructions

Panasonic

Panasonic KX-T7400 Series Installation and operating instructions

Panasonic TGP600 User manual

Panasonic

Panasonic TGP600 User manual

Panasonic KX-T7320 User manual

Panasonic

Panasonic KX-T7320 User manual

Panasonic G450 User manual

Panasonic

Panasonic G450 User manual

Panasonic ICX User manual

Panasonic

Panasonic ICX User manual

Panasonic KX-TGF380 User manual

Panasonic

Panasonic KX-TGF380 User manual

Panasonic KX-TA1232 User manual

Panasonic

Panasonic KX-TA1232 User manual

Panasonic KX-NT560 User manual

Panasonic

Panasonic KX-NT560 User manual

Panasonic KX-NT511 User manual

Panasonic

Panasonic KX-NT511 User manual

Panasonic KXTSC50B - PHONE/ANSWER MACHINE User manual

Panasonic

Panasonic KXTSC50B - PHONE/ANSWER MACHINE User manual

Panasonic EASA-PHONE KX-T123211D Troubleshooting guide

Panasonic

Panasonic EASA-PHONE KX-T123211D Troubleshooting guide

Popular Telephone manuals by other brands

Philips BaseLine Pro manual

Philips

Philips BaseLine Pro manual

V-tech i6772 user guide

V-tech

V-tech i6772 user guide

BT FREELANCE XD 5100 quick start guide

BT

BT FREELANCE XD 5100 quick start guide

Uniden 1360 user guide

Uniden

Uniden 1360 user guide

Fanvil D800 user manual

Fanvil

Fanvil D800 user manual

Avaya IP500 user guide

Avaya

Avaya IP500 user guide

NEC Univerge SV9100 installation manual

NEC

NEC Univerge SV9100 installation manual

Amanda MiniSOHO Installation and programming manual

Amanda

Amanda MiniSOHO Installation and programming manual

Hitachi SelecSet 900 Series user guide

Hitachi

Hitachi SelecSet 900 Series user guide

mPTech HAMMER BS21 quick start guide

mPTech

mPTech HAMMER BS21 quick start guide

NEC 2000IVX user guide

NEC

NEC 2000IVX user guide

ooma Phone Genie quick start guide

ooma

ooma Phone Genie quick start guide

Siemens Gigaset S450 user guide

Siemens

Siemens Gigaset S450 user guide

Clarity RC100 operating instructions

Clarity

Clarity RC100 operating instructions

GE 2-9480 user guide

GE

GE 2-9480 user guide

Geemarc PHOTOPHONE 155 user guide

Geemarc

Geemarc PHOTOPHONE 155 user guide

Interquartz Gemini IQ333 operating instructions

Interquartz

Interquartz Gemini IQ333 operating instructions

SSS Siedle HT 840-0 operating instructions

SSS Siedle

SSS Siedle HT 840-0 operating instructions

manuals.online logo
manuals.online logoBrands
  • About & Mission
  • Contact us
  • Privacy Policy
  • Terms and Conditions

Copyright 2025 Manuals.Online. All Rights Reserved.