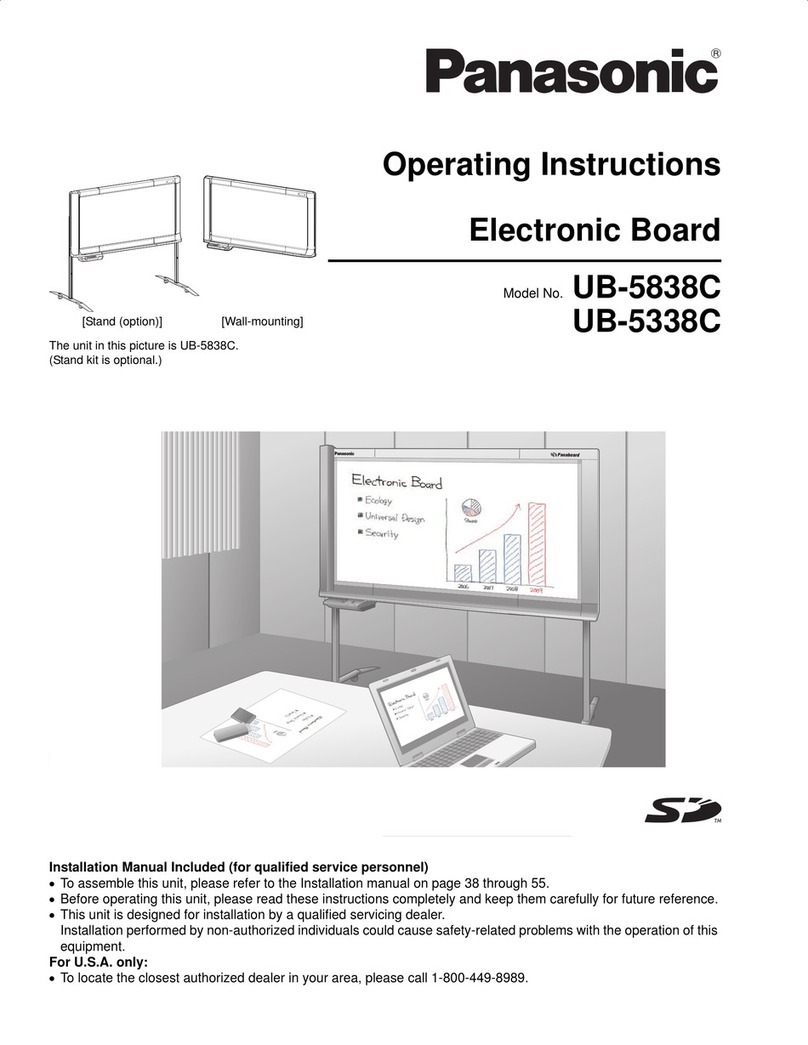
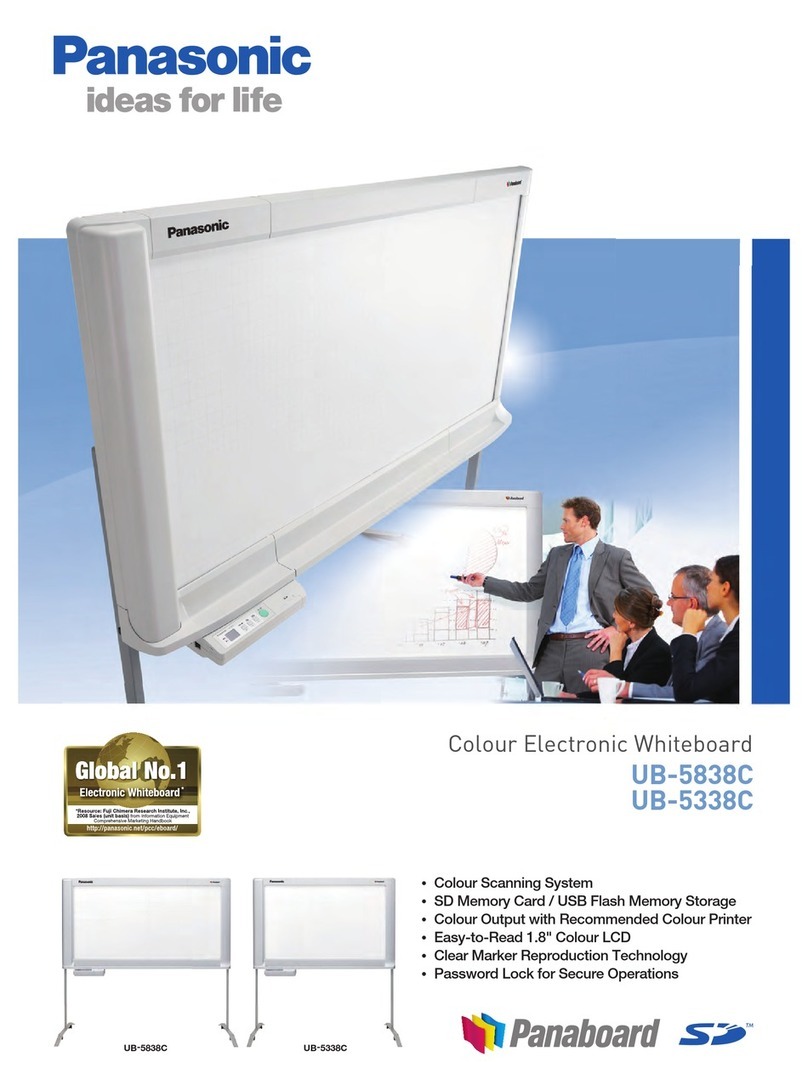
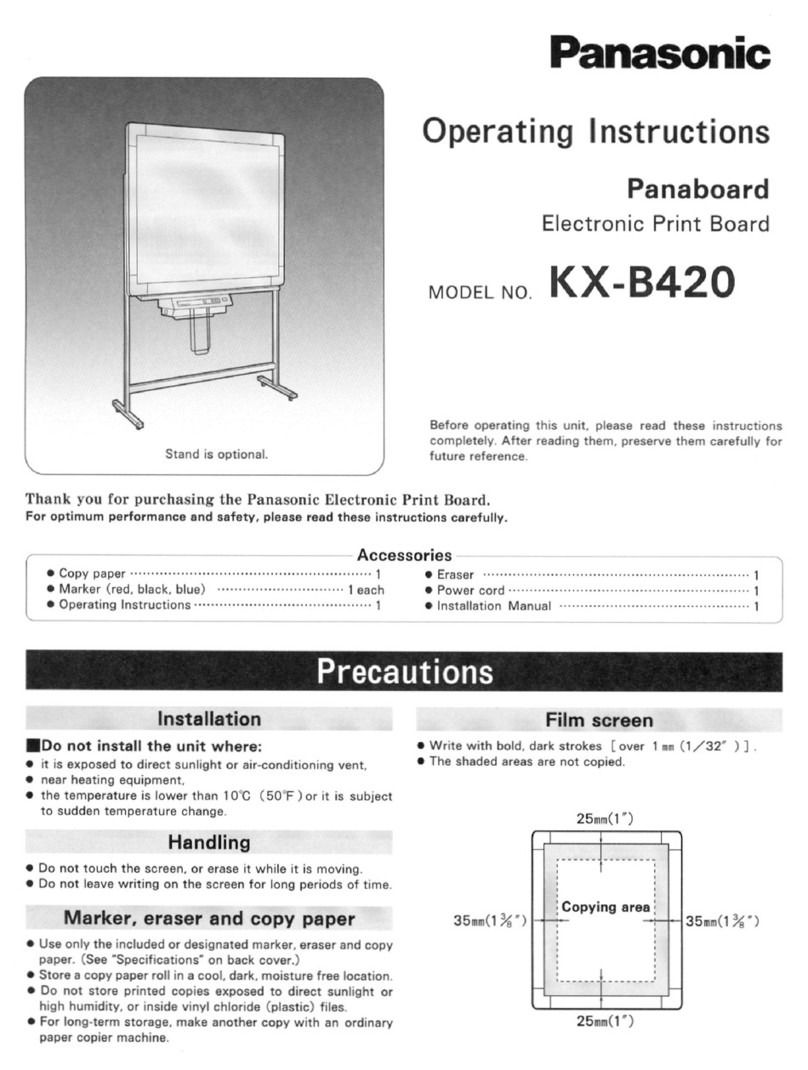
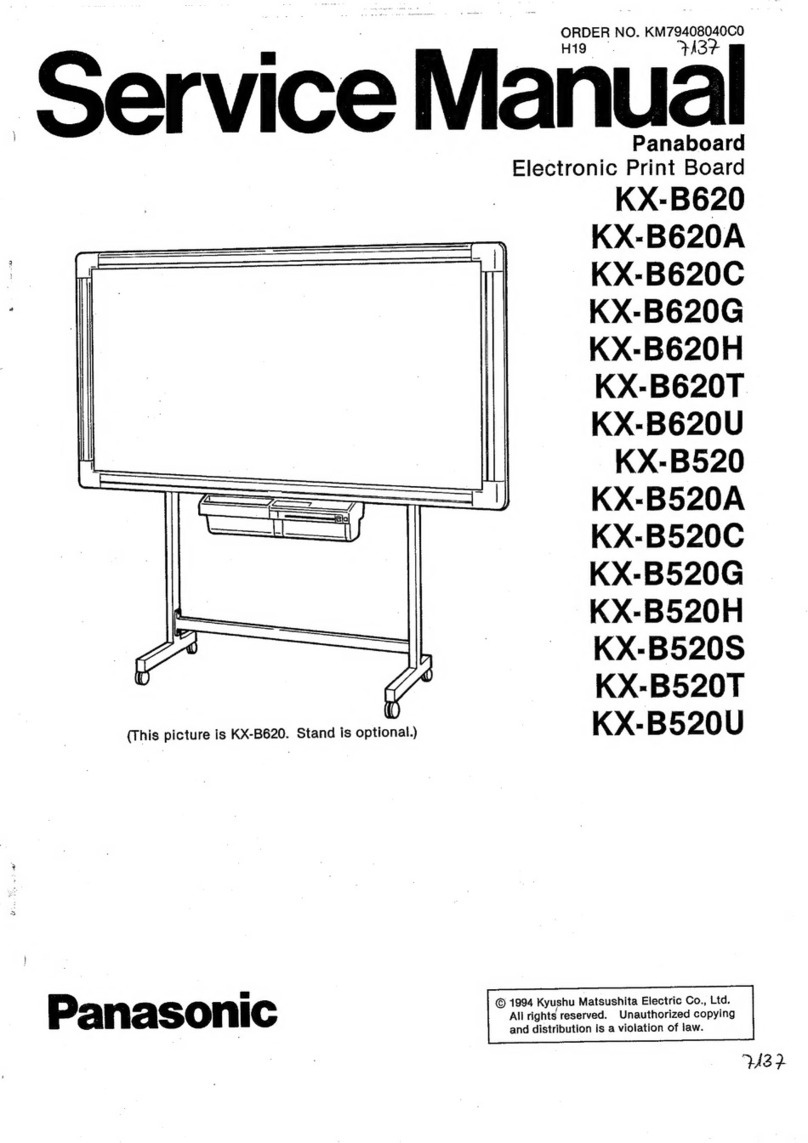
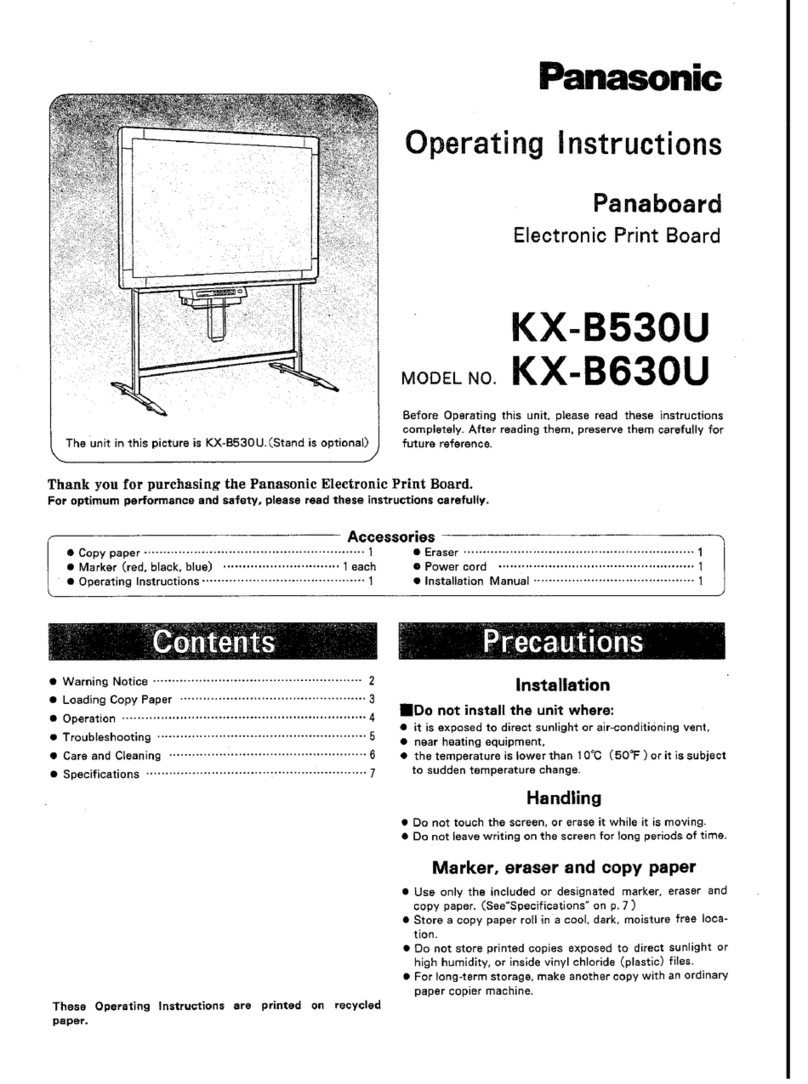
Panasonic KX-B520A User manual

Panasonic
Operating
Instructions
Manuel
d’utilisation/Bedienungsanleitung
Instrucciones
de
funcionamiento/Istruzioni
d’uso
Gebruiksaanwijzing
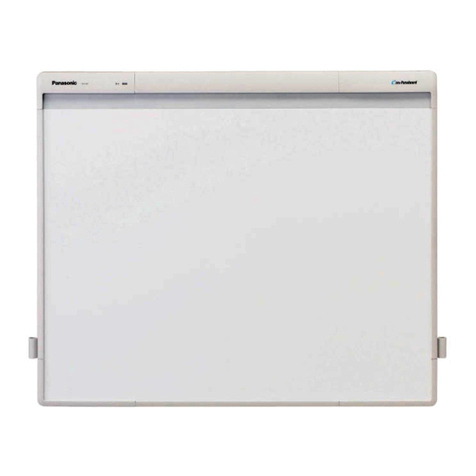
The
unit
in
this
picture
is
KX-B620
series.
(Stand
is
optional)
MODEL
NO.
Copy
paper................000.
Papier
de
copie
Kopierpapier
................04.
Papel
para
copias
Carta
termica
Kopieerpapier..................
dinstallation.
Markers
(red,
black,
blue)...
. .
1
each
Marqueurs
(rouge,
noir,
bleu)
.....
1
de
chaque
Farbstifte
(rot,
schwarz,
blau
je
1
Stift)
Rotuladores
(rojo,
azul
y
verde)
.
.1
de
cada
color
Pennarelli
(rosso,
nero,
blu)
1
ciascuno
Stiften
(rood,
zwart,
blauw)
.
.
1
van
elk
®Accessories
used
for
the
installation
of
the
electronic
print
board
are
listed
in
the
Installation
Manual.
La
liste
des
accessoires,
utilisés
pour
l'installation
du
tableau
A
impression
électronique,
se
trouve
dans
le
Manuel
©Das
Zubehér
fiir
die
Installation
der
elektronischen
Schreibtafel
ist
im
Installation-Manual
aufgefiihrt.
Los
accesorios
para
efectuar
la
instalacion
de
la
pizarra-impresora
electronica
se
indican
en
el
manual
de
instalacion.
Gli
accessori
usati
per
I’installazione
della
lavagna
stampante
elettronica
sono
elencati
nel
manuale
d’installazione.
Het
toebehoren
voor
de
installatie
van
het
elektronische
whiteboard
staat
vermeld
in
het
Installatiehandboek.
Panaboard
Electronic
Print
Board
Tableau
a
impression
électronique
Elektronische
Schreibtafel
Pizarra-impresora
electronica
Lavagna
copiatrice
elettronica
Elektronisch
whiteboard
KX-B520A/KX-B520C
KX-B520G/K
X-B520H
KX-B520S/KX-B520T
KX-B520U
KX-B620A/KX-B620C
KX-B620G/KX-B620H
KX-B620T/KX-B620U
a
Accessories/Accessoires/Zubehér/Accesorios/Accessori/Toebehoren
st
EVOSOM
is
estirntbacawte
acu
aa
ae
1
EHACOUE
35404
dee
Sete
Sees
as
1
Rader
sce
naiie
ode
teas
ous
1
Boradoe
sss
Keneaea
ana
iae
snares
1
Cancellino
.............
0.
cece
1
Bordenwisser
..................
1
Before
operating
this
set,
please
read
these
instructions
completely.
After
reading
them,
preserve
them
carefully
for
future
reference.
spueapan
ysiBug
sieduel4
oO
o
¢
=
D
te)
=
=
a
Fy
3:
fe]
For
warning
notices
and
requirement,
see
pages
2
and
3.
Pour
les
notices
d’avertissement
et
les
impératifs,
voir
les
pages
2
et
3.
Siehe
Seite
2
und
3
fiir
Vorsichtshinweise
und
Anforderungen
an
Verbrauchsmaterialien.
Para
los
avisos
y
requerimientos,
consulte
las
paginas
2
y
3.
Per
le
awertenze
e
i
requisiti,
vedere
alle
pagg.
2
e
3.
Voor
waarschuwingen
en
voorzorgsmaatregelen,
zie
biz.
2
en
3.
Eniglishis)
sit
552.5,t-s)
etc
acure
celts
access
eh
heise
g
wseneng
4-6,
22
Espanol
$2:h
foc,
thy
dioecet
ae
muatie
negate
13-15,
23
PIANCAIS:
ceive
dp
40
op
Renyaaw
emir
evmes
34
7-9,
22
MaNaRO
Mick
cos
fia
eda
p
et
esuwe
sae
16-18,
23
DSUISCHis
foes
eas.)
Gen
saab
ee
ete
10-12,
22
Nederlands
.........
00...
cece
cee
cee
aees
19-21,
23
|
csvanot
|
CAUTION:
PRECAUCION:
TO
PREVENT
RISK
OF
ELECTRIC
SHOCK
HAZ-
ARD,
DO
NOT
REMOVE
THE
COVER
OF
THIS
PRODUCT.
REFER
SERVICING
TO
QUALIFIED
SERVICE
PERSONNEL.
WARNING:
TO
PREVENT
FIRE
OR
SHOCK
HAZARD,
DO
NOT
EXPOSE
THIS
PRODUCT
TO
RAIN
OR
ANY
TYPE
OF
MOISTURE.
THE
SOCKET
OUTLET
SHALL
BE
PLACED
CLOSE
TO
THE
EQUIPMENT
AND
SHALL
BE
EASILY
AC-
CESSIBLE.
Attention:
Pour
éviter
tout
risque
de
choc
électrique,
ne
pas
déposer
le
couvercle
de
cet
appareil.
Confier
tout
tra-
vail
d’entretien
@
un
personnel
de
service
qualifié.
Avertissement:
Pour
éviter
tout
risque
d’incendie
ou
de
choc
électrique,
ne
pas
soumettre
cet
appareil
a
la
pluie
ou
a
l'humidite.
PARA
EVITAR
EL
RIESGO
DE
SUFRIR
DESCARGAS
ELECTRICAS
NO
QUITE
LA
TAPA
DE
ESTE
APARATO.
LAS
REPARACIONES
DEBEN
REALIZARLAS
EL
PERSONAL
TECNICO
CUALIFICADO.
AVISO:
PARA
EVITAR
LLAMAS
O
_
DESCARGAS
ELECTRICAS
NO
EXPONGA
ESTE
APARATO
A
LA
LLUVIA
NI
A
LA
HUMEDAD.
italiano
PRECAUZIONE:
PER
EVITARE
|
PERICOLI
D'INCENDIO
E
SCOSSE,
NON
TOGLIERE
IL
COPERCHIO.
PER
QUALSIASI
RIPARAZIONE,
RIVOLGERSI
A
PERSONALE
TEC-
NICO
QUALIFICATO.
ATTENZIONE:
PER
EVITARE
!
PERICOLI
D'INCENDIO
E
SCOSSE,
NON
ESPORRE
QUESTO
APPARECCHIO
ALLA
PIOGGIA
O
ALL’UMIDITA.
Nederlands
Achtung:
Zur
Verhitung
von
elektrischem
Schlag
die
Abdeckung
dieses
Gerates
nicht
entfernen.
Wartung
nur
durch
qualifiziertes
Wartungspersonal.
Warnung:
Zur
Verhitung
von
Feuer
dem
und
elektrischem
Schlag
dieses
Erzeugnis
nicht
Regen
oder
sonstiger
Feuchtigkeit
aussetzen.
Das
Gerat
nur
an
einer
gut
zuganglichen
Steckdose
anschlieBen!
LET
OP:
OM
HET
RISICO
VAN
ELEKTRISCHE
SCHOKKEN
TE
VOORKOMEN,
MAG
DE
BESCHERMING
NIET
VAN
DIT
PRODUKT
WORDEN
VERWIJDERD.
LAAT
ONDERHOUDSWERKZAAMHEDEN
OVER
AAN
ERKENDE
VAKLIEDEN.
WAARSCHUWING:
OM
BRAND-
OF
SCHOKGEVAAR
TE
VOORKOMEN,
MAG
DIT
PRODUKT
NIET
AAN
REGEN
OF
VOCHT
WORDEN
BLOOTGESTELD.

For
users
in
LtaT-mOlalh
(cro
@laveceleluimeyal
hi
Safety
Information
This
appliance
is
supplied
with a
moulded
three
pin
mains
plug
for
your
safety
and
convenience.
A
5
amp.
fuse
is
fitted
in
this
plug.
Should
the
fuse
need
to
be
replaced
please
ensure
that
the
replacement
fuse
has
a
rating
of
5
amps.
and
that
it
is
approved
by
ASTA
or
BSI
to
BS1362.
Check
for
the
ASTA
mark
@>
or
the
BSI
mark
@
on
the
body
of
the
fuse.
If
the
plug
contains
a
removable
fuse
cover
you
must
ensure
that
it
is
refitted
when
the
fuse
is
replaced.
If
you
lose
the
fuse
cover
the
plug
must
not
be
used
until
a
replacement
cover
is
obtained.
A
replacement
fuse
cover
can
be
pur-
chased
from your
local
Panasonic
Dealer.
If
the
fitted
moulded
plug
is
unsuitable
for
the
socket
outlet
in
your
home
then
the
fuse
should
be
removed
and
the
plug
cut
off
and
disposed
of
safely.
There
is
a
danger
of
severe
electrical
shock
if
the
cut
off
plug
is
inserted
into
any
13
amp.
socket.
If
a
new
plug
is
to
be
fitted
please
observe
the
wiring
code
as
shown
below.
If
in
any
doubt
please
consult
a
qualified
electrician.
WARNING:
This
appliance
must
be
earthed.
IMPORTANT:
The
wires
in
this
mains
lead
are
coloured
in
accordance
with
the
following
code.
Green-and-Yellow:
Earth
Blue:
Neutral
Brown:
Live
As
the
colours
of
the
wire
in
the
mains
lead
of
this
appliance
may
not
correspond
with
the
coloured
markings
identifying
the
terminals
in
your
plug,
proceed
as
follows.
The
wire
which
is
colored
Green-and-Yellow
must
be
con-
nected
to
the
terminal
in
the
plug
which
is
marked
with
the
letter
E
or
by
the
Earth
symbol
+
or
coloured
Green
or
Green-and-Yellow.
The
wire
which
is
coloured
Blue
must
be
connected
to
the
terminal
in
the
plug
which
is
marked
with
the
letter
N
or
coloured
Black.
The
wire
which
is
coloured
Brown
must
be
connected
to
the
terminal
in
the
plug
which
is
marked
with
the
letter
L
or
coloured
Red.
How
to
replace
the
fuse:
Open
the
fuse
compartment
with
a
screwdriver
and
replace
the
fuse.
FUSE
This
apparatus
was
produced
in
compliance
with
BS
800.
For
users
in
the
United
States
Only
Note:
This
equipment
has
been
tested
and
found
to
comply
with
the
limits
for
a
Class
B
digital
device,
pursuant
to
Part
15
of
the
FCC
Rules.
These
limits
are
designed
to
provide
reasonable
protection
against
harmful
interference
in
a
resi-
dential
installation.
This
equipment
generates,
uses
and
can
radiate
radio
frequency
energy
and,
if
not
installed
and
used
in
accordance
with
the
instructions,
may
cause
harmful
inter-
ference
to
radio
communications.
However,
there
is
no
guar-
antee
that
interference
will
not
occur
in
a
particular
installation.
If
this
equipment
does
cause
harmful
interfer-
ence
to
radio
or
television
reception,
which
can
be
deter-
mined
by
turning
the
equipment
off
and
on,
the
user
is
encouraged
to
try
to
correct
the
interference
by
one
or
more
ee
—Reorient
or
relocate
the
receiving
antenna.
—Increase
the
separation
between
the
equipment
and
re-
ceiver.
—Connect
the
equipment
to
an
outlet
on
a
circuit
different
from
that
to
which
the
receiver
is
connected.
—Consult
the
dealer
or
an
experienced
radio/TV
technician
for
help.
FCC
Warning:
Any
unauthorized
changes
or
modifi-
cations
to
this
equipment
will
void
the
user's
authority
to
operate.
For
users
in
the
Canada
only
Pour
les
utilisateurs
au
Canada
This
digital
apparatus
does
not
exceed
the
class
B
limits
for
radio
noise
emissions
from
digital
apparatus
set
out
in
the
radio
interference
regulations
of
the
Canadian
Department
of
Communications.
Linterférence
radioélectrique
générée
par
cet
appareil
numérique
de
type
B
ne
dépasse
pas
les
limites
énoncées
dans
le
réglement
sur
les
perturbations
radioélectriques,
section
appareil
numérique,
du
Ministere
des
Communica-
tions.
Fur
Benutzer
in
der
BRD
Lesen
Sie
diese
Bedienungsanleitung
bitte
genau;
Sie
werden
dadurch
schneller
alle
Médglichkeiten
des
KX-B520G/KX-B620G
nutzen
kénnen.
a
Se
Diese
Bescheinigungen
sind
nur
fiir
die
Bun-
desrepublik
Deutschland
giltig.
Bescheinigung
des
Herstellers/Importeurs
Hiermit
wird
bescheinigt,
daB
der/die/das
Elektronische
Schreibtafel
Modell
KX-B520G/
KX-B620G
wahlweise
mit
entsprechendem
Zubehér
(Gerat,
Typ,
Bezeichnung)
in
Ubereinstimmung
mit
den
Bestimmungen
der
BMPT-Amtsblatt
Vfg243/1991
funkentstért
ist.
Der
vorschriftsmaBige
Betrieb
mancher
Gerate
(z.B.
MeBsender)
kann
allerdings
gewissen
Einschrankungen
unterliegen.
Beachten
Sie
deshalb
die
Hinweise
in
der
Bedienungsanleitung.
Dem
Bundesamt
fir
Zulassungen
in
der
Telekommunikation
wurde
das
Inverkehrbringen
die-
ses
Geraétes
angezeigt
und
die
Berechtigung
zur
Uberprifung
der
Serie
auf
die
Einhaltung
der
Bestimmungen
eingeraumt.
Panasonic
Deutschland
GmbH
Winsbergring
15
22525
Hamburg
(Name
und
Anschrift
des
Herstellers/Importeurs)
Der
arbeitspiatzbezogene
Gerduschemissionswert
dieses
Gerates
ist
<70
dB
(A)
nach
DIN
45635
Teil
19.

Thank
you
for
purchasing
the
Panasonic
Electronic
Print
Board.
For
optimum
performance
and
safety,
please
read
these
instructions
carefully.
Please
ask
your
dealer
regarding
assembly
and
installation.
Precautions
ees
Installation
#
Do
not
install
the
unit
where:
®it
is
exposed
to
direct
sunlight,
airconditioning
outlet,
near
heating
equipment,
*the
temperature
is
10°C
(50°F)
or
lower,
or
it
is
subject
to
sudden
temperature
change.
m@
When
using
an
optional
stand,
be
careful
of
the
following:
®
Always
lock
the
stand
to
prevent
fall
or
shakiness.
®if
the
stand
is
difficult
to
lock
or
unlock,
push
the
unit
lightly
to
raise
the
stand,
and
then
lock
or
unlock.
When
the
unit
is
moved,
reset
the
copy
paper
to
prevent
a
paper
jam.
elf
the
unit
is
moved
from
a
cold
location
to
a
warm
one,
condensation
may
form.
So
wait
for
a
few
minutes
before
operation.
Do
not
touch
the
screen,
or
erase
it
while
it
is
being
moved.
®Do
not
leave
writing
on
the
screen
for
long
periods
of
time.
Loading
a
copy
paper
Marker,
eraser,
and
copy
paper
Use
only
the
included
or
designated
marker,
eraser
and
copy
paper.
(See
“Specifications”
on
p.
22.)
®Store
a
copy
paper
roll
in
a
cool,
dark,
moisture
free
loca-
tion.
®Do
not
store
printed
copies
exposed
to
direct
sunlight
or
high
humidity,
or
inside
vinyl
chloride
(plastic)
files.
®For
long-term
storage,
make
another
copy
with
an
ordinary-
paper
copier
machine.
Write
with
bold,
dark
strokes
[over
1
mm
(¥42")].
@The
shaded
area
are
not
copied.
35
mm
(198")
NJ
[KX-B520)
51
mm
(2”)
[KX-B620]
35
mm
(1398")
Copying
Area
35
mm
(138)
(KX-B520/KX-B620]
Press
“PUSH
OPEN”.
Printer
door
is
opened.
Wrong
direction
..
EXE
3
Pass
the
paper
between
the
feed
roller
and
the
paper
guide,
and
into
the
printer
slot
then
allow
it
to
protrude
about
6
cm
(236").
2
Load
a
copy
paper
roll.
®Be
careful
of
the
direction
of
a
roll.
é6cm
(238")
4
Push
up
the
printer
door
to
close
it
securely.
Press
down
“CUT”.
—
The
paper
is
cut
off.
@
Load
a
new
roll
when:
Red
bands
becomes
visible
at
the
edge
of
the
copy
paper.
The
PAPER
OUT
indicator
lights
red
even
after
the
printer
door
is
closed
properly.

Operation
(To
make
copies)
Tray
Place
markers
and
eraser
here.
Power
plug
Plug
into
an
AC
outlet.
Control
Panel
Power
indicator
Paperout
indicator
(See
“Specifications”
on
p.
22.)
1
Press
“1”
side.
—
The
unit
is
turned
on
and
the
POWER
indicator
lights
green,
—
The
screen
advances
to
the
left
and
position
itself
properly.
®Confirm
the
PAPER
OUT
indicator
is
off.
(If
not,
refer
to
“Loading
a
copy
paper”.)
When
not
in
use,
be
sure
to
turn
the
power
off.
2
Press
“COPY”,
—
Writing
on
the
screen
is
copied.
3
Press
down
“CUT”.
—
The
copy
paper
is
cut
off.
@
When
you
want
a
copy
of
a
chart
paper
Power
indicator
Affix
it
to
the
screen
with
two-sided
tape.
\
m@
When
a
second
copy
of
the
same
Use
drafting
tape
made
screen
is
needed.
by
3M®
or
another
tape
Press
the
ADVANCE
key
,
then
press
the
whose
adhesive
is
not
COPY
key
[Bz
again.
very
strong.
When
you
need
more
copies,
use
a
normal
photocopier.
eWrinkles
or
fold
marks
may
cause
black
shadows
on
mTo
bring
the
2nd
screen
to
the
front
the
copy.
Press
the
ADVANCE
key
to
advance
the
screen.
SD
Optional
Stand
This
unit
can
be
mounted
on
the
wall
or
placed
on
the
optional
stand
(KX-BO6CS/KX-BO6C).
©To
fix
the
unit
In
place
Lock
the
caster.
Lower
the
extension
leg.
@When
moving
the
unit
Raise
the
extension
Unlock
the
caster.
leg
by
holding
down
the
pin.

Care
and
cleaning
a
es
Be
sure
to
turn
off
the
power
and
unplug
the
power
plug
before
cleaning.
@
Cleaning
the
film
screen
and
the
unit
body
@
Cleaning
the
print
head
Wipe
gently
with
a
soft
cloth,
dipped
in
water
and
wrung
Wipe
gently
with
a
cotton
swab,
dipped
in
ethyl
alcohol.
out
thoroughly.
Printer
head
(yellow)
For
hard
stains,
use
a
small
amount
of
household
detergent
dissolved
in
water.
For
accidental
writing
by
an
oil
marker,
use
a
small
amount
of
ethyl
alcohol.
Side
view,
with
printer
door
open.
Cotton
swab
@
Cleaning
the
eraser
Notes:
When
the
eraser
becomes
blackened
with
ink,
remove
Never
use
thinner,
benzine
or
detergent
containing
abra-
the
wiping
portion
as
illustrated
below,
wash
well
with
sives.
; ; ; '
household
detergent,
then
dry
thoroughly
in
a
shaded
Never
wipe
the
screen
with
a
dry
cloth,
since
this
may
area.
cause
a
static
electricity.
Never
touch
the
printer
head
and
its
surrounding
area
with
Reference:
your
fingers.
Both
sides
can
be
used.
Power
won't
turn
on.
No
copy
paper
emerges
after
the
Paper
is
exhausted.
(PAPER
OUT
indicator
lights
red.)
COPY
Key
is
pressed.
->
Load
a
new
paper.
(See
p.
4.)
Printer
door
is
open.
(PAPER
OUT
indicator
lights
red.)
—
Close
the
door
gently
until
a
click
is
heard.
Paper
is
jammed.
—
Remove
the
jammed
paper
and
cut
off
the
wrinkled
portion.
Nothing
is
printed
on
the
paper.
Confirm
the
paper
is
loaded
with
the
right
side
on.
(See
p.
4.)
Copies
are
faint
or
blurred.
Your
writing
is
too
thin
or
faint.
—
Write
with
thicker,
darker
strokes,
or
use
a
new
marker.
Printer
door
is
slightly
open.
—
Close
the
door
gently
until
a
click
is
heard.
Poor
defined
stripes
or
unwanted
The
printer
head
is
dirty.
lines
appear
on
the
copy.
—
Open
the
printer
door
and
wipe
the
printer
head.
(See
p.
4
and
6.)
Black
lines
appear
on
the
copy.
The
room
temperature
is
10°C
(50°F)
or
lower.
—
After
raising
the
temperature,
turn
the
power
off
and
then
back
on,
then
recopy.
The
screen
doesn't
advance
when
Static
electricity
is
generated
when
cleaning.
the
COPY
or
ADVANCE
Key
is
—
Turn
off
the
power
and
move
the
screen
gently
by
hand.
pressed.
Large
amount
of
ink
dust
remain
on
|
Wipe
the
screen.
(See
p.
6.)
the
film
screen.
—
After
cleaning,
turn
on
the
power
switch
once.
This manual suits for next models
12
Table of contents
Other Panasonic Whiteboard manuals

Panasonic
Panasonic TX-47P800HQ TX-47P800HZ User manual

Panasonic
Panasonic KX-B520A User manual

Panasonic
Panasonic KX-B620 User manual

Panasonic
Panasonic Panaboard KX-B530U User manual

Panasonic
Panasonic UB-5338C User manual

Panasonic
Panasonic UB-T580 User manual

Panasonic
Panasonic UB-5838C User manual

Panasonic
Panasonic Panaboard KX-B420 User manual

Panasonic
Panasonic ElitePANABOARD UB-T880 User manual

Panasonic
Panasonic UB-T580 User manual