6
Installation Guide
AT-CAP-SP100
1. Press the power button until the unit turns on. A beep will play to indicate the power has
turned on.
2. Connect the unit to the audio conference device (e.g. PC).
a. Bluetooth - Bluetooth will start ashing blue when powered on to connect. If
connected through USB-C to a computer, the bluetooth button should be pressed and
held for 5 seconds to enable pairing. Go to the conference device and select the AT-CAP-
SP100 from the Bluetooth device list.
b. AUX - Connect the AT-CAP-SP100 to the audio conference device using the included
AUX cable. The device should auto detect the speakerphone.
c. USB - Connect the AT-CAP-SP100 to the audio conference device using the included
USB-C to USB A cable. The device should auto detect the unit.
3. Select the AT-CAP-SP100 as the default audio device for input and playback.
The AT-CAP-SP100’s internal battery will come with a small power charge. The unit will need to
be charged fully before using.
a. If using the unit with the USB-C to USB A cable, it will charge while in use and
nothing additional will be needed.
b. If using the unit with the AUX cable or over Bluetooth, the device can be powered
through the included USB-C to USB A cable or using Qi wireless charging.
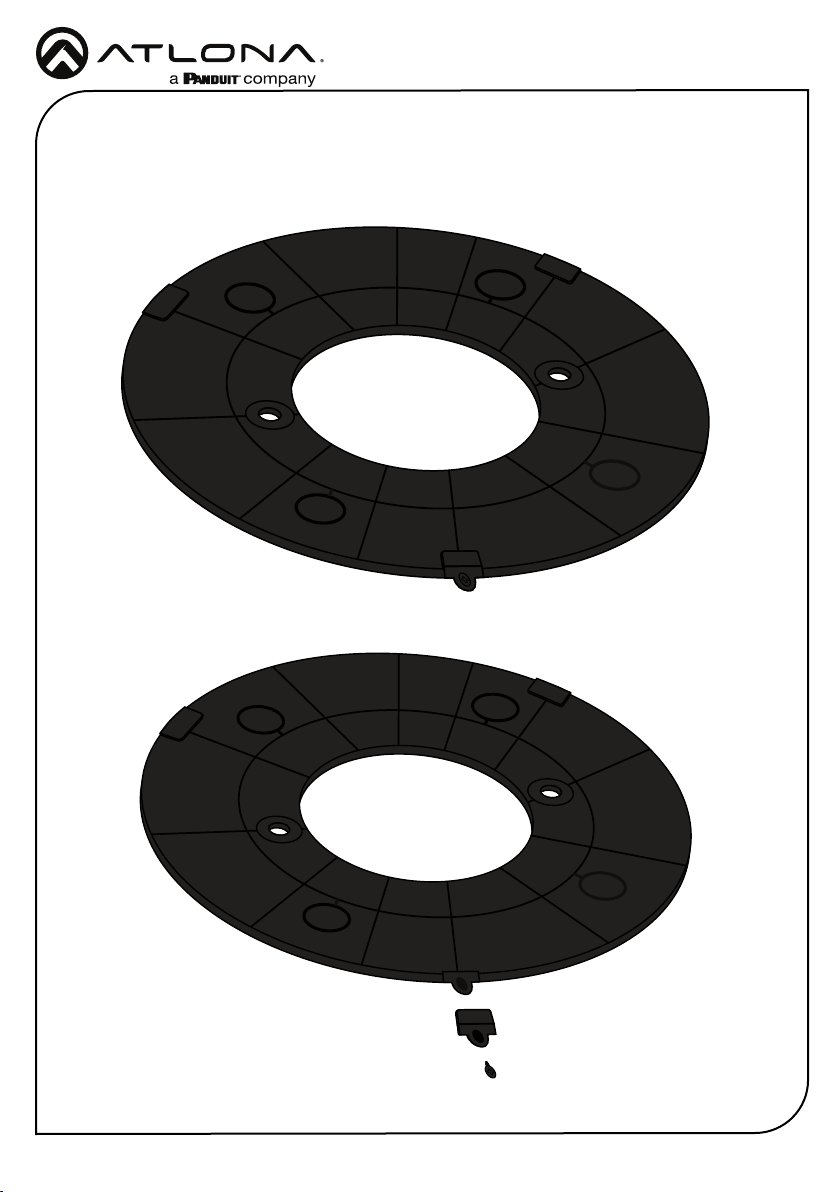
There are many types of Qi chargers. To work with the AT-CAP-SP100, it must provide 7.5W for
power. Atlona has tested some chargers to ensure compatibility. See the table below for tested
Qi chargers:
Compatible Chargers
Anker PowerWave II Pad Apple MagSafe Charger
Anker 313 Wireless Charger Pad Logitech Power Pad (950-000010)
NOTE: Certain devices will send data over USB to the AT-CAP-SP100 when
powered down, this will cause the unit to power back on.
NOTE: Mute status sync on Microsoft Teams will only display when the
AT-CAP-SP100 is connected via USB.
Qi Charging
Power
Connection Instructions