manuals.online logo
Brands
  1. Home
  2. •
  3. Brands
  4. •
  5. Panlux
  6. •
  7. Outdoor Light
  8. •
  9. Panlux ROAD RO-G01/T User manual

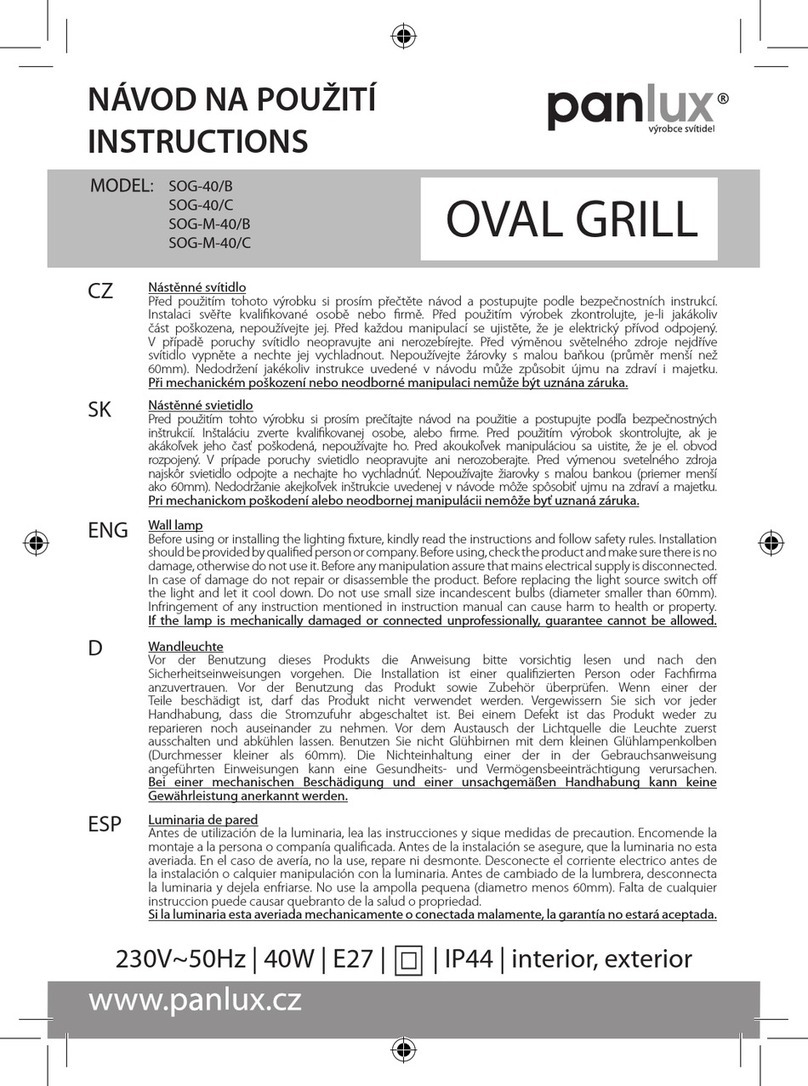
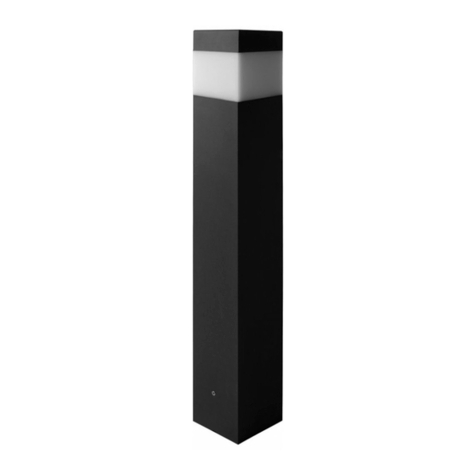
Panlux ROAD RO-G01/T User manual

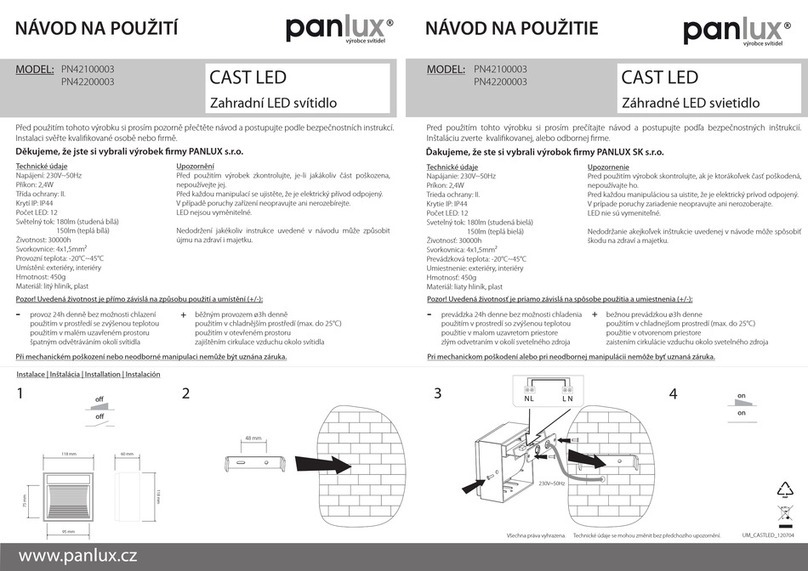
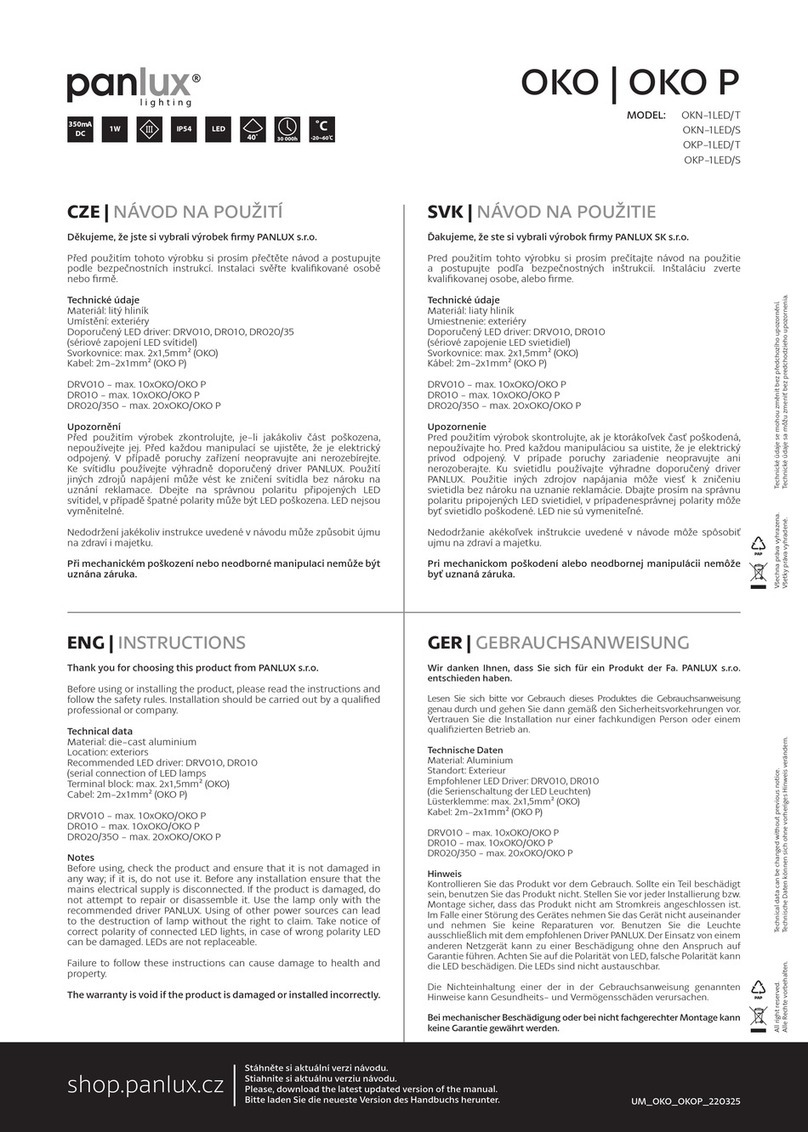
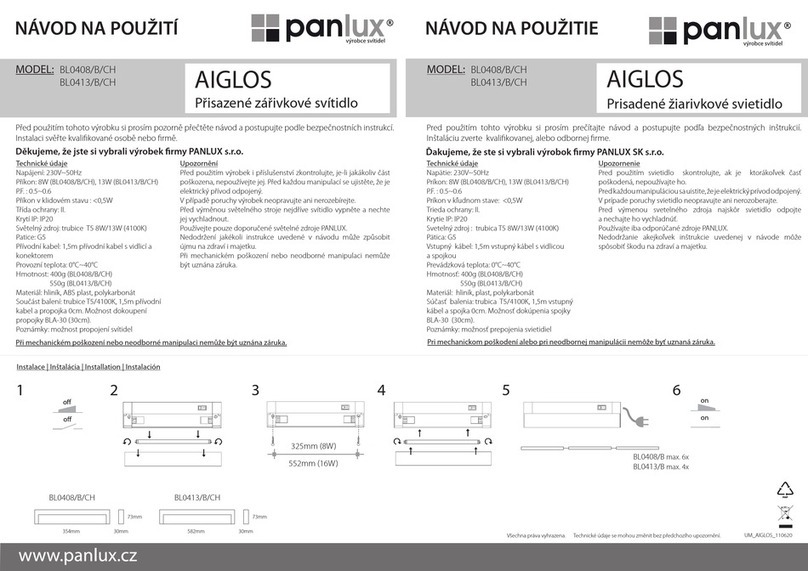
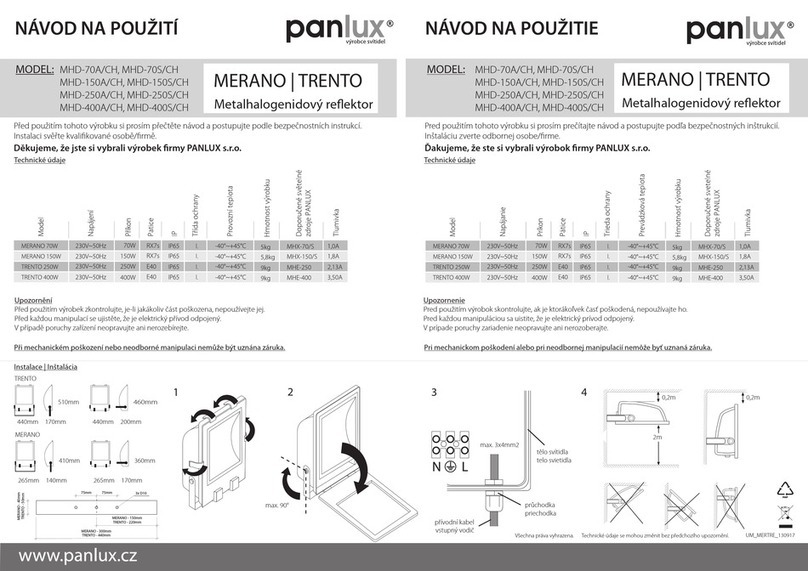
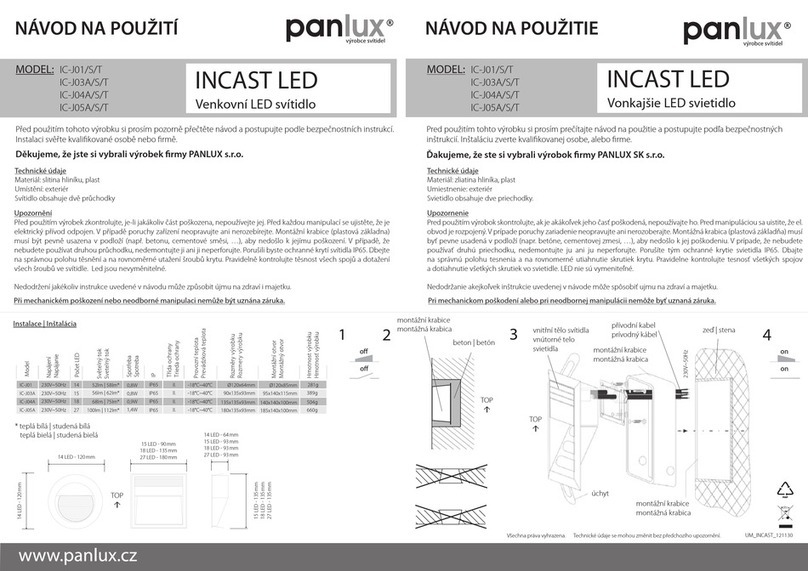
MODEL: RO-G01/T
RO-G01/S
RO-G02/T
RO-G02/S
RO-C03/T
RO-C03/S
RO-G06/T
RO-G06/S
Při mechanickém poškození nebo neodborné manipulaci nemůže být uznána záruka.
Před použitím tohoto výrobku si prosím přečtěte návod a postupujte podle bezpečnostních instrukcí.
Instalaci svěřte kvalikované osobě nebo rmě.
Děkujeme, že jste si vybrali výrobek rmy PANLUX s.r.o.
Upozornění
Před použitím svítidlo zkontrolujte, je-li jakákoliv část poškozená, nepoužívejte jej. Před montáží se ujistěte, že je elektrický
přívod odpojený. V případě poruchy svítidlo neopravujte ani nerozebírejte. Montážní krabice (plastová základna) musí být
pevně usazena v podloží (např. betonu, cementové směsi, …..), aby nedošlo k jejímu poškození. V případě, že nebudete
používat druhou průchodku, nedemontujte ji ani ji neperforujte. Porušili byste ochranné krytí svítidla IP67. Dbejte na správnou
polohu těsnění a na rovnoměrné utažení šroubů krytu. Pravidelně kontrolujte těsnost všech spojů a dotažení všech šroubů
ve svítidle. Postupujte opatrně při odklízení sněhu z ploch a podobných úkonech v místech, kde jsou umístěna tato svítidla,
předejdete tak mechanickému poškození. LED nejsou vyměnitelné.
Nedodržení jakékoliv instrukce uvedené v návodu může způsobit újmu na zdraví i majetku.
NÁVOD NA POUŽITÍCZE |
ROAD
Technické údaje
Materiál: slitina hliníku, plast, nerez kov, sklo
Umístění: exteriér
Svítidlo obsahuje dvě průchodky (model RO-G01 - 1 průchodka)
Pri mechanickom poškodení alebo neodbornej manipulácii nemôže byť uznaná záruka.
Pred použitím tohto výrobku si prosím prečítajte návod na použitie a postupujte podľa bezpečnostných inštrukcií.
Inštaláciu zverte kvalikovanej osobe, alebo rme.
Ďakujeme, že ste si vybrali výrobok rmy PANLUX SK s.r.o.
Upozornenie
Pred použitím svietidlo skontrolujte, ak je jeho akákoľvek časť poškodená, nepoužívajte ho. Pred montážou sa uistite, že el.
obvod je rozpojený. V prípade poruchy svietidlo neopravujte ani nerozoberajte. Montážná krabica (plastová základňa) musí byť
pevne usadená v podloží (napr. betóne, cementovej zmesi ...), aby nedošlo k jej poškodeniu. V prípade, že nebudete používať
druhú priechodku, nedemontujte ju ani ju neperforujte. Porušíte tým ochranné krytie svietidla IP67. Dbajte na správnú polohu
tesnenia a na rovnomerné utiahnutie skrutiek krytu. Pravidelne kontrolujte tesnosť všetkých spojov a dotiahnutie všetkých
skrutiek vo svietidle. Postupujte opatrne pri odstraňovaní snehu z plôch a podobných úkonoch v miestach, kde sú umiestnené
tieto svietidlá, predídete tak mechanickému poškodeniu. LED nie sú vymeniteľné.
Nedodržanie akejkoľvek inštrukcie uvedenej v návode môže spôsobiť ujmu na zdraví a majetku.
NÁVOD NA POUŽITIESVK |
Technické údaje
Materiál: zliatina hliníka, plast, nehrdzavejúci kov, sklo
Umiestnenie: exteriér
Svietidlo obsahuje dve priechodky (neplatí pre model RO-G01 - 1 priechodka).
Instalace | Inštalácia | Installation | Instalación
BOX_UM_ROAD_140109
Technické údaje se mohou změnit bez předchozího upozornění.Všechna práva vyhrazena.
Technické údaje sa môžu zmeniť bez predchodzieho upozornenia.Všetky práva vyhradené.
230V
~50Hz
2 4
13
230V~50Ηz 230V~50Ηz
7 LED - 62 mm
9 LED - 82 mm
12 LED - 109 mm
24 LED - 150 mm
7 LED - 93 mm
9 LED - 85 mm
12 LED - 107 mm
24 LED - 132 mm
šroubky | skrutky | screws | Schrauben | tornillos
vnitřní tělo svítidla | vnútorné telo svietidla | inside body
Innenkörper der Lampe | cuerpo interior
nerezový kryt | nerezový kryt | stainless steel frame
rostfrei Deckung | cubierta acero
šroubky | skrutky | screws | Schrauben | tornillos
sklo | sklo | glass | Glass | vidrio
těsnící kroužek | těsniací krúžok | gasket ring
Verdichtungsring | anillo afolado
závitová patice | závitová pätica | head scroll
Windungssockel | casquillo rosqueado
těsnění | těsnění | gasket | Dichtung | guarnición
závit | závit | scroll | Windung | espira
vnější tělo svítidla | vonkajšie telo svietidla | outside body
Außenkörper der Lampe | cuerpo exteriero
přívodní kabel | vstupní vodič | mains supply cable
Zuführungskabel | cable de alimentacón
˚C
-18~40˚C 3x1,0mm2
H05RN-F
IP67 30 000
80%
H2O
H2O
Warrantyvoidsiftheproductismechanically damaged or connected unprofessionally.
Before using or installing this product, kindly read the instructions and follow safety
rules. Installation should be provided by qualied person/company.
Thank you for choosing the product of company PANLUX s.r.o.
Notice
Before every manipulation make sure that main electrical supply is disconnected.
In case of damage do not repair or disassemble the product. The damaged cover
must be replaced immediately.Mounting box (plastic base) must be tightly xed into
the ground (e.g. with concrete, cement mixture) to avoid its damage. In case of not
using the second cable gland – neither disassemble nor perforate it. IP67 protection
would be aected. Make sure that the position of the seal is correct and tighten the
screws equally to cover. Check regularly the tightness of all connections and tighten
all the screws in the luminaire. Proceed with care while removing snow or performing
similar actions in areas with these luminaires installed in order to avoid mechanical
damage. LEDs are not replaceable.
Infringement of any mentioned instruction can cause harm to health or property.
INSTRUCTIONSENG |
Bei mechanischer Beschädigung oder bei nichtfachlicher Montage kann keine
Garantie gewährt werden.
Lesen Sie sich bitte vor Gebrauch dieses Produktes die Gebrauchsanweisung genau
durch und gehen Sie dann gemäß den Sicherheitsvorkehrungen vor. Vertrauen Sie
die Installation nur einer fachkundigen Person oder einem qualizierten Betrieb an.
Wir danken Ihnen, dass Sie sich für ein Produkt der Fa. PANLUX s.r.o. entschieden
haben.
Hinweise
Kontrollieren Sie das Produkt vor dem Gebrauch. Sollte ein Teil beschädigt sein,
benutzen Sie das Produkt nicht. Stellen Sie vor jeder Installierung bzw. Montage
sicher, dass das Produkt nicht am Strom angeschlossen ist. Im Falle einer Störung des
Gerätes nehmen Sie das Gerät nicht auseinander und nehmen Sie keine Reparaturen
vor. Falls das Gehäuse beschädigt ist, muss es sofort ausgetauscht werden. Der
Montagekasten (Kunststobasis) muss fest im Boden verankert werden (z.B. im
Beton, Zementmischung,…), so dass es zu keiner mechanischen Beschädigung
kommt. Im Falle, dass die zweite Kabeldurchführung unbenutzt bleibt, darf diese
nicht perforiert oder abgebaut werden. Sonst würde die Schutzart IP67 gebrochen.
Achten Sie auf die richtige Dichtungsstellung und auf die gleichmäßige Anziehung
von Deckung. Während der Schneeräumung seien Sie vorsichtig und verhindern Sie
die mechanische Beschädigung. Die LEDs sind nicht austauschbar.
Die Nichteinhaltung einer der in der Gebrauchsanweisung angeführten Einweisungen
kann eine Gesundheits- und Vermögensbeeinträchtigung verursachen.
GEBRAUCHSANWEISUNGGER |
Technische Daten
Material: Aluminiumlegierung, Kunststo, Edelstahl, Glas
Standort: Exterieur
Die Leuchte enthält zwei Gummi-Kabeldurchführungen (Model RO-G01 – 1 Kabeldurchführung)
Technical data
Material: aluminium alloy, plastic, stainless metal, glass
Location: exteriors
This luminaire contains two cable glands (model RO-G01 - 1 cable gland)
BOX_UM_ROAD_140109
Technical data can be changed without previous notice.All right reserved.
Technische Daten können sich ohne vorheriges Hinweis verändern.Alle Rechte vorbehalten.
Si el producto esta averiado mechanicamente o conectado malamente, la
garantía no estará aceptada.
Antes de utilización del producto, lea las instrucciones y sique de medidas
de precaution. Encomende la montaje a la companía/persona qualicada.
Gracias, que Usted se ha comprado el producto de companía PANLUX
s.r.o.
Aviso
Antes de la montaje se asegure, que la luminaria no esta averiada. En el caso
de avería, no use la luminaria, no la repare ni desmonte. Antes de la montaje
se asegure, que el corriente electrico esta desconnectado. Caja de montaje
(base de plástico) debe estar rmemente asentada en el suelo (por ejemplo,
hormigón, mezclas de cemento, ...) para evitar daños. En el caso que Usted
no necesitará secondo manguito. Dejalo desmontado y no lo perfore, podría
causar IP protección IP67. Asegúrese de que la posición de la junta es la
correcta y apretar los tornillos igualmente al cubierto. Revise periódicamente
que todas las conexiones hay bien apretados sin fugas y apriete todos los
tornillos en el accesorio. Tenga cuidado al quitar la nieve y actividades similar
en las zonas donde están las luces, y evitar los daños mecánicos. No es
possible cambiar LEDs.
Falta de cualquier instruccion puede causar quebranto de la salud o
propriedad.
INSTRUCCIONESESP |
Datos técnicos:
Material: Aldrey, plástico, acero inoxidable, vidrio
Locacion: exteriores
Luminaria incluite dos casquillos (model RO-G01 - 1 casquillo)
MODEL: RO-G01/T
RO-G01/S
RO-G02/T
RO-G02/S
RO-C03/T
RO-C03/S
RO-G06/T
RO-G06/S
ROAD
Datos técnicos se pueden cambiar sin previo aviso.Todos los derechos reservados.
230V
~50Hz ˚C
-18~40˚C 3x1,0mm2
H05RN-F
IP67 30 000
80%
This manual suits for next models

7

Other Panlux Outdoor Light manuals

Panlux ROBIN MUSIC User manual

Panlux

Panlux ROBIN MUSIC User manual

Panlux BL0408 User manual

Panlux

Panlux BL0408 User manual

Panlux OKO User manual

Panlux

Panlux OKO User manual

Panlux OKO User manual

Panlux

Panlux OKO User manual

Panlux POS-60/B User manual

Panlux

Panlux POS-60/B User manual

Panlux MERANO User manual

Panlux

Panlux MERANO User manual

Panlux INCAST LED IC-J01/S/T User manual

Panlux

Panlux INCAST LED IC-J01/S/T User manual

Panlux CAST LED User manual

Panlux

Panlux CAST LED User manual

Panlux PARK S Series User manual

Panlux

Panlux PARK S Series User manual

Panlux GARD NOO-E14 User manual

Panlux

Panlux GARD NOO-E14 User manual

Panlux SOG-40/B User manual

Panlux

Panlux SOG-40/B User manual

Panlux DIPLOMAT PN15300015 User manual

Panlux

Panlux DIPLOMAT PN15300015 User manual

Popular Outdoor Light manuals by other brands

Santa & Cole Miguel Mila TMM quick start guide

Santa & Cole

Santa & Cole Miguel Mila TMM quick start guide

Bona VIKING D15 quick start guide

Bona

Bona VIKING D15 quick start guide

StreamLight SIEGE X USB operating instructions

StreamLight

StreamLight SIEGE X USB operating instructions

atmosphera 157701 installation instructions

atmosphera

atmosphera 157701 installation instructions

ubicquia ubihub APAI installation manual

ubicquia

ubicquia ubihub APAI installation manual

Inspire ADA instruction manual

Inspire

Inspire ADA instruction manual

Faro Barcelona LE VITA 29691 instructions

Faro Barcelona

Faro Barcelona LE VITA 29691 instructions

Santa & Cole SYLVESTRINA manual

Santa & Cole

Santa & Cole SYLVESTRINA manual

INNOcom Gardenworld Operation and safety notes

INNOcom

INNOcom Gardenworld Operation and safety notes

Commercial Electric 849-816 installation manual

Commercial Electric

Commercial Electric 849-816 installation manual

OttLite F26WGC quick start guide

OttLite

OttLite F26WGC quick start guide

LIGMAN GINO 2 installation manual

LIGMAN

LIGMAN GINO 2 installation manual

Access Lighting 20370MG Installation & operation instructions

Access Lighting

Access Lighting 20370MG Installation & operation instructions

MELINERA 283548 Operation and safety notes

MELINERA

MELINERA 283548 Operation and safety notes

Hess NORFOLK Installation and operating instructions

Hess

Hess NORFOLK Installation and operating instructions

Schrack TRUST WALL instruction manual

Schrack

Schrack TRUST WALL instruction manual

Acuity Brands Holophane DSX1 installation instructions

Acuity Brands

Acuity Brands Holophane DSX1 installation instructions

Philips Fair user manual

Philips

Philips Fair user manual

manuals.online logo
manuals.online logoBrands
  • About & Mission
  • Contact us
  • Privacy Policy
  • Terms and Conditions

Copyright 2025 Manuals.Online. All Rights Reserved.