Operation:
1. Inserting the bulb
Open the luminaire by loosening the focussing lock screw sufficiently. Then pull the
reflector housing off. Push the bulb firmly and straight into the socket. Be careful not
to damage it and not to bend its pins.
Do not touch quartz glass bulb with bare fingers.
Please use the bulb packing for protection when inserting the bulb.
Do not use bulbs other than those mentioned here:
Osram HLX 64610 50W/12V, Osram 64440 S 50W/12V
Osram 64432 S 35W/12V, Osram 64427 S 20W/12V
Preferred type:
2. Powering the luminaire
Connect the luminaire to an appropriate power source. Switch on the luminaire by
using the on/off switch.
Eventhough the focussing knob is fastened tightly the reflector housing can be
movedforwardby3mm(1/8in.)forfocussing.
3. Switching off the luminaire
Use the on/off switch to cease operation.
To avoid damage to the battery by deep discharging, the luminaire has to be
switched off when the battery reaches the end of discharge voltage.
This is the case with a significant reduction of light output and colour temperature.
When you pack away the luminaire, make sure it has sufficiently cooled down before
4. First operation
During the first operating hours you might notice a slight odour coming from the
luminaire which does not indicate any malfunction.
The dichroic filter can be used with or without the barndoor.
Put the filter on front of the Romy light an screw tight. The knurled screw may be
parked on the threaded filter side if filter is not in use.
Insert the two noses of the barndoor into the first slot of reflector housing and put
knurled screw through the filter (screw of filter is parked at the side) and screw tight.
The filter remains at the luminaire. It can be turned even with the barndoor mounted.
The 4 wooden pegs can be used to fix filter foils to the barndoor.
6. Dichroic (daylight) Filter/ barndoor (accessories) see page1
If the bulb is damaged or deformed it has to be replaced with a new one.
Switch off the luminaire and allow for sufficient cooling down. Disconnect the
power source. Replace the bulb as outlined in Inserting the bulb.
5. Changing the bulb
Then close the luminaire and fasten the focussing lock screw.
Foreword:
Safety instructions:
Properties:
1.Please use the Romy light only after you have read and understood the Manual.
You must follow the safety instructions at all times.
2.Do not connect to a power source whilst in contact with water, if you have wet or
damp hands or if connectors or cable are wet/damp!
3.Do not place the luminaire in water!
4.Ensure that during the operation of the luminaire enough clearance is maintained
around the luminaire so that generated heat can dissipate!
5.Operate luminaire with housing closed and intact protective glass only!
6.Handle with care!
Repairs should be effected only by the manufacturer or qualified staff. Panther GmbH
offers service training upon request. Please contact +49 89 61390030 for further
details/appointment
Do not throw!
7.
The Panther Romy 20/50 is designed for use on board of a TV camera. It is operated
from low voltage and designed for continuous use up to 50W. The power cable comes
with a standard XLR 4-pin male connector or an Anton Bauer connector.
Congratulations on your decision to buy/rent the .
Please read the following instructions carefully to ensure utmost safety and reliability
of this product.
And now, enjoy your work with the
Sincerely
Panther Broadcast
(a Division of Panther GmbH)
Romy Light
Romy Light
The Romy 20/50 can be powered from a power source set to 13.2 Volts output (11-15V,
depending on type of bulb).
BROADCAST
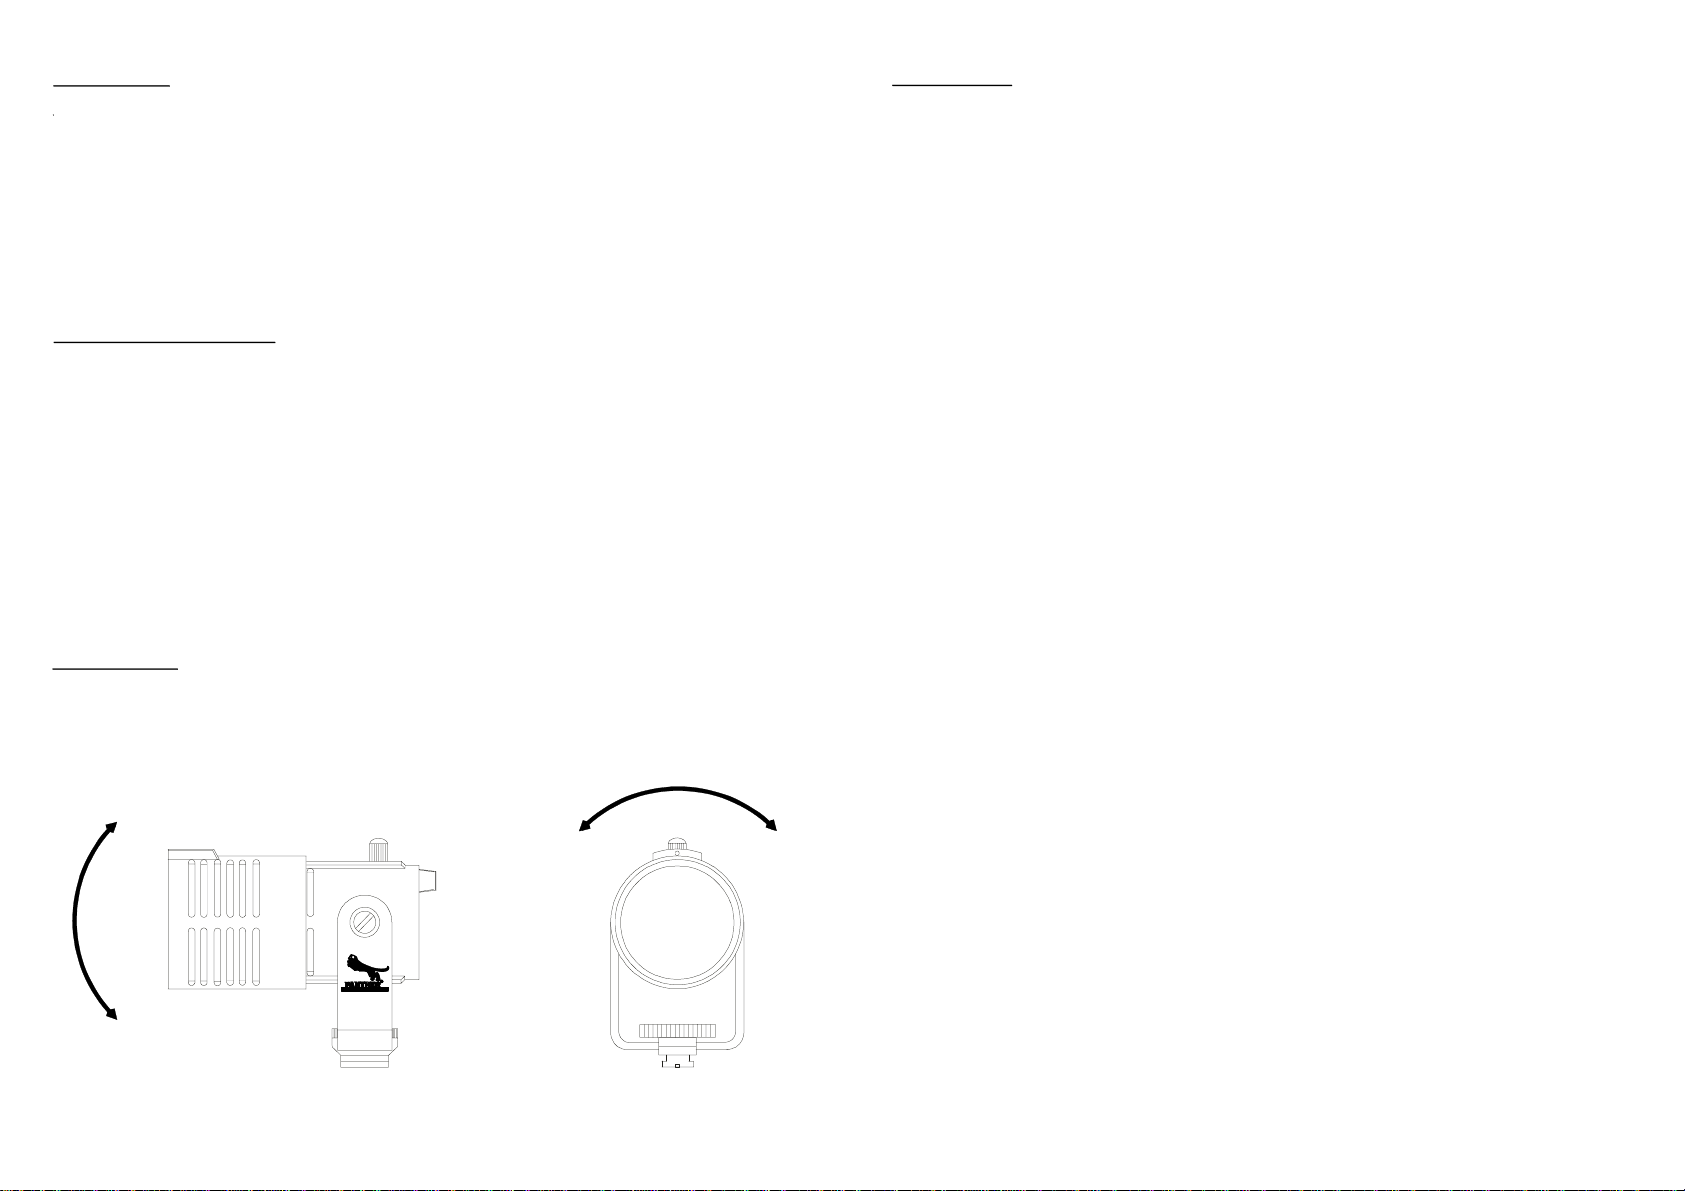
80°
+
_
30°
+
_


