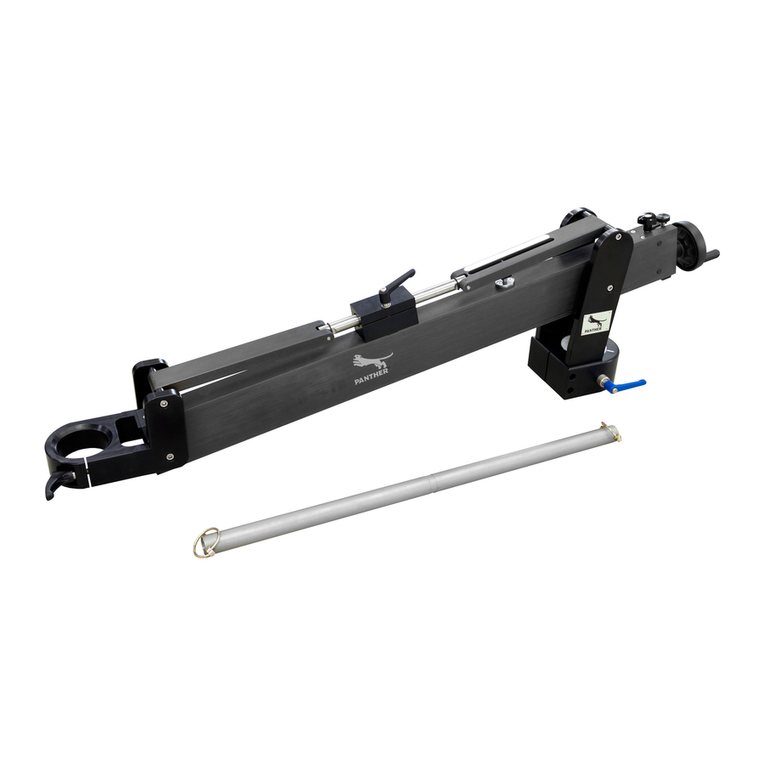
Panther Vario Jib User manual

1
I n s t r u c t i o n M a n u a l
Panther Vario Jib

2
Introduction
Congratulations to your decision to buy or rent a PANTHER Vario Jib! We are
very pleased that you have chosen our product, which combines state-of-the-art
technology as well as the experience of many years in manufacturing camera
cranes and dollies.
High-quality material and sound know-how, as well as a clever concept enable
your PANTHER Vario Jib to do a professional job, which you will really enjoy
when doing your responsible work at the set.
Your new PANTHER Vario Jib is a high-quality tool, which enables the creative
camera man to do an excellent job – fast and easy – with fantastic shots and
camera drives.
The PANTHER Vario Jib is a product that has been created and built by experts
for experts – to satisfy the high demands of every grip and camera man.
We hope that you will have a lot of pleasure with your PANTHER Vario Jib. In
order to guarantee the highest security and reliability in our product at the set,
please study our instruction manual very carefully!
All the best
Panther GmbH

3
General instructions
Only competent persons are allowed to work with the PANTHER Vario Jib.
Panther GmbH offers training work shops which will enable the participants to work
with the Panther Vario Jib. The participants will receive a certificate at the end of this
seminar. For more information regarding the actual dates or to book, please contact
+49-89-61390001.
Repairs should only be carried out by the manufacturer or persons, who received a
special training. Panther GmbH offers service seminars, which can be held according
to your desires. Should you be interested, please contact +49-89-61390030
(Panther-Service).
The PANTHER Vario Jib may only be assembled according to this operating
instruction.
The instruction manual has to be studied and understood completely.
The PANTHER Vario Jib can only be assembled according to the assembling
versions shown in this operating instruction.
The vertical and horizontal swiveling area must be kept free. The safety zone of ≥
0,5 m must be kept free in all directions. Please look out for possible pinching
dangers during assembly and operation.
When turning and rotating the Jibarm and during curve drives, centrifugal forces can
appear which can endanger the standing stability when added.
For safety reasons it is obligatory that the Vario Jib stands/drives on absolutely hard,
stable and inflexible ground, which is completely leveled. Please pay attention that no
hard or loose objects can get under the wheels, so that the standing and driving
stability of the Vario Jib could be endangered. Example: Cable in the studio. This also
applies when working with tracks.
Please do not exceed the maximum payload. Please only use the maximum number
of weights allowed. The use of additional weights, such as sand bags, is not allowed.
Please check the function, damages and missing parts of the Vario Jib every day.
Damaged or missing components have to be replaced by new ones immediately.
After shooting, especially after use under dirty, dusty, sandy, humid and salty
conditions the Vario Jib has to be thoroughly cleaned and serviced.
Stop working with the Vario Jib immediately, even if only a small part is damaged or
not mounted the correct way.
Do only use original PANTHER accessories and spare parts.
4
The Vario Jib and accessories
Vario Jib
Multi Rig
Offset Rig
Multi Rig Adapter
High Low Rig
Jib Glider
Extension
A-Round Kit
Cable
Weights

5
Assembling Instruction
A: Set up with Jib A-Round Kit
1. Ring
The Ring has to be put onto the dolly and
screws must be tightened.
2. Vario Jib
Put Vario Jib onto Euroadapter and
tighten screws.
The Turnstile is turned 90°.
3.1 Connecting rod
Screw the connecting rod onto the back
outrigger of the Vario Jib.
3.2 Connecting rod
The connecting rod is mounted to the
ring. The wheels grasp the ring.

6
B: Set up with Jib cable
The Jib cable can be used instead of the Jib A-Round-Kit. It is mounted to the back
outrigger and on two wheel arms.
Notice: Now, the Vario Jib can not be turned around it´s vertical axis.
C: Standard Set up
Vario Jib
Put Vario Jib onto Euroadapter and
tighten screw. The Turnstile is turned 90°.
The Vario Jib can be extended from 1m
(3´) to 1.6m (5´).
The dismounting is effected in reciprocal sequence.

7
First Operation
Important: Before loading and operation all connector screws and bolts have to be
checked if they are really tightened.
The Dolly must be adjusted to wide gauge.
A + B: (A-Round Kit and Cable)
There are no counterweights necessary on version A and B. The max. payload is 50
kg (110 lbs). The payload can be raised up to 80 kg (176 lbs) when using
counterweights on the dolly which prevents the dolly from tilting over.
Notice: Pay attention when using the Jib A-Round-Kit. The counterweights always
have to be on the opposite side!
C: Standard
The Euroadapter gets
levelled by turning the blue
levelling rod.
1. 16 Kg Counterweight
2. 8 Kg Counterweight
3. Fine adjustment weight
The fine adjustment weight
is put on the back outrigger
and tightened.
Buckle “1”:
New models are levelled by turning the
buckle.
Bolts “2”:
Adjusting the telescopic lentgh
Bolt/lever “3”:
Are opened when mounting the
extension.
Maximum payloads:
A: with Jib A-Round Kit 50 Kg/110 lbs (with counterweights 80 kg/176 lbs)
B: with Jib Cable 50 Kg/110 lbs (with counterweights 80 kg/176 lbs)
C: Standard 80 Kg/176 lbs
Attention:
The max. payload and max. number of counterweights must not be exceeded.
The use of additional weights, such as sand bags, is not allowed.

8
Accessories
Multi Rig:
1. The Multi Rig is attached under the front bearing of the Vario Jib.
2. The Euroadapter is screwed of the Vario Jib and onto the Multi Rig.
Offset Rig:
The Offset Rig can be attached under the
front bearing of the Vario Jib instead of
the Multi Rig.
Running board bracket:
The running board bracket gives the
cameraman the possibility to be moved
with the column (in combination with a
platform and seat extension).
The running board bracket is mounted
onto the turnstile. Please take off the bolt
on the shorter side of it.

9
Extension:
1.
2.
3. 4.
The Extension is mounted between the telescopic tube and the end-section. Take off
(unscrew) the blue leveling rod and extend it with the extension rod. The second
counterweight rod is put into the second hole of the back outrigger and loaded.

10
Service and Maintenance
The Panther Vario Jib is a very solid piece of equipment that guarantees reliable
work without a lot of maintenance work.
To guarantee a long life and stable quality, it is advisable to treat all elements of the
Vario Jib very carefully.
For damages occurred due to inappropriate treatment we do not accept any warranty
claims.
After working, particularly after working in a dirty, dusty, sandy, wet and salty
surrounding, the Vario Jib has to be cleaned and maintained very carefully.
Interrupt the work immediately, if only a small part is damaged or missing.
Maintenance and repair should only be made by trained and competent persons.
Panther GmbH offers service seminars, which will be hold according to your desires.
For exact dates, please call +49-89-61390030 (Panther-Service).
According to ZH 1/222 / 3.2 and UVV VBG 70 § 34, the safety and machine
appliances have to undergo an interim check up by a competent person at least
every 4 years and at least every year by an expert.
If necessary, parts have to be exchanged.
Technical Data
Reach of the arm: 1 m (3´) - 1,6 m(5´)
Extension: 1 m (3´)
max. reach: 2,6 m (8´)
max. payload, measured on top of Multi Rig:
1 m – 1,6 m 80 Kg/176 lbs
1,6 m –2,6 m 45 Kg/100 lbs
Attention: The payload is reduced, if the Multi Rig is extended e.g. with a offset rig
(especially when mounted sideways).
max. Counterweights: 12 Weights x 16 kg/35 lbs
Table of contents
Other Panther Camera Accessories manuals

Panther
Panther T 10 User manual

Panther
Panther Romy 20/50 User manual

Panther
Panther MAXI SHOCK ABSORBER User manual

Panther
Panther Lightweight Jib User manual

Panther
Panther MINI SHOCK ABSORBER User manual

Panther
Panther P1 User manual

Panther
Panther Super Panther III User manual

Panther
Panther S-TYPE DOLLY User manual