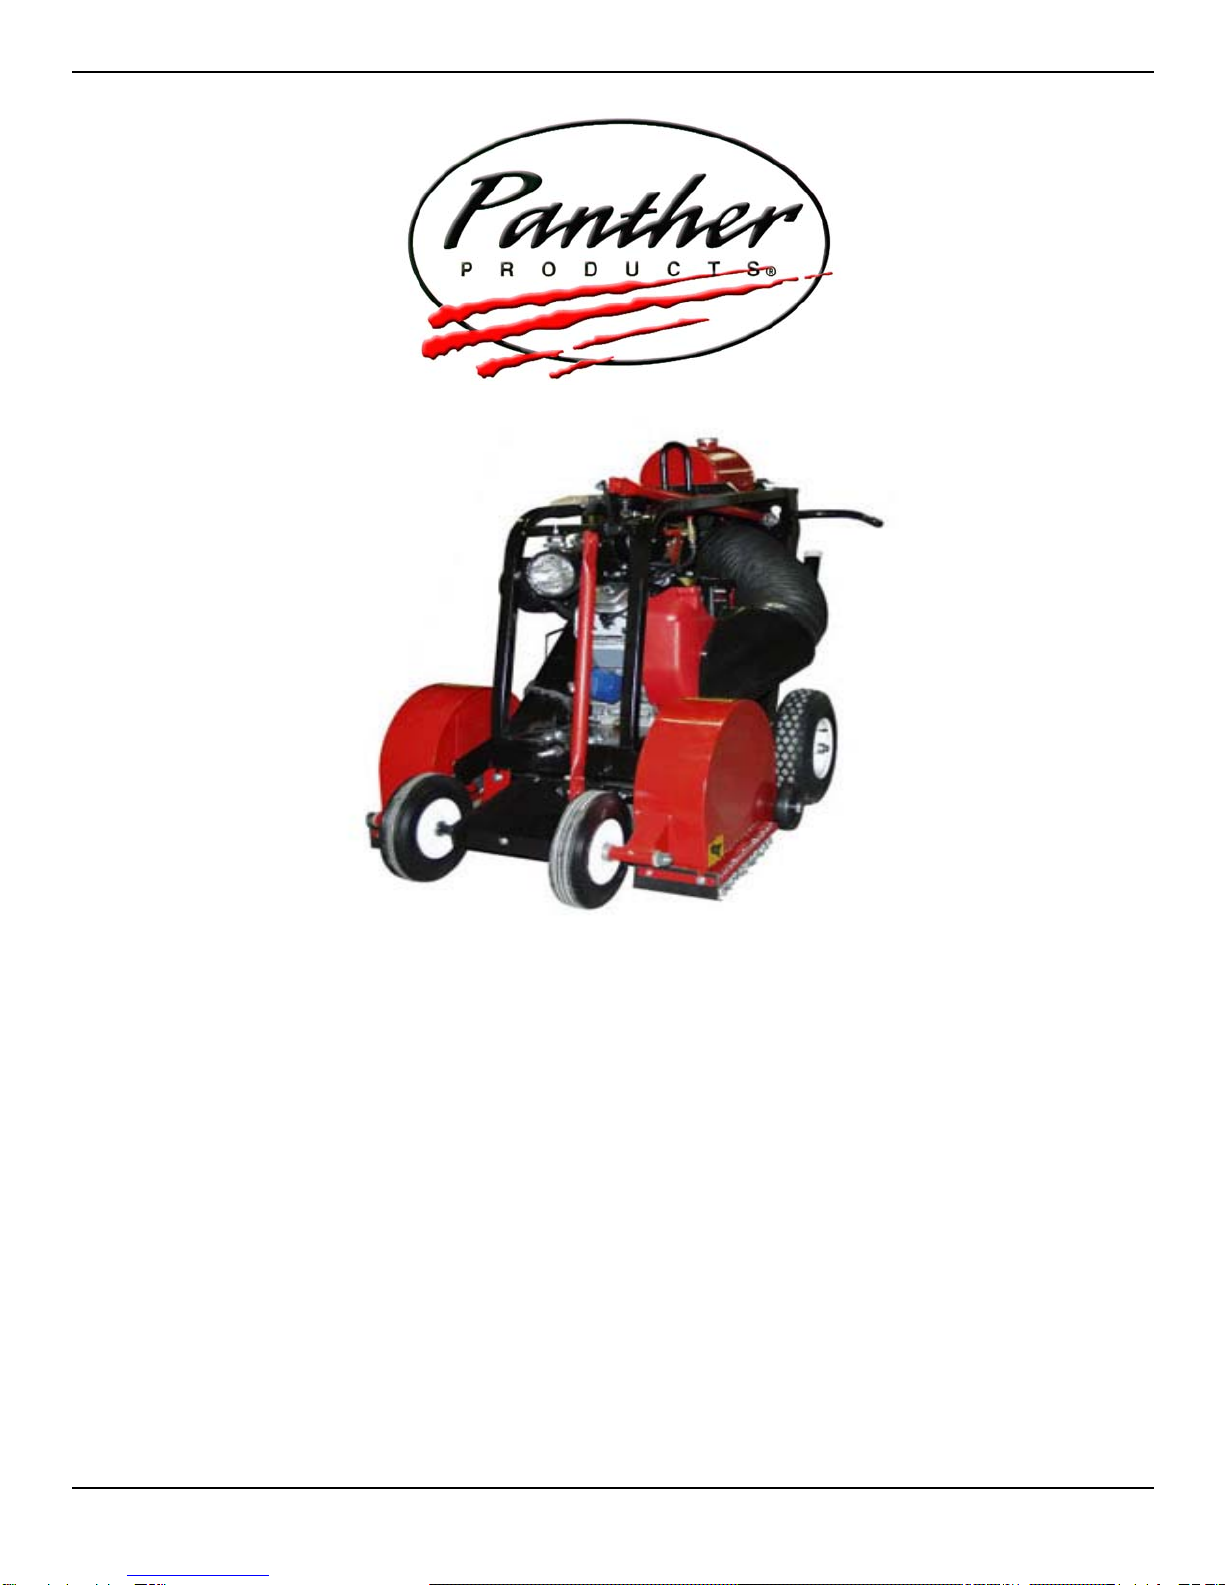
DUAL BLADE ROOF CUTTER
INSTRUCTION MANUAL
Copyright © 2009, Panther Products Corporation, Harrisonville, MO Page: 6
SAFETY PRECAUTIONS
1. Safety footwear, eye protection, and snug fit clothing should be worn by all workers near
Dual Blade Roof Cutter.
2. Use caution when handling fuel. Gasoline is flammable. Shut engine off and allow to cool
before refueling. Clean up spilled gasoline before starting.
3. Be certain all guards, shield and pins are securely locked in place before starting.
4. Do not allow any unauthorized personnel in front or near the machine during operation.
5. Machine must be operated from walk behind position only.
6. Never allow anyone to ride the machine.
7. Repair or replace any damage or lost components before operating.
8. Do not modify the machine.
9. Do not operate a machine that has been modified.
10. Be aware of obstructions, openings and people.
11. Do not operate with in ten feet of perpendicular of roof edge, or six feet parallel to roof
edge
12. Guard all openings in the roof.
13. Check load rating of deck with owner or architect. Do not overload roof deck. Consider
558 lbs. Machine weight plus operator.
14. Keep hands and feet away from moving parts.
15. Operate on flat, level roofs only.
16. Keep at least ten feet away from electrical lines.
17. Do not operate the machine if you are under the influence of alcohol or drugs that could
impair judgment ability.
18. Look behind when operating in reverse.
19. Keep the equipment in good condition. Maintain it as directed in this manual.
20. Maintain visibility at all times. Stop if visibility is obstructed.
21. The owner or operator must see that name plates, warnings, are in place and legible. Write
to Panther Products Corp. for replacement decals and instructions.
22. Avoid deck cutting.
23. Use only with perimeter warning line system in place.