4. OPERATION
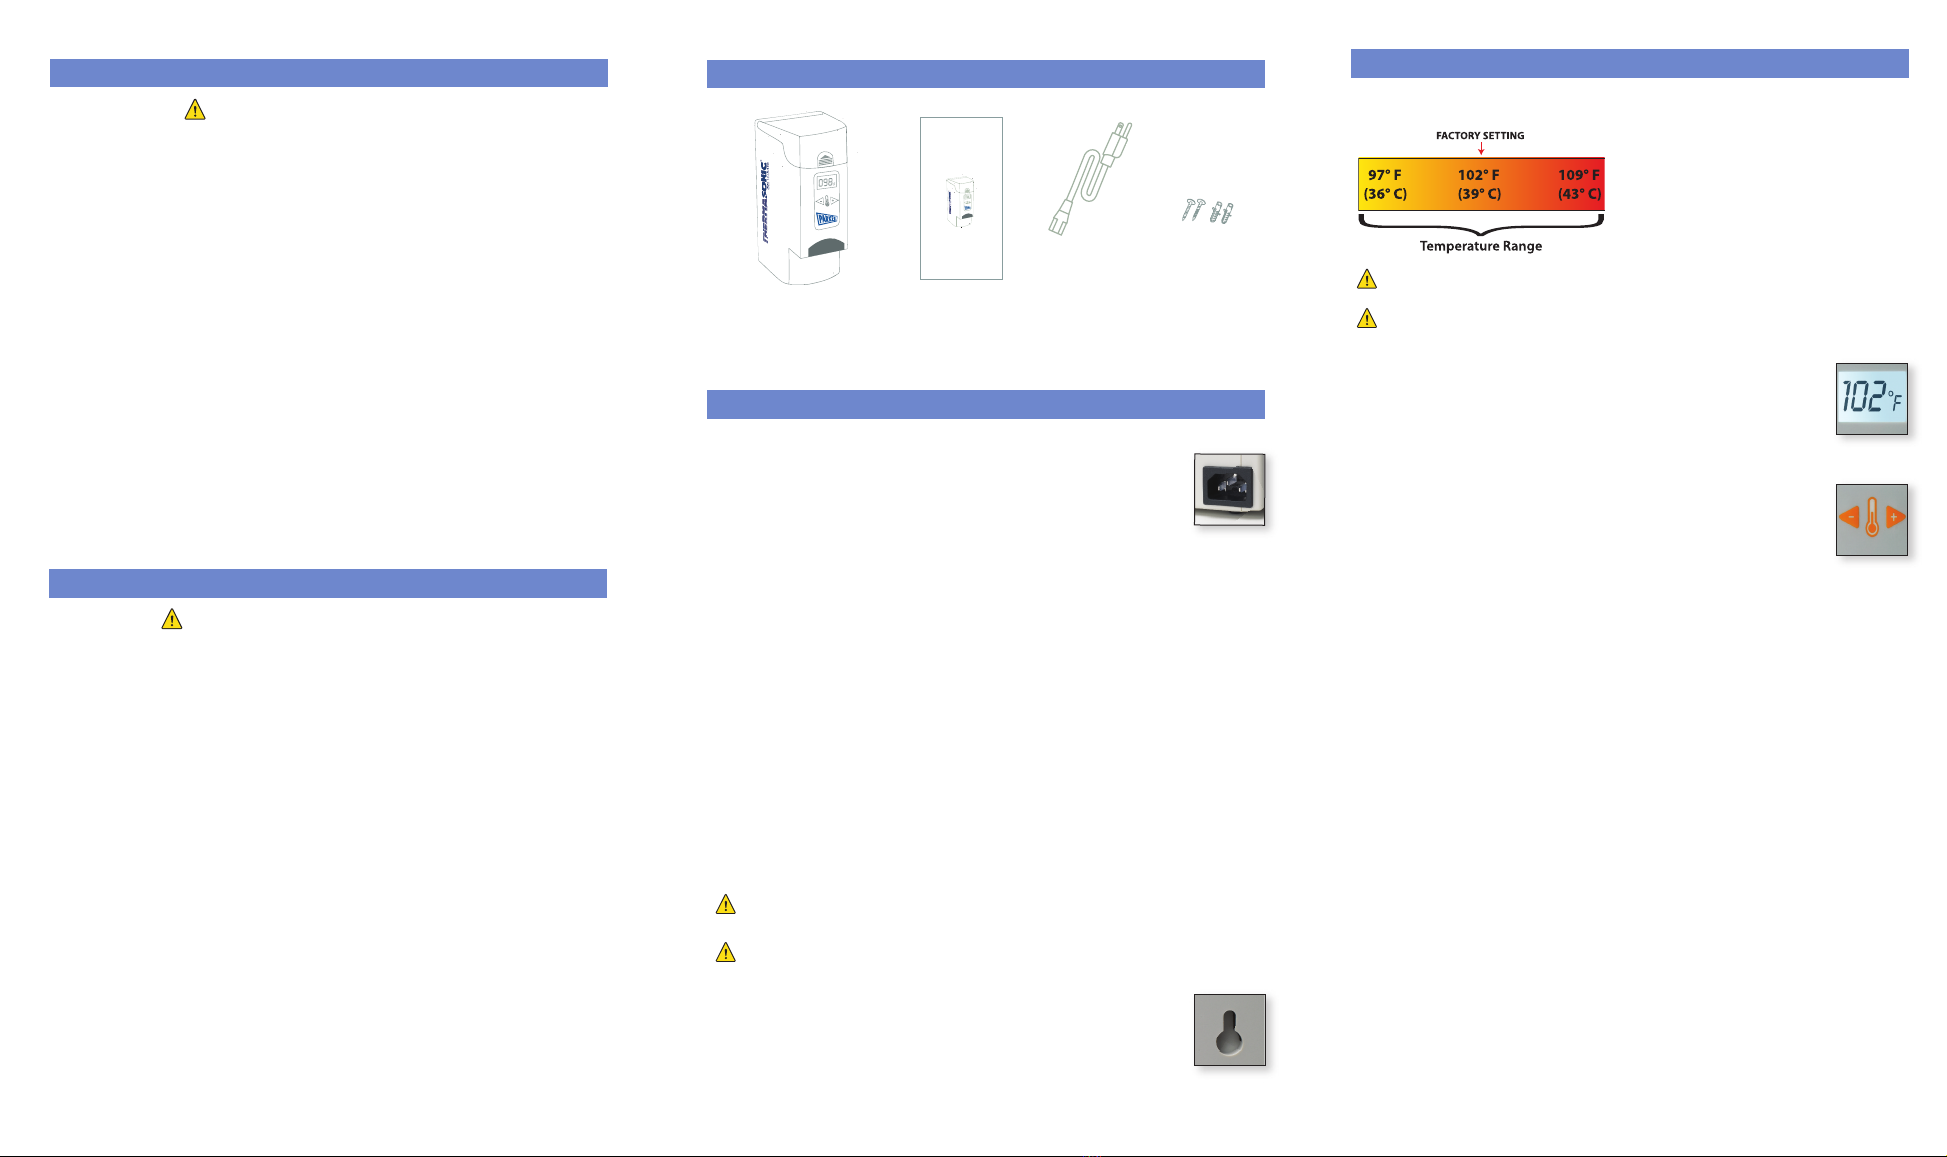
The Gel Warmer operates within
a temperature range and can be
adjusted in one degree increments
from 97° F to 109° F (36° C to 43° C).
CAUTION: Temperature can vary. Always test a small quantity of gel
before applying.
MISE EN GARDE : La température peut varier. Toujours effectuer un test à
l'aide d'une petite quantité de gel avant l'application.
When plugged in for the first time, the digital display will indicate
the current temperature and will begin warming to the factory-set
temperature of 102° F (39° C) .
To adjust the temperature, press the arrow button with + symbol
to increase temperature, or press the arrow button with – symbol
to decrease temperature . Each time one of the
arrow buttons is pressed, it will increase or decrease the
temperature setting by one degree and flash the newly set
temperature for five seconds. The unit will then return to
displaying the current temperature.
To switch between Fahrenheit or Celsius on the temperature
display, press both the +arrow button and –arrow button simultaneously.
When removed from a power source, the Gel Warmer will remember the last
temperature setting used and maintain that setting when the unit is powered
on again.
This unit is designed to heat 20 single use packettes sized at 2.25” x 5.25”
(5.7 cm x 13.3 cm), with each packette containing 20 grams of gel, with a total
weight capacity of 400 grams. It will take approximately two hours for the unit to
reach its set temperature, while the first packette (at bottom of the unit’s well) will
reach desired temperature in approximately one hour. Always check the warmth
of the packette prior to applying gel to the patient's skin.
Leaving the cover closed at all times will help retain heat. Your Thermasonic
Gel Warmer is designed for continuous operation, and it is not necessary to
disconnect the warmer when not in use.
Use of the Thermasonic Gel Warmer will not affect the performance or
viscosity of Aquasonic
®
100 or Aquasonic Clear
®
Single Use Packettes.
The Thermasonic Gel Warmer contains a temperature sensor to
consistently monitor function and a Microtemp®thermal cutoff to
protect against overheating.
If the temperature sensor is not operating at all, the digital display will indicate
“E1”. If a short circuit occurs, the digital display will indicate “E2”. In either
circumstance, the heater will not operate.
the Thermasonic® Gel Warmer Warm and comfortable is now even better.
2. INCLUDED IN PACKAGE
3. ASSEMBLY
The Thermasonic Gel Warmer should be placed away from drafts,
in an upright position on a flat, stable surface. Do not lay the unit
flat on any side. The unit may also be wall-mounted. See section
3.2 for wall mounting instructions. Plug female end of power cord
into IEC320/C14 receptacle and male end into an
appropriate electrical outlet matching the voltage listed on the
electrical information label on the back of the Gel Warmer.
UK power cord with a BS-1363 plug (Part #: UKCORD) is available
in the United Kingdom, as an accessory from your distributor.
The Thermasonic Gel Warmer can be mounted on a wall with the use of the
supplied screws and wall anchors. Follow these steps to wall mount.
1. Once wall-mount location has been identified, make two marks on the wall
1.75 inches (4.45 cm) apart. When making your marks, use a level to assure
the Gel Warmer will appear straight when mounted.
2. If mounting into wood, install screws and allow 0.1” (2.5mm) clearance
between the wall and the screw head. If mounting into drywall, the use of
wall anchors is necessary.
Never drill or install screws in a wall with wires or plumbing
running through it.
Ne jamais percer ou poser des vis dans un mur
à travers lequel des fils électriques où de la plomberie circulent.
3. Carefully position the Gel Warmer so the large round wells
() on the back of the unit will pass over the
screw heads.
4. Press the Gel Warmer against the wall and slide downward,
trapping the screw head in the grooves just above the wells.
1. IMPORTANT SAFEGUARDS
This symbol when indicated on the equipment means: CAUTION
Read these operating instructions fully before use and pay
particular attention to sections containing this symbol.
Always observe the following safety precautions:
1. READ THESE INSTRUCTIONS.
2. To provide continued protection against risk of electric shock,
connect to properly grounded outlets only.
3. Do not immerse in water.
4. Unplug from outlet prior to cleaning. Allow unit to cool before cleaning
the appliance.
5. Do not operate any appliance with a damaged cord or plug or after a
malfunction, or has been damaged in any manner. Return unit to an
authorized service facility for examination, repair or adjustment.
6. Do not use outdoors.
7. Do not use appliance for anything other than intended use.
8. The use of attachments not recommended by the manufacturer may
result in fire, electric shock or injury to persons.
9. SAVE THESE INSTRUCTIONS.
1. PRÉCAUTIONS IMPORTANTES
Ce symbole, lorsque présent sur l'équipement, signifie: MISE EN GARDE
Lisez entièrement ces directives de fonctionnement avant d'utiliser;
porter une attention particulière aux sections contenant ce symbole.
Toujours respecter les mesures de sécurité préventives :
1. LIRE CES DIRECTIVES.
2. Pour assurer une protection soutenue contre le
risque de choc électrique, brancher à des prises correctement mises
à la terre uniquement.
3. Ne pas immerger dans l'eau.
4. Veuillez débrancher l'appareil avant son nettoyage. Laisser refroidir
l'appareil avant son nettoyage.
5. Ne pas faire fonctionne un appareil dont le cordon ou la prise sont
endommagés ou après un problème de fonctionnement ou l'occurrence
d'un quelconque dommage. Renvoyer l'unité à un établissement de
service autorisé qui pourra effectuer la vérification, la réparation ou
le réglage.
6. Ne pas utiliser à l'extérieur.
7. Ne pas utiliser l'appareil à d'autres fins que celles prévues.
8. L'utilisation d'accessoires non recommandés par le fabricant peut causer
un incendie, un choc électrique ou des blessures.
9. CONVERSER CES DIRECTIVES.
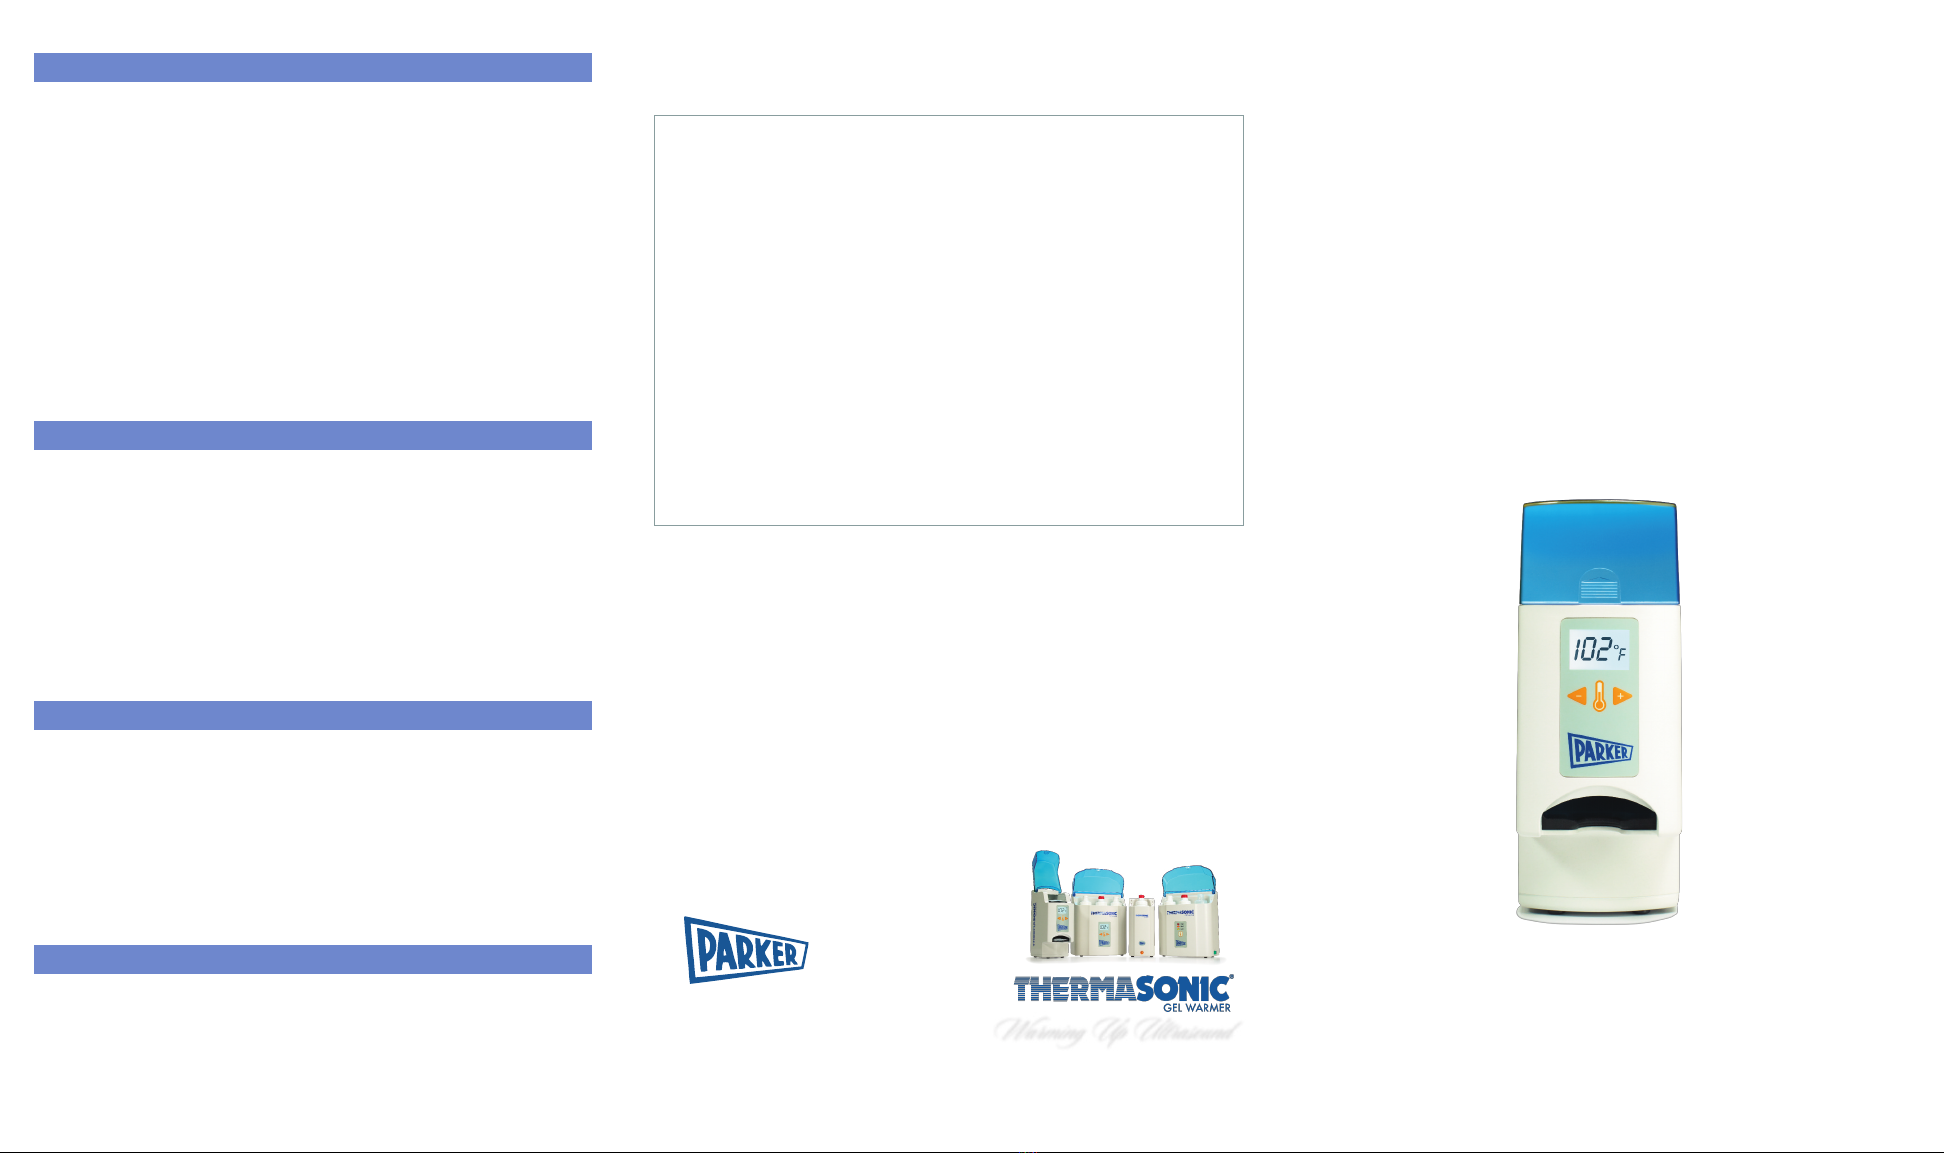
the Thermasonic® Gel Warmer
Warm and comfort able is now even b etter.
Operating I nstructions
For Model: 83 -20 (120V)
For Model: 83 -20-20 (230V)
the Thermasonic® Gel Warmer
Figure 1
Figure 2
Figure 3
Figure 4
Thermasonic
Gel Warmer
Operating
Instructions
*Power Cord-
IEC320/C14
Compatible (230V
units supplied with
European plug
CE 7/7)
Screws and
Wall Anchors
colors: CMYK
2. INCLUDED IN PACKAGE
Ther asonic-Packette-War er-Instructions_PM-082-0005A_UpdatedVersion_3-14-19.qxp_PM-082-0005A-Updated Version 3/15/19 12:22 PM Page 2