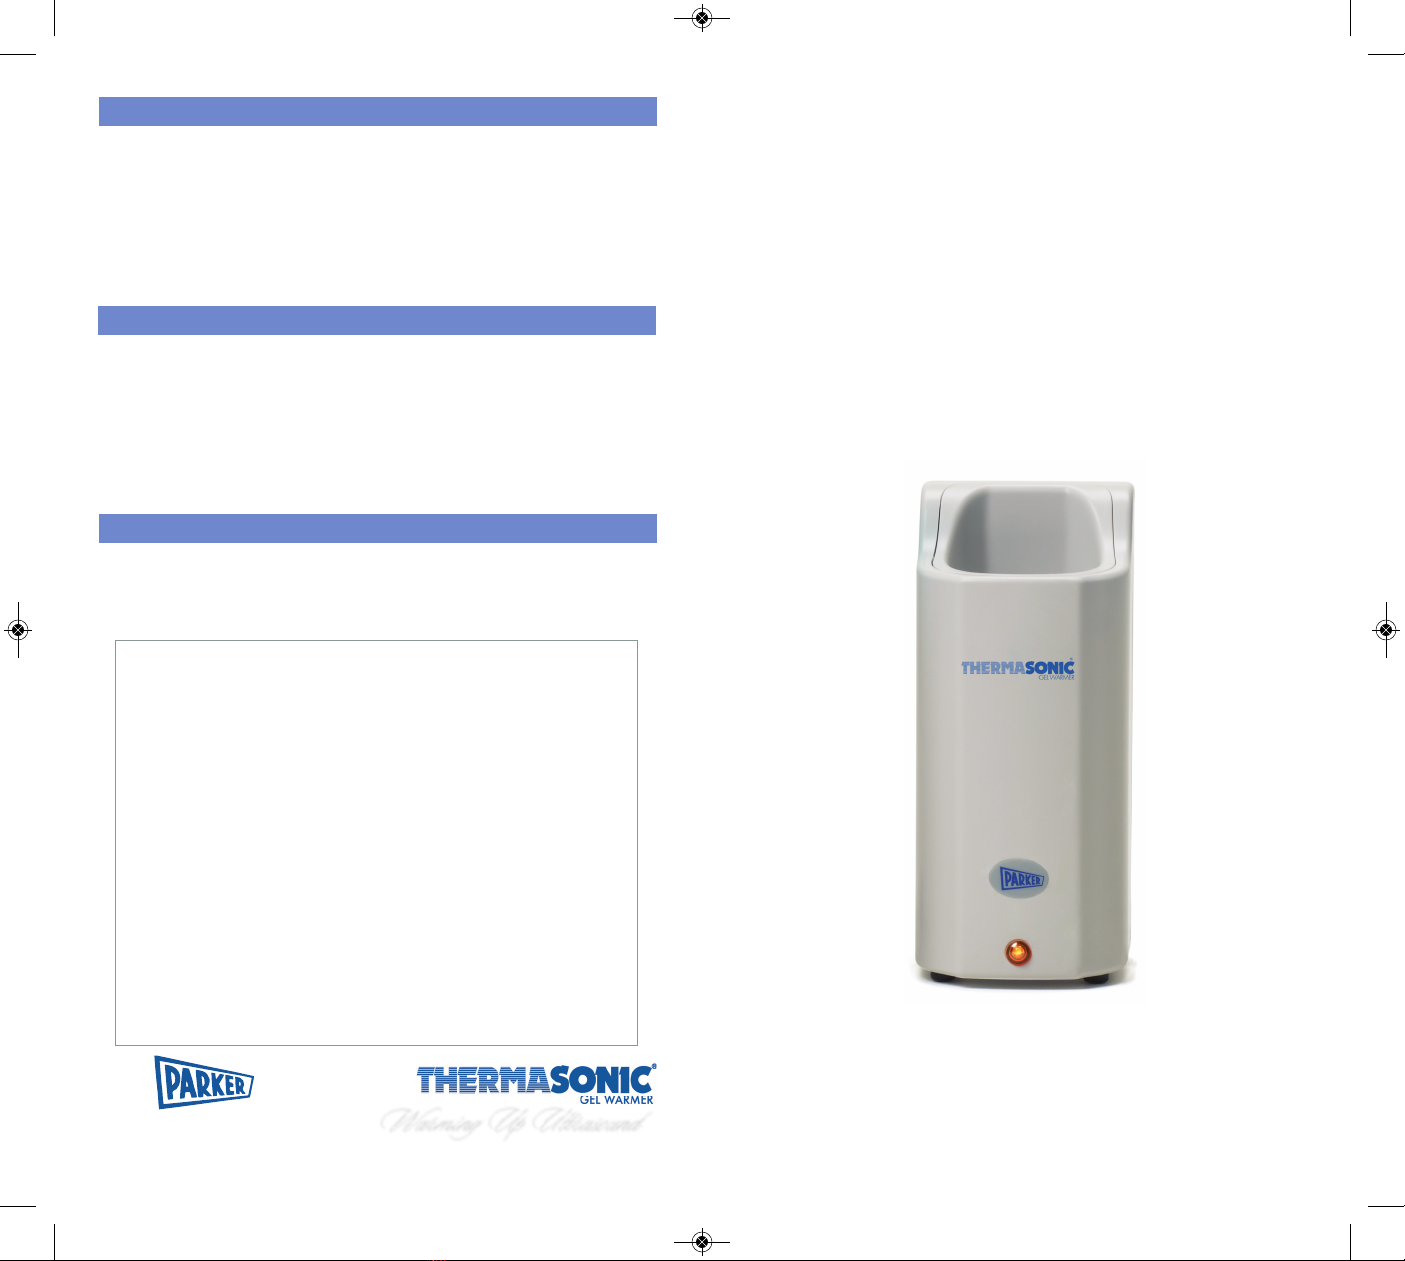
the Thermasonic® Gel Warmer
6. MAINTENANCE AND SERVICE
No routine maintenance is required and there are no user serviceable parts.
6.1 CLEANING
Disconnect the Gel Warmer from electrical outlet prior to cleaning. The outer
casing may be cleaned using a soft, damp cloth and a mild detergent soap.
Do not use an abrasive cleaner. Do not submerge or immerse the Gel Warmer
in water. Abrasive materials, such as paper towels, may scratch the finish.
Do not use solvents to clean the Gel Warmer.
7. WARRANTY
All Thermasonic Gel Warmers have a two-year Limited Warranty from the
date of purchase. DO NOT attempt to service your Thermasonic Gel Warmer.
Any evidence of the unit being disassembled, tampered with, or misused will
void the warranty. Contact Parker Laboratories, Inc. with any service or
NOTE: Product must be registered online at time of purchase.
Please register your model at:
www.parkerlabs.com/register/thermasonic
8. FREQUENTLY ASKED QUESTIONS
This instruction manual contains the answers to most questions about the use
and care of your Thermasonic Gel Warmer. You may also find answers to
some of the most frequently asked questions by visiting:
www.parkerlabs.com/thermasonic
Warming Up Ultrasound
Parker Laboratories, Inc.
www. parkerlabs.com
© 2013 Parker Laboratories, Inc. All Rights Reserved.
® Thermasonic is a registered trademark of Parker Laboratories, Inc.
® Microtemp is a registered trademark of Emerson Electric Co.
Declaration of Conformity
Certification: Parker Laboratories, Inc. certifies this instrument was inspected
and tested thoroughly and met its published specifications when shipped.
Manufacturer’s Name: Parker Laboratories, Inc.
Manufacturer’s Address: 286 Eldridge Road,
Fairfield, NJ 07004 USA
Declares that the product listed Name: THERMASONIC®Gel Warmer
conforms to the requirements of Model: 82-01, 82-01-20
the following European Directives:
Low Voltage Directive 2006/95/EC
EMC Directive 2004/108/EC
Conforming to the following standards:
EN 60335-2-15:2002/A1:2005/A2:2008 Certified by Linx Asia Trading Co. LTD.
EN 60335-1:2012 Certified by Linx Asia Trading Co. LTD.
EN 55014-2:1997/A2:2008,CIS PR 14-2:1997 Certified by Linx Asia Trading Co. LTD.
EN 55014-1:2006/A2:2011 Certified by Linx Asia Trading Co. LTD.
EN 61000-3-2:2006/A2:2009 Certified by Linx Asia Trading Co. LTD.
EN 61000-3-3:2008 Certified by Linx Asia Trading Co. LTD.
EN 62233:2008 Certified by Linx Asia Trading Co. LTD.
Operating Instructions
For Models: 82-01 (120V), 82-01-20 (230V)
the Thermasonic®Gel Warmer
Warm and comfortable is now even better.
PM-082-0001A