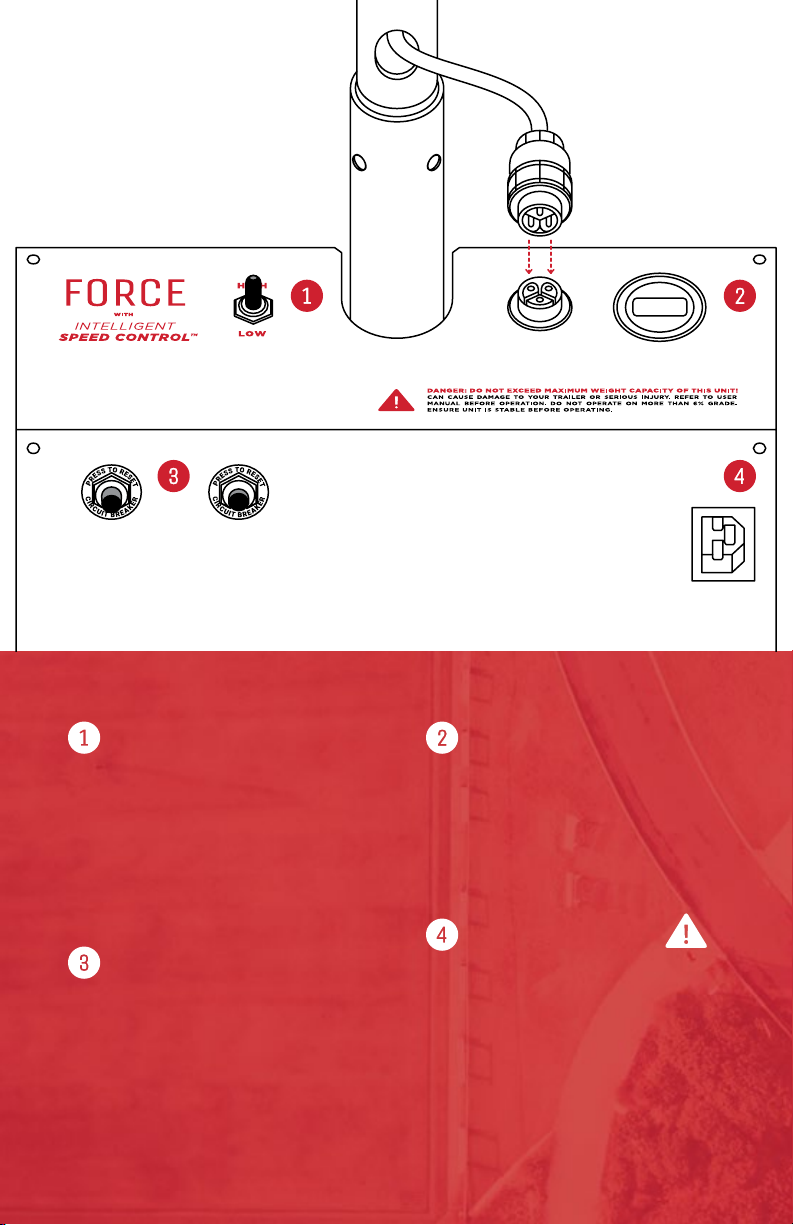
MODULE
FEATURES
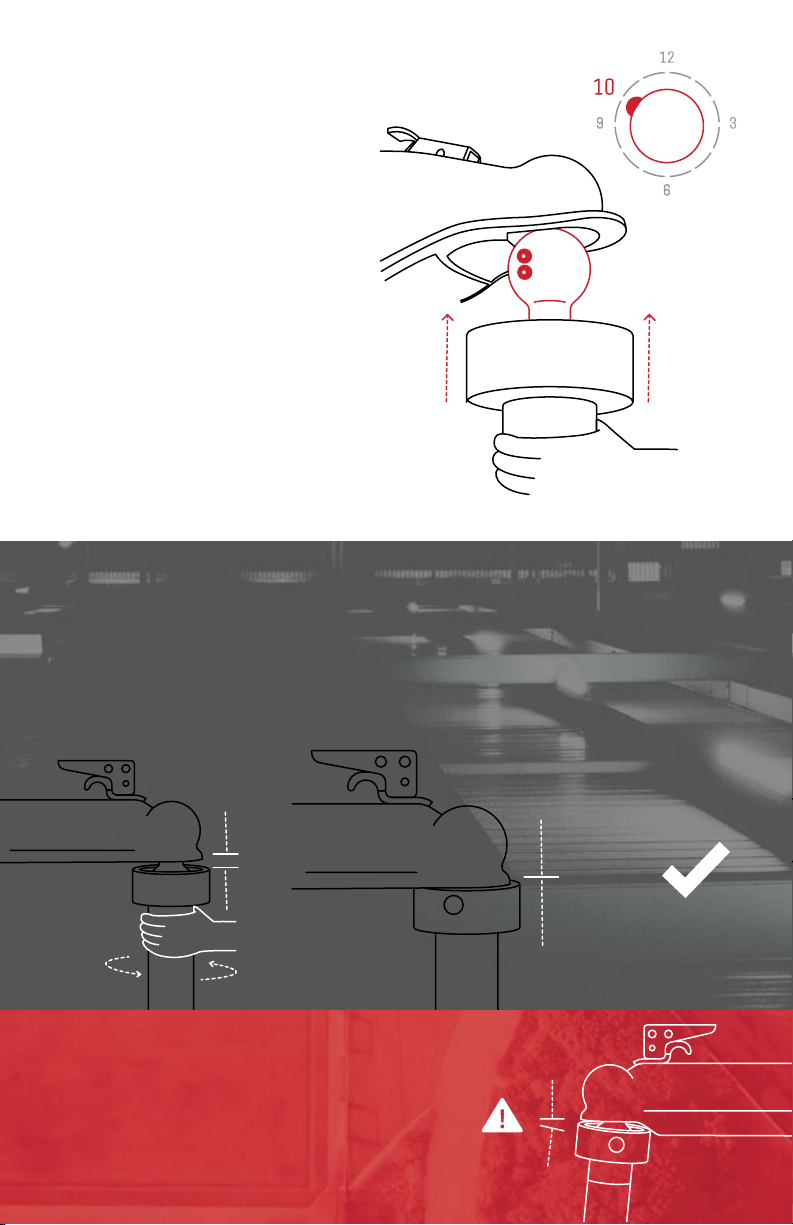
HANDLE PLUG
Plug in and Twist
locking cap over
connection. Unplug
while charging.
CIRCUIT BREAKERS
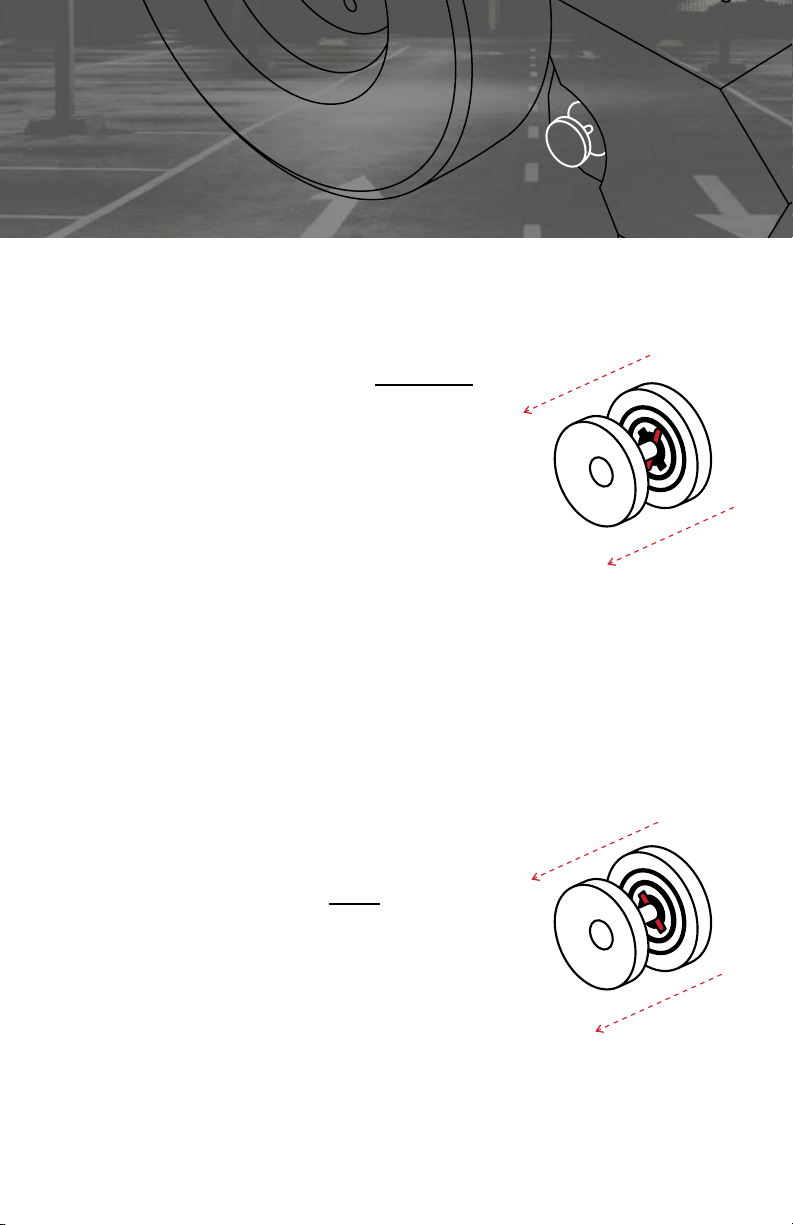
By default, the Brake Button protrudes more than the Motor.
VOLT METER
Digital Meter that measures and
displays Power Level of Battery.
Fully Charged Batteries Rest
between 12.6 to 13V.
CIRCUIT BREAKERS
Prevents Motors and Smart Brake
from overheating.
If a breaker trips, the Reset Button
will extend up to 1/2” from the panel.
Allow 30 seconds for the system to
cool down, then press Reset.
ISC CONTROL™
High and Low Speed options for
Faster or more Precise Parking.
Motor Speed Starts and Stops
gradually for better traction and
a smoother parking experience.
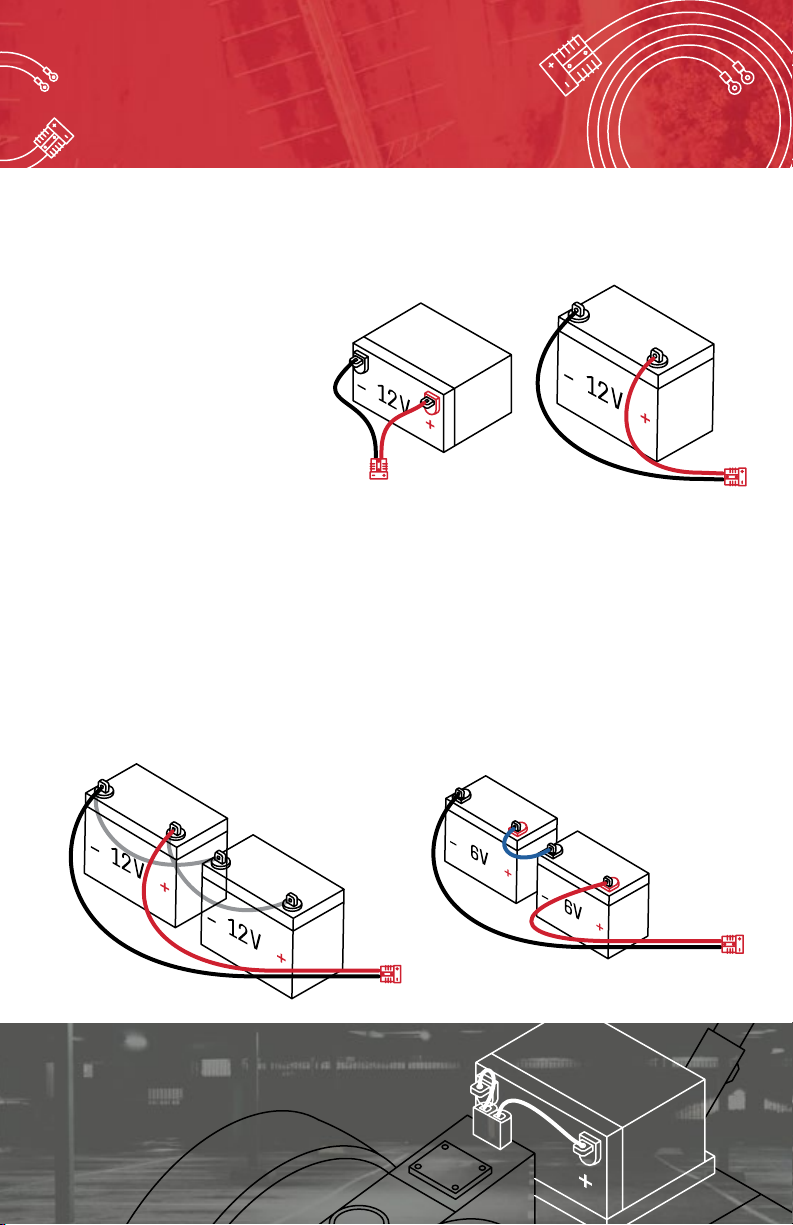
BATTERY CHARGER
Ensure the Battery and Charger Cable
are plugged into the Dolly. Plug the
Charger Cable into a Wall Socket
to charge. To prevent accidental
operation while charging, unplug
the Handle Cable. Stops charging
automatically when charger is full.