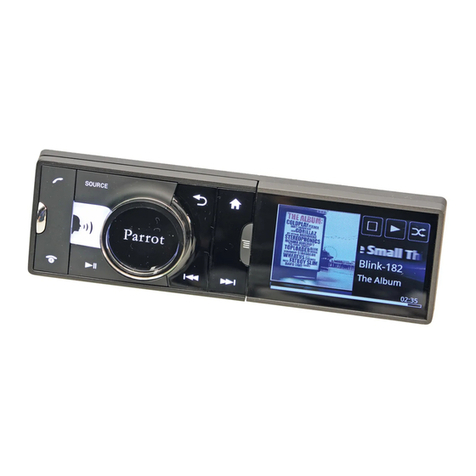
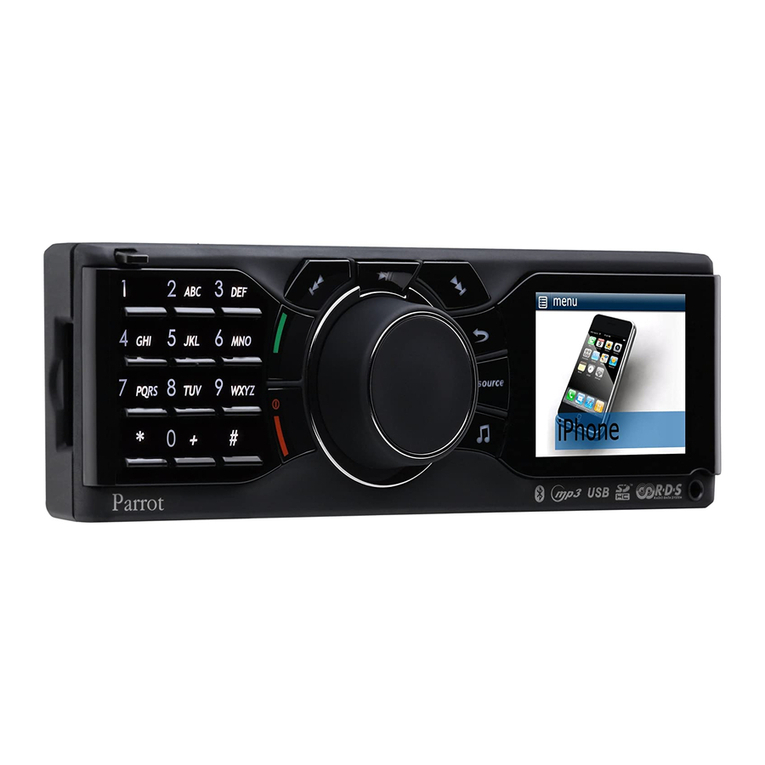
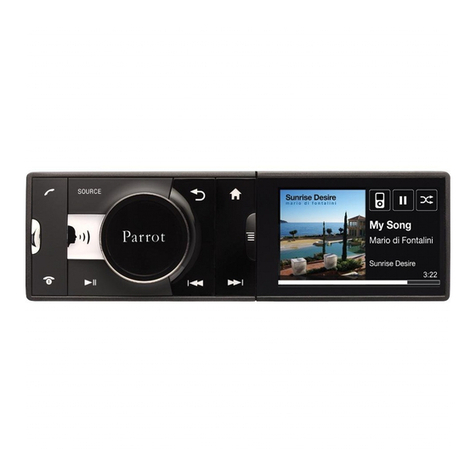
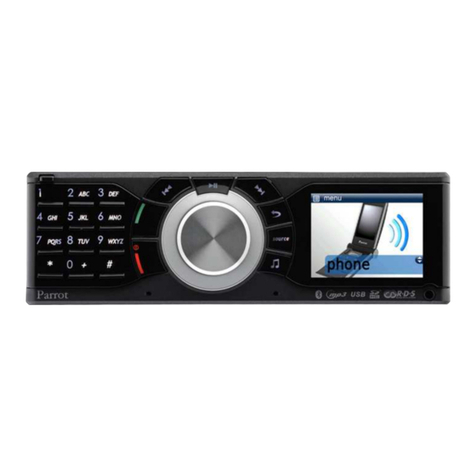
Parrot ASTEROID Tablet User manual

Parrot ASTEROID
Quick start guide
Guide d'utilisation rapide
Gula
de
instalaci6n n1pida
Bedienungsanleitung
Guida all'uso
Gebruikershandleiding
Manual
do
utilizador
t
software,videos, newsletter,
blog
..
.
~

,..
Quick start
guide
~
~
,
Jl
Parrot
I
>.1
r
:·1
'·
-/\STEROID
"it
. ,j '- -
Content
Before you begin p.2
Installation
p.4
Getting started p.5
Phone p.6
Music p.6
Internet p.7
Troubleshooting p.8
General information p.8
Before
you begin
Ab
out this gu
id
e
In
order
to
limit our paper consumption, and as part of
our environmentally friendly and responsible approach,
Parrot prefers
to
put user documents online rather than
print them out. This simplified guide
to
the Parrot
ASTEROID
is
therefore limited
to
providing you with the
main instructions
that
will make it easy for you to use
the device. More information can
be
found on the
Support & Downloads secti
on
of
our websi
te
, www.
parrot.com: the full manual, FAQs, tutorials, and more.
Note: iPod
and
iPhone
(in
iPodmode) will be referred
to as an "iPod" in this
manual
.
Software
updates
Download the latest update for free
(and
check the
update procedure) on our website www.parrot
.c
om,
in
the Support & Downloads section. These updates will
enable you
to
receive new features and improve the
product's compatibility.
Wa
rn
in
gs
• All functions requiring
an
increased attent
ion
should only be used while the vehicle is
stationary. Your safety and the one
of
the other
road users prevails over phone calls, music and
navigation instructions.
Be
responsible: drive
carefully and pay full attention
to
your
surrounding. Parrot denies any liability should you
choose not
to
respect this warning.
• Use the Parrot
ASTEROID
with a reasonable
volume level
so
that you can hear all external
noises while driving.
• The Parrot ASTEROID includes
NdFeB
magnets
which can damage objects sensitive to magnetic
fields (pacemakers, credit cards, mechanical
clocks...
).
Stee
r
ing
wh
ee
l
control
interface
A steering wheel control interface can be used to
connect your vehicle's steering wheel
co
ntrols
to
your
Parrot car stereo. With
th
is
in
terface (available
in
second half of
2011
), you will
be
able
to
make phone
calls via the steering wheel controls while keeping your
hands
on
the wheel. Refer
to
our website
www
.parrot.
com
for
more information.
E
ng
lish 2

Note : Depending
on
the kind
of
vehicle, you may need
to
usean antenna adapter
·-----------
..
1~
Cable
tie
slot
FRONT
OUT
UART
plug
(f
or
steering
wheel
control
interface
)
USB USB
3G
(1
-
i~~
,
d
·\
0 0
i n o
I
DO
0
REAR
OUT
Jack!Jack(3.Smm)
Microphone
For more informati
on,
refer
to
the diagram on
the car stereo.
UseRCA cables
to
establish these
connections.
,-
- - - ----------------- - - - - ---------·-
~
:,nl__jl
;n l__ _
Amplifier
Amplifier
,
u----r
nr
1.
_1
Subwoofer
I
__
_
________
_
____
_
____
__
____
_
_______
J
These connections are only necessary
if
you are using an optionnal amplifier.
Depending
on
the kind
of
vehicle, you may need to
swap
the positions
of
the red and orange wires.

Installation
Note:
We
advise our customers
to
have the Parrot
ASTEROID
fitted
bya professional.
S
af
e
ty
in
st
ru
ct
ions
• Turn the ignition off before installing the Parrot
ASTEROID.
• Install the Parrot ASTEROID only on vehicles with
a 12 V battery.
• Place all cables away from hot places (heater
outlet) and moving parts (gear shift, seat rails...
).
Be
for
e
you
beg
in
• Remove your car stereo from your vehicle. You
may need release keys
to
do
so.
• Try
to
connect the audio and power connectors
of the Parrot
ASTEROID
to
the connectors
of
your
vehicle.
If
this connection is impossible, you
have
to
obtain
an
ISO adapter before installing
the Parrot
ASTEROID.
• Compare the Parrot
ASTEROID
antenna
connector
to
the antenna connector
of
your
vehicle. If an adapter is necessary, contact your
local car audio specialist. Make sure you also
supply
power
to
your antenna if it
is
amplified.
Power
to
the antenna can be supplied using the
Parrot
ASTEROID
ISO
cable.
In
sta
lling
th
e
car
st
er
eo
1. Insert the cage and fix it into the dashboard using
the bracket mounting tab.
2. Access the vehicles car stereo wiring harness
from behind the dashboard.
3. Connect the audio and power connectors of the
Parrot ASTEROID
to
the ones
of
your vehicle.
4. Check the wiring
(as
explained in the Final check
section).
5. Install the audio cables
(as
explained in the
Installing the cables section).
6. Install the double microphone
(as
explained in the
Installing the microphone section)
7. Slide the
car
stereo into the Parrot
ASTEROID
cage and install the faceplate.
Final
check
• Once all the connections are made, turn the
ignition on then
off
to
perform the installation
test. The "Goodbye" message
must
be
displayed.
•
If
it is not the case, it is necessary
to
swap the
positions
of
the red and yellow wires. Indeed, the
red wire
of
the power cable
must
be connected
to
the 12V ignition,
the
yellow wire
to
the
permanent 12V and the black wire
to
the ground.
This can
be
done simply by reversing both fuse
holders located on the Parrot wiring.
In
s
talling
th
e
ca
bl
es
• Connect the iPod I iPhone®,
USB,
Jack
cables
and the GPS dongle
to
the
Parrot
ASTEROID
.
We
recommend you connect all audio cables to the
Parrot ASTEROID even
if
you do not plan on
using them. Route the audio cables
to
a suitable
location
in
your vehicle such as the glove box or
arm rest compartment.
It
may
be
necessary
to
drill a hole in your dashboard
to
do
so. Avoid
using USB extension cables.
• Make sure you connect
the
iPod I iPhone cable
to
its specific USB port. "iPod"
is
written above
it.
• Use the double-sided tape
to
stick
the
GPS
dongle
to
your dashboard. Once you have
stuck
the dongle
to
the dashboard, wait for
approximately 2 hours
to
make sure the adhesive
tape adheres well.
• To guarantee
an
optimal reception quality we
recommend you
do
not connect your internet
USB key 3G on the Parrot
ASTEROID
directly :
use the USB cable
to
install your device on the
dashboard
(or
any other open area).
• Use the provided cable ties
to
make sure the
cables are well fixed
to
the car stereo. Insert one
of
the
cable ties into the slot in the
top
left of the
back
of
the car stereo (refer
to
the diagram).
Insta
lling
the
mi
cr
op
hon
e
• Make sure the microphone
is
installed as close
to
the mouth of the user as possible. The ideal
distance is
60
em. The best possible locati
on
for
the microphone is near the rear-view mirror.
• The microphone needs
to
be
pointed towards the
user.
Basic
ope
r
ation
s
• To remove the faceplate, press the eject button
on
its left. Place the faceplate into the provided
carrying case
in
order
to
protect it from
scratches and dust.
English
4

• To attach the faceplate, put it on the right side of
the car stereo. Once the faceplate and the car
stereo magnets connect, press the left side.
• To remove the car stereo from the dashboard,
insert the provided extraction key until they click
into place.
5 English
Getting
started
Navigat
in
g
th
r
oug
h
th
e menus
•
•
•
•
•
Press the h button
to
access the main menu.
Browse through the menus by turning the wheel
and confirm by pressing
the
wheel.
Press the
~
button
to
get back
to
previous
menu.
Press the button
to
access the pop-
up
menu
corresponding
to
the current application. The
pop-up menu allows you
to
change several
settings or browse more easily through the
content of your audio source
or
phonebook.
Press the
~
button
to
get
to
the track l
ist
if a
song is currently being played. While navigating
through the menus, press the SOURCE button
to
get
to
the Now Playing screen.
C
onnectin
g a
ph
one to t he
Pa
r
rot
ASTERO
ID
• Before pairing
your
phone with the Parrot
ASTEROID,
make sure that it is visible by all
8/uetooth devices. To do
so
, select Setti
ng
s >
Telephony >
Vis
ibility then make sure the option
is checked. If
it
is not the case, check it by
pressing the jogwheel.
• Prior
to
using the Parrot
ASTEROID
with your
phone
for
the very
first
time, you
must
initially
pair both devices.
To
do
so:
1. From your phone, search
for
8/uetooth®
peripherals and select "Parrot ASTEROID ".
2. Enter «0 0 0 0
••
on your phone when
prompted
to
do
so
.
> "Pairing successful" is displayed.
• Once your phone is paired
to
the Parrot
ASTEROID
, the connection
be
tween both devices
will
be
automatically established each time the
Parrot
ASTEROID
is turned on near your phon
e.
• You can pair up
to
10 devices with the Parrot
ASTEROID.
If you attempt to pair an 11th phone,
you will get the « Memory full
••
message. You
must then delete a phone from the paired
devices list. To do so:
1. Select Settings > Phone > Paired devices.
2. Select
the
phone then
se
lect
Del
ete.
Sync
h
ron
is
in
g the p
ho
nebook
• With
most
of
the 8/uetooth phones, the
phonebook is automatically synchronized in the
system's
memory.
Warning: Only the contacts stored in the phone
memory are synchronized.
If
your contacts are
stored in your SIM c
ard
memory, transfer them
ontoyourphone memory.
• If your phone does not support automatic
synchronization, you can also use the Object
Push function
of
your
phone
to
send contacts
from
your
mobile
to
the Parrot
ASTEROID
via
8/uetooth. To
do
so
, select Se
tt
ings > Telephony
> Special pairing >
Ob
ject Push.

Phone
Receiving
a
call
•
An
incoming call
is
indicated by a ringtone.
The
name of the caller
is
announced if his number
is
recorded
in
the phonebook of the phone
connected
to
the Parrot
ASTEROID.
-
If
you want
to
answer the call, press the
/"
button. Then press the
~
button
to
end the
call.
-
If
you want
to
refuse this call, press the
~
button.
Making
a
call
•
To
make a call via voice recognition:
1. Press the
/"
button
to
launch the voice
recognition feature.
>The
Parrot
ASTEROID
asks you the name
of the contact you want
to
call.
2. Say the name of the contact and the type of
number («Work», «Cell
phone»
...) if there
are several numbers associated
to
your
contact.
>
The
call
is
automatically launched if the
voice tag is correctly understood.
>
If
it
is
not the case, a confirmation
message
is
asked. Confirm
by
saying
«Yes»
or «Call».
Note:
At
any time, press the -;;-- button to exit voice
recognition mode.
•
Hold
down the
/"
button
to
redial the last dialled
number.
Using
the
Parrot
ASTEROID
while
on a
call
• Use the jog wheel during a call
to
adjust the
communication volume.
The
volume setting
is
saved for subsequent calls.
• During a call, if you want to continue the
conversation
on
your phone (private
conversation), press the
/"button.
•
The
Parrot
ASTEROID
allows you to send
DTM
F
while
on
call.
To
do so, press the jogwheel.
Music
Using
the
voice
recognition
function
•
The
voice recognition function allows you to
select the artist I album you want
to
hear via
voice recognition. This function
is
only available if
you are using the Parrot
ASTEROID
with a
USB
I
SD
I iPod peripheral.
Note : Several minutes
of
loading may be necessary
when connecting your audio peripheral
(USB
I
SO
1
iPod} to the Parrot ASTEROID for the first time,
particularly
if
you are using audio peripheral with a
large capacity
or
containing many audio files.
This
loading time will allow your audio files to be
accessible
via
voice recognition.
•
•
Radio
Press the
E!J
button then say the name of the
artist I album.
Check the albums and artists names
in
the
metadatas of your music files. These names
may
be
different from the ones displayed
on
your
music files titles.
•
To
select a frequency:
1. Press the
SOURCE
button until the Radio
source
is
selected.
2.
Press briefly the
,_
-.
buttons to change
manually the radio station. Hold down the
,_
-.
buttons to tune to the next available
radio station.
•
To
get the list of
all
available stations:
1.
Press the
SOURCE
button until the Radio
source
is
selected.
English 6

2.
Press the button and select Fullscan.
• To memorize a station:
iPod
1.
Press the SOURCE button until the Radio
source is selected.
2.
Select the frequency manually or
in
Fullscan
mode.
3. Press the _ button then select Add
to
presets.
> To select a stored station, select the
Presets mode.
Connect your iPod using the iPod connector then press
the SOURCE button until the iPod source is selected.
USB
storage
device
1.
Connect your USB storage device
to
the
Parrot ASTEROID using the USB cable or the
USB connectors on the back
of
the car
stereo
2.
Press the SOURCE button until the USB
source
is
selected.
SD
card
1. Remove the Parrot ASTEROID faceplate.
2.
Insert the
SO
card into the
-~ppropriate
slot
with the contact surface facing down.
3.
Reattach the faceplate.
4.
Press the SOURCE button until the
SO
source
is
selected.
Analogue
audio
p!
ayGr
1.
Connect the audio player using the
Jack
connector.
2.
Press the SOURCE button until the Line
in
source
is
selected.
3.
Start playing a song on your audio player.
Audio
player
connected
via
B!uetooth
• You can use the Parrot ASTEROID
to
listen
to
songs stored
on
your mobile phone or
Bluetooth
audio device. To do so, your phone I audio
device
must
support the
Bluetooth
A2DP profile
(Advanced Audio Distribution Profile).
• If you are using a
Bluetooth
audio player for the
first time, you have
to
pair both devices.
• If both devices are already paired:
1.
Press the SOURCE button until the Bluetooth
Audio source is selected.
2.
Start playing a song on your audio player.
Internet
Connecting
the
Parrot
ASTEROID
to
the
internet
• Use a USB cable
to
connect an internet USB
key
to
the Parrot ASTEROID. Then follow
the
displayed instructions.
Warning: Using the Parrot Asteroid applications
require a USB internet key
and
an appropriate
subscription offer. Connecting the Parrot
ASTEROID to Internet using an internet USB key
may
result in large additional roaming
fees.
Check
the terms
of
use with your provider for more
information. Make sure you check regularly your
allowance
and
usage. Parrot is not responsible
for
any overcharge resulting in the
use
of
the Parrot
ASTEROID.
• If your phone supports the
DUN
Bluetooth
profile
(Dial-Up Networking), connecting your phone
to
the Parrot ASTEROID via
Bluetooth
will also allow
you
to
use the Internet applications.
Using
H1e
Parrot
ASTEROID
applications
• Several types
of
applications are available with
the Parrot ASTEROID: music, geolocation, driver
assistance...
• All applications
may
not
be
available
in
all
countries. Please refer
to
our website
www.
parrot.com
for
more information.
• The available applications are listed
in
the Parrot
Asteroid menu and displayed
on
the product
packaging.
• The use of
some
applications may need prior
subscription. Please refer
to
our website
www.
parrot.com for more information.
--
·
--
-----
. .
~-
·--------------~----
-----------
--------
--------------------------~--
--
·
··
---
7 English

Troubleshooting
Before you
begin
• Make sure the "Goodbye" message is displayed
on
the Parrot
ASTEROID
screen when you turn
the ignition off. Refer
to
the Checking the wiring
section for more information.
• Reset the Parrot
ASTEROID.
To do so, remove
the faceplate then use a paper clip
to
press the
Reset button. Hold down the Reset button for 3
seconds.
,.
--
l
• Make sure you have the latest software update
on
your Parrot
ASTEROID.
To do so, select
Settings > About > Version. Compare this number
with the one
on
our website, Downloads section.
Problems
while
using
the
phone
function
• Make sure your phone is compatible with the
Parrot
ASTEROID.
To do so, refer
to
the
compatibility list of the Parrot
ASTEROID
available on our website www.parrot.com,
in
the
Support & Downloads section.
• If your phone
is
compatible with the Parrot
ASTEROID
and if you already have the latest
software update:
1.
Erase the memory of the Parrot
ASTEROID.
To
do so, select Settings > Advanced
settings > Factory settings.
2.
On
your telephone, erase the Parrot system
from the list
of
8/uetooth peripherals
(or
reboot your iPhone®).
3. Repeat the pairing procedure for the 2
devices.
Problems
while
usmg
the
music
funct1on
• Several minutes of loading may
be
necessary
when connecting your audio peripheral
(USB
I SD
I iPod)
to
the Parrot ASTEROID for the first time,
particularly if you are using audio peripheral with
a large capacity
or
containing many audio files.
This loading
time
will allow your audio files
to
be
accessible via voice recognition.
• Reboot your iPod I iPhone before connecting it
to
the Parrot
ASTEROID.
To reboot your iPod I
iPhone (this procedure will not erase any of your
data):
-iPod: press Menu and the centre button
simultaneously until the iPod reboots.
-iPhone: Press the On/Off button and the
Home button simultaneously until the iPhone
reboots.
Do
not touch the screen when the
message "Slide
to
shutdown" appears.
• Some problems may occur if the iPod I
SD
card I
USB
device is already connected
to
the Parrot
ASTEROID
before you turn
on
the ignition.
Connect the iPod I SD card I USB device once
the ignition is turned on.
General
information
Warranty
Without prejudice
of
legal warranty, Parrot products are
warranted during 1 year from the date of purchase for
defects
in
materials and workmanship, provided that no
deterioration
to
the product has been made, and upon
presentation
of
proof of purchase
~nvoice)
to
the
retailer. Warranty does not cover: upgrading of the
software items of the Parrot products with 8/uetooth
cell phones for compatibility purpose, data recovery,
deterioration
of
the external aspect due
to
normal wear
of
the product, any damage caused by accident,
misuse, misapplication, or non-Parrot products. Parrot
is not responsible for storage, loss or damaged
to
data
during transit or repair. Any product wrongfully declared
to
be
defective will
be
returned
to
sender and
inspection, process and carriage costs will
be
invoiced
to
him.
Correct
disposal
of
This Product (Waste Electrical &
Electronic Equipment)
This marking shown on the product or its literature,
indicates that it should not
be
disposed with other
household wastes at the end of its working life. To
prevent possible harm
to
the environment or human
health from uncontrolled waste disposal, please
separate this from other types of wastes and recycle it
responsibly
to
promote the sustainable reuse of
material resources.
Household users should contact either the retailer
where they purchased this product, or their local
government office, for details of where and how they
can
take
this item for environmentally safe recycling.
Business users should contract their supplier and the
terms and conditions of the purchase contract. This
product should not
be
mixed with other commercial
wastes for disposal.
English 8
Modifications
The explanations and specifications
in
this guide are
give~.
for
.informat~on
purposes only and may
be
mod1f1ed
Without pnor notice. They are deemed to be
correct at time of going to press. The utmost care has
been taken when writing this guide,as part of the aim
to provide you with accurate information. However,
Parrot shall
n~t.
be held responsible for any
consequences
ans1ng
from any errors or omissions
in
the guide, nor for any damage or accidental loss of
data resulting directly or indirectly from the use of the
information herein. Parrot reserves the right
to
amend
or improve the product design or user guide without
any restrictions and without any obligation
to
notify
~sers.
As part of our ongoing concern
to
upgrade and
1mprove
our products, the product that you have
purchased may differ slightly from the model described
in
this guide. If so, a later version of this guide might
be
available
in
electronic format at Parrot's website at
www.parrot.com.
FCC
Compliance Statement
This device complies with part
15
of the
FCC
rules.
Operation is subject
to
the following
two
conditions:
(1
).
this device may not cause harmful interference,
and
(2).
this device must accept any interference received
including interference that may cause undesired
operation.
Note:.The manufacturer
is
not responsible for any radio
or
tv
Interference caused by unauthorized modifications
to
this equipment. Such modifications could void the
user's authority to operate the equipment.
Canada Class B statement: This Class B digital
apparatus complies with Canadian ICES-003
Copyrights
9 English
Copyright ©
2011
Parrot. All Rights Reserved
Declaration
of
Conformity
<E:
We,
Parro~
S.A. 174 quai de Jemmapes,
75010 Pans, France, declare under our sole
responsibility that our product, the Parrot
ASTEROID
to which this declaration relates is
in
conformity with appropriate standards
EN
60065 :2002/A1 :2006/A11 :2008,
EN
50371
(2002),
EN
300328 v1.
7.
1 and
EN
301
489-17
v1.3.2 following the provision of Radio
Equipment and Telecommunication Equipment
directive 1999/5/EC
R&
TTE
and 2004/104/CE
Automotive directive amended by the
2009/19/CE directive.
http://www.parrot.com/fr/support/
guidesdaideenligne/parrot-asteroid/
asteroid_ce_conformity_declaration.pdf

Copyrights
and
licences
Marques
I
Trademarks
•
COYOTE,
iCOYOTE
et
le
logo
COYOTE
sont des
marques deposees propriete de
COYOTE
»
•
LIVERADIO,
ORANGE
LIVERADIO
et
le
logo
ORANGE
LIVERADIO
sont des marques
deposees et/ou enregistrees propriete
de
France
Telecom.
•
DEEZER
et
le
logo
DEEZER
sont des marques
propriete de
DEEZER.
*************************************
• Parrot, Parrot
ASTEROID
and Parrot logos figuring
in
this notice are trademarks of Parrot
SA.
•
The
81uetooth word mark and logos are owned
by
the 81uetooth
SIG,
Inc. and any use of such
marks
by
Parrot S.A. is under license. 81uetooth
QDID:
8016591
I
8013838, 8013839
• "Made for iPod" and "Made for iPhone" mean
that
an
electronic accessory has been designed
to
connect specifically
to
iPod, iPhone, or iPad,
respectively, and has been certified
by
the
developer
to
meet Apple performance standards.
Apple
is
not responsible for the operation of this
device or its compliance with safety and
regulatory standards.
• iPod Mini, iPod Photo, iPod
3G
are trademarks of
Apple Inc
• iPod Shuffle, iPod and iPhone and are
trademarks of Apple Inc, registered
in
USA
and
others countries
• Music Recognition technology and related data
are provided
by
Gracenote®
• Gracenote® , Gracenote logo and logotype are
either a registered trademark or a trademark of
Gracenote, Inc
in
the United States and/or other
countries.
• Other trademarks and trade names are the
property of their respective owners.
Licences/
Licenses
Ce produit contient des logiciels dits "libres". Les
informations relatives aux codes sources, aux
conditions d'utilisation des licences et aux copyright
sont disponibles sur www.parrot.com et dans
le
produit. Pour consulter ces informations, selectionnez
Reglages
>A
propos> Informations Legales.
This product contains open source software.
Information about source code, software, applicable
licenses terms and copyrights are available
on
www.
parrot.com and
in
the product. See under Settings >
About > Legal Information.
Copyrights
&
Ucenses
60

Hotline
Our
hotline
is
at
your
disposal
from
Monday
to
Friday -[email protected]
Italy:
[+39] 02 59 90 15 97
Spain:
[+34] 902 404 202
UK
: [+44] (0)844 472 2360
Germany :
0900 1727768
USA:
[+
1]
(877) 9 Parrot (toll free)
China:
[+86] 755 8203 3307
Hong
Kong
:
[+852] 2736 1169
France:
01
48 03 60 69
Europe:
[+33] 1 48 03 60 69 (Spoken languages: French, English
and
Spanish)
Made for
~
iPod
C
iPhone
0
Bluetooth·
1111
FCCID
:
RNB4
S:IIN
- ( E
't;t
1:1...
:
gracenote.
.A

Parrot
move wireless
Parrot
S.A.
-174,
quai
de
Jemmapes -75010 Paris -France
Fax
+33
1
48
03
06
66
I
Phone
+33
1
48
03
60 60
www.parrot.com
IIIII
111111111111
I
IIIII
PI031116AB

User guide

Parrot ASTEROID
.........................................................................................................................4
Before you begin
.........................................................................................................................................................4Software updates
.........................................................................................................................................................4Warnings
.........................................................................................................................................................4Steering wheel control interface
.........................................................................................................................5
Installation
.........................................................................................................................................................5Safety instructions
.........................................................................................................................................................5Before you begin
.........................................................................................................................................................6Installing the car stereo
.........................................................................................................................................................6Final check
.........................................................................................................................................................7Installing the cables
.........................................................................................................................................................7Installing the microphone
.........................................................................................................................................................8Installing the GPS antenna
.........................................................................................................................................................8Basic operations
.........................................................................................................................9
Getting started
.........................................................................................................................................................9Navigating through the menus
.........................................................................................................................................................9Turning the Parrot ASTEROID on / off
.........................................................................................................................................................9Using the virtual keyboard
.........................................................................................................................................................10Connecting a phone to the Parrot ASTEROID
.........................................................................................................................................................12Synchronising the phonebook
.........................................................................................................................13
Phone
.........................................................................................................................................................13Receiving a call
.........................................................................................................................................................13Making a call
.........................................................................................................................................................15Using the Parrot ASTEROID while on a call
.........................................................................................................................17
Music
.........................................................................................................................................................17Using the voice recognition function
.........................................................................................................................................................17Radio
.........................................................................................................................................................19iPod
.........................................................................................................................................................19USB storage device
.........................................................................................................................................................20SD card
.........................................................................................................................................................21Analogue audio player
.........................................................................................................................................................21Audio player connected via Bluetooth
.........................................................................................................................23
Internet
.........................................................................................................................................................23Connecting the Parrot ASTEROID to the internet

.........................................................................................................................................................24Using the Parrot ASTEROID applications
.........................................................................................................................................................25Closing an application
.........................................................................................................................................................25Managing applications
.........................................................................................................................26
Settings
.........................................................................................................................................................26Clock
.........................................................................................................................................................26Phone
.........................................................................................................................................................27Audio
.........................................................................................................................................................29Music
.........................................................................................................................................................30Display
.........................................................................................................................31
Troubleshooting
.........................................................................................................................................................31Before you begin
.........................................................................................................................................................31Problems while using the phone function
.........................................................................................................................................................32Problems while using the music function
.........................................................................................................................................................32For more information
.........................................................................................................................33
General information

4
Before you begin
Software updates
Download the latest update for free (and check the update procedure) on our website. These
updates will enable you to receive new features and improve the product’s compatibility.
Warnings
All functions requiring an increased attention should only be used while the vehicle is stationary.
Your safety and the one of the other road users prevails over phone calls, music and navigation
instructions. Be responsible: drive carefully and pay full attention to your surrounding. Parrot
denies any liability should you choose not to respect this warning.
Use the Parrot ASTEROID with a reasonable volume level so that you can hear all external noises
while driving.
The Parrot ASTEROID includes NdFeB magnets which can damage objects sensitive to magnetic
fields (pacemakers, credit cards, mechanical clocks…).
Steering wheel control interface
A steering wheel control interface can be used to connect your vehicle’s steering wheel controls to
your Parrot car stereo. With this interface (available in second half of 2011), you will be able to make
phone calls via the steering wheel controls while keeping your hands on the wheel. Refer to our
website www.parrot.com for more information.

5Before you begin
Installation
Note: We advise our customers to have the Parrot ASTEROID fitted by a professional.
Safety instructions
Turn the ignition off before installing the Parrot ASTEROID.
Install the Parrot ASTEROID only on vehicles with a 12 V battery.
Place all cables away from hot places (heater outlet) and moving parts (gear shift, seat rails...).
Before you begin
Remove your car stereo from your vehicle. You may need release keys to do so.
Try to connect the audio and power connectors of the Parrot ASTEROID to the connectors of your
vehicle. If this connection is impossible, you have to obtain an ISO adapter before installing the
Parrot ASTEROID.
Parrot ASTEROID antenna connector

6 Installation
Example of antenna adaptor -DIN / Fakra (not provided)
Compare the Parrot ASTEROID antenna connector to the antenna connector of your vehicle. If an
adapter is necessary, contact your local car audio specialist. Make sure you also supply power
to your antenna if it is amplified. Power to the antenna can be supplied using the Parrot
ASTEROID ISO cable.
Installing the car stereo
1. Insert the cage and fix it into the dashboard using the bracket mounting tab.
2. Pull audio and power cables of the vehicle to the outside of the dashboard, through the
mounting bracket.
3. Connect the audio and power connectors of the Parrot ASTEROID to the ones of your vehicle.
4. Check the wiring (as explained in the Final check section).
5. Install the audio cables (as explained in the Installing the cables section).
6. Install the double microphone (as explained in the Installing the microphone section)
7. Slide the car stereo into the Parrot ASTEROID cage and install the faceplate.
Final check
Once all the connections are made, turn the ignition on then off to perform the installation test.
The "Goodbye" message must be displayed.
If it is not the case, it is necessary to swap the positions of the red and yellow wires. Indeed,
the red wire of the power cable must be connected to the 12V ignition, the yellow wire to the
permanent 12V and the black wire to the ground. This can be done simply by reversing both
fuse holders located on the Parrot wiring.

7Installation
Installing the cables
Connect the iPod / iPhone®, USB, Jack cables and the GPS Antenna to the Parrot ASTEROID.
We recommend you connect all audio cables to the Parrot ASTEROID even if you do not plan on
using them. Route the audio cables to a suitable location in your vehicle such as the glove box
or arm rest compartment. It may be necessary to drill a hole in your dashboard to do so. Avoid
using USB extension cables.
Make sure you connect the iPod / iPhone cable to its specific USB port. "iPod" is written above
it.
Use the double-sided tape to stick the GPS Antenna to your dashboard. Once you have stuck
the dongle to the dashboard, wait for approximately 2 hours to make sure the adhesive tape
adheres well.
To guarantee an optimal reception quality we recommend you do not connect your internet USB
key 3G on the Parrot ASTEROID directly : use the USB cable to install your device on the
dashboard (or any other open area).
Use the provided cable ties to make sure the cables are well fixed to the car stereo. Insert one
of the cable ties into the slot in the top left of the back of the car stereo (refer to the diagram).
Installing the microphone
We recommend that you slide the cable into the groove
behind the door seal.
If the cable runs above the pedals, ensure that it is
properly secured.
Warning: Do not run the microphone cable through the heating, ventilation or air conditioning
systems or in front of the side airbags.
Make sure the microphone is installed as close to the mouth of the user as possible. The ideal
distance is 60 cm. The best possible location for the microphone is near the rear-view mirror.
The microphone needs to be pointed towards the user.

8 Installation
Installing the GPS antenna
Install the GPS Antenna in an unobstructed area.
Clean the dashboard, then use the adhesive located on the back of the GPS Antenna to attach it
to the dashboard. Then wait for approximately 2 hours without handling the dongle to ensure that
it adheres properly.
Athermic windshields and windows with a built-in antenna can interfere with GPS reception and
reduce the reliability of information from navigation applications.
Basic operations
To remove the faceplate, press the eject button on its left. Place the faceplate into the provided
carrying case in order to protect it from scratches and dust.
To attach the faceplate, put it on the right side of the car stereo. Once the faceplate and the car
stereo magnets connect, press the left side.
To remove the car stereo from the dashboard, insert the provided extraction key until they click
into place.
Other manuals for ASTEROID Tablet
9
Table of contents
Other Parrot Car Receiver manuals

Parrot
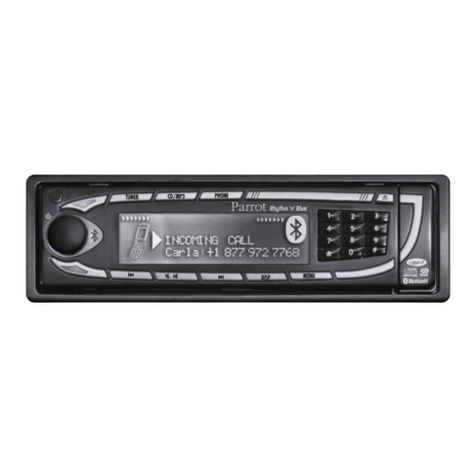
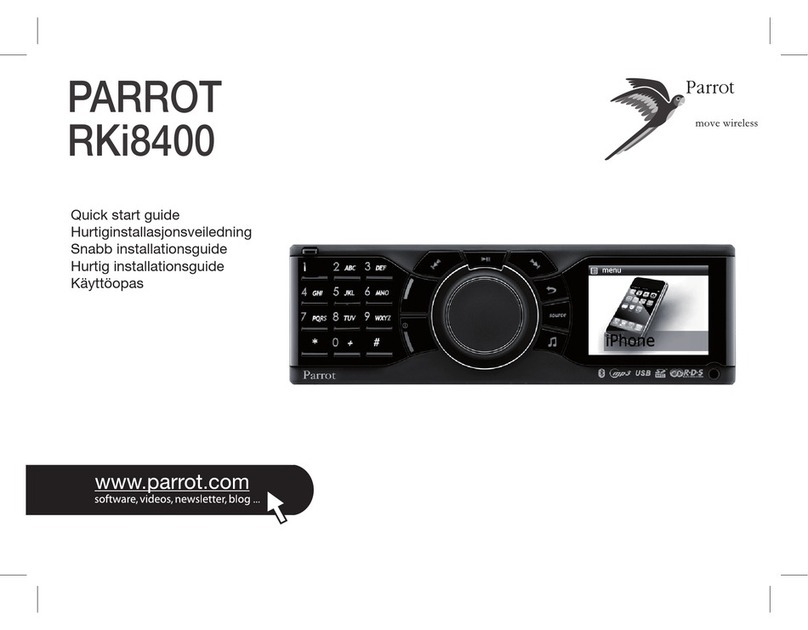
Parrot RKi8400 User manual

Parrot
Parrot MKi9200 RU User manual

Parrot
Parrot Asteroid Classic User manual

Parrot
Parrot ASTEROID Tablet User manual

Parrot
Parrot Asteroid Classic User manual

Parrot
Parrot RKi8400 User manual

Parrot
Parrot ASTEROID Tablet User manual

Parrot
Parrot ASTEROID Tablet User manual

Parrot
Parrot RHYTHM N'BLUE User manual

Parrot
Parrot RK8200 User manual