CLIO 3
This sheet is designed to help you with the installation of a Parrot product and is purely for information. Any installation performed in
compliance with the instructions appearing in this document is done under the sole responsibility of the installer, who is entirely responsible
for the quality of the installation. All rights reserved © Copyright 2011 PARROT SA RCS PARIS 394 149 496. May not be reproduced without the
authorisation of Parrot SA. Pictures for information only.
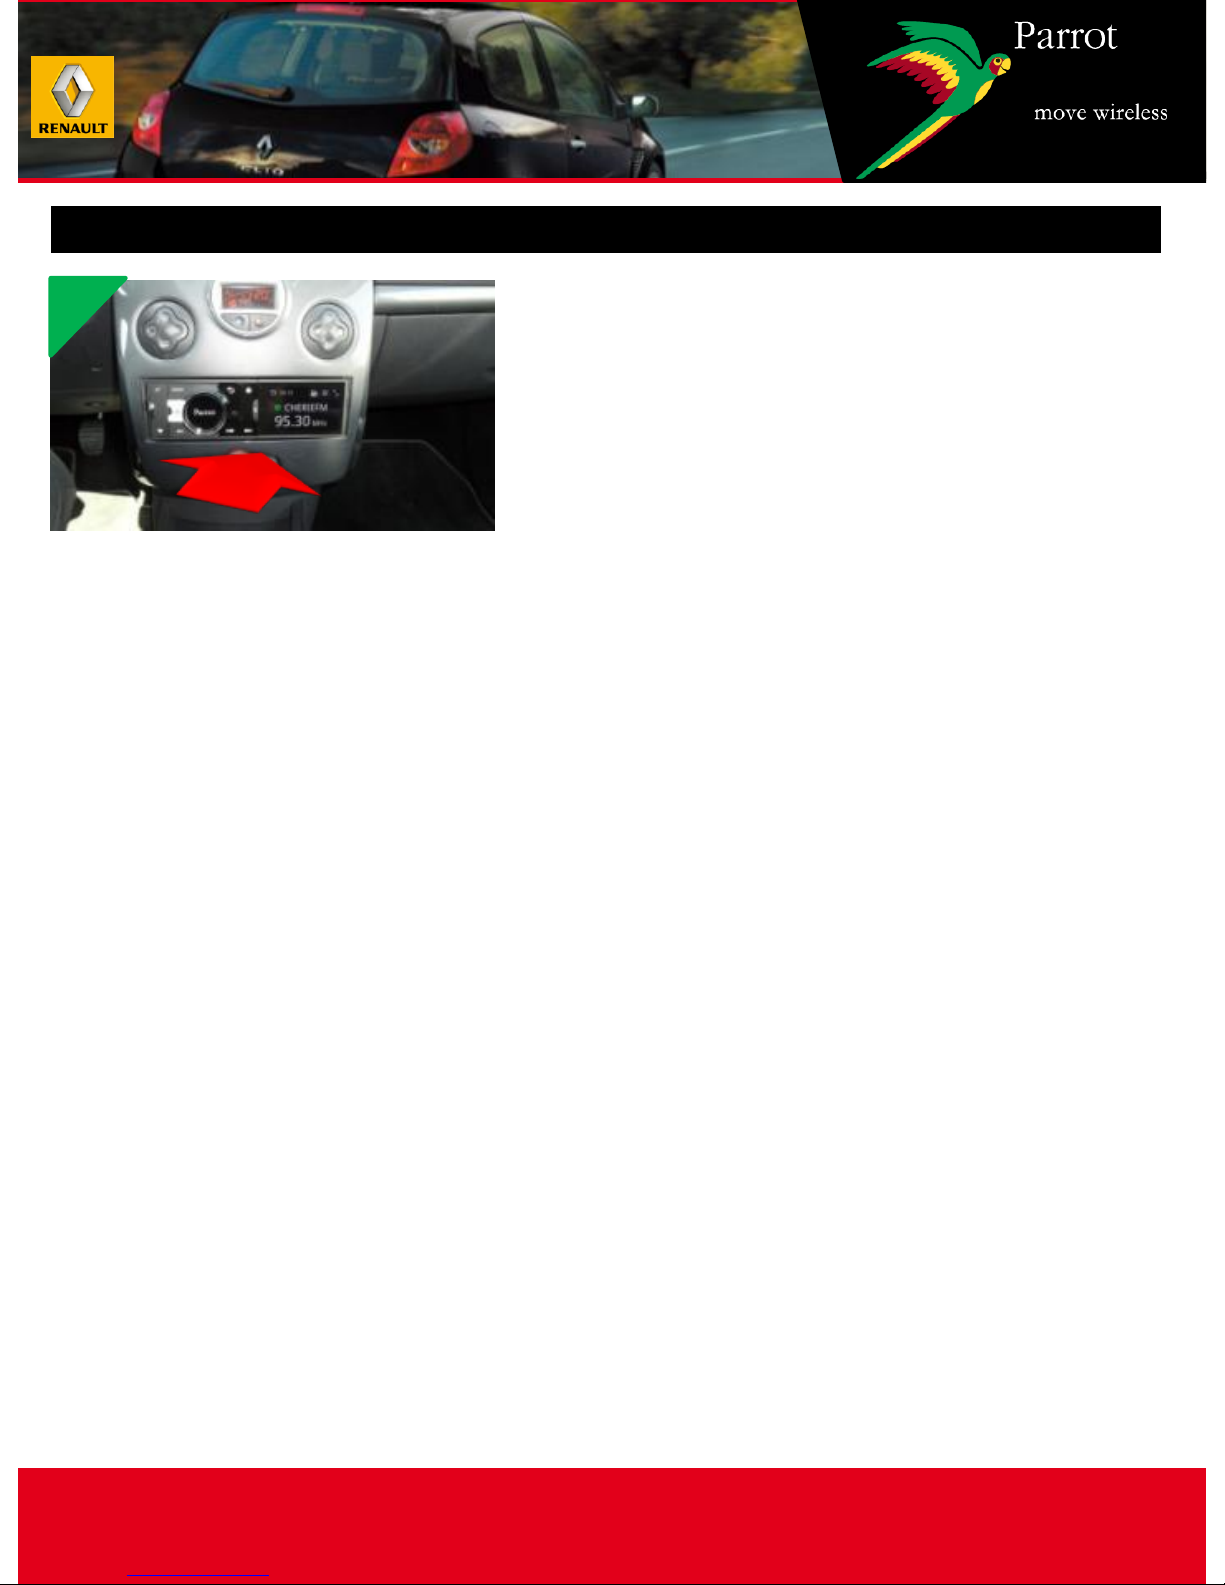
Insert the removal tools into the
slots on each side of the radio.
Carefully release the radio, without
pulling it out completely, so that
you can disconnect the connectors
and the antenna. Then completely
remove the radio.
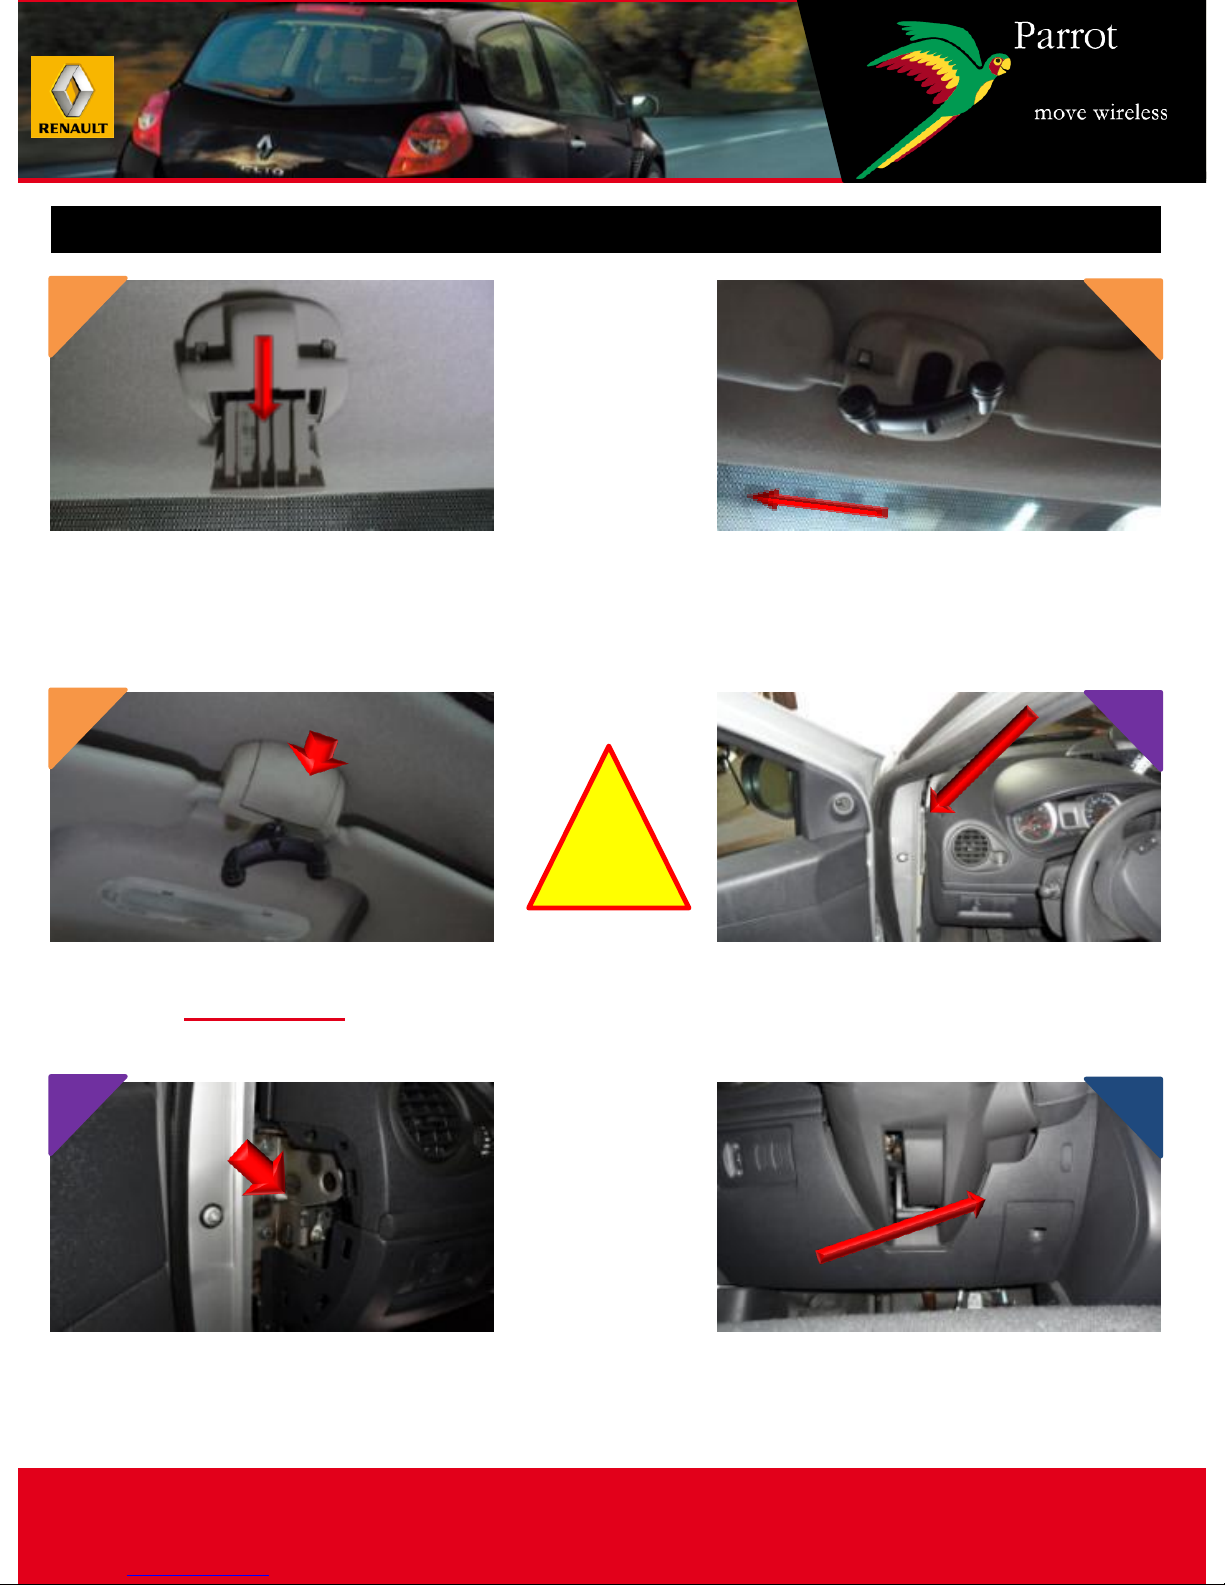
Using the plastic trim tools,
unclip the car stereo and air
conditioning surround.
Disconnect the WARNING
connector.
1
3
2
4
5 6
Using the plastic trim tools,
unclip and remove the central air
vent.
Using the plastic trim tools,
unclip the panel located on the
left side of the dashboard.