9
1 - Autoanténa
2 - Připojení UNIKA adaptéru
3 - Dvojitý mikrofon
4 - Pojistka 15A
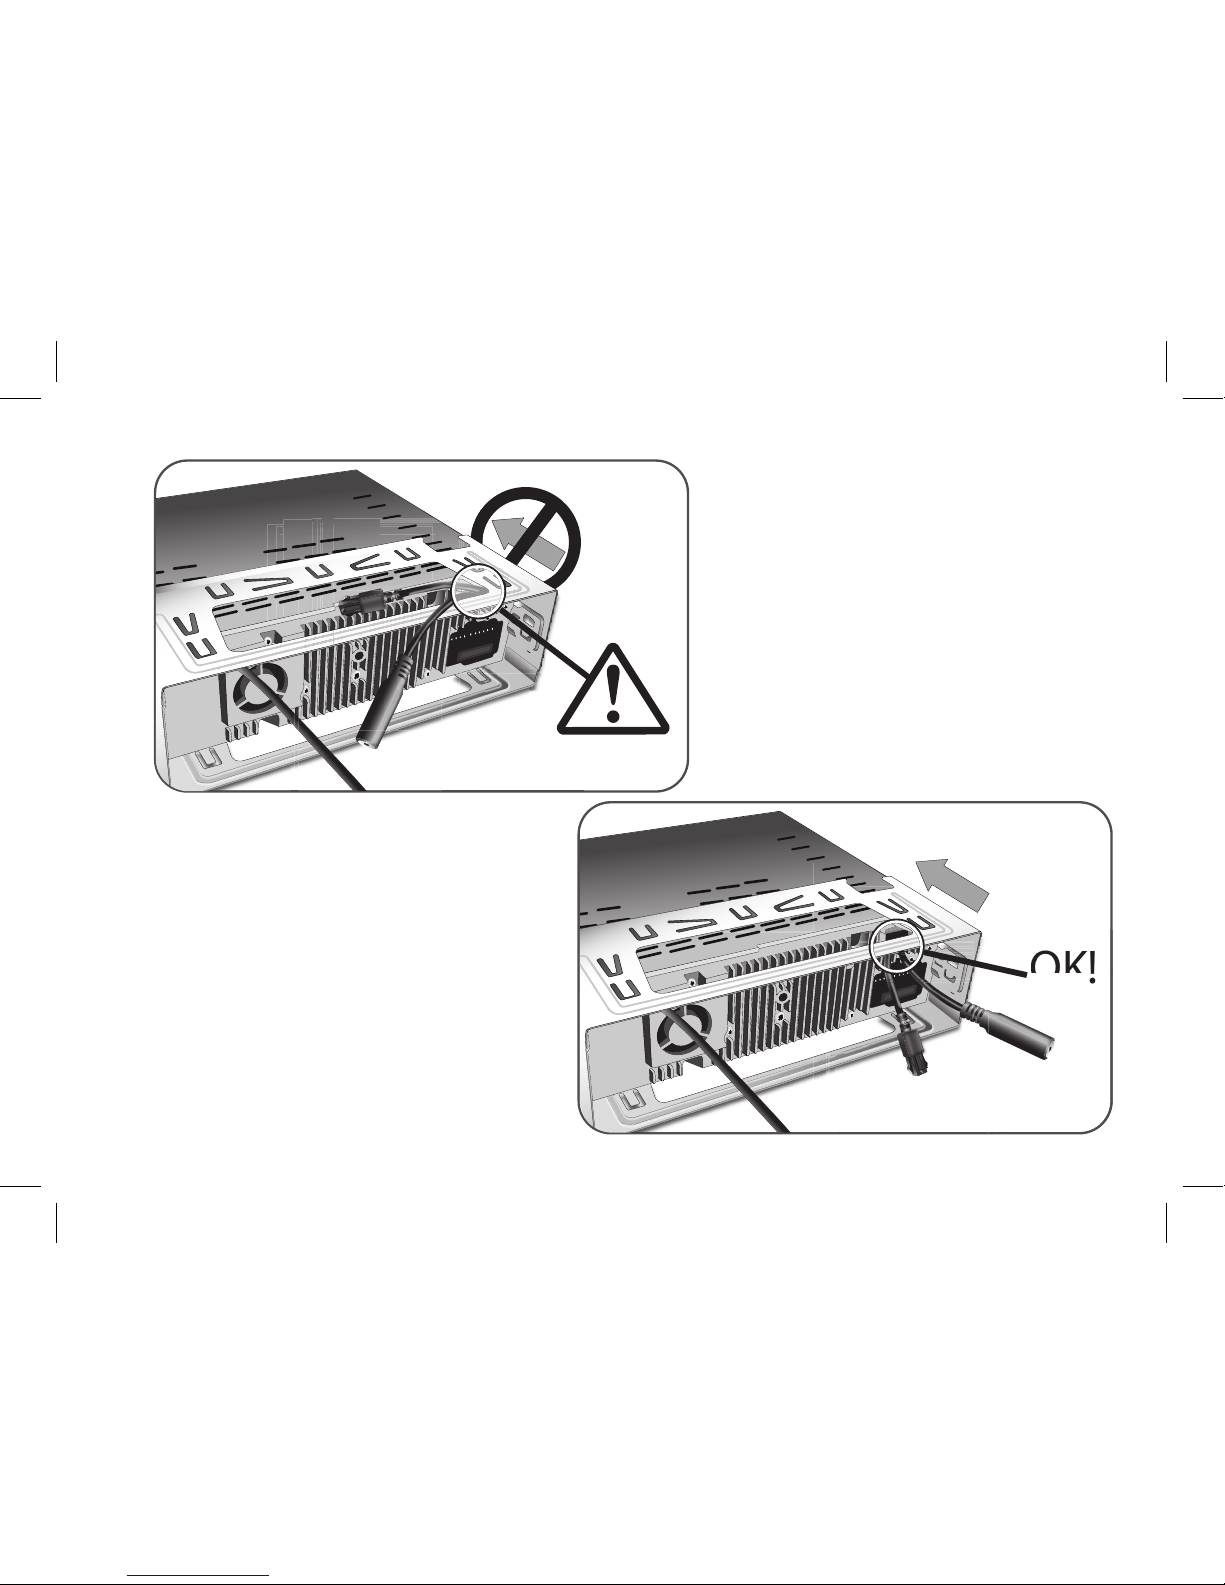
5 - Konektor
6 - Případný externí zesilovač
7 - ISO konektory
8 - Záměnné konektory (baterie/
zapalování)
A - Pravý zadní reproduktor + (alový)
B - Pravý zadní reproduktor -
(alovo-černý)
C - Pravý přední reproduktor + (šedý)
D - Pravý přední reproduktor - (šedo-
černý black)
E - Levý přední reproduktor + (bílý)
F - Levý přední reproduktor - (bílo-
černý)
G - Levý zadní reproduktor+ (zelený)
H - Levý zadní reproduktor - (zeleno-
černý)
I - Mute telefonu (růžový)
J - Klíč zapalování +12 V (žlutý)
K - AMP/ANT Remote (modrý)
L - Baterie + (červený)
M - Ukostřovací kabel (černý)
1 - Antena
2 - Akcesoria samochodowe
3 - Podwójny mikrofon
4 - Bezpiecznik 15A
5 - Gniazdo
6 - Zewnętrzny wzmacniacz
7 - Złącze ISO
8 - Bezpieczniki topikowe
A - Prawy tylny głośnik +(oletowy)
B - Prawy tylny głośnik – (oletowy
z czarnym)
C - Prawy przedni głośnik + (szary)
D - Prawy przedni głośnik – (szary z
czarnym)
E - Lewy przedni głośnik + (biały)
F - Lewy przedni głośnik – (biały z
czarnym)
G - Lewy tylny głośnik + (zielony)
H - Lewy tylny głośnik – (zielony z
czarnym)
I - Mute (różowy)
J - Zasilanie po zapłonie +12V (żółty)
K - Automatyczna antena (niebieski)
L - Podtrzymanie pamięci +12V
(czerwony)
M - Masa (czarny)
1 - Антенна
2 - Подключение к шине обмена
данными
3 - Сдвоенный микрофон
4 - Предохранитель 15А
5 - Разъем
6 - Внешний автомобильный
усилитель
7 - ISO разъем
8 - Клеммы питающих проводов
A - задний правый динамик +
(пурпурный)
B - задний правый динамик –
(пурпурно-чурный)
C - передний правый динамик +
(серый)
D - передний правый динамик –
(серо-черный)
E - левый передний динамик +
(белый)
F - левый передний динамик –
(черно-белый)
G - левый задний динамик +
(зеленый)
H - левый задний динамик –
(зелено-черный)
I - провод приглушения (розовый)
J - напряжение +12В от замка
зажигания (желтый)
K - выход на усилитель антенны
или внешний усилитель (синий)
L - постоянный + (красный)
M - масса (черный)