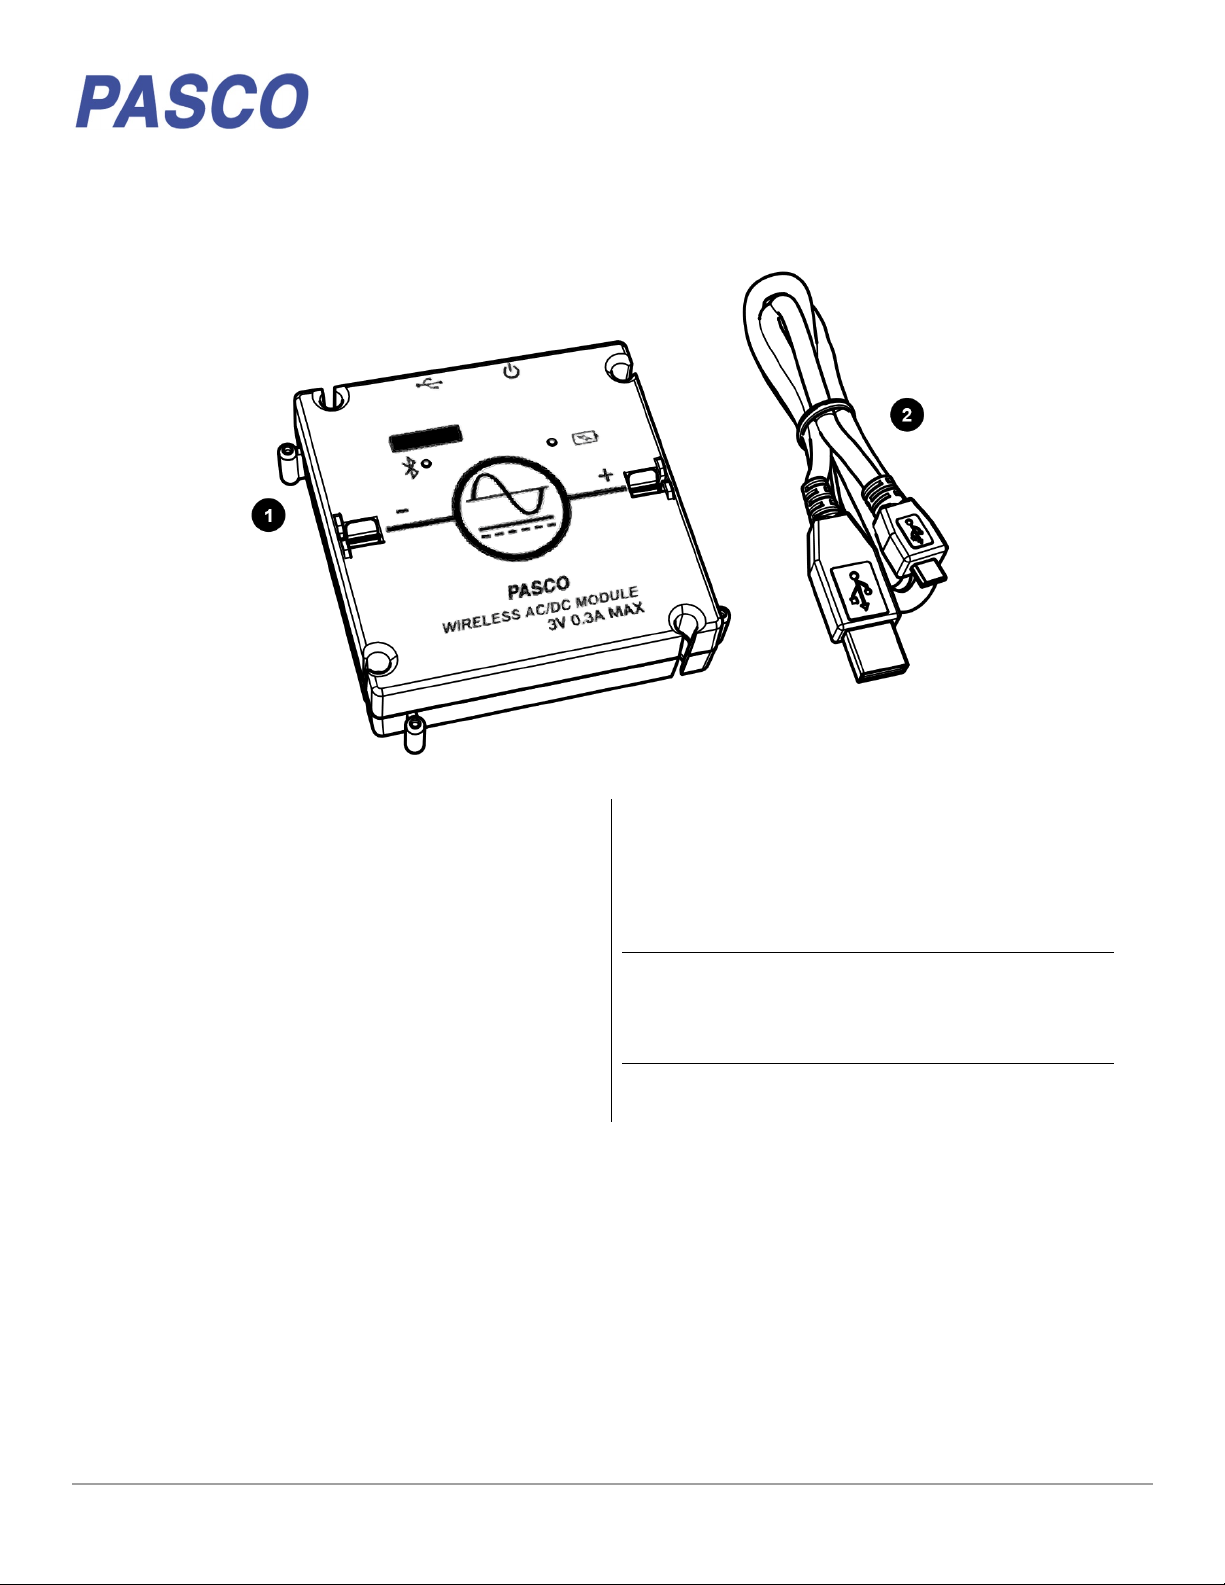
EM-3533 Wireless AC/DC Module
012-16455A
Experimental Setup
The Wireless AC/DC Module is designed to be used with
all PASCO Modular Circuits kits. Experiments can be
performed with the module by connecting it with other
Modular Circuits modules.
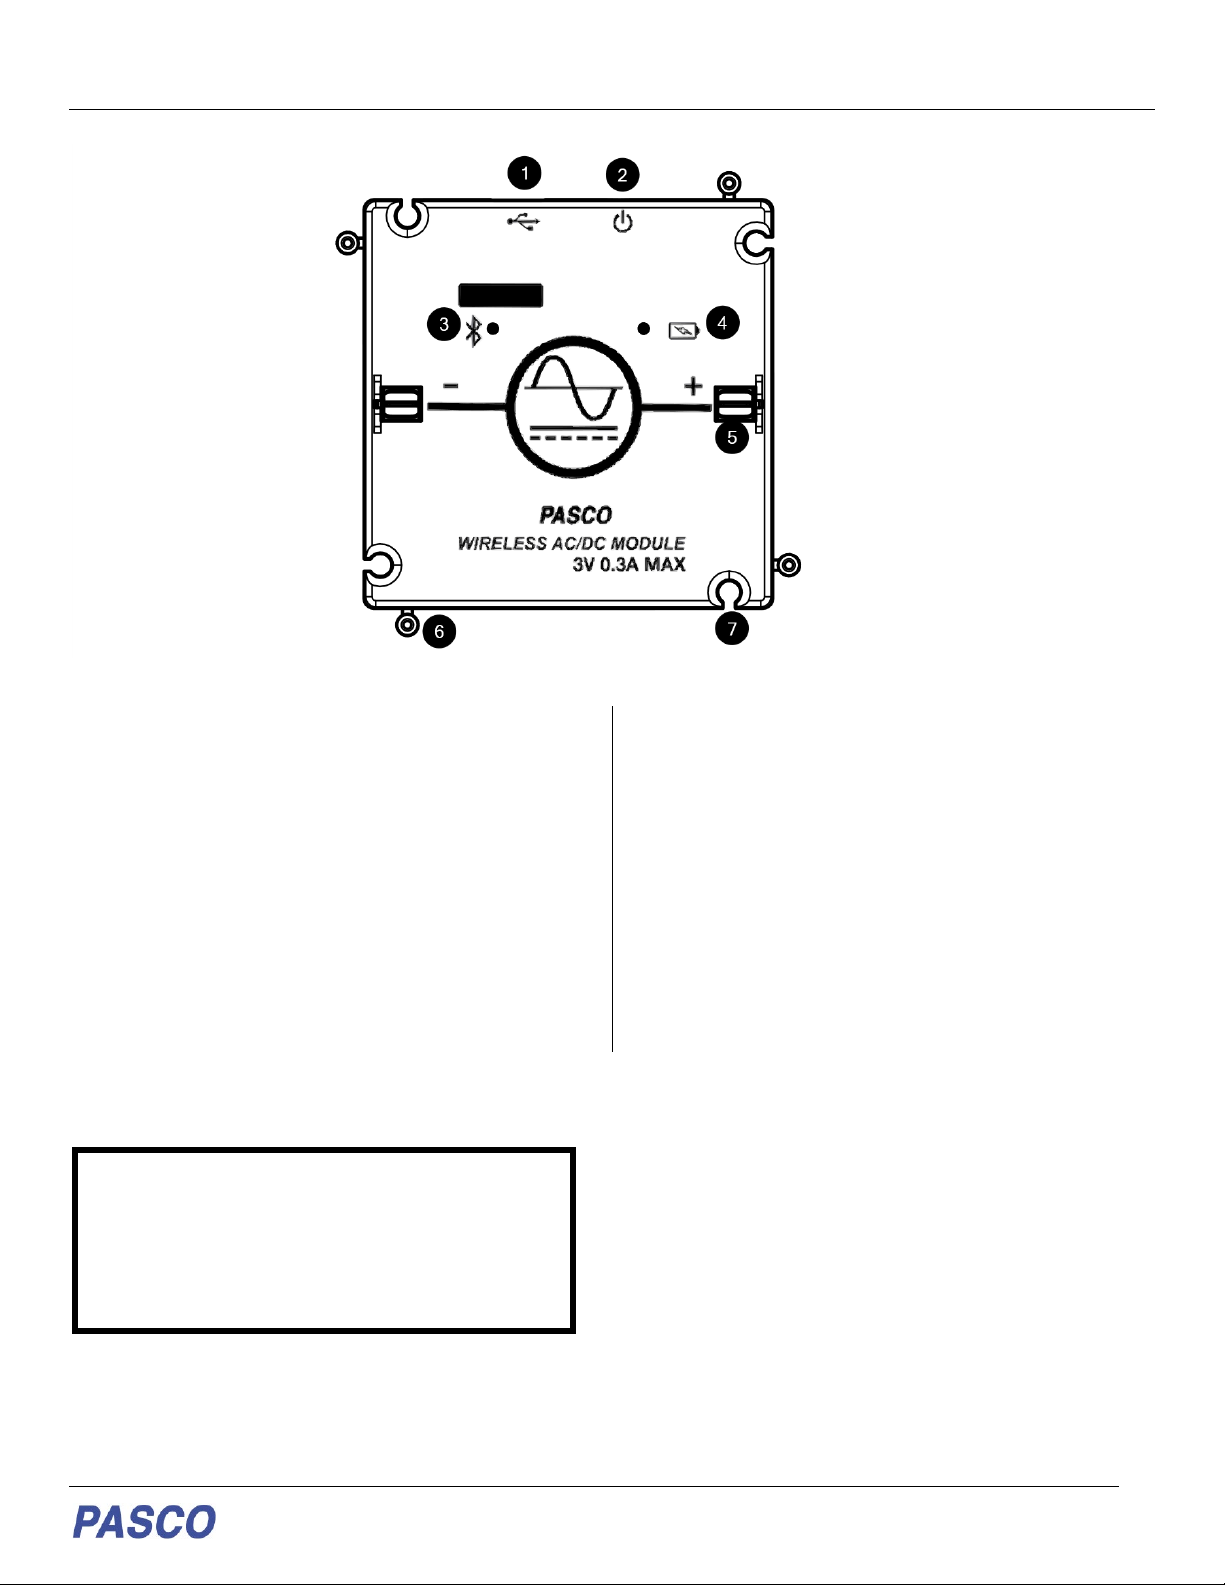
To connect to a module
Connecting the Wireless AC/DC Module to another other
modules requires a physical and electrical connection
(Figure 1):
1. Physically connect the module by slipping the peg
and notch on one edge of the module onto the
notch and peg of another module.
2. Electrically connect the module by inserting a
jumper clip into the clip holders.
Be sure to note the polarity markings on the module when
making connections.
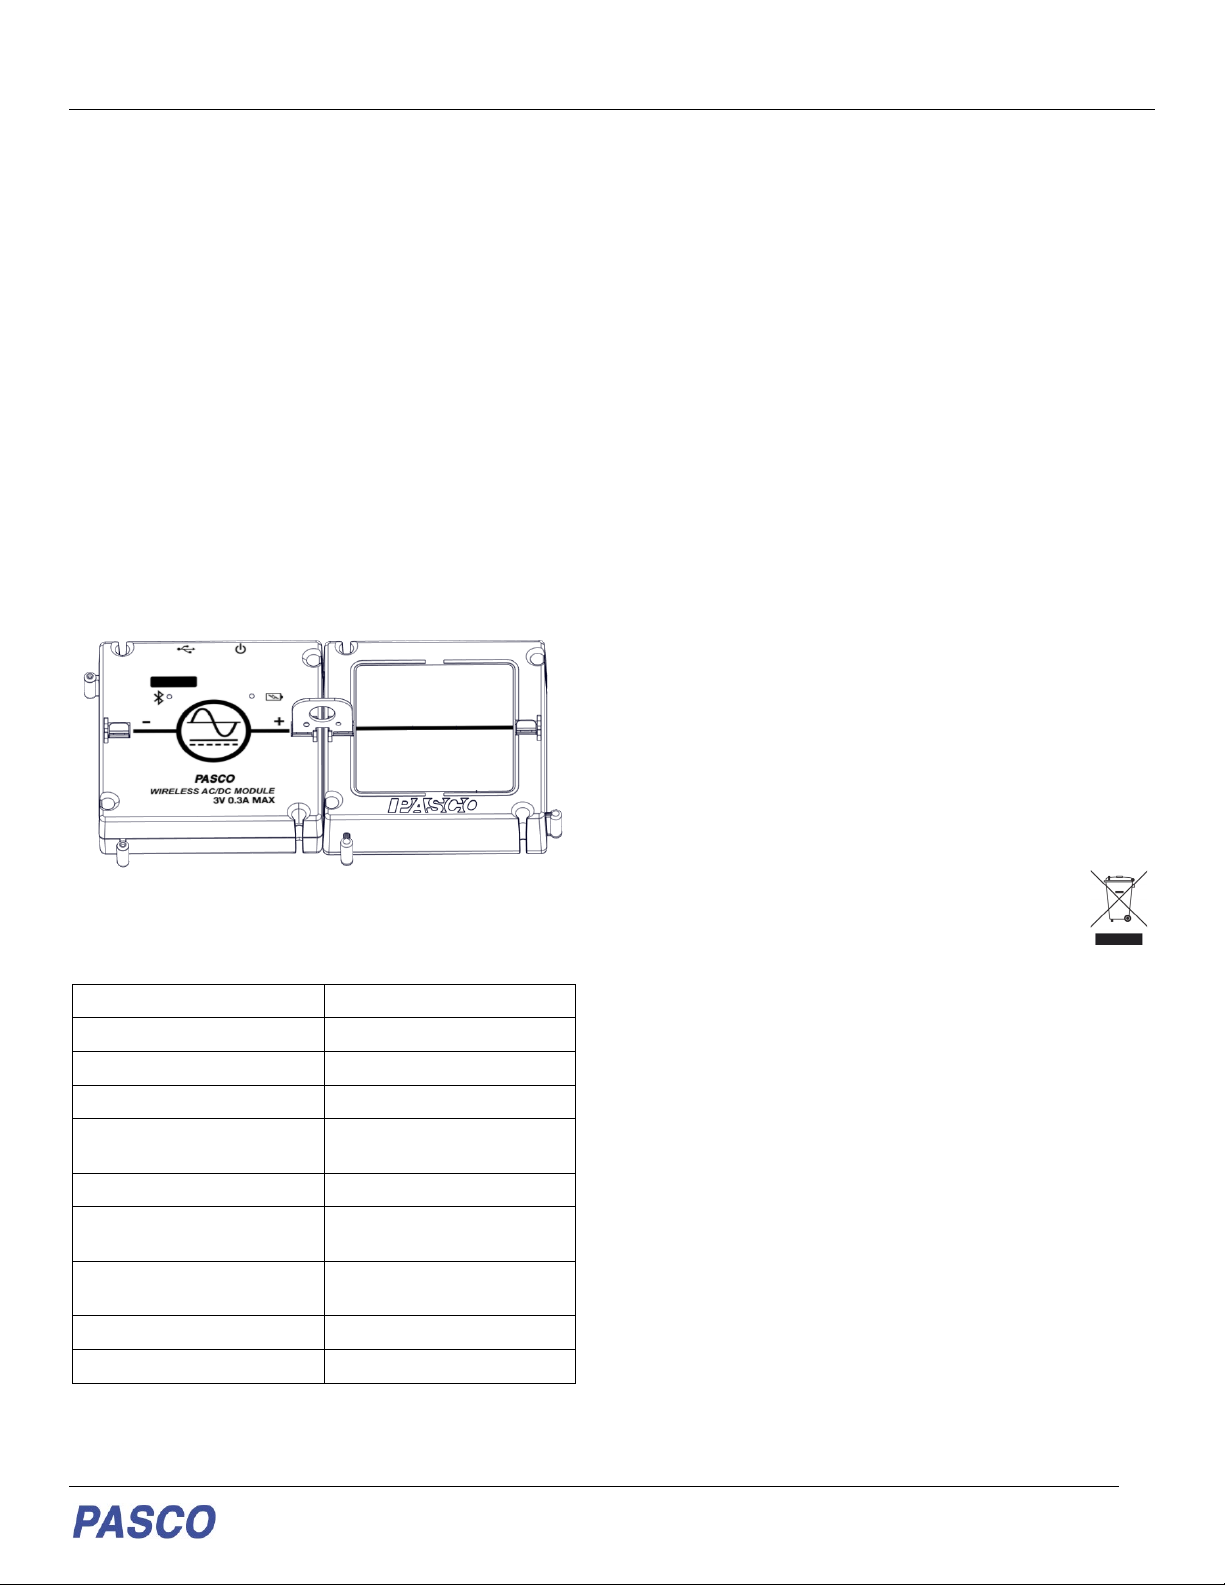
Figure 1. Wireless AC/DC Module connected to a wire module
with a jumper clip inserted.
Specifications
Output ±3V @ 300 mA
Output Resolution 1 mV
Output Types DC, Sine, Triangle, Square
Output Frequency 0.01 Hz – 10 kHz
Output Frequency
Resolution
10 mHz
Max Sample Rate 100 kHz
Battery Rechargeable Lithium-
Polymer 1000 mA
Protection Overcurrent,
Overtemperature, Back EMF
Connectivity USB, Bluetooth Low Energy
Max wireless range 30 m (unobstructed)
Technical Support
For assistance with PASCO products, contact PASCO
Technical Support at:
Address: PASCO scientific
10101 Foothills Blvd.
FCC Statement
This digital device complies with part 15 of the FCC Rules.
Operation is subject to the following two conditions: (1) This
device may not cause harmful interference, and (2) this device
must accept any interference received, including interference
that may cause undesired operation.
Product End of Life Disposal Instructions
This electronic product is subject to disposal and recycling
regulations that vary by country and region. It is your
responsibility to recycle your electronic equipment per your local
environmental laws and regulations to ensure that it will be
recycled in a manner that protects human health and the
environment. To find out where you can drop off your waste
equipment for recycling, please contact your local waste
recycle/disposal service, or the place where you purchased the
product.
The European Union WEEE (Waste Electronic and
Electrical Equipment) symbol (to the right) and on the
product or its packaging indicates that this product
must not be disposed of in a standard waste
container.
Warranty, Copyright, and Trademarks
Limited Warranty For a description of the product warranty, see
the PASCO catalog.
Copyright This document is copyrighted with all rights reserved.
Permission is granted to non-profit educational institutions for
reproduction of any part of this manual, providing the
reproductions are used only in their laboratories and
classrooms, and are not sold for profit. Reproduction under any
other circumstances, without the written consent of PASCO
scientific, is prohibited.
Trademarks PASCO and PASCO scientific are trademarks or
registered trademarks of PASCO scientific, in the United States
and/or in other countries. All other brands, products, or service
names are or may be trademarks or service marks of, and are
used to identify, products or services of, their respective owners.
For more information visit www.pasco.com/legal.