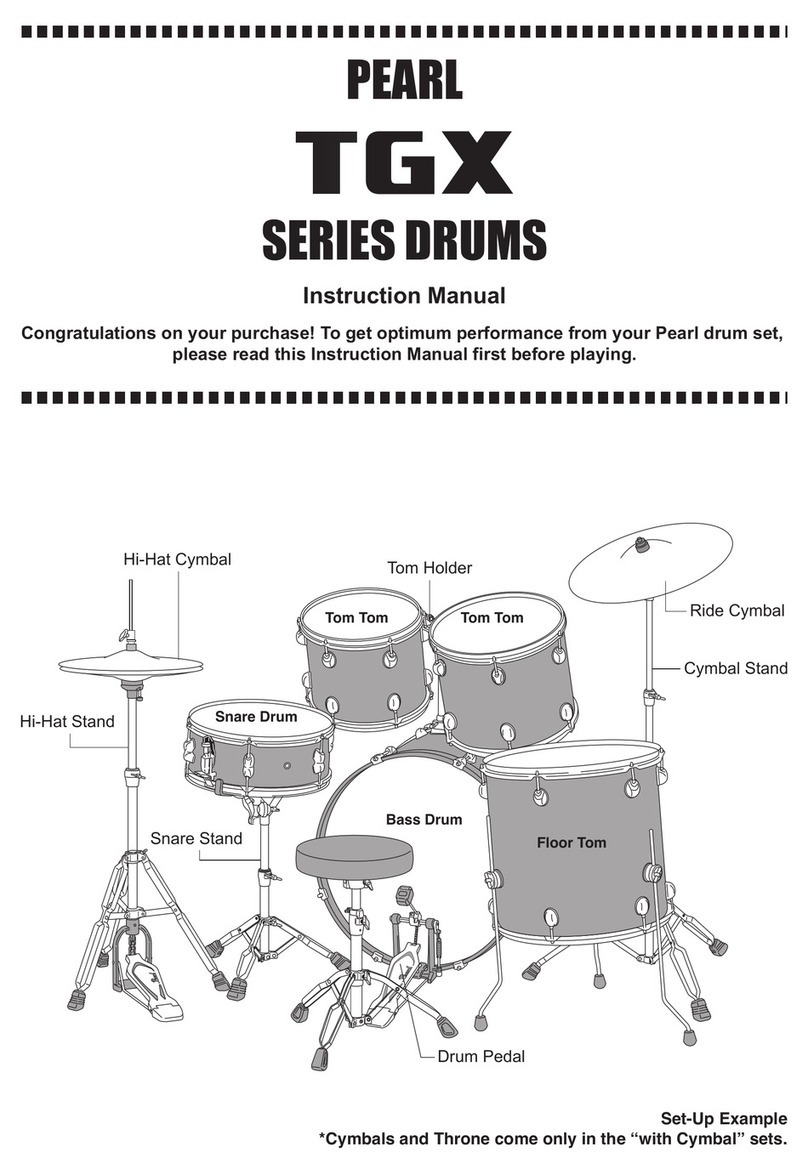
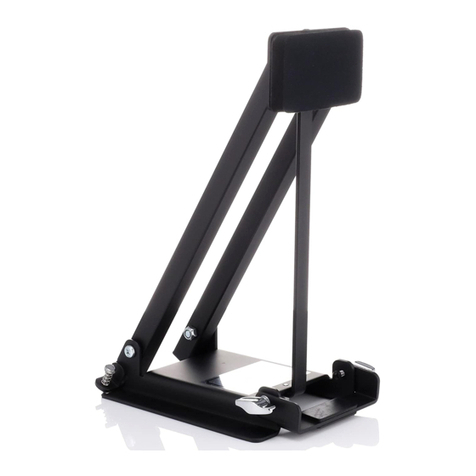
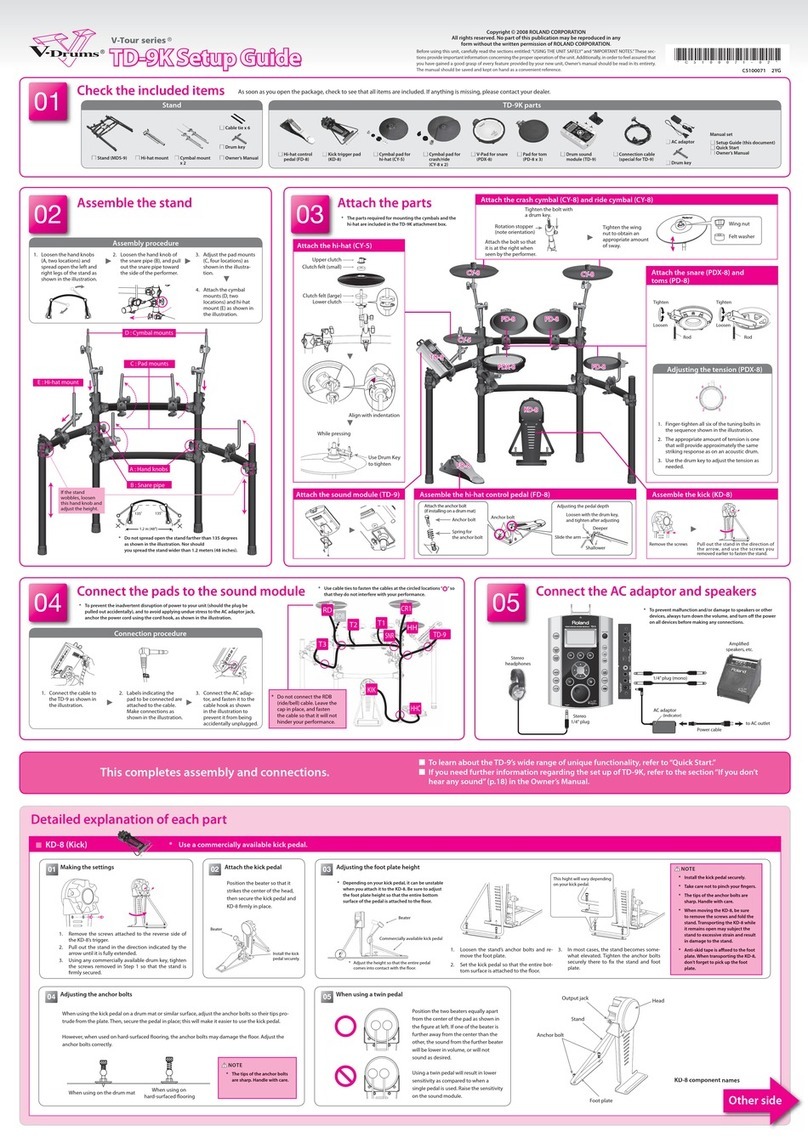
Pearl e/MERGE PUREtouch TOM PAD User guide

-1-
Crash Cymbal Components
クラッシュシンバル付属品
Tom Pad Components
タムパッド付属品
Pearl
e/MERGE PUREtouch TOM/CYMBAL PAD
Set-Up Manual / 取扱説明書
Congratulations on your purchase!
To get optimum performance of your e/MERGE PUREtouch Tom / Cymbal Pad,
please read this manual before set-up.
This manual should be retained for future reference.
この度は、パールエレクトリックドラム"e/MERGEPUREtouchタム・シンバルパッド"を
お買い上げいただき誠にありがとうございます。
製品の機能を十分に発揮してお使いいただくために、組立前に必ずこの説明書をお読みください。
15”Crash Cymbal Pad
15”クラッシュシンバルパッド
TRS Cable
ケーブル
Cymbal Mount
シンバル受け
Felt
フェルト
Cushion
クッション
Hex Wrench
六角レンチ
10”/ 12”/ 14”Tom Tom Pad
10”/12”/14”タムパッド
TRS Cable
ケーブル

-2-
安全上のご注意Precautions
使用上のご注意
火災・感電・人身傷害の危険を防止するには
以下の指示を守ってください
警告 この注意事項を無視した取り扱いをすると、
死亡や重傷を負う可能性が予想されます
注意 この注意事項を無視した取り扱いをすると、
傷害を負う可能性、または物理的損害が発生
する可能性があります。
EXPOSURE
Exposing this product to the following environments may result in
malfunction or damage to equipment..
• Direct sunlight
• Extreme temperatures or humidity
• Heavy dust or dirt
• Excessive vibration
• Magnetic fields
Handling
To avoid damage, do not apply excessive force to the jacks and
adjustment bolts.
Care
If the exterior becomes dirty, wipe it with a clean, dry cloth.
Do not use liquid cleaners such as benzene or thinner, or cleaning
compounds or flammable polishes.
Do not disassemble or modify this product.
Keep this manual
After reading this manual, please keep it for later reference.
Keeping foreign matter out of your equipment
Never set any container with liquid in it near this equipment.
If liquid gets into the equipment, it could cause a breakdown, fire, or
electrical shock.
Be careful not to let metal objects get into the equipment.
Cautions for use
The response of each pad will vary slightly depending on head
tension, playing style and maintenance.
Please take note of the preceding “Cautions for Safety.”
Do not place heavy objects on the head for long periods
Applying constant pressure to the head surface for prolonged periods
will deform the shape of the rubber cushion and sensor located
under the head, negatively affecting the playability of the instrument.
Avoid placing heavy objects on the head or placing the tom pads and
cymbal pads upside down for extended periods.
Do not store the cymbal pads vertically while not in use.
Disposal Notice (EU only)
The “Crossed-Out Wheeled Bin” symbol marked on
parts of this product and manual signifies specific
disposal methods must be used in accordence with
applicable laws and regulations in your locality. If
needed please contact your local administrative body for
guidelines. Discard these items only in the appropriate
approved manner and do not include them with ordinary
household waste. Proper disposal will prevent harm to
human health and potential damage to the environment.
A “Chemical” symbol is used below the “Crossed-Out
Wheeled Bin” symbol on the battery or battery package
for specific disposal methods. Batteries contain various
amounts of heavy metals and should always be
disposed of properly in accord to your local regulations.
本機は、パッドの種類、チューニングの具合や演
奏される環境、さらにはメンテナンスのしかたな
どといった様々な条件によって、一台一台の特性
が微妙に異なってきます。
前述の「安全上のご注意」とともに、以下の点に
注意してご使用ください。
・外装のお手入れは、乾いた柔らかい布を使って軽く拭く。
・ケーブルを抜き差しするときは、必ずプラグ部分を持ち、
無理な力を加えない。
・外装のお手入れに、ベンジンやシンナー系の液体、コンパ
ウンド質、強燃性のポリッシャーを使用しない。
パッドの上に、重いものを長時間置いたままにしない
パッド の ヘッド 面 に 長 時 間 に わ た って 力 が 継 続 的 に 加 わ る
と、ヘッドの下のラバー・クッションやセンサーが変形し、
演奏に支障をきたす恐れがあります。パッドの上に重い物
を置いたままにしたり、本 機を長時間伏 せたままにしたりし
て お くこと は 止 め てくだ さ い 。
また、しばらく使用しないとき、輸送や引っ越しのときには、
各パッドが入っていた梱包材、または同等品を使用して梱包
を行ってください。その際、縦置きにしないようご注意くだ
さ い 。
・本製品を 分 解したり改 造したりしない。
・修理 / 部品の交換などで、取扱説明書に書かれている以
外 のことは 絶 対にし ない 。
・温度が極端に高い場所(直射日光の当たる場所、暖房機
器の近く、発熱する機器の上など)での使用や保管をし
ない。
・振動の多い場所で使用や保管をしない。
・ホコリの多い場所で使用や保管をしない。
・風呂場、シャワー室で使用や保管をしない。
・雨天時の野外などのような湿気の多い場所で、使用や保
管をしない。
・本製品に液体をこぼさない。
・濡れた手で本製品を使用しない。

-3-
15” CYMBAL PAD SET-UP
15”シンバルパッドの組立
Hints
/ ヒント
Hints
/ ヒント
Note / 注意
Attach and position the CH-830ES securely onto the
rack using a recommended clamp. Unscrew and
remove the Cymbal Nut from the Cymbal Holder. Insert
the Cymbal Mount onto the Cymbal Tilter until fully
seated as shown. Tighten the hexagonal screw with
the provided wrench (Fig.1).
シンバル受けをシンバルティルターのロッドに根元まで
差しこみ、付属の六角レンチで固定します(Fig.1)。
1.
A CH-830ES Cymbal Holder used in conjunction with
your choice of PC-8 or PCL-100 Pipe Clamp is
necessary to mount the Cymbal Pad onto the
e/MERGE Drum Rack. These items are available for
separate purchase.
シンバルパッド追加の際には CH-830ES シンバル
ホルダーの購入をお勧めいたします。e/MERGE専用ド
ラムラックにシンバルホルダーを装着するにはPC-8ま
たはPCL-100パイプクランプが必要となります。
Place the 15" Crash Cymbal Pad onto the Cymbal
Mount. Install the Cushion, Felt and Cymbal Nut as
shown (Fig.2).
シンバル受けが付いたティルターを15”クラッシュシンバ
ルパッドの穴に通し、クッション、フェルト、ウイングナッ
トの順番に取付けます(Fig.2)。
2.
Connect the provided TRS cable to the Crash Cymbal
Pad (Fig.3).
付属のケーブルを追 加シンバルパッドのジャックへ接 続し
ます(Fig.3)。
3.
Before installation check to ensure cymbal mount
hexagonal screw is loose, if not then loosen. Do not use
force to insert the cymbal mount onto the tilter.
シンバル受けが根元まで通らない場合、付属の六角レンチでネ
ジを少し緩めてください。
For proper playing position,
ensure the Pearl Logo Plate
is positioned “away” from the
player (Fig.4).
パールロゴプレートを演奏者と
反対側になるようにセットしてく
ださい(Fig.4)。
Do not over-tighten the hexagonal screw.
締めすぎにご注意ください。シンバル受けが破損する恐れがあります。
Fig.3
Playerside/演奏者側
Pearl Logo Plate
パールロゴプレート
Fig.1
Fig.2
CymbalTilter
シンバルティルター
HexagonalWrench
六角レンチ
CymbalMount
シンバル受け
CymbalNut
ウイングナット
Felt
フェルト
Cushion
クッション
15"CrashCymbalPad
15”クラッシュシンバルパッド
CymbalMount
シンバル受け
CH-830ES
PC-8
PCL-100
Fig.4

-4-
PLAYINGTHECYMBALPAD
シンバルパッドの奏法について
Hint
/ ヒント
Note / 注意
Note / 注意
TRIGGER IN
TOM4/ACC1 ACC3
ACC2
Insert the TRS cable from Cymbal Pad into ACC2 or
ACC3 of the Sound Module (Fig. 5).
ケーブルの接 続が終わったら、もう一方のジャックを音
源BOXのACC2またはACC3へ差し込みます(Fig.5)。
4.
TOM4/ACC1 input may be used for cymbal pads to trigger
sounds that do not require WAVE TRIGGER TECHNOLO-
GY.
シンバルパッドは、TOM4/ACC1 への接続も可能です。
TOM4/ACC1 input is equipped with WAVE TRIGGER
TECHNOLOGY for proper Tom Pad sound and is primarily
designated for this application.
WAVE TRIGGER TECHNOLOGY is not available on ACC2
& ACC3 inputs and is best suited for additional Cymbal or
Bass Drum Pads (Fig.5.)
タムパッドに関してはWAVEトリガー・テクノロジーの関係上
TOM4/ACC1へ必ず接続してください。
追加のシンバルパッド、バスドラムパッドはACC2 またはACC3へ
の接続をおすすめします(Fig.5)。
The Cymbal Pad response to various playing styles
depends on the instrument selected on the e/MERGE
Sound Module.
For adjustment details, refer to the e/MERGE Sound
Module Owner’s Manual.
ドラム音源で選択されている音色によって、各奏法への対応が異
なる場合があります。
詳しくは、ドラム音源の取り扱い説明書をご覧ください。
Fig.5
Fig.7
Bow Strike / ボウ・ストライク
Playing the “Bow” or middle area of the Cymbal Pad
corresponds to the sound of the “head-surface” of the
connected trigger input (Fig.6).
カ ップ 付 近 か ら エッ ジ に か け て ス ティッ ク で 叩 く 強 さ に よ
り音 量 の コントロ ール が 可能 で す。
弱 いタッチで は 粒の立 つ音 色 が 鳴り、強め のタッチで は
クラッシュした音が発音されます
(Fig.6)。
Edge Strike / エッジ・ストライク
The “Edge Strike” is the most common playing method
for crash cymbal sounds and involves striking the edge
of the Cymbal Pad with the shoulder of the stick. When
played as shown in the figure, the rim sound of the
connected input is triggered (Fig.7).
シンバルパッドのエッジ 部(縁)を叩くとより大きなクラッシ
ュ音が得られます。スティックによる音量のコントロールも
可能です(Fig.7)。
Fig.6

-5-
Hints
/ ヒント
Note / 注意
The “Choke” function only works using the “Choke”
sensor located on the bottom edge of the Cymbal Pad as
shown in (Fig.9). For ease of access, point it toward the
player during kit set-up.
スイッチのない部分をつかんでも音は止まりません((Fig.9)。
Fig.9
Fig.8
To avoid damaging the pads, use only wood or plastic
drumsticks. Use of carbon or metal drumsticks will
damage the pad surface and cause the sensor to malfunc-
tion.
Use of nylon brushes is acceptable. Avoid the use of
metal brushes; these will scratch the pad surface and
cause the sensor to malfunction.
木製や樹脂製のスティックをお使いください。カーボン製や金属
製のスティックを使うと、センサーが誤作動することがあります。
ナイロン製のブラシをお使いください。金属製のブラシを使うと、
センサーが誤作動したりパッドを傷つけたりすることがあります。
Choke Feature / チョーク奏法
To access the cymbal “Choke” function, grasp the edge
sensor located as shown in (Fig.8) after the cymbal is
struck to stop/mute the sound. Also, striking the cymbal
while grasping the “Choke” sensor leaves the cymbal in
a choked or muted state producing a shorter/muted note
with less sustain (Fig.8).
シンバルパッド裏にスイッチがあり、アコースティックシンバ
ル同様にシンバルパッドを叩いたあとチョークスイッチを触
ると余 韻を残し音が止まります(Fig.8)。
また、チョークをしたまま叩くことも可能です。
BottomofCymbal/シンバル裏側
Choke Sensor / スイッチ

-6-
TOM TOM PAD SET-UP
タムパッドのセッティング
Note / 注意
During setup and adjustments, ensure all Tom Holders
and Pipe Clamps are secure when attached.
タムブラケットのウイングナットを緩めて、パイプをタム
ブ ラ ケット に 接 続 し 、ウ イン グナ ットを 固 定し ま す。
1.
Connect the provided TRS cable to the Tom Pad as
shown in (Fig.11).
付属のケーブルを追 加タムパッドのジャックへ接続しま
す
(Fig.11)。
3.
Next, insert the other end of the TRS cable into
TOM4/ACC1 of the Sound Module (Fig.12).
ケーブルの接続が終わったら、もう一方のジャックを音
源BOXのTOM4/ACC1へ差し込みます(Fig.12)。
4.
Attach the Toms to the Tom Holders and position the
height and angles to your preference. When done, set
the tab on the Stop Lock into the slot on the Pipe
Clamp and Tom Holder Bracket. Then tighten the
Key-Bolts with the provided Drum Key to retain the
setting (Fig.10).
タムホルダーの位置と角度を調整します(Fig.10)。
2.
Fig.10
Fig.11
TomHolder
タムホルダー TomBracket
タムブラケット
TOM4/ACC1 input is equipped with WAVE TRIGGER
TECHNOLOGY for proper Tom Pad sound and is primarily
designated for this application.
WAVE TRIGGER TECHNOLOGY is not available on ACC2
& ACC3 inputs and is best suited for additional Cymbal or
Bass Drum Pads.
All accessory inputs do NOT support the Rim
Trigger located on the Tom Tom Pad.
TOM4/ACC1 input may be used for Trigger Pads to access
sounds that do not require WAVE TRIGGER TECHNOLO-
GY.
TOM4/ACC1 へ接続の際 WAVE トリガー・テクノロジーは対応
していますが、ラバーリムへのアサインはできませんのでご注意
くだ さ い 。
タムパッドを1 台以上追加の際はACC2、ACC3へ接続してください。
その際 ACC2、ACC3 へ接続したタムパッドは WAVEトリガー・テ
クノロジーには対応はしていません。
またラバーリムへのアサインもできませんのでご注意ください。
Fig.12
TRIGGER IN
TOM4/ACC1 ACC3
ACC2
A TH-70E Tom Holder used in conjunction with your
choice of PC-8 or PCL-100 Pipe Clamp is necessary to
mount the Tom Tom Pad onto the e/MERGE Drum
Rack. These items are available for separate
purchase.
タム パッド 追 加 の 際 に は TH-70Eタムホルダーの購入を
お 勧 め い たしま す。e/MERGE専用ドラムラックにタムホ
ルダーを装着するには、PC-8またはPCL-100パイプクラ
ンプが必要となります。
TH-70E
PC-8
PCL-100

-7-
PLAYINGTHETOMTOMPAD
タムパッドの奏法について
HEADandRIMTRIGGERREPLACEMENT
タムパッドヘッド交換について
Note / 注意
Note / 注意
To avoid damaging the pads, use only wood or plastic
drumsticks. Use of carbon or metal drumsticks will
damage the pad surface and cause the sensor to
malfunction.
Use of nylon brushes is acceptable. Avoid the use of
metal brushes; these will scratch the pad surface and
cause the sensor to malfunction. .
木製や樹脂製のスティックをお使いください。カーボン製や金属
製のスティックを使うと、センサーが誤作動することがあります。
ナイロン製のブラシをお使いください。金属製のブラシを使うと、
センサーが誤作動したりパッドを傷つけたりすることがあります。
Surface Strike / サーフェイスストライク
The entire surface of the Tom Tom Pad will trigger sounds
stored in the module.
The pad in conjunction with Wave Trigger Technology
(W.T.T.) allows the sound nuance to change gradually
depending on the surface area hit. This natural response
is similar to playing an acoustic drum from the center of
the head to the edge (Fig.13).
センターからエッジにかけて、スティックで叩く強さにより
音 量 のコントロール が 可 能で す
(Fig.13)。
Rubber Rim Strike / ラ バ ーリム ストライク
Strike the Rubber Rim of the pad to access sound
(Fig.14). Available sounds will vary depending on the
drum kit chosen. Sounds are assignable to the Rim
Trigger. Please refer to the e/MERGE Sound Module
Owner’s Manual for instructions.
スティックを 使 用し 、ラバーリムの クッション部分を叩きま
す 。キ ッ ト に よ っ て 様 々 な 音 色 が ア サ イ ン さ れ て い ま す
(Fig.14)。
RubberRimTrigger
ラバーリム
Fig.13
The performance of the PUREtouch Head and Rubber
Rim may diminish over time depending on your
playing style. Replace the head if torn, fatigued from
use, or it will not tension correctly. Replace the
Rubber Rim if torn, split or is showing signs of wear
that interfere with the rim response.
Please contact your Authorized Pearl Dealer or
Service Center for all replacement parts or service.
ヘッドは、使っている年月とともに性能が劣化する消耗部品
で す。ヘッド 面 が 破 れ たり、ヘッドの 張り具 合を 正しく調 整し
ても ヘッド 面 に たる み が 残 るような 場 合 は 、ヘッド や ラバ ー
リムのクッションパーツを交 換してください。
交換ヘッドのお求めは、お買い上げ店またはパール楽器製
造テクニカルセンターにお問い合わせください。
Fig.14
The Tom Tom Pad response to various playing styles
depends on the instrument selected on the e/MERGE
Sound Module.
For adjustment details, refer to the e/MERGE Sound
Module Owner’s Manual.
ドラム音源で選択されている音色によって、各奏法への対応が異
なる場合があります。
詳しくは、ドラム音源の取り扱い説明書をご覧ください。

-8-
Hints
/ ヒント
Note / 注意
Note / 注意
Pearl Musical Instrument Co./パール楽器製造株式会社
http://www.pearldrum.com / http://www.pearlgakki.com(日本語)
Products and specifications are subject to change without notice.
製品改良のため予告なくデザイン・仕様を変更する場合がありますのでご了承ください。
Printed in China
-1905-
Remove all Tension Rods (Fig.16).
チューニングキ ーでテンションボ ルト( 6 本)を 取り外し
ます(Fig.16)。
1.
Slowly lift the hoop upward and hold it out of the way.
Do NOT remove it completely. Next, remove the mesh
head (Fig.17).
ジャックの反対側からゆっくりとフープを持ち上げ、メッ
シュヘッドを交 換してください
(Fig.17)。
2.
Head tension affects the feel and playing response of the
head only. Head tension does not affect the pitch of the
sound triggered.
To change the pitch of the sound triggered, use the sound
edit function of the e/Merge Module. For adjustment
details, refer to the e/Merge Sound Module Ownerʼs
Manual.
For optimum performance check the head tension
periodically for even tension and desired feel. Adjust as
needed.
メッシュヘッドの張り具合の調整は打感触の調整を行うもので、ア
コースティック・ドラムのように音の高さ(ピッチ)を調節するもの
ではありません。ピッチの調節は、ドラム音源の音色エディットで
行います。
詳しくは、それぞれの取扱説明書をご覧ください。
長く使っているとメッシュヘッドの張り具合が変わってくることが
あります。必要に応じて調節しなおしてください。
The hoop is connected to the input jack
located on the shell. Use caution to avoid
damaging this connection. Do not use force
to move the hoop.
フープを持ち上げる際、ジャックとフープを繋ぐコ
ネクトシートに注意しながら交換してください。無
理な力が入るとコネクトシートが破損する恐れが
あります。
Fig.16
Fig.17
DrumKey
チューニングキー
TensionRod
テ ンション ボ ルト
Hoop
フープ
DrumKey
チューニングキー
MeshHead
メッシュヘッド
ConnectSheet
コネクトシート
Place the new PUREtouch head on the shell and
ensure the logo is aligned with the shell badge. Lower
the hoop onto the head and insert a tension rod into
each lug starting them by hand. Use the Tuning Key to
tension the head (Fig.18).
新 し い ヘ ッ ド に 交 換 し ま し た ら 、再 び チ ュ ー ニ ン グ キ ー で
テンションボルト(6本)を締めます。その際、対角線上に
あるテンションボルトをそれぞれ少しずつ締めながら、全
体 のテン ションを上 げ ください
(Fig.18).
3.
Adjust head tension evenlly.
ヘ ッ ド の 張 り 具 合 が 均 等 に な る よ う に 、各 テ ン シ ョ ン ボ
ルト の 締 め 具 合を 調 整し ます。
4.
Apply even tension to the head until no wrinkles are
present and the desired feel is achieved.
Use caution and do not over tension the mesh head. Doing
so may result in damage to the head, shell or tension lug.
メッシュヘッドにたるみがないように調整してください。
テンションボルトにがたつきがないように調整してください。
テンションボルトの締めすぎにご注意ください。
メッシュヘッド、ラグの破損の原因となります。
Fig.18
TensionRod
テ ンション ボ ルト
This manual suits for next models
1
Other Pearl Drum manuals

Pearl
Pearl Red Box RBM 20 User manual

Pearl
Pearl P-3002D User manual

Pearl
Pearl R2AS User manual

Pearl
Pearl MSS-3000 User manual

Pearl
Pearl DR 503 User manual

Pearl
Pearl MARCHING TENOR User manual

Pearl
Pearl Travel Timbales User manual

Pearl
Pearl TGX Series User manual

Pearl
Pearl VISCOUNT User manual

Pearl
Pearl Forum FZ User manual

Pearl
Pearl Vision Series User manual

Pearl
Pearl h-890 User manual

Pearl
Pearl E-PRO Live User manual

Pearl
Pearl VISION Series User manual

Pearl
Pearl P-2000C User manual

Pearl
Pearl BD-10 User manual

Pearl
Pearl MIMP24B User manual

Pearl
Pearl P-930 User manual

Pearl
Pearl H-1050 User manual

Pearl
Pearl Optimount OPTA-0708 User manual