manuals.online logo
Brands
  1. Home
  2. •
  3. Brands
  4. •
  5. Pearl
  6. •
  7. Drum
  8. •
  9. Pearl R2AS User manual

Pearl R2AS User manual

R2AS R2AL
(Illust : R2AL)
PEARL R2 AIR SUSPENSION SYSTEM
R2AS/R2AL
Instruction Manual
Congratulations on your purchase!
To get optimum performance from your R2 Air Suspension System,
please read this Instruction Manual completely before attempting to assemble or install
the Suspension System to your drum.
COMPONENTS INCLUDED
6. Hex Wrench (3mm) (x1)
4. Flange Hoop Adapter (x2)
(Use with Flange Style Hoop Only)
3. DamperDisk (x4)
(When installed, shorten the sustain, the more
used, the shorter the note.)
1. R2 Air Upper Section (x1)
2. R2 Air Lower Section (x1) 5. Hex Set Screw (x2)
Fig.1
Installation
1. With the drum on a flat secure surface, loosen and
remove the tension rods from the drum and set them
aside. Then remove both top and bottom hoops and
heads (Fig.1).
Fig.2
Fig.2-A
2. How to install the R2 Air Suspension System Upper
Section to the batter side of the drum shell. First, place
the drum shell on a flat surface with the batter side up.
Position the Tom Holder Receiver Body on the desired
drum shell panel so that once the drum is placed within
your setup, the drum badge will face outward as
expected. Double-check to ensure the ResoDisk is
facing upward above the respective lugs. Next, install
the Batter Head, Die Cast Hoop, and Tension Rods
finger tight (Fig.2).
If using Flange Style Hoop, see (Fig.2-A, 2-B) to install
the Flange Hoop Adapters.
Once the batter side is complete, flip the drum over for
the R2 Air Lower Section installation on the bottom side
of the drum shell, step 3.
IMPORTANT
When using Flange Style Hoops, the Flange Hoop Adapter
must be used to correctly install the R2 Air Suspension
System (Fig.2-A, 2-B).
Do not use the Flange Hoop Adapter with Die Cast Hoops.
CAUTION
When installing the R2 Air Suspension System, always use a
stable flat surface such as a floor or table. Take care not to
damage the instrument or work surface.
Tension Rod
Hoop
Head
Tension Rod
Die Cast Hoop
Head
R2 Air Top
ResoDisk
ResoDisk
Lug
Badge
Tom Holder
Receiver Body
Head
Hoop
Tension Rod
Die Cast Hoop Flange Style Hoop
Batter Side
Flange Hoop Adapter
Bottom
Fig.4
Fig.2-B
Fig.3
4. To set the depth of the R2 Air Suspension System correctly
on your drum, start with the drum tuned and upside down,
with the bottom facing upward on a flat surface. Then
adjust the bottom Radial Mount Plate downward so the
ResoDisk lightly touches the top of the lug. Next, check
that the batter side ResoDisk is resting on the bottom of
the Die Cast Hoop. Tighten the Hex Set Screws to secure
the Slide Shaft into place (Fig.4). Flip the drum over, and
the ResoDisk should be set as shown in (Fig.5).
3. How to install the R2 Air Suspension System Lower
Section to the Upper Section and onto the bottom of
the drum shell. Insert the Slide Shafts of the Lower
Section into the Upper Section and onto the drum shell
(Fig.3).
Check to ensure the top of the ResoDisk faces downward
to rest on the top of the respective lugs. Now install the
Head, Die Cast Hoop, and Tension Rods finger tight.
Once the bottom side is complete, tune the drum to your
desired pitch.
If needed, once the installation is complete, tuning
adjustments can be made with the drum on a stand.
IMPORTANT
When set correctly on the batter side, there should be a small
gap between the bottom of the ResoDisk and the top of the
batter lug; on the bottom side, there should be a small gap
between the bottom of the ResoDisk and the bottom of the
Die Cast Hoop.
NOTE
If using the Flange Hoop Adapter, the top of the adapter
should be in contact with the flange section of the hoop,
refer to (Fig.2-A, 2-B).
Do not use the Flange Hoop Adapter on Die Cast Hoops.
When adjusting the Slide Shaft, you may need to raise the
Tom Holder Receiver Body slightly; doing so may cause
some noise between the parts, which is normal.
Ensure the flat side of the Flange Hoop Adapter faces
toward the head.
Flange Hoop Adapter flat side
R2 Air Top
Hex Set Screw
Tom Holder Receiver Body
Hex Wrench
NOTE
The R2 Air Suspension System depth is adjustable using
the Slide Shaft and is set after tuning. See the next step.
Slide Shaft
Fig.5
Fig.6
Fig.6-A
5. Next, attach the drum to a tom holder and ensure it is
stable and secure and that all four ResoDisk support it
correctly, as shown in (Fig.5).
Only use the proper R2 Air Suspension System
for the size, the number of lugs, and the depth of
your drum.
For safety, assemble, install or remove the R2 Air
Suspension System on a clean, stable surface
such as a firm table or on the floor.
Remove R2 Air Suspension System from the
drum to perform maintenance or the installation
of replacement parts.
Avoid excess pressure on R2 Air Suspension
System equipped drums to prevent possible
damage.
Avoid hitting or bending the R2 Air Suspension
System.
Ensure that the R2 Air Suspension System is
firmly locked to tom stands and tom holders
before playing.
Do not use this product for purposes other than
its intended use.
Not following the above instructions may cause
damage to the R2 Air Suspension System, proper-
ty damage, or personal injury.
CAUTION
How To Use The DamperDisk
The R2 Air Suspension System provides maximum sustain
for your drum. The DamperDisk included allow you to
adjust the sustain to a shorter note instead of using gel
mufflers or tape.
To install, slide them onto the Tension Rod as shown
(Fig.6).
Adjust the Slide Shaft to allow a snug fit between the

Radial Mount Plate and lug if needed.
Use one DamperDisk for mild sustain reduction, and add
more to reduce it further. DamperDisk placed between the
bottom Radial Mount Plate and lugs have a greater effect
on the amount of reduction.
HINT
If there's no need to adjust the
sustain, attach them to the
bottom of the Slide Shaft for
future use (Fig.6-A).
DamperDisk
DamperDisk
Gap between
ResoDisk and Lug
Gap between
ResoDisk and
Die Cast Hoop
ResoDisk
ResoDisk
R2 Air Top
R2 Air Bottom
Hex Wrench
DamperDisk
DamperDisk
https://www.pearldrum.com
Products and specifications are subject to change without notice.
Printed in Taiwan
-Dec 2022-
Slide Shaft
This manual suits for next models
1

Other Pearl Drum manuals

Pearl e/MERGE PUREtouch TOM PAD User guide

Pearl

Pearl e/MERGE PUREtouch TOM PAD User guide

Pearl MTS-3000 User manual

Pearl

Pearl MTS-3000 User manual

Pearl h-890 User manual

Pearl

Pearl h-890 User manual

Pearl MSS-3000 User manual

Pearl

Pearl MSS-3000 User manual

Pearl VISION Series User manual

Pearl

Pearl VISION Series User manual

Pearl P-2000C User manual

Pearl

Pearl P-2000C User manual

Pearl P-1000 User manual

Pearl

Pearl P-1000 User manual

Pearl VISCOUNT User manual

Pearl

Pearl VISCOUNT User manual

Pearl P-930 User manual

Pearl

Pearl P-930 User manual

Pearl P-3002D User manual

Pearl

Pearl P-3002D User manual

Pearl Vision Series User manual

Pearl

Pearl Vision Series User manual

Pearl DR 503 User manual

Pearl

Pearl DR 503 User manual

Pearl MIMP24B User manual

Pearl

Pearl MIMP24B User manual

Pearl Optimount OPTA-0708 User manual

Pearl

Pearl Optimount OPTA-0708 User manual

Pearl Forum FZ User manual

Pearl

Pearl Forum FZ User manual

Pearl MARCHING TENOR User manual

Pearl

Pearl MARCHING TENOR User manual

Pearl Travel Timbales User manual

Pearl

Pearl Travel Timbales User manual

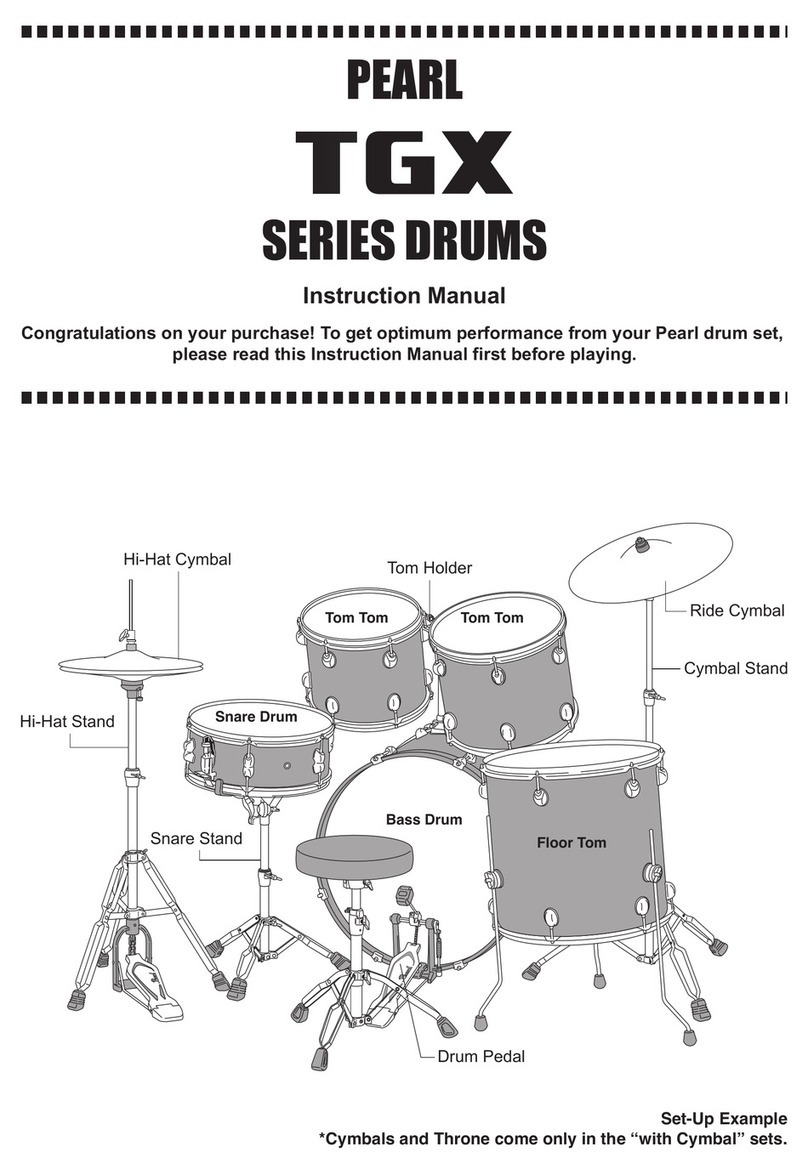
Pearl TGX Series User manual

Pearl

Pearl TGX Series User manual

Pearl P-3000D User manual

Pearl

Pearl P-3000D User manual

Pearl E-PRO Live User manual

Pearl

Pearl E-PRO Live User manual

Pearl BD-10 User manual

Pearl

Pearl BD-10 User manual

Pearl FORUM FZ User manual

Pearl

Pearl FORUM FZ User manual

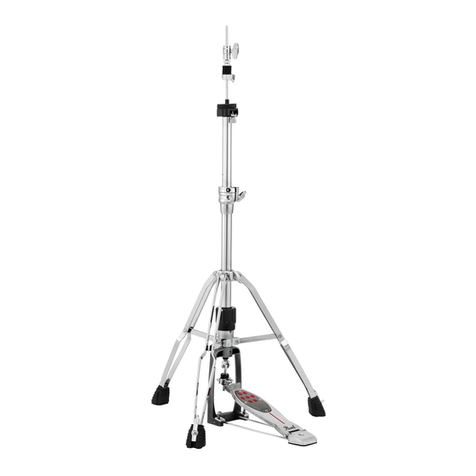
Pearl H-1050 User manual

Pearl

Pearl H-1050 User manual

Pearl Red Box RBM 20 User manual

Pearl

Pearl Red Box RBM 20 User manual

Popular Drum manuals by other brands

EnSoul MID-EAST MD08D owner's guide

EnSoul

EnSoul MID-EAST MD08D owner's guide

Kawai GB-1 owner's manual

Kawai

Kawai GB-1 owner's manual

BOSSCO Dr. Rhythm DR-670 owner's manual

BOSSCO

BOSSCO Dr. Rhythm DR-670 owner's manual

Bluebird BP50 user manual

Bluebird

Bluebird BP50 user manual

BOSSCO DR-220A/E Service notes

BOSSCO

BOSSCO DR-220A/E Service notes

BOSSCO Dr. Rhythm DR-3 owner's manual

BOSSCO

BOSSCO Dr. Rhythm DR-3 owner's manual

ION DISCOVER DRUMS quick start guide

ION

ION DISCOVER DRUMS quick start guide

Roland V-Drums TD-27 Midi implementation

Roland

Roland V-Drums TD-27 Midi implementation

Alesis BASSFIRE 60 Service manual

Alesis

Alesis BASSFIRE 60 Service manual

SOMA Pulsar 23 user manual

SOMA

SOMA Pulsar 23 user manual

Simmons Five operating instructions

Simmons

Simmons Five operating instructions

Yamaha TP100 owner's manual

Yamaha

Yamaha TP100 owner's manual

Kawai Digital Drum Machine R-50 owner's manual

Kawai

Kawai Digital Drum Machine R-50 owner's manual

Griffin Technology S80 user manual

Griffin Technology

Griffin Technology S80 user manual

Korg KPR-77 Service manual

Korg

Korg KPR-77 Service manual

Roland Pro Stand MDS-10 owner's manual

Roland

Roland Pro Stand MDS-10 owner's manual

Roland V-Drums Portable TD-4KP owner's manual

Roland

Roland V-Drums Portable TD-4KP owner's manual

Yamaha DD-10 owner's guide

Yamaha

Yamaha DD-10 owner's guide

manuals.online logo
manuals.online logoBrands
  • About & Mission
  • Contact us
  • Privacy Policy
  • Terms and Conditions

Copyright 2025 Manuals.Online. All Rights Reserved.