manuals.online logo
Brands
  1. Home
  2. •
  3. Brands
  4. •
  5. Pearl
  6. •
  7. Drum
  8. •
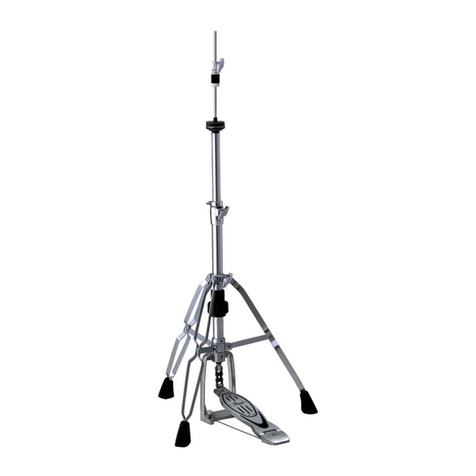
  9. Pearl H-1050 User manual

Pearl H-1050 User manual

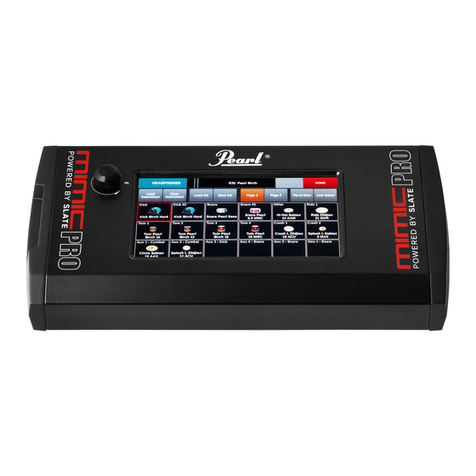
Hi-Hat Clutch
Felt Washer
Hi-Hat Cup
TractionPlate
w/Traction Grips
Reversible Spiked / Rubber
Tipped Feet
Spring Tension Adjustment Dial
Base
Upper Tube
Upper Pull Rod
Die-Cast Joint
StopLock
Wing Bolt
Adjustment Ring
(for Footboard Angle)
Toe Stopper
Radius Rod
H-1050
Instruction Manual
Congratulations on your purchase!
To get optimum performance of your H-1050 Hi-Hat Stand,
please read this Instruction Manual before playing.
PEARL HI-HAT STAND
Footboard Attachment
Squeeze the Radius Rods together and insert the ends into
the Holes in the Support Casting as shown. Loosen the
Wing Bolt and spread the legs. Stand the hi-hat base
vertically and set the bottom of the Support Casting
squarely on the floor to form a solid tripod. Tighten the
Wing Bolt to secure the Base section (Fig.1).
Swivel Leg Adjustment
The legs can be swiveled to the desired position. To do so,
loosen the Wing Bolt and adjust the position of the legs.
When set, make sure the tripod is stable and tighten the
Wing Bolt (Fig.2).
Fig. 2
Radius Rod
Support Casting
Wing Bolt
Hole
Fig. 1
Wing Bolt
Tip
Test the stability of the hi-hat before playing. Readjust the legs as
necessary to achieve a stable tripod before proceeding.
Upper Section Assembly
Thread the Upper Pull Rod into the Connector inside the
Die Cast Joint as shown in (Fig.3-A) and tighten securely.
Insert the Upper Tube into the Die Cast Joint and set the
height to your preference then tighten the Wing Nut. Set the
Stop Lock by loosening the Key Bolt and sliding the Stop
Lock against the Die Cast Joint, then retighten the Key Bolt.
Thread the Lower Hi-Hat Cymbal through the Upper Pull
Rod and place it on the Hi-Hat Cup. Assemble the Top
Hi-Hat Cymbal and the Hi-Hat Clutch as shown in (Fig.3-B).
Tighten the Key Bolt on the Bottom Nut (Fig.3-C) to prevent
it from loosening during performance. Mount the Clutch with
the Top Hi-Hat Cymbal attached to the Upper Pull Rod.
Adjust the distance between the top and bottom cymbals to
your preference then secure the Clutch by tightening the
Wing Bolt.
Fig. 3-B
Fig. 3-C
Fig. 3-A
Top Cymbal
Bottom Nut
Felt
Washers
Upper Tube
Upper Pull Rod
Stop Lock
Top Hi-Hat Cymbal
Lower Hi-Hat Cymbal
Hi-Hat Clutch
Die-Cast Joint
Wing Nut
Hi-Hat Cup
Bottom Nut
Connector
Upper
Pull Rod
Attaching the
Upper Pull Rod
Wing Bolt
Die-Cast Joint
StrongLight
Fig. 5
Fig. 6
Hi-Hat Cup Tilt Adjustment
Turn the Knurled Knob to tilt the
bottom cymbal to help prevent
"air lock" between the cymbals
(Fig.4).
Spring Tension Adjustment
The spring tension can be
adjusted quickly and
precisely by turning the
Spring Tension Dial. This
innovative system features
extended tension range
and click-stops for
slip-proof performance
under the most demanding
playing conditions (Fig.5).
Footboard Angle Adjustment
To change the footboard
angle, loosen the Key Bolt
and turn the Adjustment
Ring. When the desired
angle is achieved.
re-tighten the Key Bolt to
retain this setting (Fig.6).
Fig. 4
Fig. 7
Reversible Spiked / Rubber Tipped Feet
For maximum slip prevention, the Spike Tip should be used.
Loosen the Key Bolt until the Spike is easily turned then
rotate the Spike downward. Tighten the Key Bolt to lock the
Spike (Fig.10).
Fig. 10
Key Bolt
Adjustment Ring
Knurled Knob
Upper Pivot
Lower Pivot
Key Bolt Spike Tip
Tip
The Spikes are sharp and can cause serious personal or property
injury. To prevent mishaps, use extreme care when handling the
stand especially when the Spike Tips are exposed. A rug or carpet
should be used to protect floor surfaces whenever the Spikes are
used.
Tip
When changing the footboard
angle, make sure that the
Upper and Lower Pivots are
parallel as shown in (Fig. 7)
Fig. 9
Fig. 8
Traction Grip and Traction Plate Adjustment
The Traction Grip dots can be totally removed or inserted
as needed to custom tailor the amount of traction for your
personal playing style. To remove the Traction Grip dots,
loosen the Allen Screws holding the Traction Plate with the
provided hexagonal wrench and remove the Traction Plate
from the footboard (Fig.8). The Traction Plate is also
reversible to provide just the right amount of grip at either
the front or rear of the footboard (Fig.9).
Traction Plate
Traction Grip dots
CAUTION
When putting the Traction Plate back, finger-tighten the four screws
to prevent cross-threading; then tighten the screws securely. Do not
use the Pedal without the Traction Plate mounted. It could cause
injury to your foot.
Maintenance
The Base Tube is secured to the Support Casting with an
Allen screw. In the event the Base Tube becomes loose,

tighten the Allen screw with the provided hexagonal wrench
to restore stability.
http://www.pearldrum.com
Products and specifications are subject to change without notice.
Printed in China
-1601-
Support Casting
Allen Screw
CAUTION
Periodically check all Allen Screws for tightness and
tighten them with the provided hexagonal wrench as
needed.
Periodically lightly lube external moving parts such as
the Chain, Wing Nuts, Wing Bolts, Key Bolts, and
Footboard Hinge to achieve optimum performance
from your stand.
To maximize traction of the rubber mat beneath the
heel plate, keep it clean and dust free using a damp
cotton towel.

Other Pearl Drum manuals

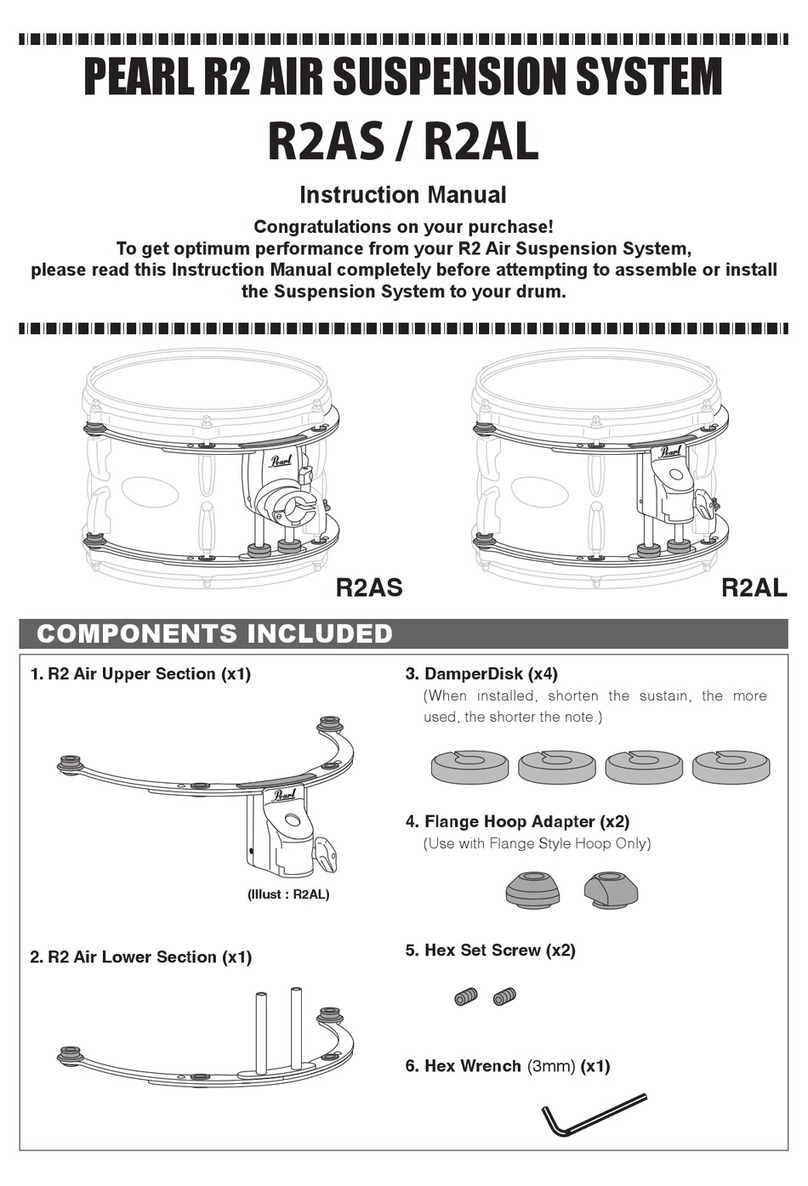
Pearl R2AS User manual

Pearl

Pearl R2AS User manual

Pearl Travel Timbales User manual

Pearl

Pearl Travel Timbales User manual

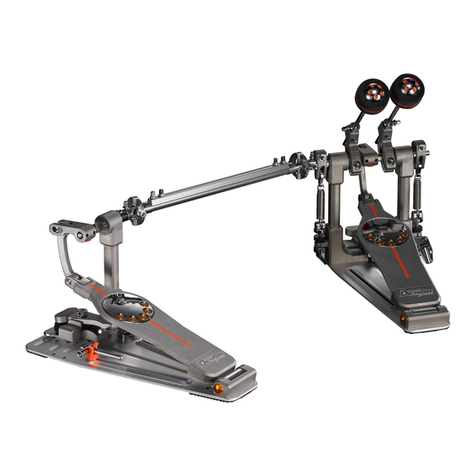
Pearl P-1000 User manual

Pearl

Pearl P-1000 User manual

Pearl MTS-3000 User manual

Pearl

Pearl MTS-3000 User manual

Pearl MSS-3000 User manual

Pearl

Pearl MSS-3000 User manual

Pearl BD-10 User manual

Pearl

Pearl BD-10 User manual

Pearl P-3000D User manual

Pearl

Pearl P-3000D User manual

Pearl Red Box RBM 20 User manual

Pearl

Pearl Red Box RBM 20 User manual

Pearl P-930 User manual

Pearl

Pearl P-930 User manual

Pearl e/MERGE PUREtouch TOM PAD User guide

Pearl

Pearl e/MERGE PUREtouch TOM PAD User guide

Pearl Optimount OPTA-0708 User manual

Pearl

Pearl Optimount OPTA-0708 User manual

Pearl h-890 User manual

Pearl

Pearl h-890 User manual

Pearl VISION Series User manual

Pearl

Pearl VISION Series User manual

Pearl MARCHING TENOR User manual

Pearl

Pearl MARCHING TENOR User manual

Pearl Forum FZ User manual

Pearl

Pearl Forum FZ User manual

Pearl P-2000C User manual

Pearl

Pearl P-2000C User manual

Pearl VISCOUNT User manual

Pearl

Pearl VISCOUNT User manual

Pearl MIMP24B User manual

Pearl

Pearl MIMP24B User manual

Pearl DR 503 User manual

Pearl

Pearl DR 503 User manual

Pearl Vision Series User manual

Pearl

Pearl Vision Series User manual

Pearl P-3002D User manual

Pearl

Pearl P-3002D User manual

Pearl FORUM FZ User manual

Pearl

Pearl FORUM FZ User manual

Pearl E-PRO Live User manual

Pearl

Pearl E-PRO Live User manual

Pearl TGX Series User manual

Pearl

Pearl TGX Series User manual

Popular Drum manuals by other brands

Roland TD-12KV owner's manual

Roland

Roland TD-12KV owner's manual

Roland V-Drums TD-3 Service notes

Roland

Roland V-Drums TD-3 Service notes

Millenium MPS-400 user manual

Millenium

Millenium MPS-400 user manual

ATV aD5 quick start guide

ATV

ATV aD5 quick start guide

Roland Compurhythm CR-78 owner's manual

Roland

Roland Compurhythm CR-78 owner's manual

Ashton RHYTHMVX user manual

Ashton

Ashton RHYTHMVX user manual

Hitman HD-10 owner's manual

Hitman

Hitman HD-10 owner's manual

Artist Guitars EDK260 user manual

Artist Guitars

Artist Guitars EDK260 user manual

Aeroband PocketDrum 2 user manual

Aeroband

Aeroband PocketDrum 2 user manual

Sunbeam Renue 885-CN manual

Sunbeam

Sunbeam Renue 885-CN manual

Yamaha DTXPLORER Drum Trigger Module DTXPLORER owner's manual

Yamaha

Yamaha DTXPLORER Drum Trigger Module DTXPLORER owner's manual

Rothenberger RODRUM M Instructions for use

Rothenberger

Rothenberger RODRUM M Instructions for use

Yamaha RX 5 Bedienungsanleitung

Yamaha

Yamaha RX 5 Bedienungsanleitung

Ableton LAUNCHPAD Getting started guide

Ableton

Ableton LAUNCHPAD Getting started guide

Alesis SR-16 Getting started

Alesis

Alesis SR-16 Getting started

AudioThing LATIN PERCUSSION user guide

AudioThing

AudioThing LATIN PERCUSSION user guide

FAS International 480 BUDGET manual

FAS International

FAS International 480 BUDGET manual

Pintech EZv2 manual

Pintech

Pintech EZv2 manual

manuals.online logo
manuals.online logoBrands
  • About & Mission
  • Contact us
  • Privacy Policy
  • Terms and Conditions

Copyright 2025 Manuals.Online. All Rights Reserved.