manuals.online logo
Brands
  1. Home
  2. •
  3. Brands
  4. •
  5. Pearl
  6. •
  7. Drum
  8. •
  9. Pearl Optimount OPTA-0708 User manual

Pearl Optimount OPTA-0708 User manual

SUSPENSION SYSTEM
OPTA-0708 / OPTA-0910 / OPTA-1112
OPTA-1314 / OPTA-1516
O P T Aシリー ズ オプ ティマ ウント は 、
下記の仕様のタムタムに 取り付 け可 能 です。
・
6"/4テンション
・
8"/5テンション
・12"/6テンション
・14"/8テンション
・16"/8テンション
・10"/6テンション
・13"/6テンション
・15"/8テンション
オプティマウントは、タムタムの深さに合
わせた、5タイプが用意されています。
• OPTA-0708 (SS)
• OPTA-0910 (S)
• OPTA-1112 (M)
• OPTA-1314 (L)
• OPTA-1516 (LL)
7"、 8"
9"、10"
11"、12"
13"、14"
15"、16"





1. 2. 3.
4. 5. 6.
• 6"/4 Tension
• 10"/6 Tension
• 13"/6 Tension
• 15"/8 Tension
• 8"/5 Tension
• 12"/6 Tension
• 14"/8 Tension
• 16"/8 Tension
OptiMounts are available in 5 models
that fit the following depths:
• OPTA-0708 (SS)
• OPTA-0910 (S)
• OPTA-1112 (M)
• OPTA-1314 (L)
• OPTA-1516 (LL)
________
_________
_________
_________
________
7", 8"
9", 10"
11", 12"
13", 14"
15", 16"
Remove the hoop, tension rods, and
drum head from both sides of the tom.
Slide the upper and lower Rubber
Cushions and align them with the Lug
Nuts as shown.
Squeeze the upper and lower
OptiMount brackets securely against
the lugs and tighten the Allen screws.
Replace the heads, hoops, and tension
rods on the tom.
Make sure that the OptiMount is
centered between the lugs.
Loosen the Allen screws on both sides
of the OptiMount and extend the
Extension Rods far enough to clear the
top and bottom lugs.
上部ブラケット
下部ブラケット
アレンスクリュー
!
ラ バ ー クッ ション
取り付 け方 法
1.
まずはじめに、タムタムのフープと
ヘッドを上下とも取り去ります。
3.
ブラケットのラバークッションをス
ライドさせながら、ラグナットには
め込みます。その際は、上部のブラ
ケットをまずセットしてから下部の
ブラケットをセットします。
4. 上下4ケ所のラグをブラケットでは
さみ込みながら、アレンスクリュ
ーを締めて固定します。
6. 上下のヘッドとフープを再びタムタ
ムに組み込みます。これでオプティ
マウントの取り付けは完了です。
2. オプティマウントを取りつける4ケ
所のラグを選び、本体の両側にあ
るアレンスクリューをゆるめて調
整バーを伸ばします。
5. オプティマウント本体が、図のよ
うにラグとラグの間の中心にくる
よう、取り付けてください。
・オプティマウントはタムタムのサイズによって適合機種が異なりますので御注意下さい。
・タムスタンド等でタムタムをセッティングされる際は、オプティマウントが確実に装着されているかどうかを十分に確かめて下さい。
・オプティマウントの着脱は、床や机の上など、安定した場所で行なって下さい。
・オプティマウントでセッティングされているタムタムに、過度の負荷をかけないよう御注意下さい。
特に、ドラム演奏以外での御使用はおやめ下さい。
・演奏前にオプティマウントがしっかりとタム・ホルダーに装着されていることをご確認ください。
・ブラケットの取付部をぶつけたりしないで下さい。変形の恐れがあります。
・上記注意を守らなかった場合、シェル本体に破損を及ぼす恐れがあります。
このたびは、オプティマウント・サスペンションシステムをお買い上げいただき誠にありがとうございます。製品の機能を十分に発揮して
お使いいただくために、この取扱説明書をぜひ御覧下さい。
オプティマウント・サスペンションシステムは、タムタムの4ケ所のラグナットに固定してタムタム本体を吊り下げることにより、フープやテ
ンションボルトに負担をかけることなくタムタムの自然な鳴りを限りなく引き出す、パール独自のマウントシステムです。
御使用上の注意 !
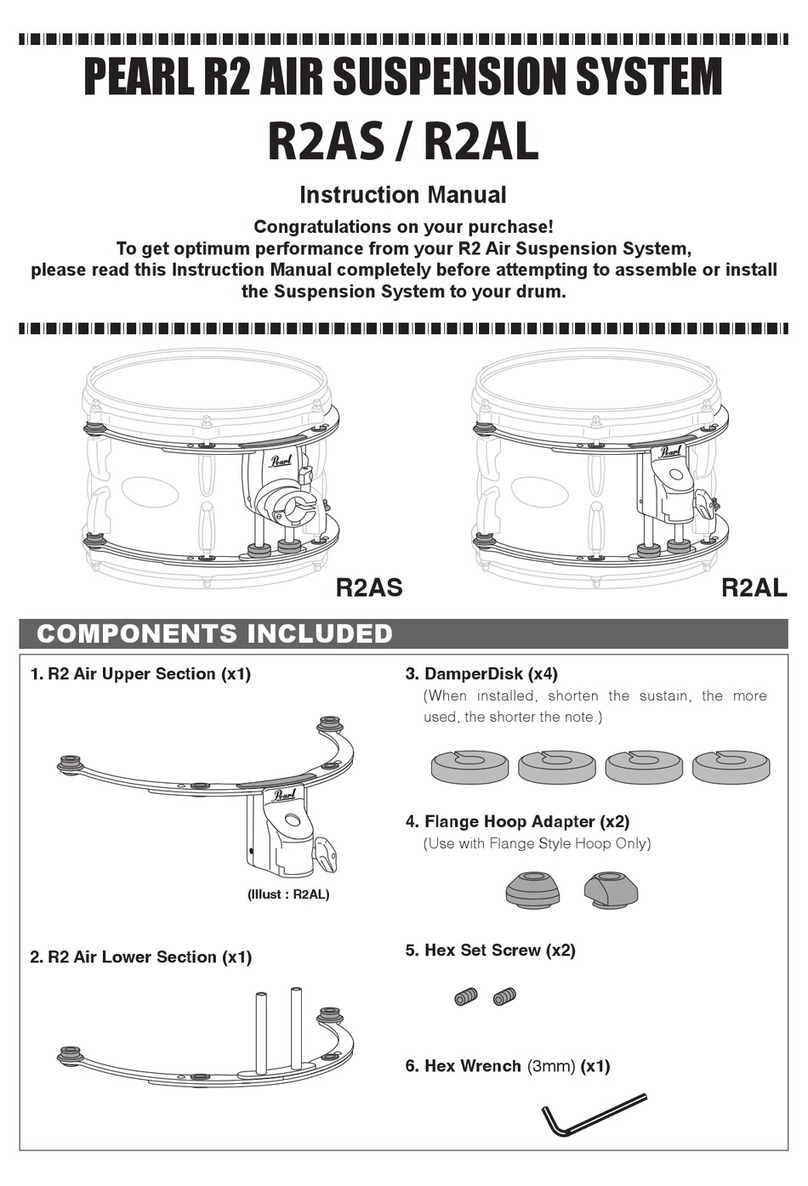
Setting
• Use the proper OptiMount for the size, number of lugs, and depth of your drums (see the chart above).
• For safety, assemble and remove OptiMounts on a clean, stable surface such as a firm table or on the floor.
• Avoid excess pressure on OptiMount-equipped drums to prevent damage to the OptiMount and/or drums.
• Avoid hitting the OptiMount brackets to prevent dents in the brackets.
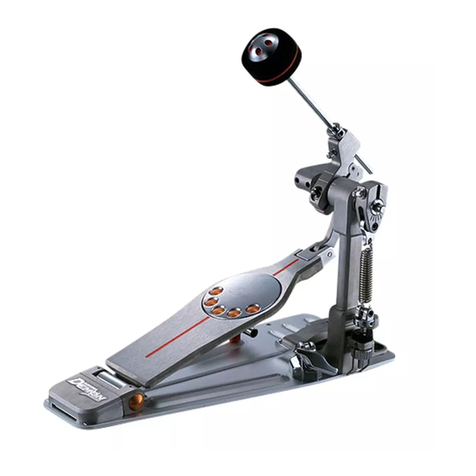
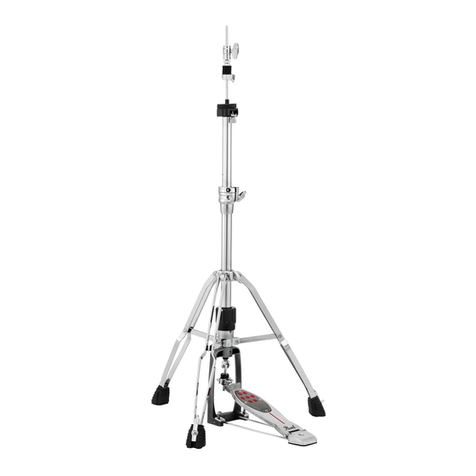
• Make sure that the OptiMounts are firmly locked to tom stands and tom holders before playing.
• Do not use OptiMounts for purposes other than holding drums.
Not following the above instructions will cause damage to the shells.
Congratulations on your Pearl OptiMount purchase. OptiMounts feature Pearl's exclusive Suspension
System that suspends toms by the lugs and tension rods for outstanding stability and maximum
resonance. Please read this Instruction Manual for proper installation and optimum performance from
your OptiMount.
Caution
Rubber Cushion
Rubber Cushion
Rubber Cushion
Allen Screw
Lug
Lug Nut
OptiMounts are designed to fit the
following tom sizes:
ラグ
ラグ ナット
Instruction Manual
Congratulations on your purchase!
To get optimum performance of your Optimount Suspension System,
please read this Instruction Manual before playing.
取扱説明書
この度は、OPTA オプティマウントをお買い上げいただき誠にありがとうございます。
製品の機能を十分に発揮してお使いいただくために、この取扱説明書をぜひご覧下さい。
※製品改良のため予告なくデザイン・仕様を変更する場合がありますので御了承下さい。
パール株式会社 〒276-0034 千葉県八千代市八千代台西 10-2-1  TEL.047-484-9111(代)
ラグ
Lug

This manual suits for next models

4

Other Pearl Drum manuals

Pearl BD-10 User manual

Pearl

Pearl BD-10 User manual

Pearl e/MERGE PUREtouch TOM PAD User guide

Pearl

Pearl e/MERGE PUREtouch TOM PAD User guide

Pearl MIMP24B User manual

Pearl

Pearl MIMP24B User manual

Pearl R2AS User manual

Pearl

Pearl R2AS User manual

Pearl P-2000C User manual

Pearl

Pearl P-2000C User manual

Pearl Red Box RBM 20 User manual

Pearl

Pearl Red Box RBM 20 User manual

Pearl P-930 User manual

Pearl

Pearl P-930 User manual

Pearl Travel Timbales User manual

Pearl

Pearl Travel Timbales User manual

Pearl Vision Series User manual

Pearl

Pearl Vision Series User manual

Pearl H-1050 User manual

Pearl

Pearl H-1050 User manual

Pearl E-PRO Live User manual

Pearl

Pearl E-PRO Live User manual

Pearl MARCHING TENOR User manual

Pearl

Pearl MARCHING TENOR User manual

Pearl P-3000D User manual

Pearl

Pearl P-3000D User manual

Pearl DR 503 User manual

Pearl

Pearl DR 503 User manual

Pearl h-890 User manual

Pearl

Pearl h-890 User manual

Pearl P-1000 User manual

Pearl

Pearl P-1000 User manual

Pearl MSS-3000 User manual

Pearl

Pearl MSS-3000 User manual

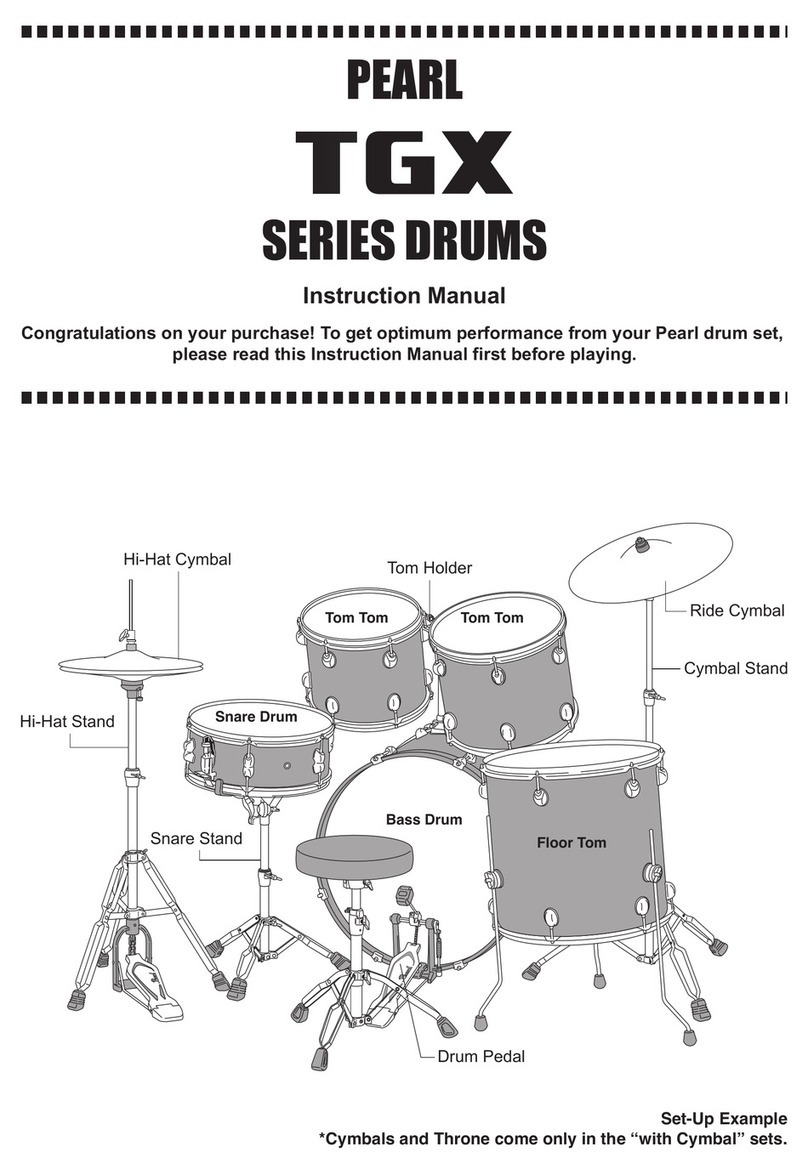
Pearl TGX Series User manual

Pearl

Pearl TGX Series User manual

Pearl VISION Series User manual

Pearl

Pearl VISION Series User manual

Pearl VISCOUNT User manual

Pearl

Pearl VISCOUNT User manual

Pearl FORUM FZ User manual

Pearl

Pearl FORUM FZ User manual

Pearl Forum FZ User manual

Pearl

Pearl Forum FZ User manual

Pearl MTS-3000 User manual

Pearl

Pearl MTS-3000 User manual

Pearl P-3002D User manual

Pearl

Pearl P-3002D User manual

Popular Drum manuals by other brands

Roland Rhythm Composer TR-505 Service notes

Roland

Roland Rhythm Composer TR-505 Service notes

Yamaha DTXPLORER Drum Trigger Module DTXPLORER owner's manual

Yamaha

Yamaha DTXPLORER Drum Trigger Module DTXPLORER owner's manual

Panasonic AYJP2000 - PROFESSIONAL JOG installation manual

Panasonic

Panasonic AYJP2000 - PROFESSIONAL JOG installation manual

Korg RHYTHM KR-55 Pro owner's manual
Korg

Korg RHYTHM KR-55 Pro owner's manual

Yamaha RS-150 Assembling instructions

Yamaha

Yamaha RS-150 Assembling instructions

FAZLEY DDK-100 Mounting instructions

FAZLEY

FAZLEY DDK-100 Mounting instructions

ION DISCOVER DRUMS quick start guide

ION

ION DISCOVER DRUMS quick start guide

First Act Discovery Drum Set instruction manual

First Act

First Act Discovery Drum Set instruction manual

Pearl Drums Decade Maple Export EXL instruction manual

Pearl Drums

Pearl Drums Decade Maple Export EXL instruction manual

thomann Millenium MPS-450 Assembly instructions

thomann

thomann Millenium MPS-450 Assembly instructions

Yamaha DTX900 Data list

Yamaha

Yamaha DTX900 Data list

Hart Dynamics MEGAPRO TE3.2 Owner's documentation

Hart Dynamics

Hart Dynamics MEGAPRO TE3.2 Owner's documentation

Medeli DD518DX Assembly instructions

Medeli

Medeli DD518DX Assembly instructions

Gear4music CHILDREN’S DRUM KIT Setup guide

Gear4music

Gear4music CHILDREN’S DRUM KIT Setup guide

Roland RDH-100 user manual

Roland

Roland RDH-100 user manual

Yamaha YDD-60 user manual

Yamaha

Yamaha YDD-60 user manual

midiplus Z12 owner's manual

midiplus

midiplus Z12 owner's manual

Roland CR-5000 Service notes

Roland

Roland CR-5000 Service notes

manuals.online logo
manuals.online logoBrands
  • About & Mission
  • Contact us
  • Privacy Policy
  • Terms and Conditions

Copyright 2025 Manuals.Online. All Rights Reserved.