93-177 93-177
93-184
93-184
ÉTAPES
1. ARCHES CENTRALES
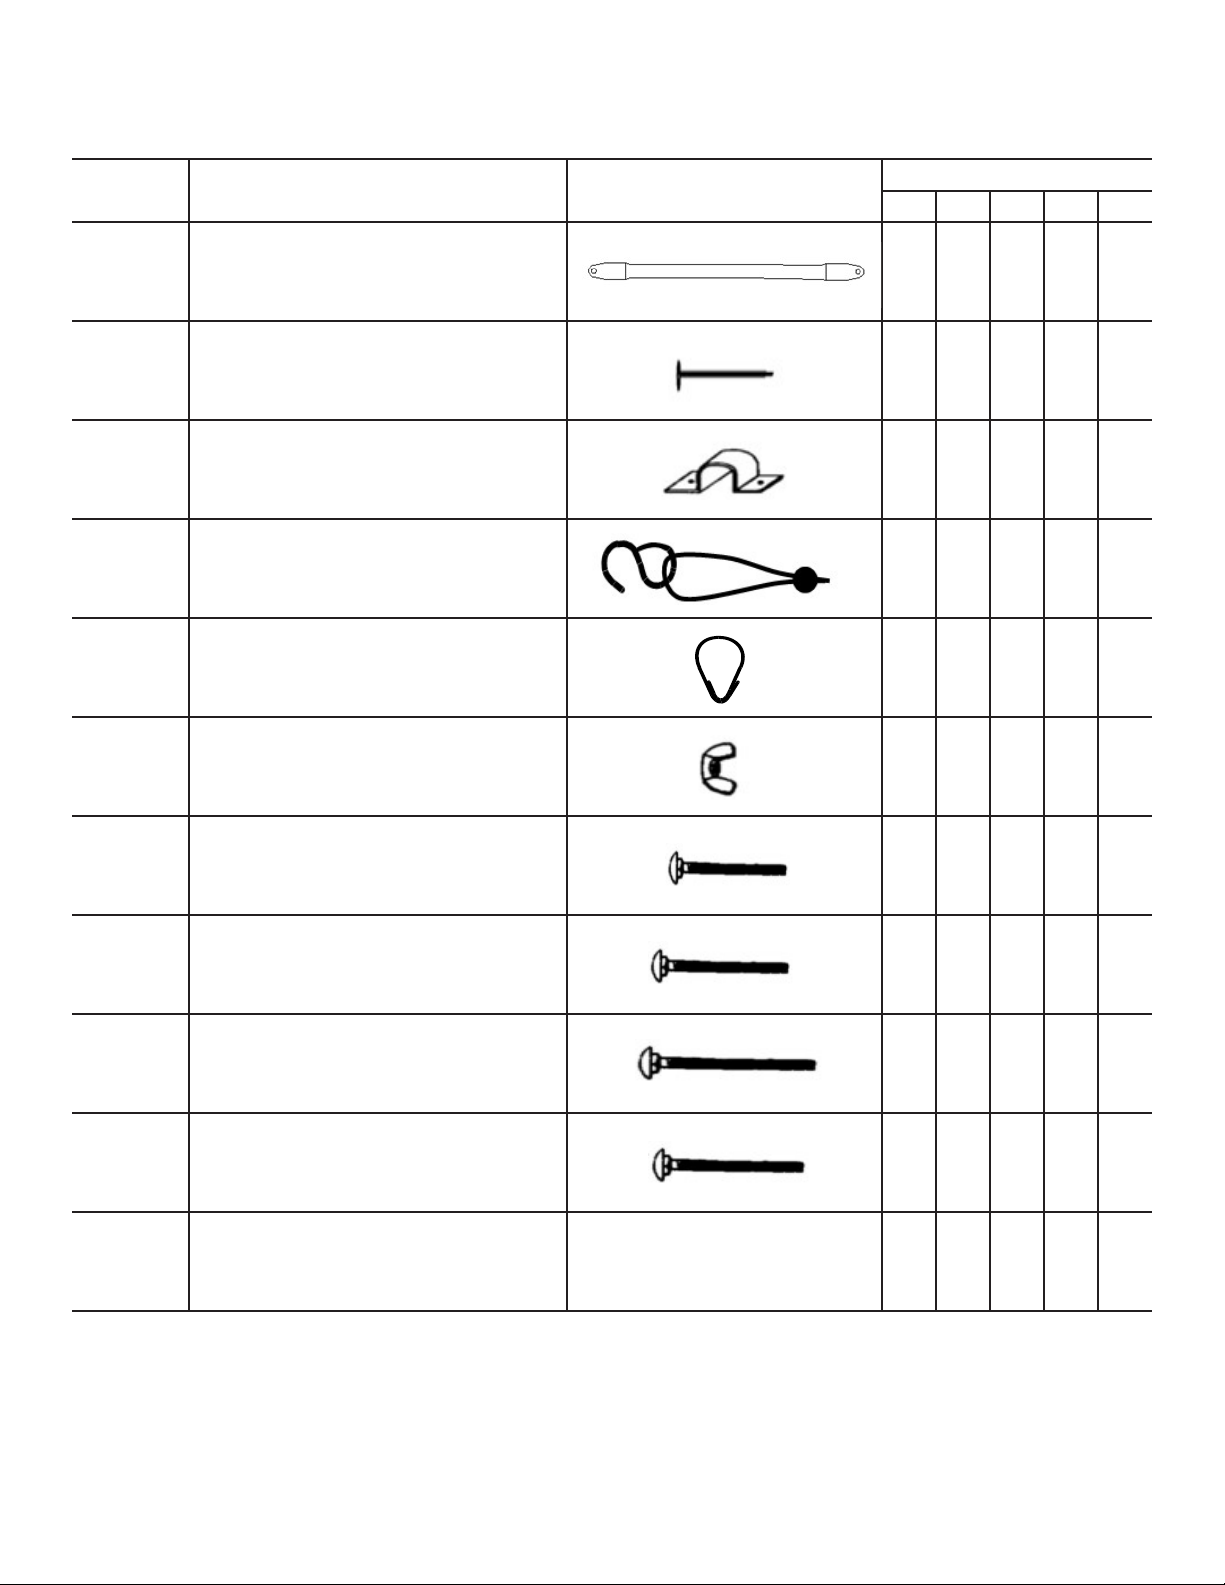
a) Prendre une arche centrale (F) et assemblez à chaque bout une extension (E). Notez que l’extension (E) a
un trou qui est à 6” d’une des extrémités; cet extrémité est pour le coin d’arche, et non l’arche centrale.
b) Sur chacune des autres extrémités des extensions (E), installez un coin d’arche principal (H). Ensuite,
attachez la barre de renfort d’arche (D) avec 2 vis 2½" et noix papillon (voir schéma ci-dessous).
2. RÉPÉTEZ L’ÉTAPE 1 POUR LES AUTRES ARCHES RÉGULIÈRES.
3. ARCHES DU BOUT
a) Prendre une arche centrale (F) et assemblez à chaque bout une extension (E). Notez que l’extension (E)
a un trou qui est à 6” d’une des extrémités; cet extrémité est pour le coin d’arche, et non l’arche centrale.
b) Ensuite, installez un coin d’arche final (G) avec 2 trous sur chacune des extrémités des extensions (E).
c) Prendre une arche complète et mettre une vis 2½" (97-486) dans les trous de chaque côté.
Attachez le renfort d’arche (D) avec la vis et serrez la noix papillon (90-019).
d) Prendre une jonction de rail de porte (B) et assembler un rail de porte (A) à chaque côté. Mettre une vis 1¾"
(97-483) à chaque extrémité de (B) pour attacher avec (A) et serrer avec une noix papillon (90-019).
e) Faire glisser les crochets (90-015) sur le rail et installer le rail (A) aux coins d’arche, avec une vis 2½"
(97-486) et une noix papillon à chaque bout.
f) Prendre un retenu pour rail de porte (C) et mettre une vis 1¾" pour attacher avec la jonction (B). Mettre
une vis 4" dans l‘autre trou sur (C) et attacher a l’arche centrale (F). Serrez le tout avec une noix papillon.
g) Répétez l’étape 3 avec l’autre arche du bout.
h) Placez une des arches du bout assemblées à l’avant de l’abri, l’autre à l’arrière.
93-177 93-177
93-180
98-187 93-481
95-262
98-187
93-175 93-175
93-179