manuals.online logo
Brands
  1. Home
  2. •
  3. Brands
  4. •
  5. Percussionaire
  6. •
  7. Medical Equipment
  8. •
  9. Percussionaire Phasitron User manual

Percussionaire Phasitron User manual

Institutional and Homecare
Cleaning Manual
Percussionaire® Phasitron® & Nebulizer
2PERCUSSIONAIRE®
Institutional and Homecare
Cleaning Manual
Percussionaire® Phasitron® & Nebulizer
PERCUSSIONAIRE® CONTROLLER DEVICE
Cold cleaning and disinfection (aer basic cleaning of unit) of the surface of
Percussionaire® controller & display device to be performed weekly, or as
needed or if transferring between patients.
PHASITRON® KIT & HARNESS ARE SINGLE PATIENT USE ONLY
• Basic cleaning to be completed aer each treatment.
• Cold disinfection to be performed weekly (aer regular basic cleaning of
unit).
TUBING HARNESS
Cold cleaning and disinfection of the tubing harness to be performed weekly.
Institutional & Homecare Cleaning Manual Phasitron® & Nebulizer 3
SAFETY PRECAUTIONS AND IMPORTANT SAFEGUARDS
To reduce the risk of infection, illness, and/or injury from contamination
and/or improper use, clean the Phasitron® (Nonsterile) before first use, and
as soon as possible aer each use. Do not submerge the Percussionaire®
controller & display device or AC Power cord. The Phasitron® is for single
patient use. Do not share your Phasitron® with any other people. Do not mix
old and new parts.
Read the label for the safe number of days that the Phasitron® kit may be used
for your control unit, and ensure that you are using an appropriate Phasitron®.
Not adhering to this may cause the Phasitron® to malfunction and cause
ineective therapy.
No Percussionaire® controller device or single patient Phasitron® or tubing
harness should ever be processed in a steam autoclave.
WARNING
• Use fragrance-free liquid soap designed for washing dishes.
• Do not use “white” liquid dish soaps or antibacterial liquid dish soaps, as
these may contain additives harmful to parts of the Phasitron® kit.
4PERCUSSIONAIRE®
Remove tubing from the
Percussionaire® controller
device:
1. Disconnect white, yellow,
red and green tubing
connectors from device.
Figure 1
2. Green and red tubing
connectors may not be
available. Figure 2,2a
2a
2
1
Before cleaning or disinfection, the tubing harness must be removed from the
controller device, Phasitron® and nebulizer.
NOTE
Institutional & Homecare Cleaning Manual Phasitron® & Nebulizer 5
Remove tubing from the
Phasitron® and Nebulizer:
1. Remove the yellow tube
quick-connector from the
nebulizer bowl. Figure 3
2. Mark the filter (if present) to
show the direction of flow
towards the Phasitron®. If
reusing the filter, it must be
reconnected in the same
direction. Figure 4
3. Remove the red tube
(if applicable) quick-
connector from the
Phasitron® body. Figure 4a
4. If present, remove the
antibacterial filter from the
red tubing either side. Do
not wash. Figure 5
• continued on page 6
4
3
5
4a
6PERCUSSIONAIRE®
5. Disconnect the green
tubing (if applicable) quick
connector from the top of
the nebulizer. Figure 7
6. Disconnect the white
tubing quick connector
from the rear of the
Phasitron® body. Figure 8
7. Remove mouthpiece, mask,
corrugated tubing or other
patient interface from
Phasitron®. Figure 9
All tubing should be disconnected
from Percussionaire® controller
device and Phasitron®.
NOTE
Tubing lines must not be
connected during cleaning
process.
WARNING
9
8
7
Institutional & Homecare Cleaning Manual Phasitron® & Nebulizer 7
To clean aer each use:
Before starting cleaning
process, wash hands thoroughly
with soap and water or use an
alcohol-based hand sanitizer.
Visually inspect exterior of
all parts, including tubing,
for corrosion, discoloration,
pitting and/or cracks, as well as
cracked or missing O-rings.
Disassembly of the
Phasitron®:
1. Separate Nebulizer from
Phasitron®. Figure 10
2. Holding the ring on the
nebulizer cap, twist the
nebulizer bowl to remove
bowl from cap. Figure 11,11a
11a
11
10
• continued on page 8
8PERCUSSIONAIRE®
3. Remove white cap on the
rear of the Phasitron® by
unscrewing in a counter-
clockwise motion. Figure
12,12a
4. Remove sliding Venturi
(and spring, when present)
from Phasitron® body.
Figure 13
12
13
12a
Institutional & Homecare Cleaning Manual Phasitron® & Nebulizer 9
Cleaning of Phasitron® parts and accessories:
Phasitron® kit for single patient use only.
Use of cleaning methods not outlined in this manual may damage the Phasitron®
and accessories.
WARNING
1. Thoroughly rinse each of the disassembled parts (except for filter and
tubing) under warm running tap water for approximately 10 seconds.
2. Use fragrance-free liquid soap designed for washing dishes added to a
clean bowl or basin with warm tap water (no white dish soap or anti-
bacterial dish soap may be used).
3. Hand wash all parts of the Phasitron® kit and accessories in the warm
soapy water.
4. Use a so bristle, nylon brush to remove stubborn soil.
5. Rinse thoroughly under running tap water. Do not wash or submerge
the antibacterial filter.
6. Gently shake all parts to remove as much water as possible, then dry with
clean, lint-free cloth or paper towel.
7. Place on clean, lint-free cloth or paper towels and allow to air dry
completely.
8. Wipe the tubing harness with a so lint free cloth and warm soapy water.
9. Rinse with tap water and hang to air dry.
If moisture enters tubing, please refer to page 15 for drying instructions.
NOTE
10 PERCUSSIONAIRE®
Disinfection solution:
Use standard household bleach (sodium hypochlorite 5.25%) for disinfection.
Mix solution of 1-part household bleach and 8-parts water. Example: 8 oz
bleach to 64 oz water or 250 ml bleach to 2 L water. (Review and follow all
safety precautions printed on bleach container).
Disinfection procedure:
1. Wear disposable gloves.
2. Pour bleach solution into an airtight container large enough to hold 2
liters or 64 ounces.
3. Completely immerse all the Phasitron® parts and tubing harness
(including mouthpiece, mask, and other accessories) into bleach solution.
Do not disinfect antibacterial filter.
4. Let soak for 10 minutes minimum. Do not exceed one hour.
5. Rinse o cold-disinfection solution using sterile water or filtered (less
than or equal to 0.2-micron filter) water. Do not use tap water.
6. Gently shake all parts to remove as much water as possible, then dry with
clean, lint-free cloth or paper towel.
7. Place on clean, lint-free cloth or paper towels and allow to air dry
completely.
8. Insert all parts, not assembled, into sealable plastic bag and store in a dry,
clean location.
To internally dry tubing, please refer to page 15.
NOTE
Institutional & Homecare Cleaning Manual Phasitron® & Nebulizer 11
Weekly lubrication:
1. Wash hands thoroughly
with soap and water or
use an alcohol based
hand sanitizer before re-
assembly and lubrication.
2. Coat each quick-connect
fitting O-ring with the
provided Percussionaire®
lubricant lubetube. Figure 14
3. Lightly coat the outer
edge of the sliding Venturi
diaphragm (Figure 15)
and the yellow ring on
the aerosol bowl with the
provided Percussionaire®
lubricant lubetube.
Figure 15a
Only use Percussionaire®
approved lubricant.
WARNING
15a
15
14
12 PERCUSSIONAIRE®
Reassembly of the Phasitron®
and tubing harness:
1. Holding the ring of the
nebulizer cap twist
nebulizer bowl into top
until it locks. Figure 17,17a
Ensure that the inner stem on the
diaphragm is pressed firmly into
the venturi. Figure 18
NOTE
• continued on page 13
18
17a
17
Stem
Institutional & Homecare Cleaning Manual Phasitron® & Nebulizer 13
2. Visually inspect O-ring on
sliding Venturi for cracks
or damage. Insert Venturi
and spring (if applicable)
into Phasitron® body. Figure
19,19a
• continued on page 14
19a
19
14 PERCUSSIONAIRE®
3. Screw white cap onto rear
of the Phasitron® body in
clockwise motion. Figure
20,20a
4. Add mouthpiece, mask,
corrugated tubing or other
patient interface to the
Phasitron®. Figure 21
21
20a
20
Institutional & Homecare Cleaning Manual Phasitron® & Nebulizer 15
Drying inside the tubing:
1. Dry the inside of the
tubing with air from your
Percussionaire® controller
device.
2. Connect each tubing,
one at a time, to the
yellow connector on the
Percussionaire® controller
device. Figure 22,22a
Ensure the arrow on the
check valve (if applicable)
points away from the
Percussionaire® controller
device and towards the
nebulizer. Figure 23
3. Turn on device and run for
two minutes at a time to
remove moisture.
Not all tubing harnesses have
(require) the check valve.
NOTE
23
22a
22
16 PERCUSSIONAIRE®
Reattach the tubing harness
to Phasitron®:
1. Connect yellow tubing
quick connector to
nebulizer bowl. Figure 24
2. If there is a check valve, it
is important to ensure that
the direction of arrow on
check valve points towards
the nebulizer. Figure 25
(check valve may dier in
color)
3. Connect red tubing to
either side of bacterial
filter. Figure 26
If reusing filter, ensure that it is
reassembled in original direction.
Figure 27
WARNING
• continued on page 17
25
24
26
27
Institutional & Homecare Cleaning Manual Phasitron® & Nebulizer 17
4. Connect red tubing (if
applicable) quick connector
to front of Phasitron® body.
Figure 28
5. Connect the green tubing
(if applicable) quick
connector to the top of the
nebulizer. Figure 29
6. Connect the white tubing
quick connector to the rear
of the Phasitron® body.
Figure 30
30
29
28
18 PERCUSSIONAIRE®
Reattach the tubing harness
to Percussionaire® Controller
device:
1. Connect red tubing quick
connector to red on device
(if applicable). Figure 31
2. Connect white tubing quick
connector to white/silver
on device. Figure 31
3. Connect green tubing
quick connector to green
on device (if applicable).
Figure 31
4. Connect yellow tubing
quick connector to yellow/
gold on device. Figure 31
Green or red connector may not
be present. Figure 32
NOTE
31
32
Institutional & Homecare Cleaning Manual Phasitron® & Nebulizer 19
Surface disinfection of the Percussionaire® controller device
At least weekly or as necessary or between patients:
1. Use either an approved wipe or spray a suitable agent onto a damp,
lint free cloth and wipe the surface of the device (do not spray any type
of cleaning liquid onto the Percussionaire® controller device). Do not
submerge any Percussionaire® controller device.
2. Allow to air dry.
WARNING
Disinfectant solution should not be sprayed directly onto the Percussionaire®
controller or display device. The solution should be sprayed onto a cloth then the
cloth used to wipe the unit down.
Percussionaire® Corporation
M130 McGhee Rd., Ste. 109, Sandpoint, Idaho 83864
PMDSS GmbH, Schigraben 41, 30175 Hannover, Germany
percussionaire.com +1.208.263.2549
0123
LIT-MAN-CLEAN
Rev A

Other Percussionaire Medical Equipment manuals
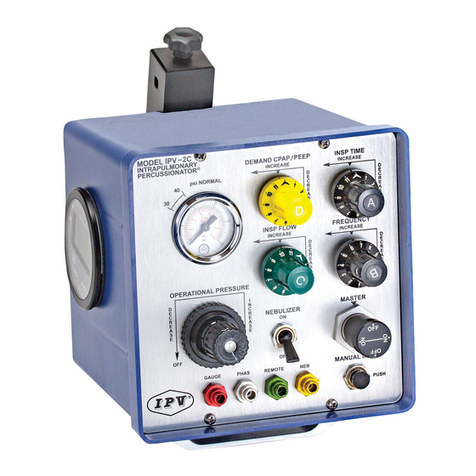
Percussionaire VDR-4 System User manual

Percussionaire

Percussionaire VDR-4 System User manual

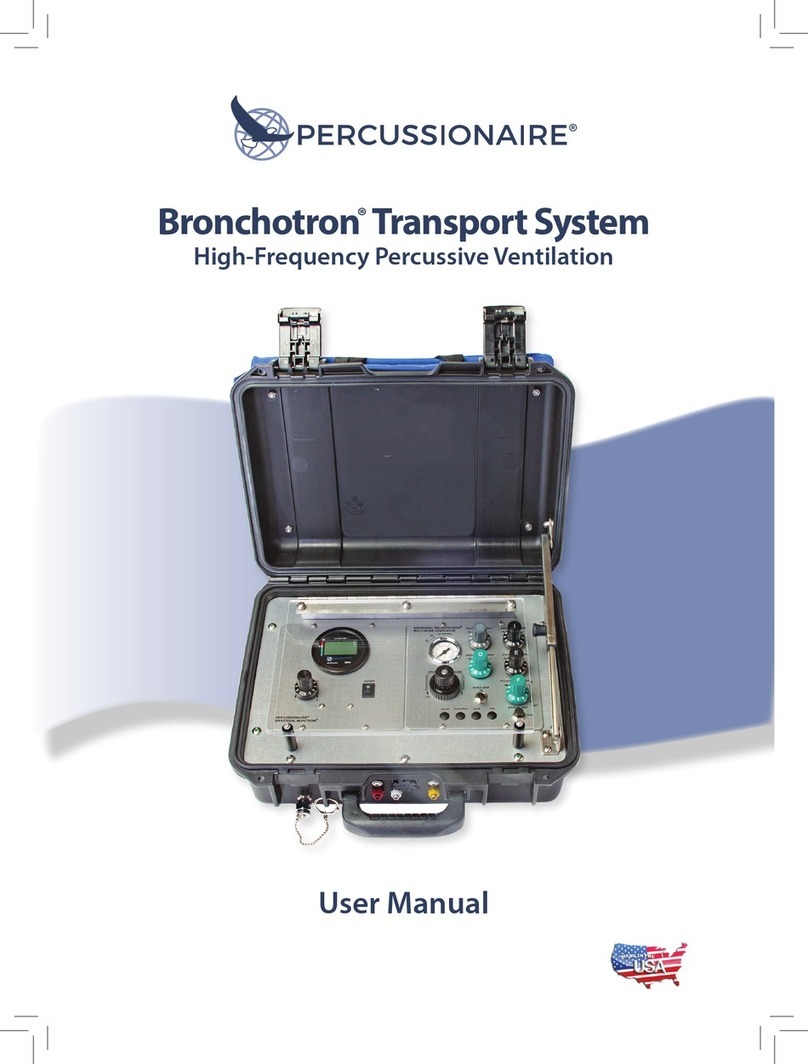
Percussionaire Bronchotron Transport System User manual

Percussionaire

Percussionaire Bronchotron Transport System User manual

Percussionaire Travel Air TRUE-IPV Therapy Device User manual

Percussionaire

Percussionaire Travel Air TRUE-IPV Therapy Device User manual

Percussionaire TXP 5 User manual

Percussionaire

Percussionaire TXP 5 User manual

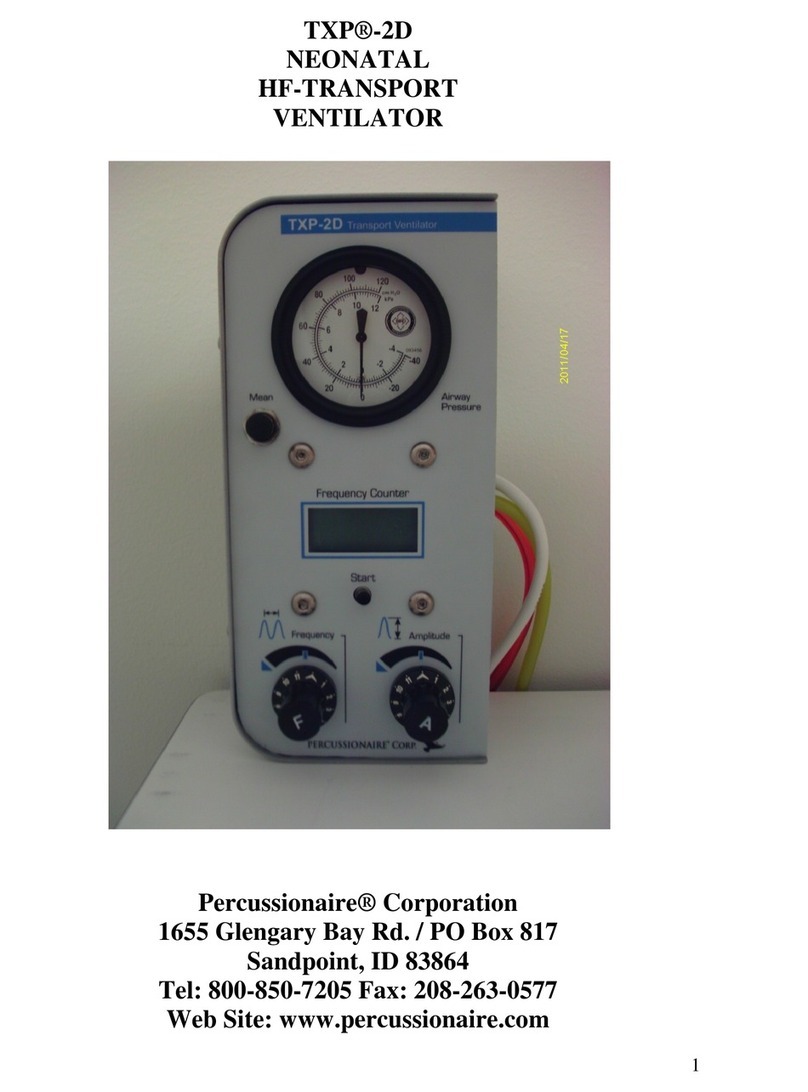
Percussionaire TXP-2D User manual

Percussionaire

Percussionaire TXP-2D User manual

Percussionaire IPV-2C User manual

Percussionaire

Percussionaire IPV-2C User manual
Percussionaire Impulsator Home Care TRUE-IPV Therapy Device User manual

Percussionaire

Percussionaire Impulsator Home Care TRUE-IPV Therapy Device User manual
Popular Medical Equipment manuals by other brands

intensity IF COMBO DI4738 instruction manual

intensity

intensity IF COMBO DI4738 instruction manual

davicia cardio prime LCD Distributor Manual

davicia

davicia cardio prime LCD Distributor Manual

Gima 600G ECG manual

Gima

Gima 600G ECG manual

Clinical Health Services TENS 3N1R Instructions for use

Clinical Health Services

Clinical Health Services TENS 3N1R Instructions for use

Dräger caleo Instructions for use

Dräger

Dräger caleo Instructions for use

O-Two e600 user manual

O-Two

O-Two e600 user manual

Chattanooga Group TRITON 200 operating instructions

Chattanooga Group

Chattanooga Group TRITON 200 operating instructions

Apollo Healthcare Technologies Limited Apollo 5 Plus APHos2 user manual

Apollo Healthcare Technologies Limited

Apollo Healthcare Technologies Limited Apollo 5 Plus APHos2 user manual

Vyaire Diamond Series Operator's manual

Vyaire

Vyaire Diamond Series Operator's manual

Halyard COOLIEF SINERGY Instructions for use

Halyard

Halyard COOLIEF SINERGY Instructions for use

Riester ri-cardio quick start guide

Riester

Riester ri-cardio quick start guide

Vaunn Medical M881N-STCR-YYVM quick start guide

Vaunn Medical

Vaunn Medical M881N-STCR-YYVM quick start guide

Cardiac Designs ECG Check Universal manual

Cardiac Designs

Cardiac Designs ECG Check Universal manual

Ambu aScope 3 5.0/2.2 Instructions for use

Ambu

Ambu aScope 3 5.0/2.2 Instructions for use

laerdal Thomas Select Tube Holder user guide

laerdal

laerdal Thomas Select Tube Holder user guide

Vetario S30 operating manual

Vetario

Vetario S30 operating manual

Siemens Uroskop ACCESS Installation and startup

Siemens

Siemens Uroskop ACCESS Installation and startup

ResMed AirFit F30 quick start guide

ResMed

ResMed AirFit F30 quick start guide

manuals.online logo
manuals.online logoBrands
  • About & Mission
  • Contact us
  • Privacy Policy
  • Terms and Conditions

Copyright 2025 Manuals.Online. All Rights Reserved.