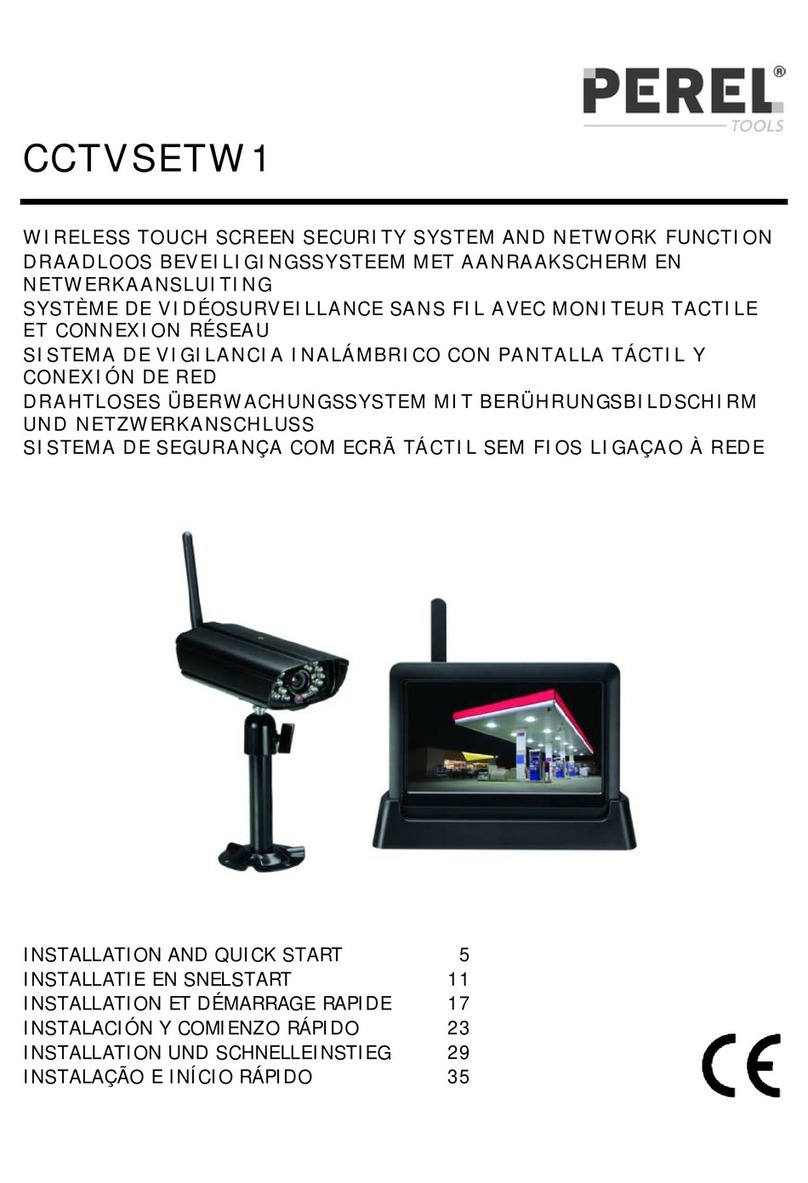
Perel CCTVSET2 User manual

CCTVSET2
VIDEO SECURITY SET: DVR + 4 CAMERAS + ACCESSORIES + 500 GB
HARD DISK
STANDAARD VIDEOBEWAKINGSSET: DVR + 4 CAMERA'S +
ACCESSOIRES + 500 GB HD
SET DE BASE DE SÉCURITÉ VIDÉO: DVR + 4 CAMÉRAS +
ACCESSOIRES + DISQUE DUR DE 500 GO
JUEGO DE VIGILANCIA ECONÓMICO: VIDEOGRABADORA DIGITAL +
4 CÁMARAS + ACCESORIOS + DISCO DURO DE 500 GB
KOSTENGÜNSTIGER ÜBERWACHUNGSSATZ: DVR + 4 KAMERAS +
ZUBEHÖR + 500 GB-FESTPLATTE
SISTEMA ECONÓMICO DE SEGURANÇA POR VÍDEO: DVR + 4
CÂMARAS + ACESSÓRIOS + DISCO RÍGIDO DE 500 GB
USER MANUAL 3
GEBRUIKERSHANDLEIDING 29
MODE D'EMPLOI 55
MANUAL DEL USUARIO 81
BEDIENUNGSANLEITUNG 107
MANUAL DO UTILIZADOR 134

CCTVSET2
V. 02 –08/04/2015 2 ©Velleman nv

CCTVSET2
V. 02 –08/04/2015 3 ©Velleman nv
USER MANUAL
1. Introduction
To all residents of the European Union
Important environmental information about this product
This symbol on the device or the package indicates that disposal of the device after its lifecycle could
harm the environment. Do not dispose of the unit (or batteries) as unsorted municipal waste; it should
be taken to a specialized company for recycling. This device should be returned to your distributor or
to a local recycling service. Respect the local environmental rules.
If in doubt, contact your local waste disposal authorities.
Thank you for choosing Perel! Please read the manual thoroughly before bringing this device into service. If the
device was damaged in transit, do not install or use it and contact your dealer.
2. Safety Instructions
Keep the device away from children and unauthorised users.
Risk of electroshock when opening the cover. Touching live wires can cause life-threatening
electroshocks.
Always disconnect mains power when the device is not in use or when servicing or maintenance
activities are performed. Handle the power cord by the plug only.
3. General Guidelines
Refer to the Velleman®Service and Quality Warranty on the last pages of this manual.
Keep this device away from dust.
Keep this device away from extreme heat.
Make sure the ventilation openings are clear at all times.
Protect this device from shocks and abuse. Avoid brute force when operating the device.
Familiarise yourself with the functions of the device before actually using it.
All modifications of the device are forbidden for safety reasons.
Only use the device for its intended purpose. Using the device in an unauthorised way will void the
warranty.
Damage caused by disregard of certain guidelines in this manual is not covered by the warranty and the
dealer will not accept responsibility for any ensuing defects or problems.
Do not use this product to violate privacy laws or perform other illegal activities.
Keep this manual for future reference.
4. Features
This economic camera security set is an easy-to use security system for home surveillance. This set contains
4 CMOS cameras with 600 TV lines. An IR-cut filter will filter the IR light, so it cannot distort the colour
image during daytime. The digital video recorder records the video images on the built-in 500 GB hard disk via
motion detection, timer or manual recording. Plug-and-play remote surveillance via smartphone apps.
contents:
o1 x DVR with built-in SATA connection
o4 x CMOS bullet camera with IR LEDs
o4 x 18 m camera cable
oUSB mouse and accessories
o1 x 12 V PSU
ohard disk: 500 GB

CCTVSET2
V. 02 –08/04/2015 4 ©Velleman nv
plug-and-play remote surveillance via smartphone apps
oAndroid®: ATVCloud
oApple®(iPhone®, iPod®and iPad®): ATVCloud
optional (not incl.):
oVGA & DVI monitor: MONSCA5N
orouter: EM4544, EM4571
5. Overview
Refer to the illustrations on page 2 of this manual.
Front Panel
1
IR sensor (not used)
3
recording LED
2
power LED
Rear Panel
1
video input
6
audio input
2
video output
7
USB connections
3
audio output
8
RS-485 connection
4
VGA output
9
power input
5
HDMI®connection
10
RJ-45 connection
6. Installation
6.1 HDD Installation
The digital video recorder (DVR) comes fully installed with hard disk drive (HDD). Just connect the DVR to your
monitor (not included) and router (not included). Also, connect the DVR to the mains.
6.2 Icon Description
recording
client-end linking to channel
channel with set alarm, alarm not triggered
alarm is triggered
voice monitoring closed
voice monitoring open
7. Fast Operation
7.1 Login
After starting up the DVR, a pop-up window appears. Login to the DVR.

CCTVSET2
V. 02 –08/04/2015 5 ©Velleman nv
1. Enter the default user name [admin] in the User Name field.
2. You do not need to enter a password in the Password field.
3. Left-click Login to finish the login operation.
REMARK
The mouse will be locked for 10 seconds after three failed login attempts. Enter
the correct login user name as soon as the mouse unlocks.
7.2 Menu Operation
After logging in, the main screen appears. Move your mouse cursor to lower part of the screen to display the
menu bar.
Hover over the icons to discover the menu name. From left to right: System Setup, View Layout, Sequence,
Zoom, Video Adjust, PTZ, Snapshot, Photos, Record Setup, Playback, Quit.
You can also right-click anywhere in the screen to display the menu below:
Left-click anywhere in the screen (not on an icon) to make the menu disappear.
7.2.1 View Layout
Adjust the screen to one-screen (View 1) or four-screen mode (View 4).
7.2.2 Sequence
The sequence function automatically switches through all four channels in a continuous loop. The switching
speed can be set as follows:

CCTVSET2
V. 02 –08/04/2015 6 ©Velleman nv
1. Left-click the Sequence icon to enter the function.
2. Left-click in the field. Enter the interval in seconds using the numeric keypad and confirm with OK.
3. Left-click OK to confirm and to activate the function.
4. Left-click the Stop Sequence icon to disable the sequence function.
7.2.3 Video Adjust
The video adjustment menu allows detailed image adjustments for each channel with custom modes
(sessions 1, 2 and 3). The custom modes can be used as pre-set modes for e.g. day or night recording. Set as
follows:
1. Left-click the Video Adjust icon to enter the function.
2. Select the channel for your setup.
3. Select the session for your channel, e.g. use session 1 for your day settings, session 2 for your night
settings and session 3 for other settings. Also, identify your session by setting the session time in the time
fields.
4. Manually adjust each item, either by clicking in the bar or by clicking [+] or [-]. You can also select factory
settings (Standard –Soft –Bright –Gorgeous) at the bottom of the window.
5. Left-click Save to save your settings.
6. Repeat for all channels and sessions.

CCTVSET2
V. 02 –08/04/2015 7 ©Velleman nv
7.2.5 Clients
The Clients function lists all remote hosts connected to the DVR.
1. To disconnect a host, left-click the remote host to select.
2. Left-click Disconnect.
3. Left-click Disconnect All to disconnect all hosts simultaneously.
7.2.6 Snapshot
The Snapshot function allows you to take screenshots of the selected channel. Proceed as follows:
1. Left-click the Snapshot icon to enter the function. You will see the mouse cursor change into a camera.
2. Move into the screen and left-click once. The screenshot will be automatically saved onto the HDD.
3. Right-click once to exit the function.
7.2.7 Photos
The Photos function allows you to upload the screenshots saved onto the HDD and, if desired, save them onto
a USB stick (not included).
Searching a Saved Snapshot
1. Left-click the Photos icon to enter the function.
2. Enter all the necessary info in the appropriate fields. Note that snapshots older than one month cannot be
retrieved.
3. Left-click Search to search your snapshots. The snapshots will be listed on the right of the window.
4. Left-click on the desired file to view your snapshot.

CCTVSET2
V. 02 –08/04/2015 8 ©Velleman nv
Transferring a Saved Snapshot onto a USB Stick
1. Insert your USB stick into one of the USB ports at the back of the DVR.
2. Search and select your snapshot as described under 7.2.7 Searching a Saved Snapshot above.
3. Left-click Backup and save the snapshot on your USB stick.
7.2.8 Record Setup
The Record Setup function allows you to record videos, either manually or programmed.
Manual Recording
1. Left-click the Record Setup icon to enter the function.
2. Select your channel and check off the manual option.
3. Left-click OK to start the recording.
4. Enter the function, uncheck the manual option and left-click OK to abort the recording.

CCTVSET2
V. 02 –08/04/2015 9 ©Velleman nv
Scheduled Recording
1. Left-click the Record Setup icon to enter the function.
2. Select your channel and check off the scheduled option.
3. Left-click Set for the selected channel to open the programme window.
4. Enter the starting and ending times for your recording. Left-click OK to confirm the schedule.
5. Left-click OK to confirm the recording. Recording will start and end at the programmed time.
REMARK
When recording, the recording icon will appear in the lower left corner of the
selected channel.
7.2.9 Playback
The Playback function allows you to play and view your recorded videos, as well as save them onto a USB stick.
Recording Playback
1. Left-click the Playback icon to enter the function.

CCTVSET2
V. 02 –08/04/2015 10 ©Velleman nv
2. Select your channel and enter all necessary parameters to fine-tune your recording selection.
3. Left-click Play to enter the Playback window (see The Playback Window below).
The Playback Window
The Playback Window allows several playback functions for your recorded video.
1
PLAYBACK TIME: current playback time
2
PROGRESS BAR: progress of the current file
3
SOUND: enable/disable the sound function
4
FUNCTION: selected function in the playback window
5
WINDOW: channel selection
6
EXIT: exit the playback window
7
PRIOR HOUR: go back one hour
8
BACKSTEP: pause and go back two seconds
9
BACKFAST: play backwards at speed x 4, 8 or 16
10
SNAP: take a snapshot
11
PAUSE: pause the video
12
PLAY: play the video
13
FAST: play forward at speed x 2, 4, 8 or 16
14
SLOW: play forward at speed x 1/2, 1/4, 1/8 or 1/16
15
STEP: jump one frame at the time
16
NEXT HOUR: go forward one hour
17
MINIMIZES: minimize the playback window
Saving Your Recording
1. Left-click Backup to enter the function.

CCTVSET2
V. 02 –08/04/2015 11 ©Velleman nv
2. Select your channel and enter all necessary parameters to fine-tune your recording selection.
3. Left-click Backup to save your recording.
REMARK
Make sure to have your USB stick connected to the DVR.
7.2.10 Clear Alarm
The Clear Alarm function allows you to clear the alarm settings for one selected channel or all channels.
Proceed as follows:
1. Left-click the appropriate window to select your channel.
2. Left-click the Photos icon to enter the function.
3. Left-click Current to clear the alarm settings for the selected channel or Clear All to clear all alarm
settings.
REMARK
Refer to chapter 8.4 Alarm below to set up the alarm function.
7.2.11 Quit
The Quit function allows you to log out, shut down or restart the DVR.
8. System Setup
The System Setup menu contains all necessary functions to set up your DVR system in detail.
1. Left-click the System Setup icon to enter the menu.

CCTVSET2
V. 02 –08/04/2015 12 ©Velleman nv
8.1 General
1. Left-click the General icon to enter the menu.
8.1.1 General
The General menu allows you to adjust all general settings. Proceed as follows:
1. Left-click the General icon to enter the menu.

CCTVSET2
V. 02 –08/04/2015 13 ©Velleman nv
2. Set up as desired.
3. Left-click OK to confirm.
8.1.2 Time
The Time allows you to adjust all time settings. Proceed as follows:
1. Left-click the Time icon to enter the menu.
2. Set up as desired.
3. Left-click OK to confirm.

CCTVSET2
V. 02 –08/04/2015 14 ©Velleman nv
8.1.3 User
The User menu allows you to adjust all user settings, either a local or network user. Proceed as follows:
Local User
1. Left-click the User icon to enter the menu.
2. Check off the Local User box and left-click Add or Edit.
3. Set up as desired.
4. Left-click OK to confirm.

CCTVSET2
V. 02 –08/04/2015 15 ©Velleman nv
Network User
1. Left-click the User icon to enter the menu.
2. Check off the Network User box and left-click Add or Edit.
3. Set up as desired.
4. Left-click OK to confirm.
8.2 Channel
1. Left-click the General icon to enter the menu.

CCTVSET2
V. 02 –08/04/2015 16 ©Velleman nv
8.2.1 Preview
The Preview menu allows you to adjust all general on-screen settings such as name position. Proceed as follows:
1. Left-click the General icon to enter the menu.
2. Set up as desired.
3. Left-click OK to confirm.
8.2.2 Stream
The Stream menu allows you to adjust the stream settings, either local or over a network. Proceed as follows:

CCTVSET2
V. 02 –08/04/2015 17 ©Velleman nv
1. Left-click the Stream icon to enter the menu.
2. Set up as desired.
3. Left-click OK to confirm.
8.2.3 Audio
The Audio menu allows you to adjust all general audio settings. Proceed as follows:
1. Left-click the Audio icon to enter the menu.
2. Set up as desired.
3. Left-click OK to confirm.

CCTVSET2
V. 02 –08/04/2015 18 ©Velleman nv
8.2.4 Privacy Mask
The Privacy Mask menu allows you to mask parts –max. 4 –of the channel. Proceed as follows:
1. Left-click the Privacy Mask icon to enter the menu.
2. Set up as desired.
3. Left-click OK to confirm.
8.3 Network
1. Left-click the Network icon to enter the menu.

CCTVSET2
V. 02 –08/04/2015 19 ©Velleman nv
8.3.1 Setting
The Setting menu allows you to set all general connection settings. Proceed as follows:
1. Left-click the Setting icon to enter the menu.
2. Set up as desired.
3. Left-click OK to confirm.
8.3.2 Service
The Service menu allows you to set all network settings. These network settings are important if you wish to
control your monitoring system remotely. Proceed as follows:
1. Left-click the Service icon to enter the menu.

CCTVSET2
V. 02 –08/04/2015 20 ©Velleman nv
2. Set up as desired.
3. Left-click OK to confirm.
8.4 Alarm
1. Left-click the Alarm icon to enter the menu.
REMARK
Refer to chapter 7.2.10 Clear Alarm above for more alarm functions.
8.4.1 Motion Detect
The Motion Detect menu allows you to define your motion detection area. Proceed as follows:
1. Left-click the Motion Detect icon to enter the menu.
Other manuals for CCTVSET2
1
Table of contents
Languages:
Other Perel Security System manuals