Perfect Servings 99914 User manual

Item Numbers: 99913, 99914, 99915 & 99916
USER GUIDE
COFFEE CONDIMENT DISPENSER
www.perfectservings.com | 847.622.1803

1
CONTACT INFORMATION
Perfect Servings®
A United Food Group, Inc. brand
1925 Holmes Road
Elgin, IL 60123
P: 847.622.1803 / F: 8 47. 622 .1713
www.perfectservings.com | www.unitedfoodgroup.net
Due to continued equipment improvement, the machines illustrated/photographed in this manual may vary slightly from your model.
Specifications ..........................................................................................................1
Unpacking ..............................................................................................................2
Leveling ...................................................................................................................3
Filling The Hoppers ................................................................................................3
Programming .........................................................................................................4
Cleaning ................................................................................................................5
Safeguards ............................................................................................................6
Trouble Shooting ...................................................................................................6
Product Settings Guide .........................................................................................7
Warranty ...............................................................................................................7
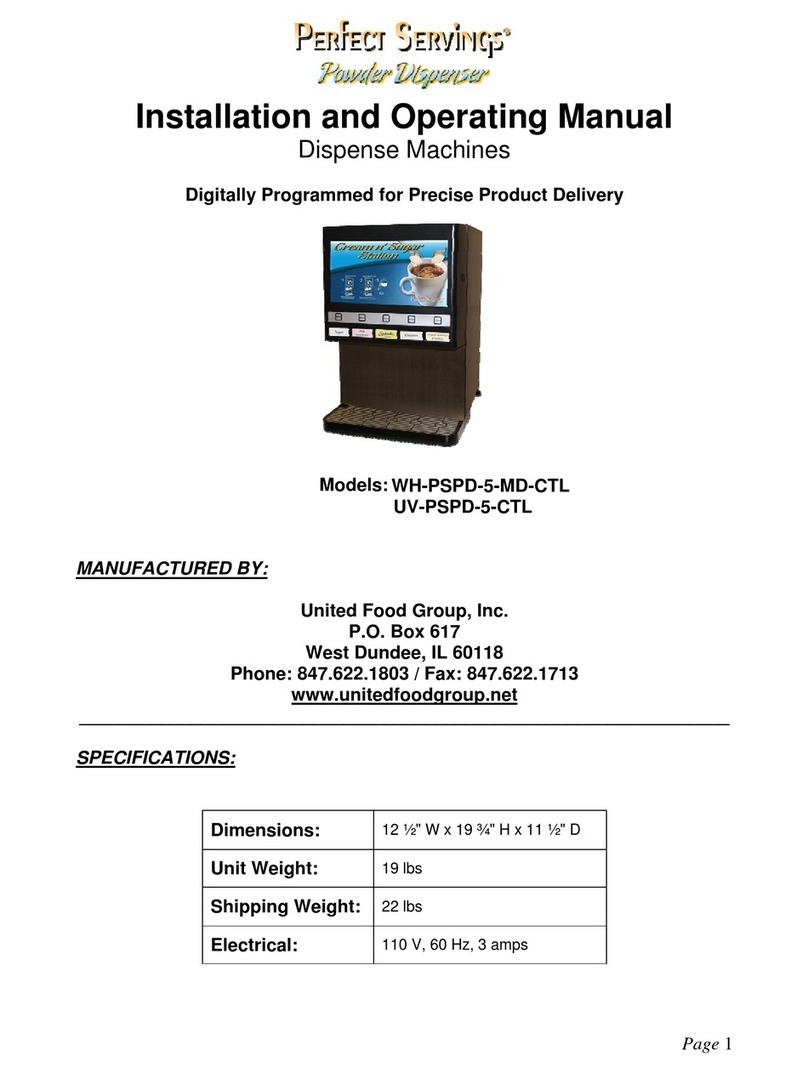
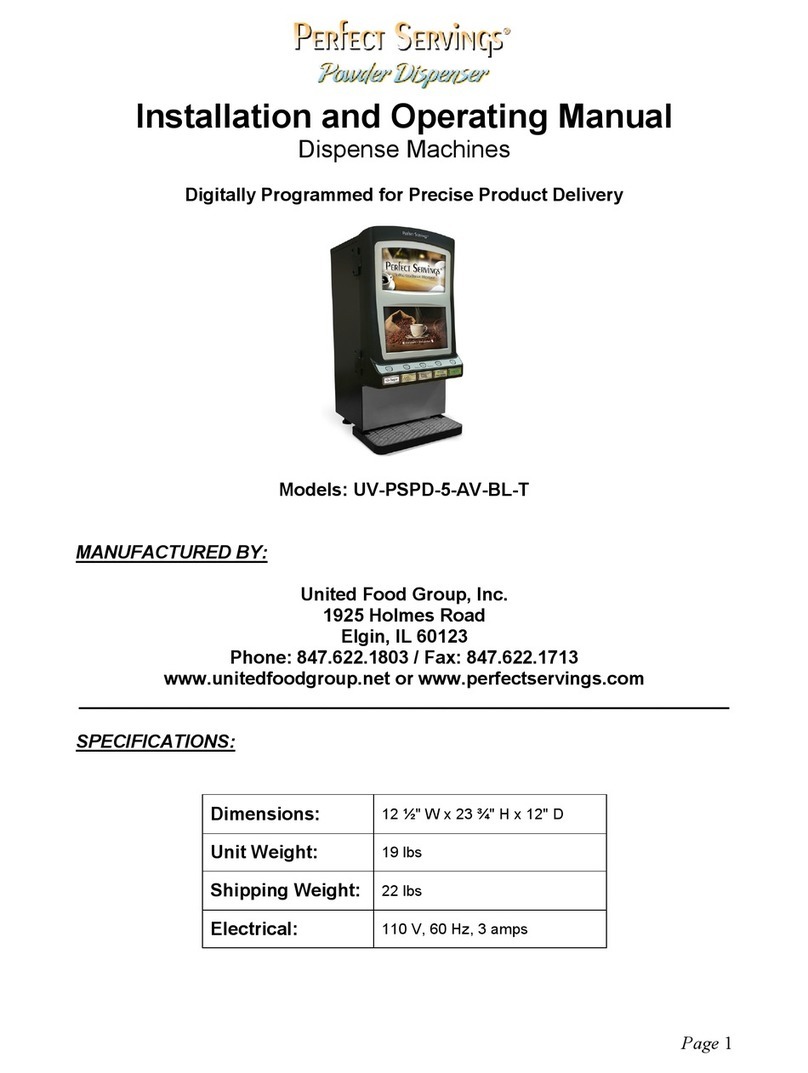
Dimensions: 19¾”H x 12½”W x 11½”D
Unit Weight: 19 lbs
Shipping Weight: 23 lbs
Electrical: 110 V, 60 Hz, 3 amps
SPECIFICATIONS
TABLE OF CONTENTS
The Perfect Servings®Powder Dispenser is the answer to packet pilferage, overuse, and mess commonly
associated with single serve packets of coffee condiments in Casinos, Colleges, Convenience Stores, Food Service,
Hospitals, Micro Markets, Offices and more. More than forty Perfect Servings®products are available,
such as coffee condiments, gourmet soups, hot cereals, cocoa, flavored hot & cold beverages, and cappuccino.
Our Perfect Servings®Powder Dispenser is 100% programmable for portion control or a push and hold
feature, that delivers virtually any type of powdered product. Our machine is extremely accurate and can dispense
as little as ½ gram to as much as 8 ounces of powder with the push of a button. One push equals one packet.

2
!
UNPACKING
LEVELING
If there is damage to the shipping carton, please call the carrier. After opening the shipping carton if
there is damage to the powder dispenser, please call Perfect Servings®at 847.622.1803.
A drip-tray and a grid
cover for the drip-tray.
Keys for the lock
In addition to this manual, the unit should have shipped with the following:
You can find the drip tray
& the keys in the Styrofoam
on the top of the box.
Your unit should ship with
either our standard or 4" legs
depending on cup size. `
To level your Perfect Servings® machine, thread the legs into the mounts on the bottom of the unit. Hand tighten
clockwise all the way. Then unscrew the front legs about a ¹/ inch so any excess powder will not spill out from the
hoppers due to gravity. If powder still comes out after you pressed the button and the motors have stopped, increase
the height of the front two legs by unscrewing counter-clockwise and this should remedy any issues.
WARNING
IMPORTANT
!
*If you ordered the 4" legs they will be found at the bottom of the box in a bag.
**Check the envelope inside the box for spare flavor tabs.

3
FILLING OF THE HOPPERS
Front Load Models: (99913 & 99915)
1) To begin, open the door (Diagram 3-01).
2) Turn the dispensing spout 90 degrees (Diagram 3-02).
3) Lift the front of the canister up ³/” to disengage
the canister (Diagram 3-03).
4) Pull the canister forward and remove from unit
(Diagram 3-04).
5) Remove the top cover (Diagram 3-05).
6) Fill with only Perfect Servings product (Diagram 3-06).
7) Place the filled canisters back in the unit, and then
turn the dispensing spouts to the down position
(Diagram 3-07).
Top Load Models: (99914 & 99916)
1) To begin, open the door (Diagram 3-01).
2) Turn the dispensing spout 90 degrees (Diagram 3-02).
3) Open top cover (Diagram 3-08).
4) Fill with only Perfect Servings product (Diagram 3-06).
5) Close top cover.
Powder Diverter Removal:
1) Open top cover (Diagram 3-08).
2) Reach into the canister and pull up on the diverter.
3) Diverter should come free of all of the canisters.
4) To reinstall diverter, align all 5 canisters with the
diverter then press down until the diverter lies flat.
Do not overfill or pack down the canister!
Doing so, will cause the canisters to bind and possibly damage the unit.
WARNING
!
Diagram 3-01
Diagram 3-05
Diagram 3-02
Diagram 3-08
Diagram 3-03
Diagram 3-06
Diagram 3-04
Diagram 3-07

4
PROGRAMMING
Program
Up
Down
set
Program
Up
Down
000
Program
Up
Down
102
Programming for Portion Control:
1) Locate the product setting guide (Page 7)
2) Find the product you would like to dispense.
3) Make sure to have easy access to the front and
the backside of the machine for programming.
4) On the backside of the machine press and hold
the 'Program' button for 5 seconds until the
letters “SET” appear (Diagram 4-01).
5) Quickly press the button on the 'touch panel' on
the front door that corresponds to the canister
you are setting (Diagram 4-02).
Programming for Press and Hold:
1) Press and hold the program button on the
back of the machine for 5 seconds, until “SET”
appears (Diagram 4-01).
2) Press the touch panel for the selection you wish
to have set for “manual dispense’ (Diagram 4-02).
3) Press the up or down buttons on the
programming panel to have the display read
"000" (Diagram 4-04).
4) Press selection button on the touch panel again
to lock in programming (Diagram 4-02).
5) Repeat steps 1-4 for any other manual dispense
programming.
Each canister can be programed to dispense in the following modes: Portion Control or Press and Hold.
Diagram 4-01 Diagram 4-02 Diagram 4-03
Diagram 4-04
6) Press the down button on the programming
display until the number corresponds to the one
you found on the settings sheet (for the timed
delivery of product). (Diagram 4-03).
7) Press the button on the 'touch panel' again. This
will lock in the dispense time (Diagram 4-02).
8) Test product, more or less to suit taste. If you
prefer more product increasing the numbers
will increase the product throw, decreasing the
numbers will decrease the product throw.
9) To set other buttons, repeat steps 1-10 above.

5
It is imperative that the canisters be kept clean. For routine cleaning between refilling, simply empty
the canister, wash it, and then turn it upside down until completely dry.
Please do the following to ensure a thorough cleaning of the canisters:
1) Remove the canister from the unit and then empty it completely (Diagram 5-01).
2) Remove the 'elbow' (dispensing spout) and the 'lid'. (Diagram 5-02).
3) There is no need to remove the auger drive.
4) Wash all of the parts until clean in a mild dish washing solution (Diagram 5-03).
5) Rinse, and allow to completely dry before reassembling (Diagram 5-04).
6) Reassemble, and test for free movement before filling.
CLEANING
Please do the following to ensure a thorough cleaning of the cabinet:
1) Use a soft cloth 'dampened' in warm water.
2) Wipe dry.
3) Never submerge the motors or the cabinet in water.
4) Do not use abrasives to clean doing so will dull and scratch the surface.
Make Sure to empty and clean the drip tray daily with a mild dish washing solution
and dry thoroughly.
Never spray water directly on the unit to clean. Do not use cleaning liquids, compounds or powders containing
chlorine, solvents, scouring powders, flammable materials or corrosives. These products promote corrosion and will
damage the surfaces.
DO NOT immerse the unit in water or any other liquid unless specifically instructed to do so.
⚠⚠WARNING
!
Diagram 5-01 Diagram 5-02 Diagram 5-03 Diagram 5-04
!
IMPORTANT

6
SAFEGUARDS
VIDEO SCREEN (9991599916)
TROUBLESHOOTING
1) Avoid contact with moving parts.
2) Do not operate the machine if the power cord is damaged.
3) It is critical to keep liquids away from motors and electronic components.
4) Unless you are a certified and approved vendor do not perform any repairs to internal motors, drivers,
augers or electronic boards.
5) The Perfect Servings®powder dispenser and its accessories are certified ETL.
Content can be placed on the provided SD card in the following format:
1) Video Codec: H.264/AVC
2) Frame Size: 1280 x 720 px
3) Bit Rate 3200 kbps
4) Audio Codec MPEG-2/4 Audio AAC
5) Sample Rate 44-48 kHz
Machine does not dispense when pressing flavor button.
Solution:
• Try swapping the canister with another canister from the same machine to see if the canister might be broken.
If the motor works the problem is in the canister.
• Try removing the canister and pressing a button to see if the motor turns.
Machine will not stop dispensing.
Solution:
• Try restarting the Perfect Servings Machine.
• Make sure nothing is resting on flavor buttons.
Broken or Lost Parts :
Machine Artwork:
• Translight: 9.37" wide x 5.627" high with a ½ of an inch inset safe area.

Hot Beverages (8oz Serving) PSPD5 Settings Servings Per Bag Bag Size Servings Per Case Case Size
Cappuccino 7.0 = 35g 26 (35g servings) 2lb 78 (35g servings) 6 x 2lb
Hot Chocolate 7. 4 = 35g 26 (35g servings) 2lb 78 (35g servings) 6 x 2lb
No Sugar Added Hot Chocolate 8.8 = 25g 27 (25g servings) 1½lb 162 (25g servings) 6 x 1½lb
Chai Tea 5.0 = 35g 26 (35g servings) 2lb 78 (35g servings) 6 x 2lb
Hot Apple Cider 3.8 = 28g 32 (28g servings) 2lb 192 (28g servings) 6 x 2lb
Freeze Dried Coffee 0.6 = 1¼ g 269 (1¼ g servings) 12 o z 1,345 (1¼ g servings) 5 x 12oz
Creamers PSPD5 Settings Servings Per Bag Bag Size Servings Per Case Case Size
Regular Creamer 1.0 = 4g 170 (4g servings) 1½lb 1,022 (4g servings) 6 x 1½lb
Flavored Creamer 1.6 = 8½g 107 (8½g servings) 2lb 642 (8½g servings) 6 x 2lb
Sweeteners
Sugar 0.4 = 3g 454 (3g servings) 3lb 2,724 (3g servings) 6 x 3lb
Sugar Substitute 0.2 = 1g 908 (1g servings) 2lb 2,724 (1g servings) 3 x 2lb
PRODUCT SETTINGS GUIDE
WARRANTY
United Food Group, Inc. warrants its Perfect Servings®Powder Dispenser against defects in materials and
workmanship under normal use, maintenance, and service with a Lifetime warranty on all warrantied parts when
using United Food Group, LLC. products. Use of products outside of United Food Group's offerings will void all
warranties expressed or implied.
The Following items are not included in our warranty coverage:
Damage caused by improper installation, improper electrical connections, repairs due to unauthorized service or
modifications, or non-standard parts.
Claims for personal injuries, incidental or consequential damages or economic loss.
CALIFORNIA PROPOSITION 65 WARNING: This product may contain a chemical known to the State of California to cause cancer or birth defects or
other reproductive harm.
www.perfectservings.com | 847.622.1803
Instant Oatmeal 8oz Cup 10oz Cup 12oz Cup
Oatmeal 14.0 = 56g 16.0 = 70g 20.0 = 84g
This manual suits for next models
3
Table of contents
Other Perfect Servings Dispenser manuals
Popular Dispenser manuals by other brands

Team Medical
Team Medical Brymill CRY-AC-3 troubleshooting guide

Toto
Toto TLK01101 Series installation manual

ASI
ASI EZ-Fill 10-0390 General information

Start
Start Label Dispensers LD7500 quick start guide

U-Line
U-Line TORK XPRESSNAP H-4581 quick start guide

Caroma
Caroma URBANE II installation instructions