Performance Tool W50095 User manual

12V 2-IN-1 DRILL DRIVER
LITHIUM ION
WARNING!
READ, UNDERSTAND AND FOLLOW ALL INSTRUCTIONS AND
WARNINGS BEFORE OPERATING THIS TOOL. FAILURE TO DO SO
MAY RESULT IN PERSONAL INJURY AND/OR PROPERTY DAMAGE AND
WILL VOID WARRANTY.
Some dust created by power sanding contains chemicals known to the State of California to cause cancer, birth defects or other reproductive
harm. An example of this type of chemical is lead from lead based paints, Crystalline Silica from bricks and cement or other masonry, Arsenic
and Chromium from chemically treated lumber. Your risk from these exposures varies, depending on how often you do this type of work.
To reduce your exposure: work in a well ventilated area and work with approved safety equipment, such as dusk masks that are specially
designed to lter out microscopic particles.
LIMITED WARRANTY
PERFORMANCE TOOL® extends only the following warranties, and only to original retail purchasers. These
warranties give specific legal rights. Except where prohibited by local law, the law of the State of Washington
governs all warranties and all exclusions and limitations of warranties and remedies. There may be other rights
which vary from state to state.
PERFORMANCE TOOL® warrants the product to be free from defects in materials and workmanship under normal
use and service. A defective product may be returned for a free replacement within 90 days from the date of
purchase, provided that product is returned to place of purchase immediately after discovery of defect. After 90
days and up to one year from date of purchase, PERFORMANCE TOOL® will replace at no charge any parts which
our examination shall disclose to be defective and under warranty.
These warranties exclude blades, bits, punches, dies, bulbs, fuses, hoses, and other consumables which must be
replaced under normal use and service. These warranties shall not apply to any product or part which is used for a
purpose for which it is not designed, or which has been repaired or altered in any way so as to affect adversely its
performance or reliability, nor shall these warranties apply to any product or part which has been subject to
misuse, neglect, accident or wear and tear incident to normal use and service.
PERFORMANCE TOOL® does not authorize any other person to make any warranty or to assume any liability in
connection with its products.
Except for warranties of title and the limited express warranties set forth above, PERFORMANCE TOOL® makes no
express or implied warranties of any kind with respect to its products. In particular, PERFORMANCE TOOL®
makes no implied warranty of merchantability and no implied warranty of fitness for any particular purpose, except
that for goods purchased primarily for personal, family or household use and not for commercial or business use,
PERFORMANCE TOOL® makes an implied warranty of merchantability (and, if otherwise applicable, an implied
warranty of fitness for a particular purpose), but only for the particular qualities or characteristics, and for the
duration, expressly warranted above.
The laws on limitation of implied warranties may differ from state to state, so the above limitations may not apply in
all cases.
PERFORMANCE TOOL® shall not be liable for consequential, incidental or special damages resulting from or in
any manner related to any product, or to the design, use, or any inability to use the product. The sole and exclusive
remedy for a defective product or part shall be the repair, or replacement thereof as provided above. The laws on
limitation of remedies or on consequential, incidental or special damages may vary from state to state, so the above
limitations may not apply in all cases.
OWNER’S MANUAL
Item Number W50095

1 2
TOOL FEATURES
Power .............................................................12V Li-ion d.c./1.3Ah Li-ion
Gear 1.................................................................................. 0 to 400 RPM
Gear 2................................................................................ 0 to 1400 RPM
Torque Adjustments.........................................................................18 + 1
Max. torque................................................................................. 22 ft. lbs.
Rotate to the left / right ........................................................................ Yes
Chuck capacity ................................................................................ 3/8 in.
Battery charger voltage ...........................................100-240V~/ 50-60 Hz
Battery charge time ............................................................................ 1 hr.
Noise and vibration values have been determined according to EN60745.
LpA sound pressure level .......................................................77.8 dB (A)
KpA Imprecision ...........................................................................3 dB (A)
LWA Sound power level ..........................................................88.8 dB (A)
Kwa imprecision ..........................................................................3 dB (A)
CAUTION: Use noise protection. Exposure to noise can lead to loss of hearing.
Technical Specifications are subject to change without notice.
TECHNICAL SPECIFICATIONS:
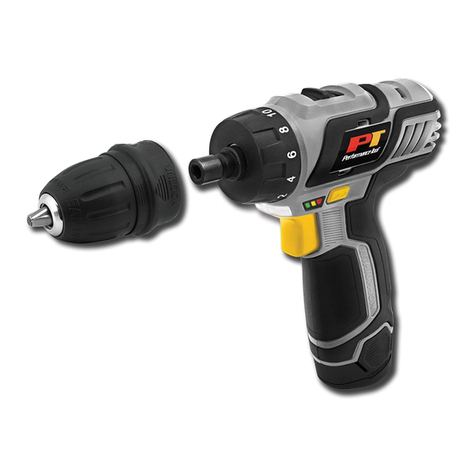
1. Quick Change Drill Chuck
2. 1/4 in. Hex Bit Driver Chuck
3. Torque Adjustment Ring
4. Gear Selector
5. Directional Switch & Trigger Lock
6. Battery Lock Button
7
6
9
11
5
4
3
1
10
8
7. Battery
8. Trigger
9. Battery Status Display
10. LED Light
11. Battery Charger
2

3 4
1. Repairs must be performed by a qualified expert, using only identical replacement parts.
This will ensure that the safety of the tool is maintained.
2.
Remove the battery from tool and disconnect the charger from the wall outlet before cleaning
.
CLEANING
1. Keep protection devices, air vents and the motor housing as clean (dust free) as possible.
Clean the tool with a clean cloth or clean with compressed air at low pressure.
2. We recommend cleaning the tool directly after each use.
3.
Clean the tool regularly with a damp cloth and a little soap. Do not use any cleaner or
detergent, they can damage the plastic parts of the tool. Ensure that no water enters the tool.
MAINTENANCE
1. Recharge the battery at least once a year to maintain battery life.
ENVIRONMENTAL PROTECTION
This device uses electronic components, so they should not be deposited with household
garbage! Please help by collaborating to protect resources and the environment. Dispose of
these products through relevant recycling services, if any. For questions on this matter,
please contact your local waste management or a specialized site.
CARE AND MAINTENANCE
1. Keep the area clean and well lit. Cluttered or dark areas can cause accidents.
2. Do not use power tools in explosive environments, e.g. in the presence of flammable
liquids, gases or dust. Power tools create sparks which may ignite the dust or fumes.
3. Keep children and people away during the use of the tool. Distractions can cause you to
lose control of the tool.
WORKPLACE SECURITY
1. It is necessary that the power tool plugs are adapted to the base. Never modify the plug in
any way. Do not use adapters with earthed tools. Unmodified plugs and adapted bases
reduce the risk of electric shock.
2.
Avoid contact with grounded objects such as pipes, radiators, stoves and refrigerators.
There is an increased risk of electric shock if your body is in contact with grounded surfaces.
3. Do not expose power tools to rain or wet conditions. The penetration of water into a tool
increases the risk of electric shock.
4. Do not misuse the cable. Do not use the cord for carrying, pulling or unplugging the tool.
Keep the cord away from heat, oil, edges or moving parts. Damaged or entangled cords
increase the risk of electric shock.
5. When operating a tool outside, use an extension cord suitable for outdoor use. Using a
cable suitable for outdoor use reduces the risk of electric shock.
6. If it is necessary to use the tool in a location with moisture, use a secure supply with
residual current device (RCD). The use of an RCD reduces the risk of electric shock.
ELECTRICAL SAFETY
1. Be aware of what you are doing and use common sense while using the tool. Do not use a
tool when you are tired or under the influence of drugs, alcohol or medication. A moment of
distraction while using a tool can cause serious personal injury.
2. Use safety equipment. Always wear eye protection. Safety equipment such as dust masks,
non-slip safety shoes, helmets or ear protection used in appropriate conditions will reduce
the risk of injury.
3. Avoid accidental starting. Make sure that the switch is in the off position before plugging in
to power or battery, collect or transport. Carrying tools with your finger on the trigger or
plugging the tool in with the trigger pulled can cause accidents and injury.
4. Remove any adjusting key before turning the tool on. A key left attached to a rotating part of
the tool may result in personal injury.
5. Do not rush. Maintain proper footing and balance at all times. This allows better control of
the tool in unexpected situations.
6.
Dress appropriately. Do not wear loose clothing or jewelry. Keep hair, clothing and gloves
away from moving parts. Loose clothing, jewelry or long hair can get caught in moving parts.
7.
If devices for connecting equipment for extraction and dust collection are supplied, make sure
they are connected and properly used. Use of dust collection can reduce risks due to dust.
PERSONAL SAFETY
1. Do not use any other charger than the one specified by the manufacturer. A charger that fits
to a type of battery can cause a risk of fire when used with other types of batteries.
2. Do not use tools with batteries other than those specified. The use of any other type of
battery may create a risk of injury and fire.
3. If the batteries are not used, keep them away from other metal objects such as clips, coins,
keys, nails, screws or other small objects that can lead to a connection from one terminal to
another. Short-circuiting the terminals of a battery can cause burns or fire.
4. In bad conditions, liquid may be ejected from the battery; avoid any contact. In case of
accidental contact, flush with water. If the fluid comes into contact with eyes, seek medical
assistance. The ejected battery fluid may cause irritation or burns.
USING MACHINES WITH BATTERY AND PRECAUTIONS FOR USE
1.
Do not force the tool. Use the right tool to the application being performed. A suitable tool will
do the job better and more safely if used for the purpose for which it has been built.
2. Do not use the tool if the switch does not allow to turn it on or off. Any tool that can not be
controlled by the switch is dangerous and must be repaired.
USE AND MAINTENANCE OF THE TOOL
3. Disconnect the power source supply or battery block tool before changing accessories or
before storing the tool. These preventive safety measures reduce the risk of accidental
starting of the tool.
4. Keep the tool off away from children and do not allow to be used by people who are not
familiar with the tool. Tools are dangerous in the hands of inexperienced.
5.
Do not force the tool. Use the right tool for the application being performed. A suitable tool
will do the job better and more safely if used for the purpose for which it has been built.
6. Do not use the tool if the switch does not allow you to turn it on or off. Any tool that can not
be controlled by the switch is dangerous and must be repaired.
7. Disconnect the power supply and battery charger before changing accessories or before
storing the tool. These preventive safety measures reduce the risk of accidental starting of
the tool.
8. Keep the tool away from children and do not allow tool to be used by people who are not
familiar with the operation of the tool. Tools are dangerous in the hands of inexperienced
operators.
9. Make sure the tools moving parts are not aligned or blocked, that it has not broken any
parts or any other condition that may affect the operation of the tool. In case of damage,
take the tool to a repair service before using it again. Many accidents are caused by poorly
maintained tools.
10. Tools used for cutting, with sharp pieces that have had good maintenance, are less likely to
become blocked and are easier to control.
11. Use the tool, accessories and blades, etc. according to these instructions, taking into
account the working conditions and the work to be done. The use of the tool for operations
other than those provided can lead to dangerous situations.
USE AND MAINTENANCE OF THE TOOL
WARNING! READ, UNDERSTAND AND FOLLOW ALL
INSTRUCTIONS AND WARNINGS BEFORE OPERATING THIS
TOOL. FAILURE TO DO SO MAY RESULT IN PERSONAL INJURY
AND/OR PROPERTY DAMAGE AND WILL VOID WARRANTY.
5 6
INTENDED USE
The tool is designed for screwing and unscrewing as well as for drilling in wood, metal,
ceramic and plastic materials. This tool should not be used for purposes other than those
described above.
BEFORE USE
Before turning on the cordless drill, read the following notes:
1. Charge the battery with the provided charger. A fully discharged battery recharges in about
one hour.
2. Use only appropriate bits and tip screwdrivers.
3. When screwing and drilling into walls, check for hidden power, gas or water lines.
CHARGING THE BATTERY
1.
Remove the battery from the tool by depressing both battery lock buttons (6) and pulling down.
2. Check if the power voltage on the rating plate corresponds to the voltage available.
3. Plug charger's power lead into top of battery. The red LED indicates that the battery is
charging. Once charged, the red LED turns off and the green LED stays on continuously.
5. During charging, it is normal for the battery to warm slightly. If you can not charge the
battery, check:
- That the socket has voltage.
- That the charger contacts are reliable.
- Verify there is no damage to the charging cord.
TORQUE SETTINGS
The tool has a mechanical torque adjustment ring (3) with 18 + 1 different settings.
Setting 1 is the lowest torque setting and 18 the highest. A clicking will be heard and felt when
the torque setting has been reached. Use the right setting for the application. This will help
prevent overtightening and stripping of fasteners.
The last torque setting ( ) bypasses the mechanical ratchet and applies maximum torque.
Use this setting for using drill bits or when maximum torque is required.
ATTENTION! Do not adjust the torque adjustment ring until the tool comes to a complete stop.
DRILLING
To drill, turn the torque adjustment ring to the "drill" setting ( ). While on the "drill" setting the
safety clutch is deactivated so when drilling, the maximum torque is available.
SWITCHING THE DIRECTION OF ROTATION
The directional switch (5) above the trigger allows you to choose the rotational direction of the tool
or set the trigger lock. You can select clockwise (forward) rotation, counter clockwise (reverse) or
trigger lock.
To prevent damaging the tool, do not change the direction of rotation while the tool is
running. When the slide switch is in the center position (trigger lock), the trigger is locked and the
tool is inoperable.
TRIGGER
The trigger (8) allows you to adjust the speed continuously, depending on the intensity
with which the trigger is pulled.
SWITCHING THE SPEED
Note: Only change the gear selector (4) when the driver is not in operation.
In the first gear (gear selector position 1) a maximum speed of 400 RPM and maximum torque
is achieved. This setting is suitable for all fastening applications.
In the second gear (gear selector position 2) a maximum speed of about 1400 RPM is achieved
to carry out drilling operations.
DISPLAY BATTERY STATUS
Three color LEDs (9) indicate the status whenever the ON / OFF button is pressed.
- All LEDs are lighted: the battery is fully charged.
- Yellow and red LEDs lighted: the battery has charge.
- Red LED lighted: the battery is almost empty and needs to be recharged.
OPERATION
LED LIGHT
The LED light (10) can illuminate the screwing and unscrewing area under unfavorable lighting
conditions. The LED light illuminates automatically, any time the on / off trigger is pulled.
TOOL CHANGE
The cordless screwdriver is equipped with a quick coupling drill chuck with automatic lock.
To install removable chuck (1):
· Verify the locking ring is depressed to the unlock position (see arrow indicators on the
locking ring).
·
Insert the drill chuck over the ¼ in. quick connect chuck (2) and align so it seats all the way down.
· Push locking ring down into the "lock" position. You should hear / feel a click and you
should not be able to remove the drill chuck.
· To remove, follow the previous steps in reverse.
INSTALLING ACCESSORIES
WARNING! Do not attempt to tighten drill bits (or any other accessory) by gripping the front of
the chuck and turning the tool on. This may cause personal injury and/or damage to the chuck.
When removing the bit from the tool, avoid contact with skin and use proper protective gloves
when grasping the bit or accessory. Accessories may be hot after prolonged use.
CAUTION! Be aware that this tool is always in an operating condition because it does not have
to be plugged into an electrical outlet. Always lock the Trigger Switch and remove the battery
pack before changing accessories.
1. Hold the rear end of the chuck in one hand and use the other hand to rotate the front end in
a clockwise direction to open the jaws of the chuck.
2. Insert the shank of the bit (or other accessory) fully into the keyless chuck, taking care to
keep the bit in the center of the jaws of the chuck.
3. Turn the front end of the chuck counterclockwise to hold the bit in place.
4. Tighten securely by turning the front end of the chuck counterclockwise while holding the
rear end.
PROPER SETTING FOR DRIVING SCREWS:
1. Set the torque adjustment ring on the lowest setting to begin.
2. Try tightening the first screw. If the drill drives smoothly, proceed with the next screw.
3. If the Drill's clutch slips, increase the torque setting and try again until the Drill drives the
screw without incident.
OPERATION
OPERATING TIPS
SCREWDRIVING
• Always start slowly and gradually increase the speed of the Drill.
• Release the trigger when you feel the clutch slip.
• Always keep the driver bit straight to prevent damage to the screw.
• Hold the Drill with both hands to ensure control if the bit should stick or slip.
• To prevent wood from splitting, drill pilot holes into the wood before driving in the screws.
TIPS FOR OPTIMAL USE
• Keep the right amount of pressure in a straight line with the drill bit. Too little and the bit will
spin without cutting, too much and the motor may stall.
• Just before the drill tip breaks though the other side of the work piece drill more slowly and
decrease pressure on the tool. This will prevent stalling and leave a cleaner hole.
• Use a block of wood to back up work pieces that may splinter.
• When drilling, start the hole slowly, allowing the bit to drill deep enough to prevent slipping at
higher speeds.
• Never try to start a stalled Drill by clicking the trigger switch "ON" and "OFF". This may
damage your tool.
• To reduce jamming, always keep the Drill running when pulling the bit out of a finished hole.
Table of contents
Other Performance Tool Drill manuals

Performance Tool
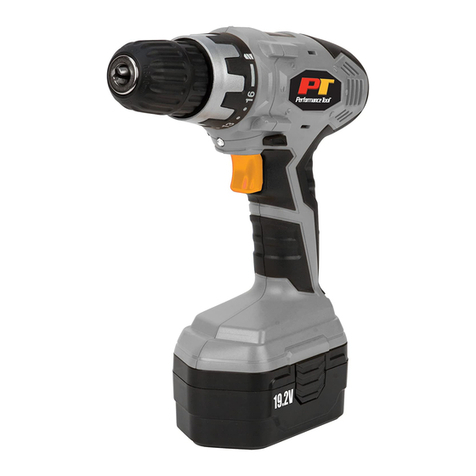
Performance Tool W50094 User manual

Performance Tool
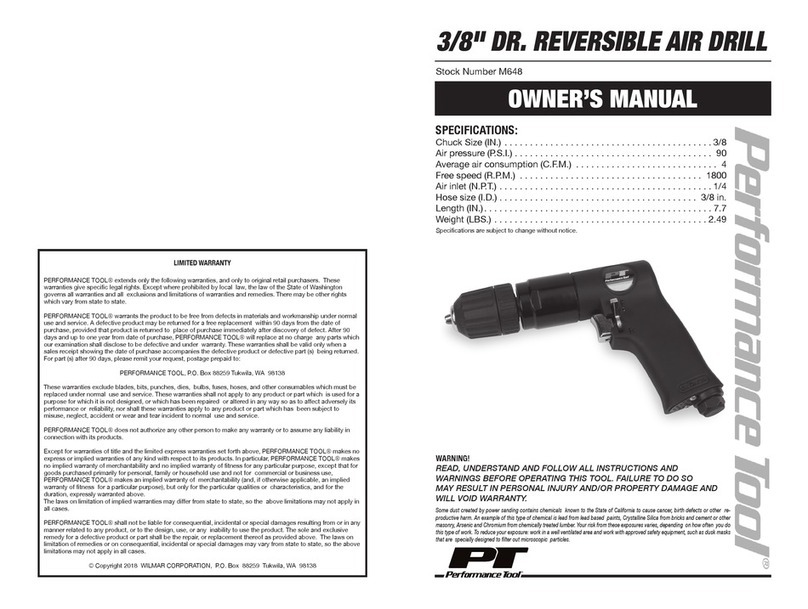
Performance Tool M648 User manual

Performance Tool
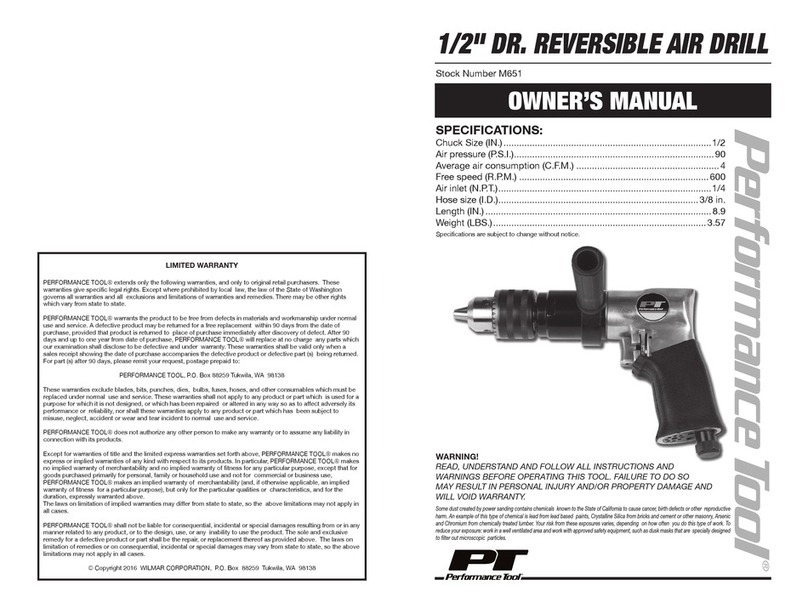
Performance Tool M651 User manual

Performance Tool
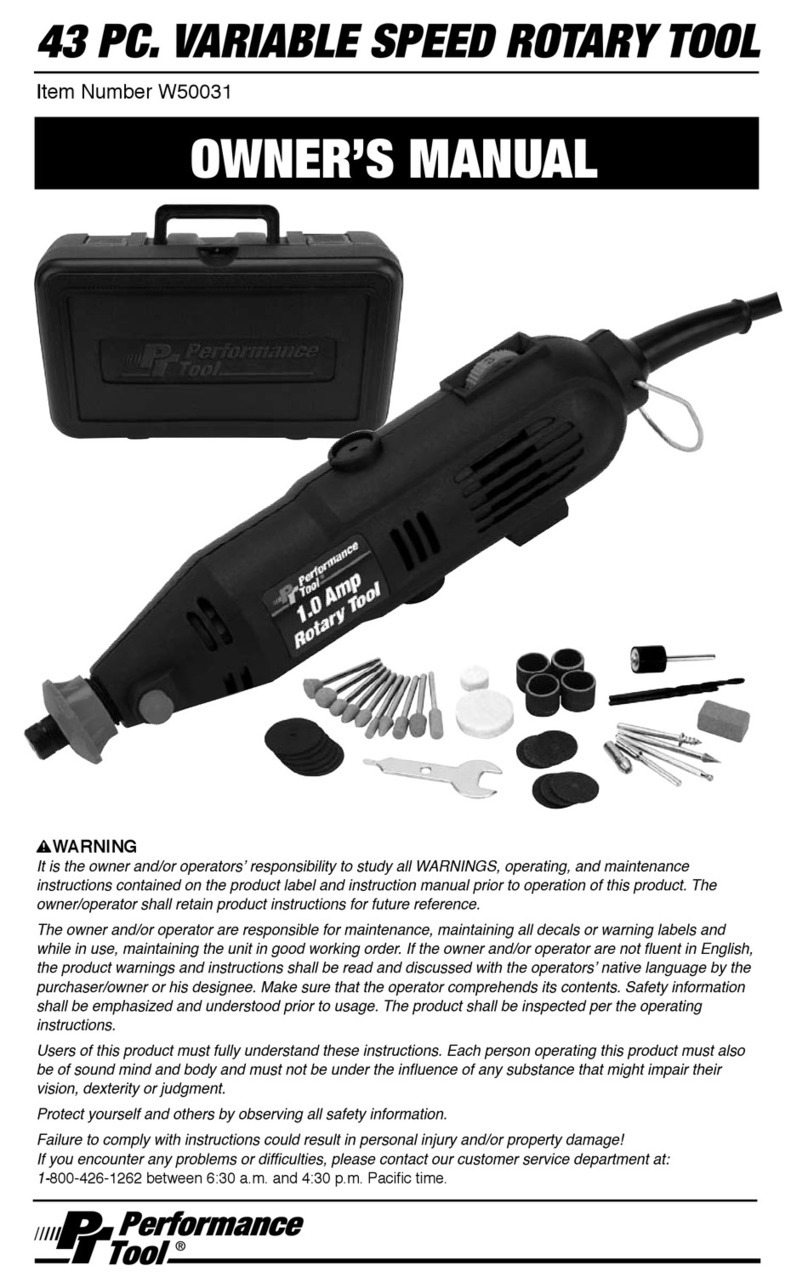
Performance Tool W50031 User manual

Performance Tool
Performance Tool W50086 User manual

Performance Tool
Performance Tool W50092 User manual
Popular Drill manuals by other brands

Parkside
Parkside PWBSA 12 A1 Translation of the original instructions

Stanley
Stanley FATMAX KFMCD628 Original instructions

Black & Decker
Black & Decker 90563682 instruction manual

wurth
wurth BM 13-XE instructions

Craftsman
Craftsman 315.11078 owner's manual

Sioux Tools
Sioux Tools 1453ES Instructions and parts list