INDICE
pag. 3
5.2 - Installation rules
pag. 4
pag. 5
pag. 6
pag. 7
pag. 8
pag. 8
pag. 8
pag. 9
pag. 10
pag. 12
pag. 13
pag. 14
pag. 15
pag. 16
pag. 16
pag. 16
pag. 17
pag. 18
pag. 18
pag. 18
pag. 19
pag. 19
pag. 20
pag. 20
pag. 20
pag. 21
pag. 21
pag. 23
pag. 23
pag. 24
pag. 24
pag. 25
pag. 25
pag. 26
pag. 27
pag. 27
pag. 28
pag. 28
pag. 28
pag. 29
pag. 29
pag. 29
pag. 13
pag. 13
pag. 13
pag. 14
pag. 17
pag. 17 pag. 30
pag. 30
pag. 31
pag. 3
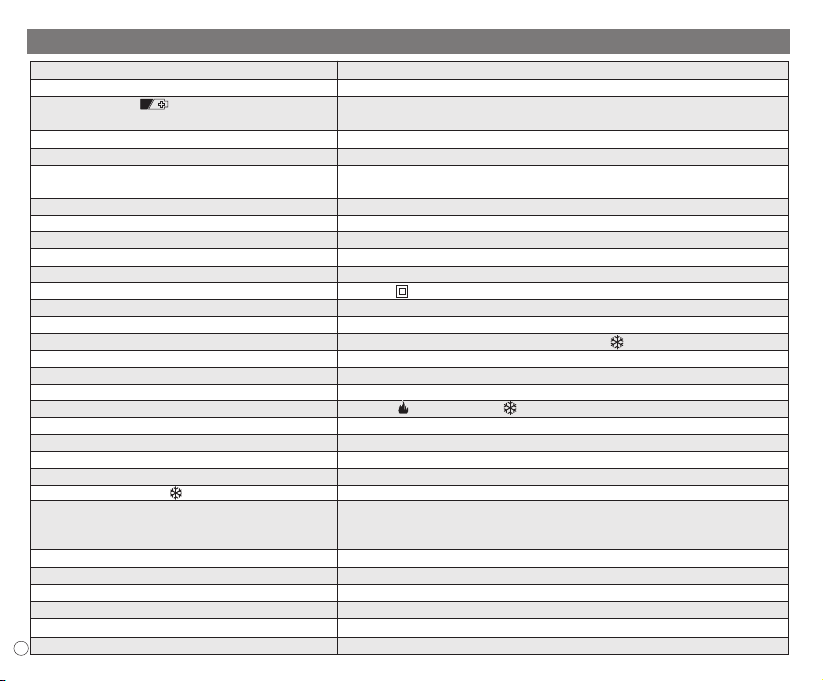
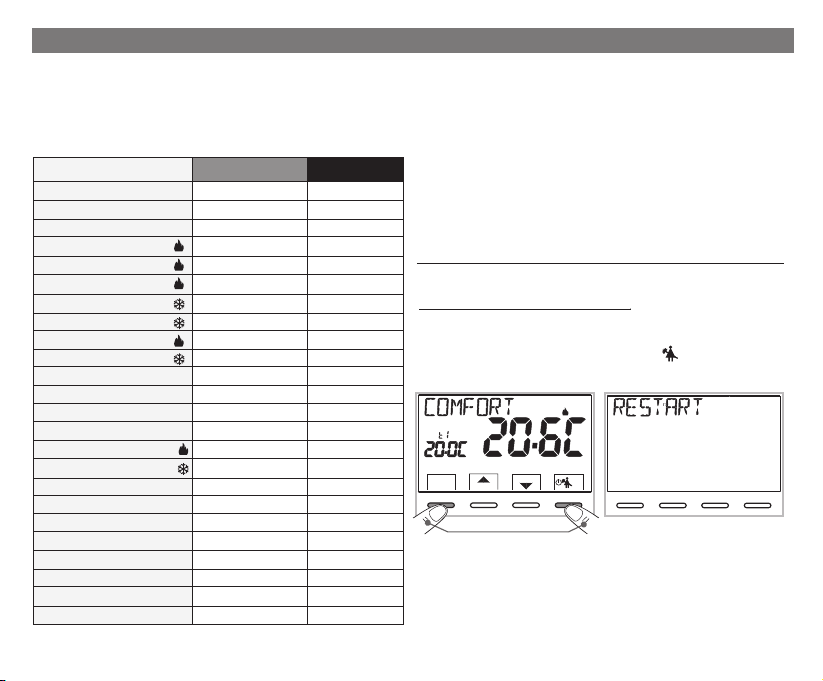
2 - FACTORY SETTINGS
WARNINGS
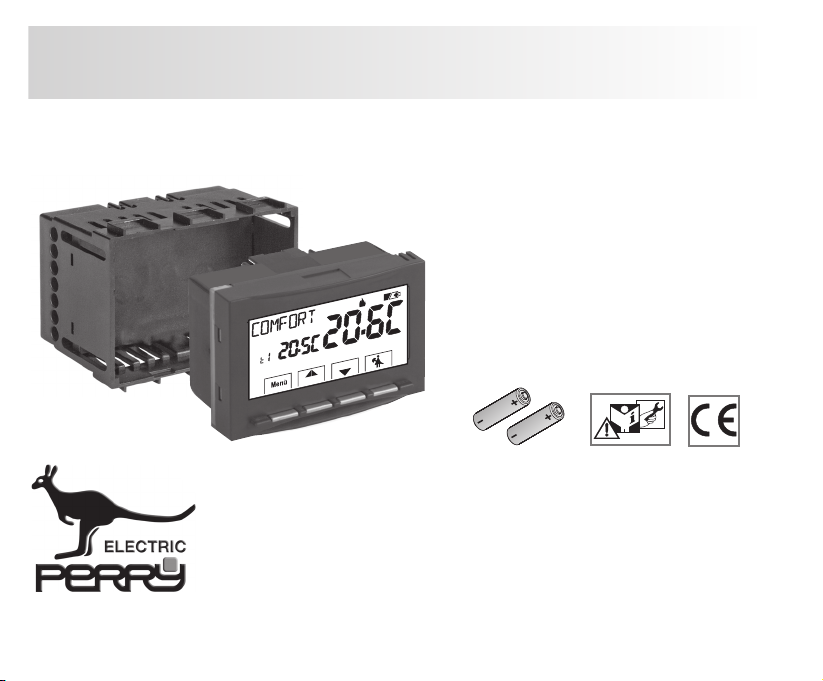
DEVICE PRESENTATION
1 - TECHNICAL DATA
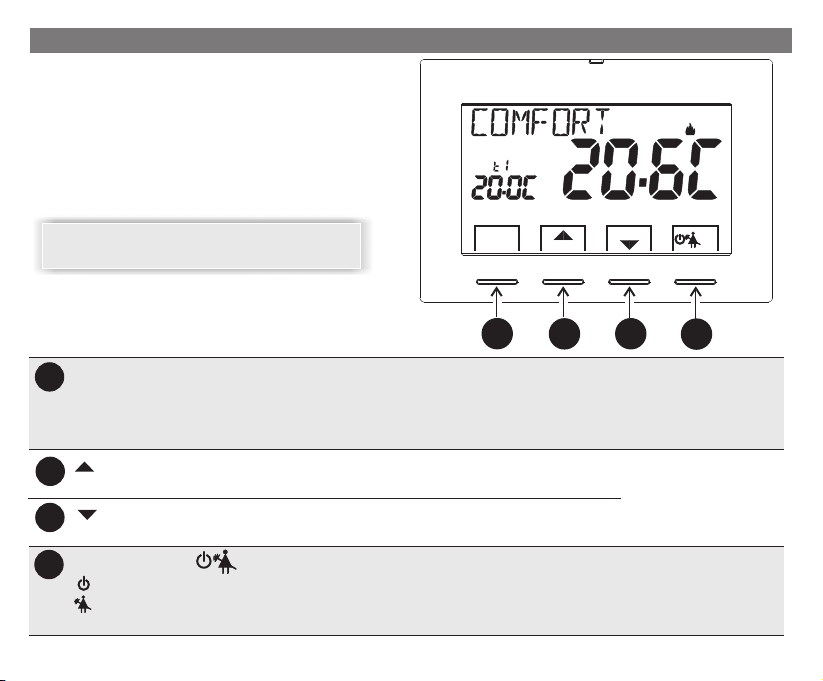
3 - KEY FUNCTIONS
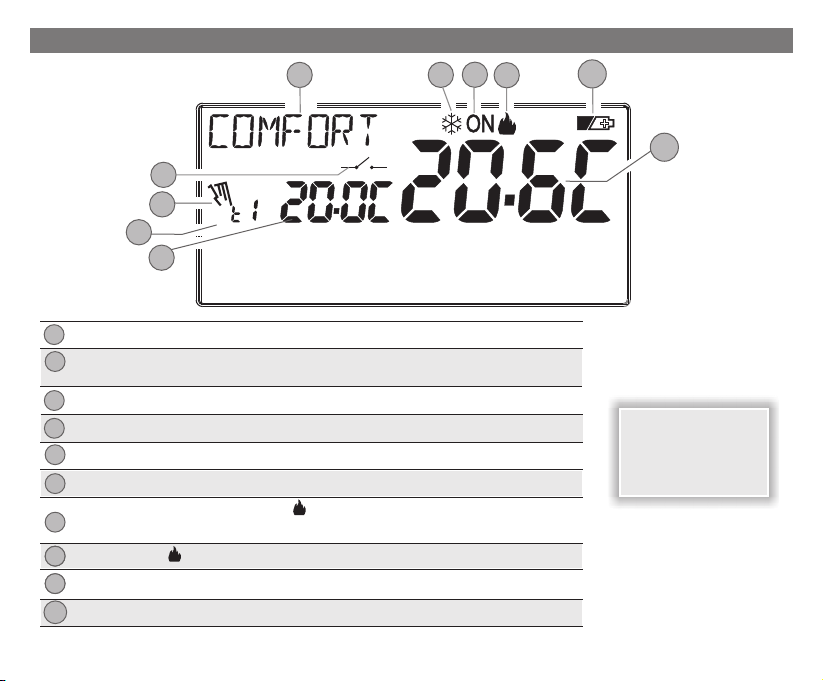
4 - DISPLAY FEATURES
5 - INSTALLATION
5.1 - Overall dimensions
5.4 - Electrical connections
5.6 - Signalling batteries low or down
7 - USE OF THE THERMOSTAT
8 - STRUCTURE OF THE MAIN MENUS (use and configuration)
9 - ACCESS TO MENUS
10 - USER MENU
10.1 - Set WINTER or SUMMER mode
10.2 - Modification or disabling of set antifreeze temperature
5.2 - Installation example
6 - START THE THERMOSTAT
5.5 - Removing and inserting the thermostat (e.g. battery replacement)
)
10.3 - USER PASSWORD Menu (user)
10.3.2 - Password modification or cancellation
10.3.1 - Entering the user password
7.1 - Temperature adjustment from COMFORT to ECONOMY
(energy saving) and vice-versa
7.2 - Modification of T Set temperature set
7.3 - Temperature control pause
7.4 - OFF (disabling the thermostat)
pag. 17
pag. 17
11.1 - Access to configuration menu
11.2 - Change set language
11.3 - Type of temperature adjustment mode
11.3.1 - Selection of the temperature adjustment mode
(differential on/off or proportional)
11 - CONFIGURATION MENU (installer)
11.3.2 - Setting hysteresis for thermal differential ON-OFF
11.3.3 - Setting period duration for modulating Proportional
11.4 - Change unit of measure for temperature reading
11.5 - Correction of room temperature reading
11.6 - Max and min set temperature lock (winter and summer mode)
11.7 - Probe menu
11.7.1 - No connection to separate probe
11.7.2 - Setting separate remote probe
11.7.3 - Setting floor probe
11.8 - Connection to external contact for remote
thermostat switching on/off
11.7.4 - Setting separate external probe
11.8.1 - Activation / disabling with a Telephone Programmer
11.8.2 - NO Duty - for normally open contact
11.8.3 - NC Duty - for normally closed contact
11.9 - Descaling cycle
11.10 - Display contrast adjustment
11.11 - Backlighting
11.12 - Entering and managing password
11.12.1 - Entering new password
11.12.2 - Password modification or cancellation
11.13 - Restore (Reset)
11.14 - System software information
12 - POSSIBLE PROBLEMS AND SOLUTIONS
2
COMPATIBILITY TO THE MOST COMMON RESIDENTIAL SERIES PLATES
IMPORTANT: for the assembly procedure of the thermostat with the chosen residential plate,
follow instructions contained in the specific compatibility sheet contained in the package.
IMPORTANT: for the assembly procedure of the thermostat with the chosen residential plate,
follow instructions contained in the specific compatibility sheet contained in the package.