OPERATION GUIDE 19
OPERATION GUIDE
18
< Auto Tuning >
5) Record and Rewind Functions
In FM radio mode, RECORD and REWIND functions do not operate.
4) HOT Keys
(Three most favourite frequencies)
Setting and operating HOT Keys are
designed the same manner as DAB. Refer
to HOT Keys in DAB mode.
< Preset Tuned >
< Hot Key >
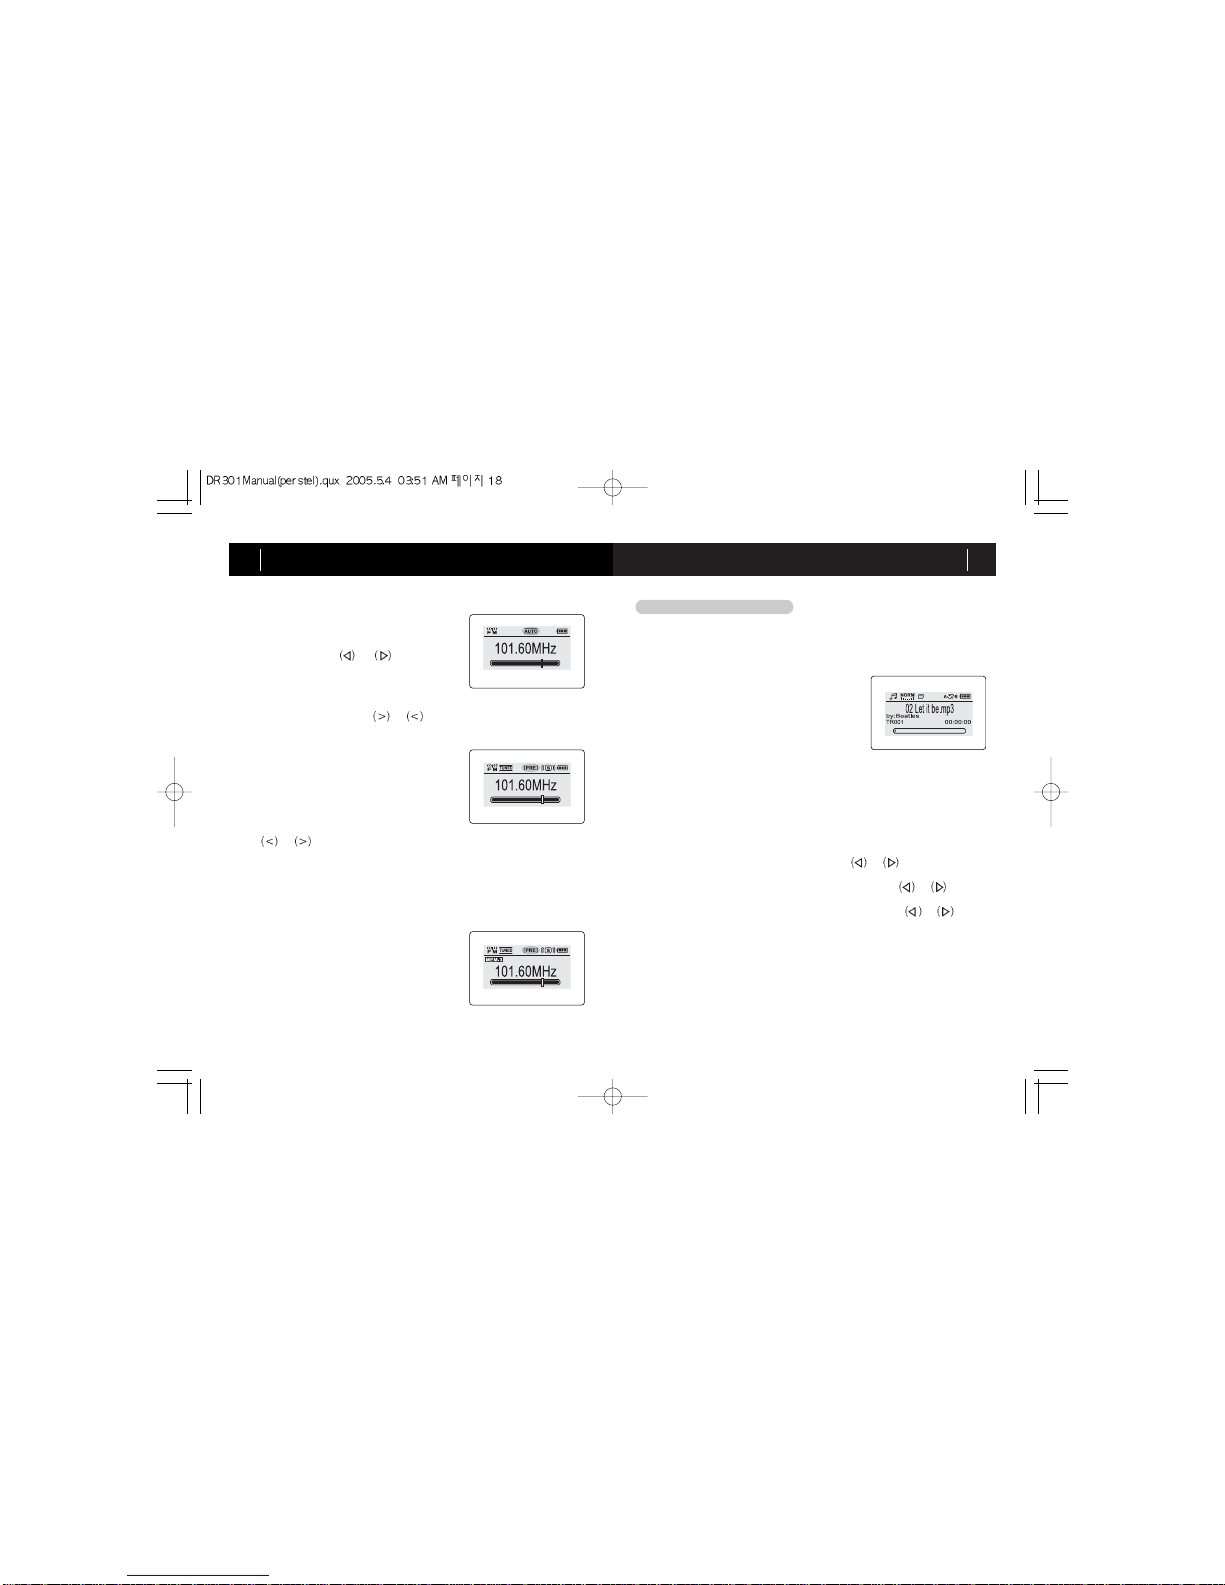
2) Auto tune
Auto tune enables you to scan for the next or
previous occupied frequency. Auto tune is
available only in manual tune mode.
Press and hold the or button until
AUTO (auto tune) icon appears on the LCD.
When a signal is tuned, AUTO (auto tune)
icon switches back to MAN (manual tune)
icon and auto tune stops.
To stop auto tune, press the or button at any time.
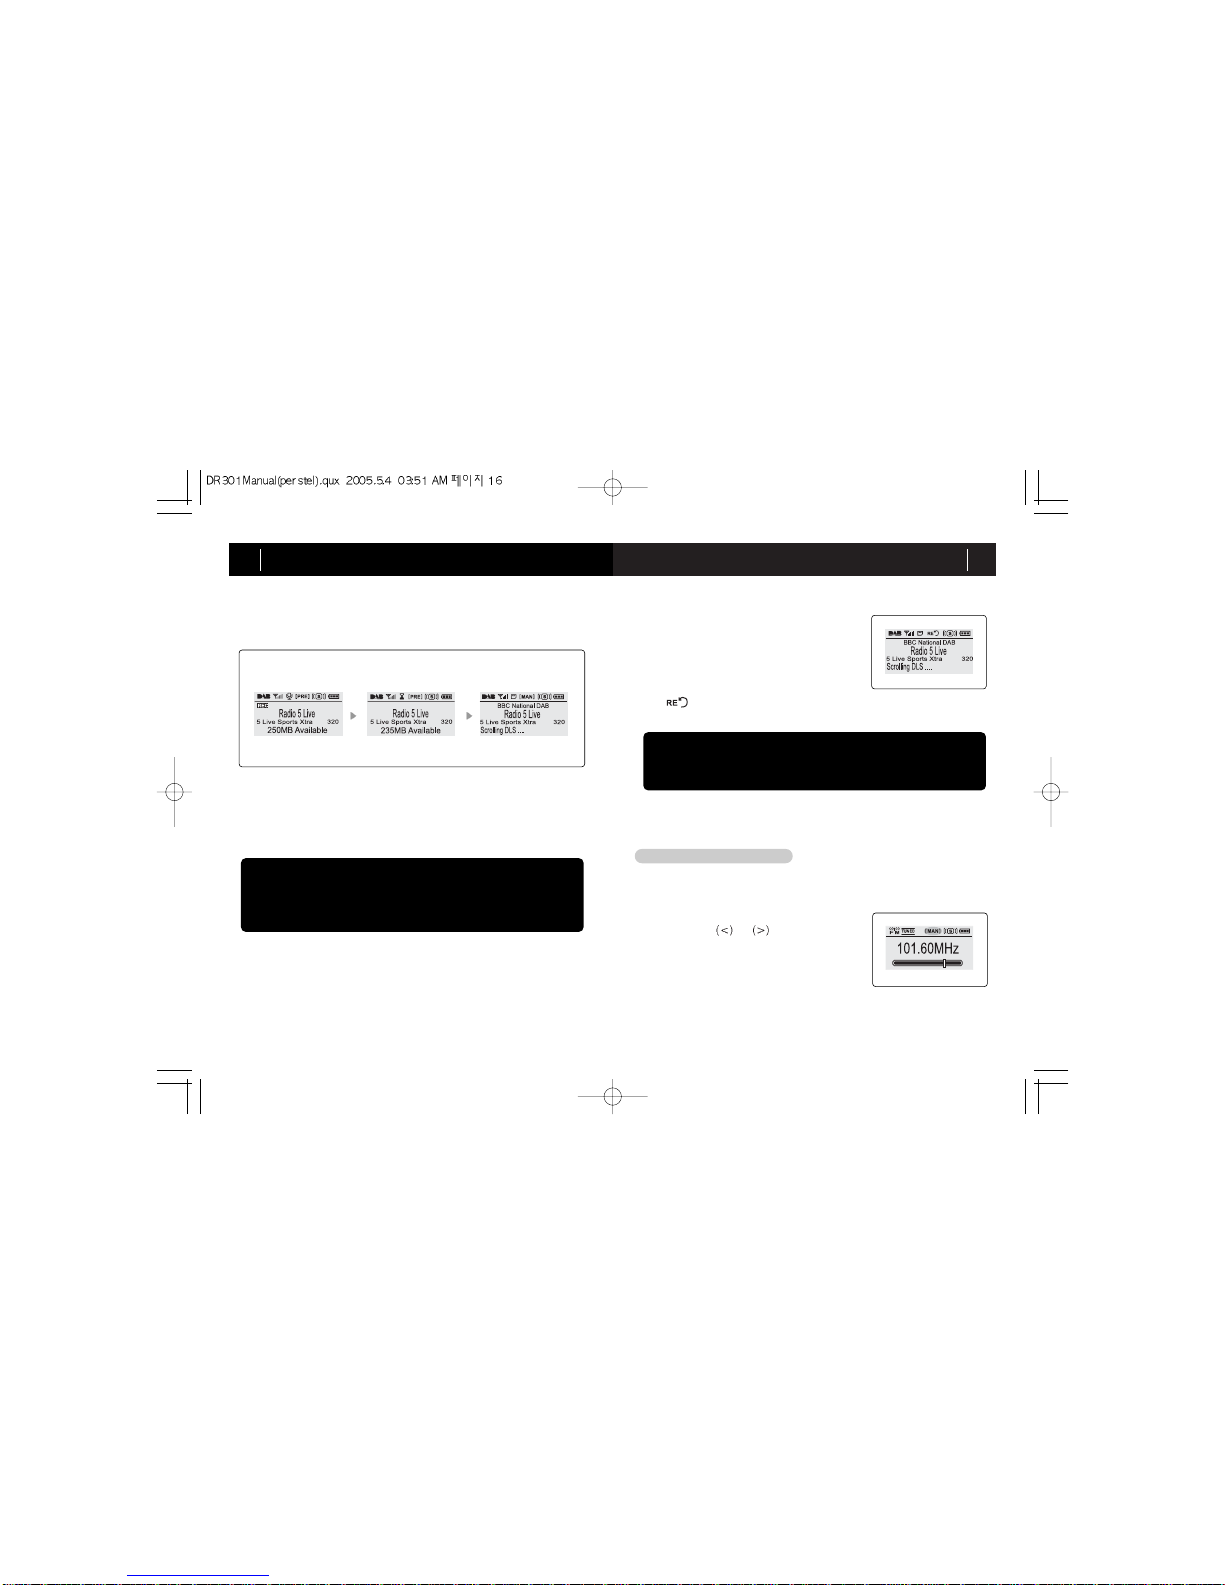
3) Preset Tune Mode
Preset tune enables you to tune to frequen-
cies that are saved in the preset table.
Press MENU and move to "SER (Search)".
Locate cursor at "Preset" and press SELECT
to set preset tune. The PRE (Preset tune)
icon appears on the LCD.
To tune frequencies in the preset list, press
the or buttons.
To view and select from the preset list, press the SELECT button, and select the
required preset. Then press the SELECT button to tune the station.
The preset list can hold a maximum of 10 frequencies in FM mode.
To delete entries in the preset list, press the SELECT button, to show the
preset list. Select the frequency to be deleted and the press and hold the
SELECT button.
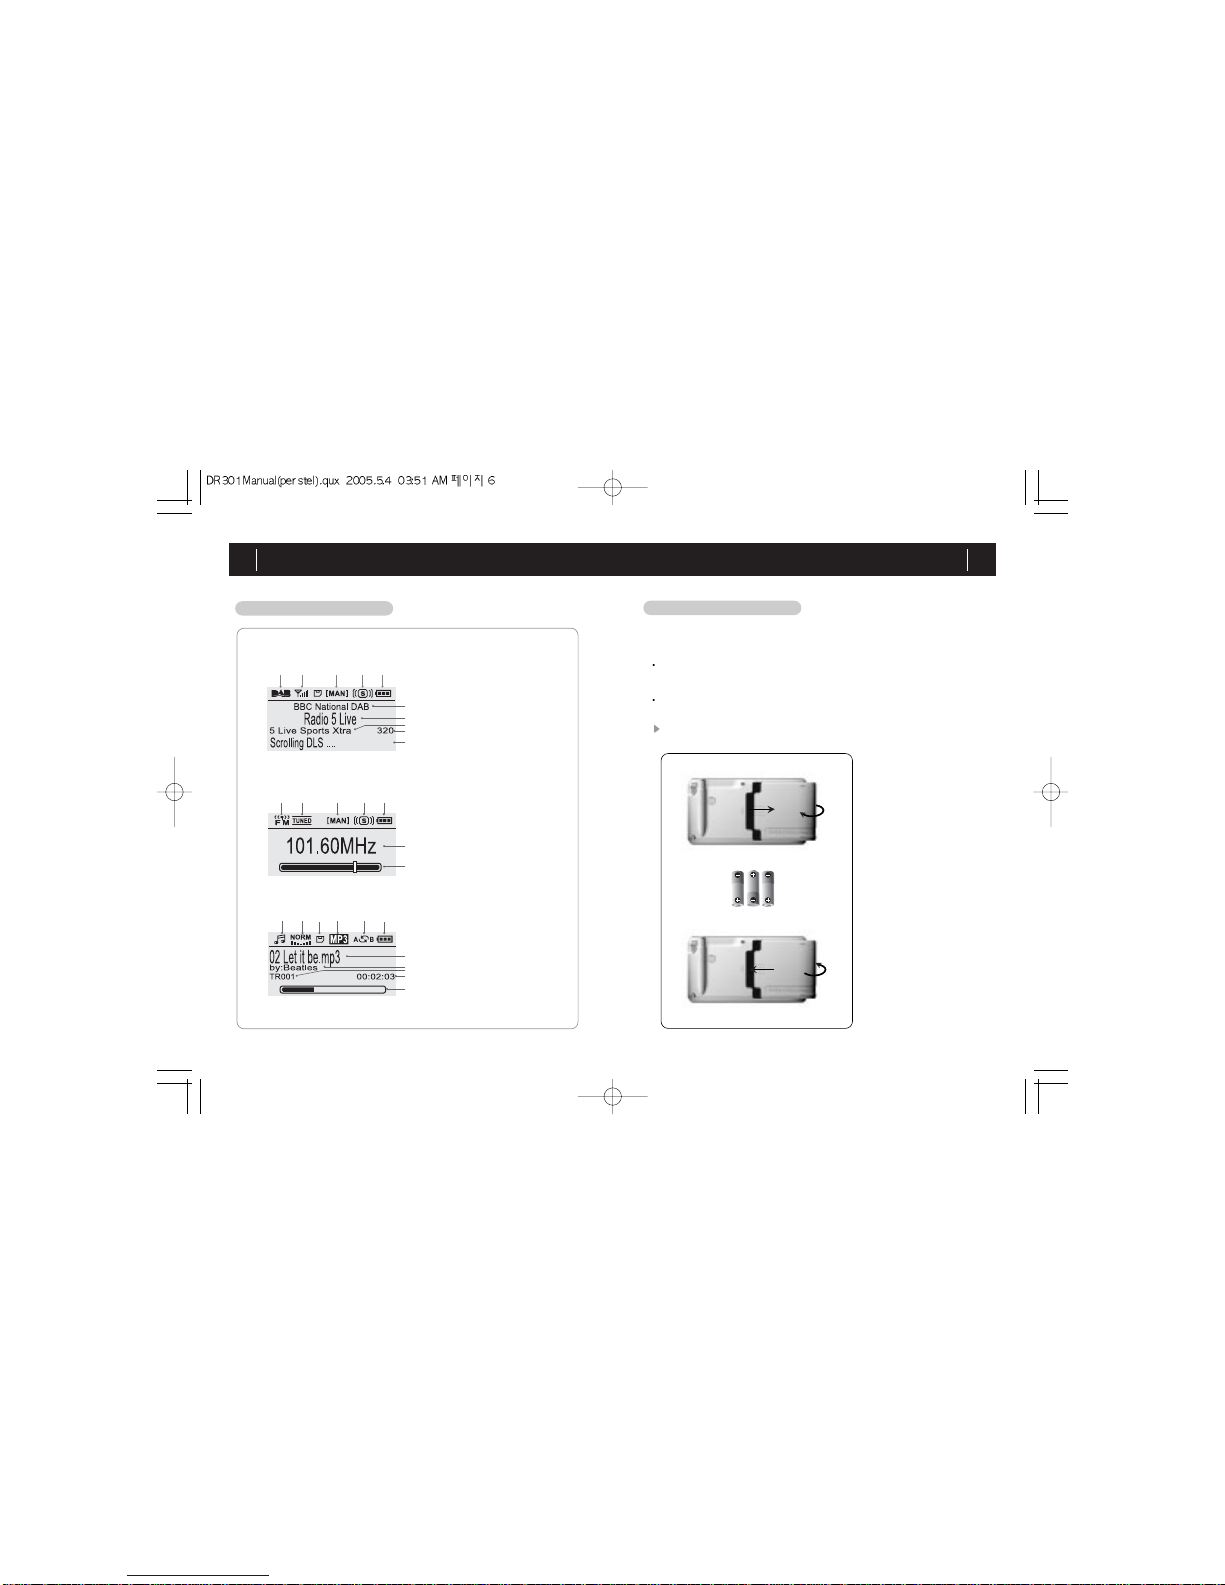
1) File Playback and Stop
Before using DR301 in Music Player mode,
please insert an SD into the card slot. If SD is
not inserted, “Please insert SD” message will
appear.
DR301 supports the following file formats :
MP2 files (DAB signal recorded files) MP3
files or WMA (Windows Media Audio).
NOTE that some WMA files with DRM (Digital
Rights Management) protection may not be played. Press PLAY/ STOP
button to play back music files.
To stop playback, press PLAY/ STOP button again.
To conserve battery, DR301 will shut off the power in 30 seconds when
stopped.
Music Player
To switch to music play mode, press MENU and navigate to Music
Player function, and press SELECT
2) Track Search
During playback or while in stop mode, press or key to go to the
previous or the next track.
To search for a desired part of the track, press and hold or button
to go forward or backward.
When you reach the desired part of the track, release the or button
to listen.
3) Additional Menu Options in Music Play mode
a) Delete
This allows you to delete individual files from the SD memory card. Select
the file to be deleted on the display. Press MENU and move to "Del"
using navigation key.
Press SELECT when "Delete One" is selected, and selected file or folder
will be permanently deleted.