INSTALLING YOUR iMETOS WorkTrack
1. To connect your iMETOS WorkTrack, locate and open the battery
compartment of your tractor. This is usually near the engine or
sometimes underneath the seat.
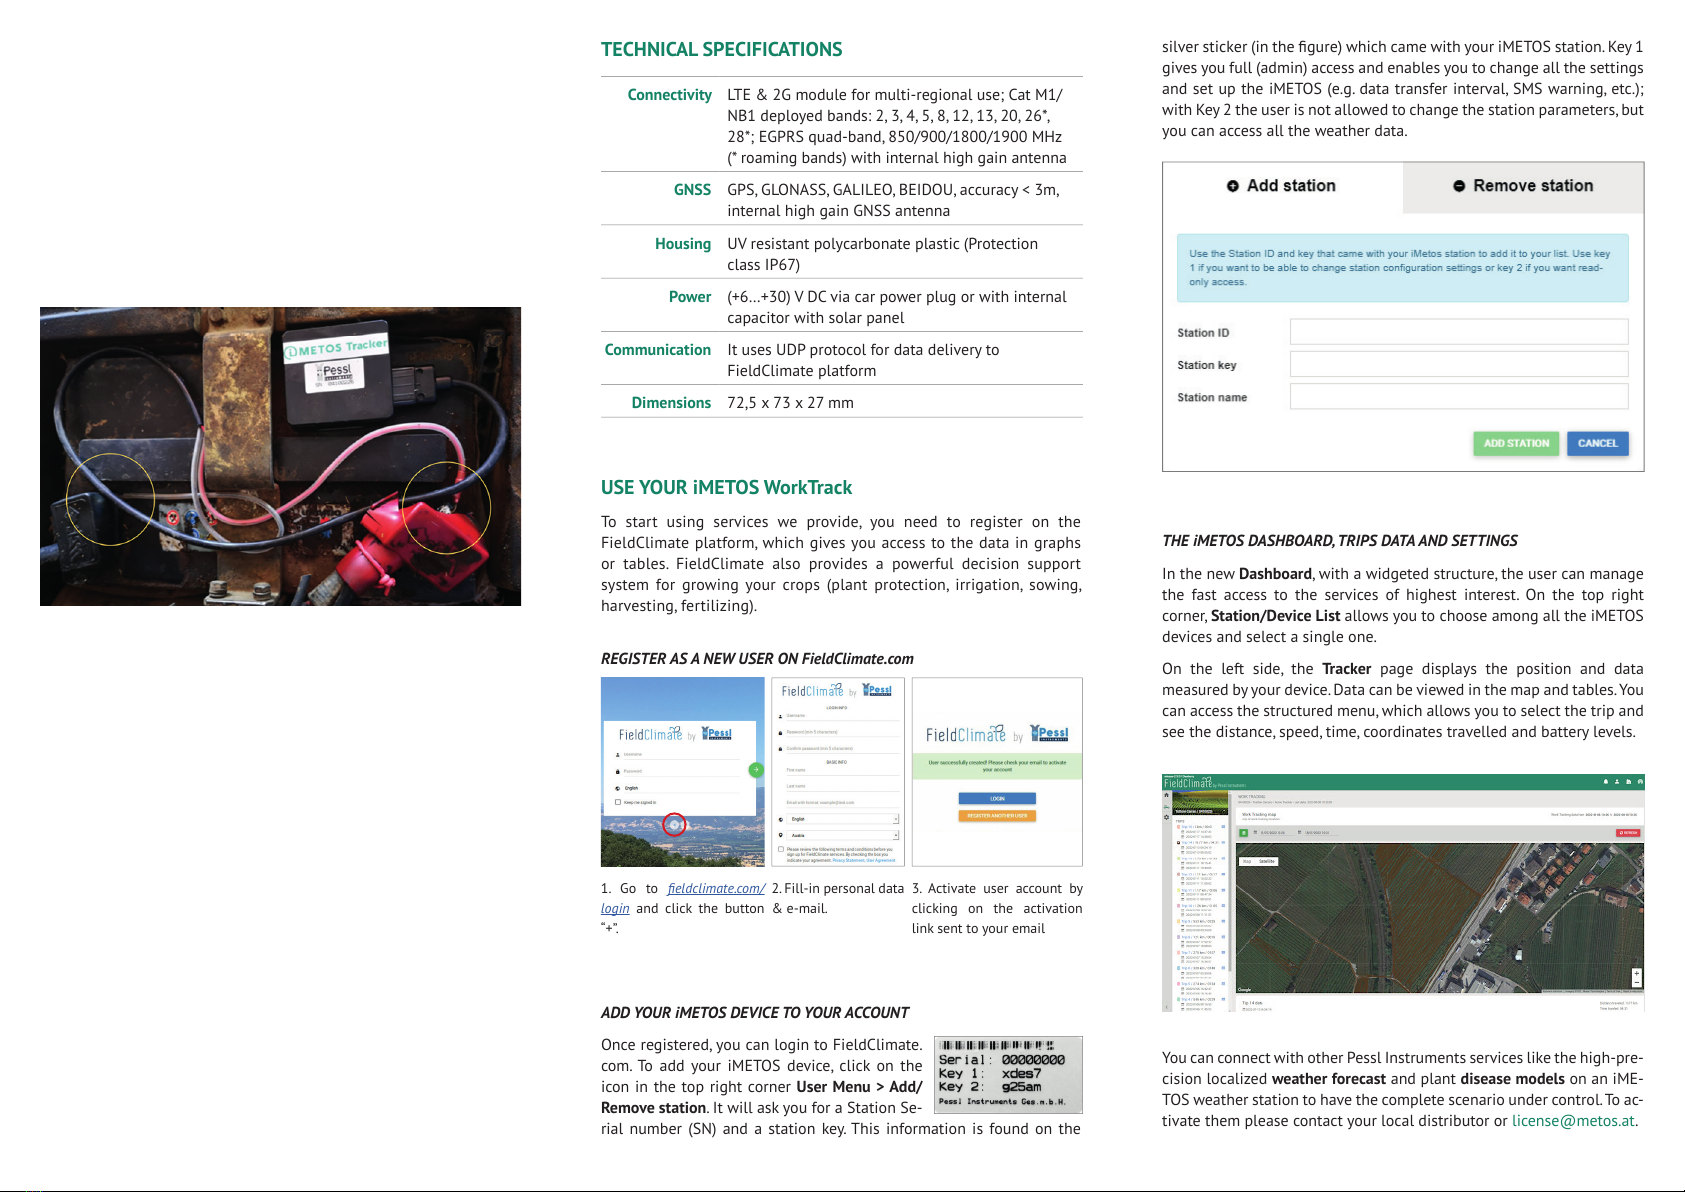
2. Connect the iMETOS WorkTrack to the battery terminals (yellow
circles in the picture below) of your tractor. One is marked positive
(red +), the other negative (black -). Connect the red cable to the
positive (+) terminal of the battery and the black cable to the
negative terminal of the battery. Never connect the red cable to the
negative battery terminal.
3. iMETOS WorkTrack will start to work immediately once you start the
tractor.
NOTES
• iMETOS WorkTrack must be mounted with the serial number sticker
facing up
• It’s recommended to place iMETOS WorkTrack device far from radio,
speakers or alarm systems.
• iMETOS WorkTrack:
- must be placed so its state is as horizontal as possible.
- should be rmly xed to the surface or cables.
- should not be xed to heat emitting or to moving parts.
• In case a SIM card is not included, it should be inserted in the module
while the connector is plugged off (while the module has no power).
TECHNICAL SPECIFICATIONS
Connectivity LTE & 2G module for multi-regional use; Cat M1/
NB1 deployed bands: 2, 3, 4, 5, 8, 12, 13, 20, 26*,
28*; EGPRS quad-band, 850/900/1800/1900 MHz
(* roaming bands) with internal high gain antenna
GNSS GPS, GLONASS, GALILEO, BEIDOU, accuracy < 3m,
internal high gain GNSS antenna
Housing UV resistant polycarbonate plastic (Protection
class IP67)
Power (+6…+30) V DC via car power plug or with internal
capacitor with solar panel
Communication It uses UDP protocol for data delivery to
FieldClimate platform
Dimensions 72,5 x 73 x 27 mm
USE YOUR iMETOS WorkTrack
To start using services we provide, you need to register on the
FieldClimate platform, which gives you access to the data in graphs
or tables. FieldClimate also provides a powerful decision support
system for growing your crops (plant protection, irrigation, sowing,
harvesting, fertilizing).
REGISTER AS A NEW USER ON FieldClimate.com
ADD YOUR iMETOS DEVICE TO YOUR ACCOUNT
Once registered, you can login to FieldClimate.
com. To add your iMETOS device, click on the
icon in the top right corner User Menu > Add/
Remove station. It will ask you for a Station Se-
rial number (SN) and a station key. This information is found on the
1. Go to eldclimate.com/
login and click the button
“+”.
2. Fill-in personal data
& e-mail.
3. Activate user account by
clicking on the activation
link sent to your email
silver sticker (in the gure) which came with your iMETOS station. Key 1
gives you full (admin) access and enables you to change all the settings
and set up the iMETOS (e.g. data transfer interval, SMS warning, etc.);
with Key 2 the user is not allowed to change the station parameters, but
you can access all the weather data.
THE iMETOS DASHBOARD, TRIPS DATA AND SETTINGS
In the new Dashboard, with a widgeted structure, the user can manage
the fast access to the services of highest interest. On the top right
corner, Station/Device List allows you to choose among all the iMETOS
devices and select a single one.
On the left side, the Tracker page displays the position and data
measured by your device. Data can be viewed in the map and tables. You
can access the structured menu, which allows you to select the trip and
see the distance, speed, time, coordinates travelled and battery levels.
You can connect with other Pessl Instruments services like the high-pre-
cision localized weather forecast and plant disease models on an iME-
TOS weather station to have the complete scenario under control. To ac-
tivate them please contact your local distributor or license@metos.at.


