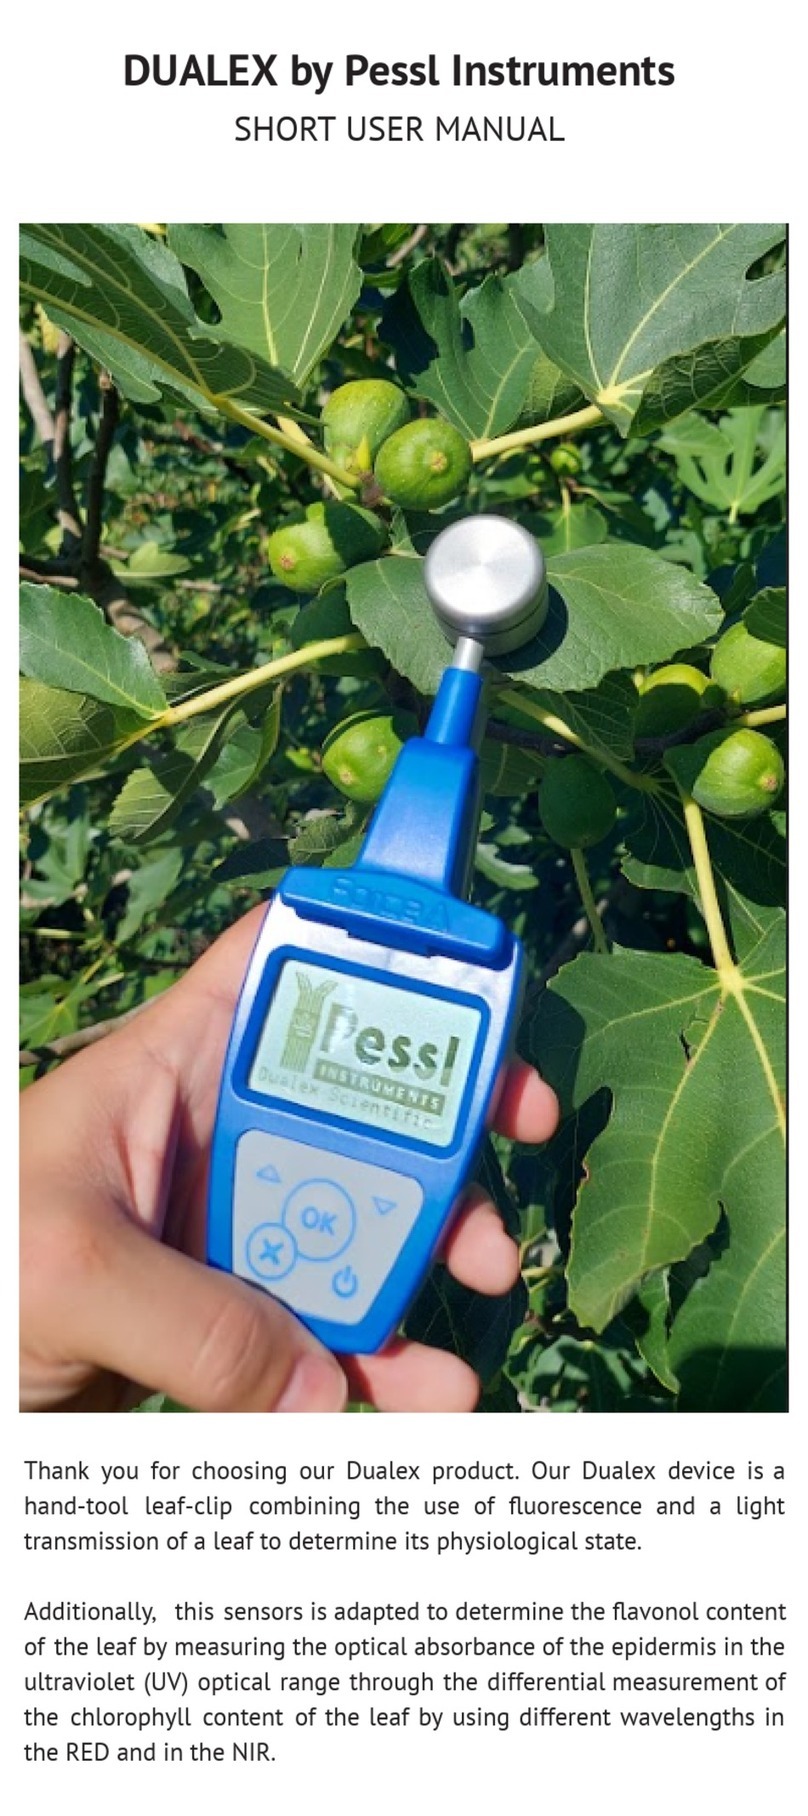
Pessl Instruments METOS Dualex User manual

Table of content
1. Dualex optical leaf-clip .......................................................................................................... 1
1.1. Description ........................................................................................................................................ 1
1.2. Button description ............................................................................................................................. 2
1.3. Dualex transport case....................................................................................................................... 2
2. Getting Started ....................................................................................................................... 3
2.1. Charging the Dualex ......................................................................................................................... 3
2.2. Switching on the Dualex ................................................................................................................... 3
2.3. Main menu ........................................................................................................................................ 4
2.3.1. Sub menu ‘measurement’......................................................................................................................... 4
2.3.1.1. Calibration....................................................................................................................................................... 4
2.3.1.2. Measurement.................................................................................................................................................. 5
2.3.2. Submenu ‘USB’ ......................................................................................................................................... 9
2.3.2.1. Connection.................................................................................................................................................... 10
2.3.2.2. Dualex update............................................................................................................................................... 11
2.3.3. Submenu ‘settings’ ................................................................................................................................. 12
2.3.3.1. GPS .............................................................................................................................................................. 12
2.3.3.2. Format .......................................................................................................................................................... 13
2.3.3.3. Measurement................................................................................................................................................ 14
2.3.3.4. Date & Time.................................................................................................................................................. 15
2.3.3.5. Contrast ........................................................................................................................................................ 16
2.3.3.6. Standby......................................................................................................................................................... 16
2.3.3.7. Languages .................................................................................................................................................... 17
2.3.3.8. About ............................................................................................................................................................ 17
3. Data file ................................................................................................................................. 18
4. Dualex technical specifications.......................................................................................... 19
5. Precautions of uses............................................................................................................. 20
5.1. Environment of use......................................................................................................................... 20
5.2. Shocks and vibrations..................................................................................................................... 20
5.3. Storage ........................................................................................................................................... 20
5.4. Cleaning.......................................................................................................................................... 20
5.5. Exchange of batteries ..................................................................................................................... 20
6. Conditions of guarantee...................................................................................................... 21
7. FAQ........................................................................................................................................ 22

1
1. Dualex optical leaf-clip
1.1. Description
No.
Label
Description
1
Light Source
The head contains 5 LEDs that emit in different wavelengths:
UV, Red, Green, 2x NIR
2
Light Detector
The head contains an optical filter and a photodiode.
3
Opening Handle
When pressed, the clip opens and the leaf can be placed between
the two heads. When released, the heads hold the leaf allowing the
measurement to be done. The testing position of the Dualex is with
the clip closed.
4
LCD Screen
This displays all information
5
Keyboard
The 5 buttons on the keyboard are used to navigate through the
software. The buttons have multitasking capabilities and every
1
2
3
4
5
6
7

2
action depends on the state of the device. (Refer to detailed
functions below; under Keyboard button functionalities)
6
Wrist-strap
A wrist strap can be attached to the Dualex unit to prevent the unit
from falling.
7
USB port
USB port that allows downloading data, updating software and
charging the Dualex device.
1.2. Button description
The 5 buttons on the keyboard are used to navigate through the software. The buttons
have multitasking capabilities and every action depends on the state of the tool.
•The button is used to switch on the Dualex with a long press. This button is also
used to switch off the Dualex: one short press in the main menu, or a long press at
any time.
•The button is used to enter a selection in a sub-menu, to validate a selection or
to make a measurement.
•The button is used to cancel an action or a selection, and allows the
suppression of the last measurement; in this case the software will come back to
the previous state. A long press (3 seconds) returns back to the main menu.
•Buttons and are used to navigate in the menus, to increase the group rank
and to change the side tag.
1.3. Dualex transport case
The Dualex is delivered in a shock resistant case. It contains the Dualex leaf- clip, a
USB cable and user manual.
The Dualex is powered by an internal rechargeable Li-Po battery. The battery can be
charged using the USB cable directly from the computer, or using a wall plug adapter
(110-220V/50-60Hz).

3
2. Getting Started
Unpack the Dualex and check that there are no damages. The Dualex is charged before
delivery, however, depending on storage time, the battery may be discharged.
2.1. Charging the Dualex
To charge the Dualex, connect the USB cable to either:
•a wall plug adapter cable and plug it in a regular power supply (check that the
voltage (110- 220V) and the frequency (50-60 Hz) are compatible),
•a USB port on a computer.
While connected, a charge indicator will appear on the screen:
The Dualex unit can be operated while being charged. The full charge of the battery will
be completed after 4 hours.
With a full charge, operating time is approximately 7 hours in continuous use (depending
on number of measurements and GPS positions).
2.2. Switching on the Dualex
To switch on the Dualex, long press the power button on the keyboard. A beep and a
screen with Pessl Instruments image will appear shortly and then one is greeted with the
main menu as shown below.

4
2.3. Main menu
The main menu includes 3 sub-menus:
1. Measurement: allows measurements,
2. USB: allows to download the recorded data and to update the device software
from a computer,
3. Settings: give access to the different menu configurations like the GPS, Format,
Measure, Date & hours, Contrast, Stand-by mode, Language and About.
The navigation among the menus is made by using buttons up and down on
the keyboard.
The selected sub-menu is marked by (> <). Use the button to select the sub-menu.
2.3.1. Sub menu ‘measurement’
To initialize a measurement sequence, select the sub-menu ‘Measurement’ and
press button.
2.3.1.1. Calibration
When the measurement sub-menu is selected and before any measurement, the
Dualex unit will ask for a short self-calibration. The following screen will appear:

5
Be careful during the calibration process that there is nothing between the optical
heads and that the clip is well closed.
To start self-calibration, press on the button .
Warning: You can face three potential problems during the calibration:
•The clip is opened: close it and press on the button .
•There is a leaf between both heads: remove it and press on the button .
•Heads are dirty, clean them and press on the button .
2.3.1.2. Measurement
Once calibration succeeded, the Dualex unit is ready to measure and displays
the following screen:
To make a measurement, open the clip by pressing the handle and place a leaf
in-between the optical heads.
Release the handle, the measurement is automatically made. When a measure
is taken, two types of beep can ring:
•A long beep which means that the measurement is well done and recorded.
•Three short beeps which mean that the measurement is wrong and not
recorded.

6
If the reading succeeds, the indices values appear on the screen:
•NBI: or Nitrogen Balance Index. This index is the ratio between Chl
(Chlorophyll) and Flav (Flavonol).
The range of this index is 0 - 999. If the measured value is outside these
limits, the value displayed on the screen is ***. This state is recorded in the
memory of the device under the tag “NaN”. If the measurement is
inconsistent, the displayed tag is –.
•Chl: chlorophyll content.
The range of this index is 0-150. If the measured value is outside these
limits, the displayed value on the screen is: ***. This state is recorded in the
memory of the device under the tag “NaN”. If the measurement is
inconsistent, the displayed tag is -.
•Flv: index of phenolics, mostly flavonols, content.
The range of this index is 0-3.5 If the measured value is outside these limits,
the displayed value on the screen is ***. This state is recorded in the
memory of the device under the tag “NaN”. If the measurement is
inconsistent, the displayed tag is -.
•Anth: index of phenolics, anthocyanins content.
The range of this index is 0-3.5 If the measured value is outside these limits,
the displayed value on the screen is: ***. This state is recorded in the
memory of the device under the tag “NaN”. If the measurement is
inconsistent, the displayed tag is -.
•grp: indicates the group rank. The measurements can be grouped into a set
of measurements statistically connected. Press on (group+) to increment
the number of groups. The statistical results of the latest group are then
displayed.
If the data are not valid, the statistical results appear under the tag ***. To
return to the measure menu, press on .

7
•mes: corresponds to the rank number of the measurement performed in the
group. This value increases automatically with every measurement.
•sup / inf: the side of the leaf, adaxial or abaxial, and its associated
epidermis – that is positioned against the light source head (upper head) –
will be measured. To measure the opposite side of the leaf, you may flip
over the leaf or invert the position of the Dualex heads.
You can add the leaf side tag which will be associated with the next
measurement: adaxial (sup) or abaxial (inf). To change this tag, just press
on . This information is stored with the measurement.
How to delete a measurement
The last made measurement can be deleted by pressing the button (short
press), the screen asks for confirmation. Press on the button (No) or
(Yes):
A long press on the button leads to the main menu and saves the
measurement.
Warning: there is no limitation to the measurements rank in a group. The
capacity of the internal flash memory (1.8 MB) allows more than 10 000
measurements. Nevertheless, it’s recommended to transfer the data by
the command >USB< onto a
computer after every campaign of
measurements. After the transfer of the data file, you can erase it from
the flash memory using your computer.

8
Power alarm
In order to avoid a loss of data, a double alarm informs you about the level of the
battery.
The first alarm informs you that there is only 20% of the battery power left « Low
battery ». You can continue your measurements for approximately 1 hour.
The second alarm informs that there is only 10% of the battery power left « Empty
battery ». To avoid a loss of data, the device automatically shuts down.
Measurements are not possible any more.
Memory management
The Dualex manages the capacity of the memory and displays two safety messages
to ask to empty the memory card:
•« Memory almost full » between 200 kb and 2 kb free memory left
•« Memory full » with less than 2 kb free memory left (less than 15
measurements).
If you switch on the Dualex, when only between 200 kb and 2 kb free memory is
available, the following message is displayed:

9
Press on the button . Download the memory content to a computer. If you go to
the submenu ‘measurement’, the message will be displayed a second time.
•When the Dualex is switched on, if less than 2 kB of free memory remains you
cannot go up to the submenu ‘Measurement’. It is necessary to empty the
memory of the Dualex.
•During the measurements, if the free memory decreases below 200 kb, the
message «memory almost full» appears. Press the button . You can continue
the measurements but please empty the memory as soon as possible.
•During the measurements, if the memory decreases below 2 kB the
message «memory full » appears. Press the button . The last
measurement is saved and the Dualex returns to the main menu. You
cannot reach the submenu ‘measurement’. It is necessary to empty the
memory.
Emptying the memory:
Download all measurements from the device to your PC using the USB cable.
Disconnect the Dualex from the PC and in the menu, select Format option (see
section 2.3.3.2). This will delete all the files internally stored on the Dualex. It is
important to Format the Dualex drive as the FAT system can be fully occupied,
even if you do not see any file in the Explorer on the PC.
2.3.2. Submenu ‘USB’
The submenu USB allows transferring the measured data to a computer and also
it allows updating Dualex from a computer.

10
2.3.2.1. Connection
Connect the cable USB to the mini connector USB:
The mini connector USB to be plugged into the
Dualex’s connector located at the bottom of the
device.
The connector USB to be plugged into the USB port
of the computer.
In the main menu, select the sub-menu ‘USB’ with the buttons (top) and
(bottom), and press the button :
The Dualex behaves then as an USB device.
Use the file browser of your operating system (e.g. Windows Explorer) to transfer
the file containing the measurements. In Dualex, one file is created per calendar day
of measurement: all the measurements of the day are stored in this file, named «
DX yyyymmdd.csv », where « yyyy » represents the year, “mm” the month and « dd
» the day. Once you copied the CSV file onto your computer, the data can be
analyzed using any data analysis software or application.
Note: When the Dualex Scientific is used in USB mode, no measurement can
be realized. To go out of the USB mode, press on . The software returns
then to the main menu. Before exiting the USB mode, make sure there are no
read/write operations with the device on the computer.

11
WARNING:
In order to avoid a loss of data, please copy the files from the memory before
proceeding to an update. The DUALEX will erase the memory at the end of the
process.
The USB has to remain connected throughout the update. If the device is
disconnected, the following message will be displayed:
2.3.2.2. Dualex update
Switch on the Dualex®with the button .
Connect the cable USB to the mini connector USB. In the main menu of Dualex®,
select the sub-menu >USB< with the button and . Press the button .
The Dualex behaves then as an USB device.
Transfer of the software: Copy the file DUxxx.DX4 (xxx corresponds to the number
of the update version) in the memory of your Dualex.
Software set up:
•Leave the USB mode once the file is transferred, by pressing on the button .
•Re-start the device by pressing on the button . The updating of the software
begins.
The following screens appear:
After updating the Dualex device, it is recommended that you Format the internal
storage of the Dualex to clear the storage memory for new measurements.
WARNING: Do not do anything during the files transfer.

12
2.3.3. Submenu ‘settings’
The submenu ‘settings’ gives access to adjustable parameters:
1. GPS: toggles GPS in modes Off, Light or Full.
2. Format: formates the flash memory.
3. Measurement: allows selecting the acquisition mode for measurements.
4. Date & Time: updates date and time.
5. Contrast: allows variation of screen contrast.
6. Standby: adjusts the time before standby mode.
7. Language: allows to change the language of the Dualex.
8. About: displays the version of the software and the Dualex serial number.
These parameters are validated by using the button . or left as previously by pressing
on , the software returns then to the main menu.
2.3.3.1. GPS
There are three ways to use the GPS:
•GPS Off (by default): no GPS data saved.
•GPS punctual: GPS data are saved by pressing a few seconds on the button
during the measurement.
•GPS systematic: the GPS is active all the time, it saves GPS data for every
measurement.

13
We can adjust the time zone in > Time zone <:
When the GPS is active in punctual or systematic mode, the device begins looking for
the GPS with the aim to update the time and the date.
2.3.3.2. Format
The setting ‘format’ deletes all data from the memory of the Dualex.
To format the memory, press on , the screen asks for a confirmation before
formatting the memory. Press on the button (No) or (Yes):
If the buttons (No) or are selected, the data are left intact and the software
returns to the main menu.
WARNING: in order to avoid a loss of data, please copy the files from the memory
before proceeding to an update. The Dualex Scientific will erase the memory at the
end of the process.

14
If the button (Yes) is pressed, all the data are erased from the memory:
But if an error occurs during the formatting, the screen displays « Error format ». If
this error appears, please switch off the device and load the battery. If the problem
persists, please contact Pessl Instruments.
Press on the button , the Dualex returns then to the sub menu ‘settings’.
2.3.3.3. Measurement
Measurements can be performed by alternative ways:
a) Triggering
Automatic (by default): at every closure of the clip or a press on the button , a
measurement is saved.
WARNING: The DUALEX uses the format FAT 12. Do not try to format your DUALEX’
memory by using the formatting functions offered by your operating system; it could
block the memory.

15
Manual: the recording of the measurement is only made once the button is
pressed.
Tuning: this function re-adjusts the parameters to allow the automatic mode,
depending on the clip aperture. Use it if automatic mode doesn’t work.
b) 1 Side/2 Sides
1 Side: at every closure of the clip or a press on the button , a measurement is
recorded (following the triggering previously selected). At every measurement,
values Chl, Flav, Anth and NBI of the side (adaxial or abaxial side) are displayed.
Mean 2 Sides: 2 measurements are needed to get values for one leaf (adaxial and
abaxial side). Chl = mean of 2 values; Flav = sum of 2 values; Anth = mean of 2
values; NBI = Chl / Flav.
2.3.3.4. Date & Time
This setting allows adjusting the date and the time. To change the number, press
on the button “+” and to change the next field, press on the button “_>”, once the
date and the time are adjusted, press on to save it.

16
2.3.3.5. Contrast
You can adjust the contrast of the screen with the buttons and . After
having adjusted the contrast, return to he main menu by pressing
2.3.3.6. Standby
The time before Dualex enters the standby mode can be chosen. It can be
adjusted between 1 and 10 minutes; the default setting is 5 minutes.
When the Dualex enters the standby mode, all measurements and settings are
saved. When you restart the device by a long press on the button , to measure,
a new self-calibration is needed.
Press on the button .
The standby function is disabled when you are in USB mode.

17
2.3.3.7. Languages
This mode allows the user to select one of the following languages: French,
English, German or Spanish.
2.3.3.8. About
The submenu, ‘About’ displays the version of the software and the serial number of
your Dualex.

18
3. Data file
The data generated by the Dualex have a .csv format. They are thus compatible with any
spreadsheet and any operating system.
Some applications (example: MS Excel) automatically try to change the format of the cell
value (from decimal number to date format etc.). If you see strange values in Excel, you
can open the .csv file with your simple text editor (example: notepad) and you will see
correct, original values.
A Dualex file opened with Excel:
Cell value legend:
•sat_qual (F5): Quality of the GPS signal
•temp (G5): LED's temperature
•group (H5): Group rank
•measure (I5): measurement id
•side (J5): Side measured during the reading : adaxial or
abaxial ( tagged manually by the user)
•Chl (K5): measured chlorophyll index
•Flav (L5): measured flavonol index
•Anth (M5): measurement of phenolics, anthocyanins content
•NBI (N5): Nitrogen Balance Index
•Calib (O5): 'NEW' tagged when a new self-calibration is
done
•Chl (B12): Group Chl mean
•Chl_sd (C12): Group Chl standard deviation
•Flav (D12): Group Flav mean
•Flav_sd (E12): Group Flav standard deviation
•Anth (F12): Group Anth mean
•Anth_sd (G12): Group Anth standard deviation
•NBI (H12): Group NBI mean
•NBI_sd (I12): Group NBI standard deviation
Table of contents
Other Pessl Instruments Measuring Instrument manuals

Pessl Instruments
Pessl Instruments mMETOS CLIMA User manual

Pessl Instruments
Pessl Instruments iMETOS mMETOS Blue User manual

Pessl Instruments
Pessl Instruments iMETOS ECO D3 User manual

Pessl Instruments
Pessl Instruments nMETOS FROST User manual

Pessl Instruments
Pessl Instruments Metos iMETOS SoilGuard User manual

Pessl Instruments
Pessl Instruments METOS LoRAIN NBIoT User manual

Pessl Instruments
Pessl Instruments DUALEX Product information sheet