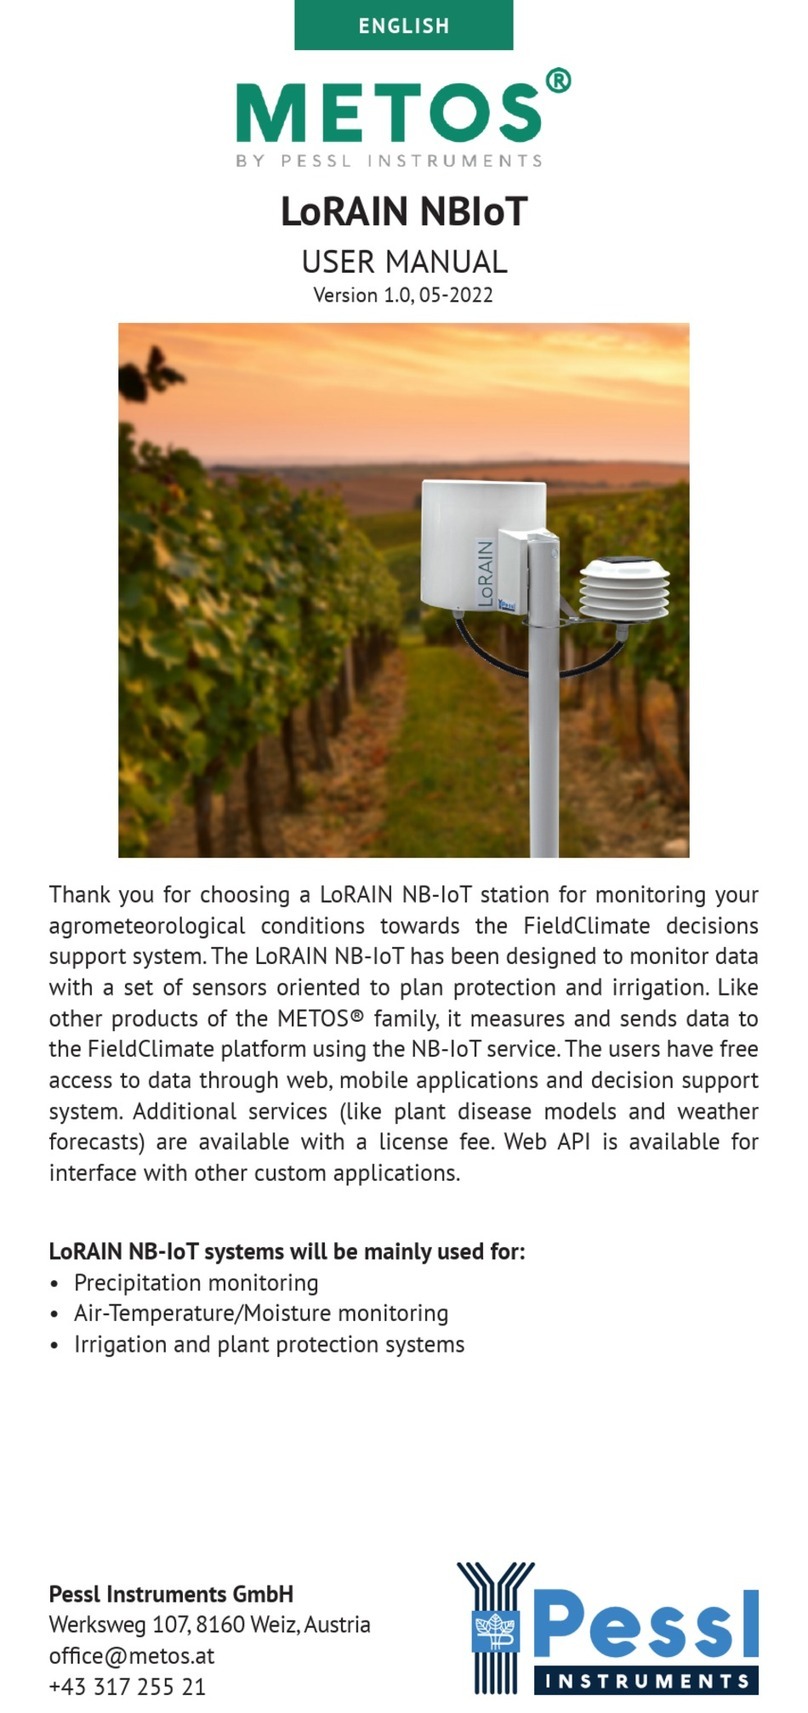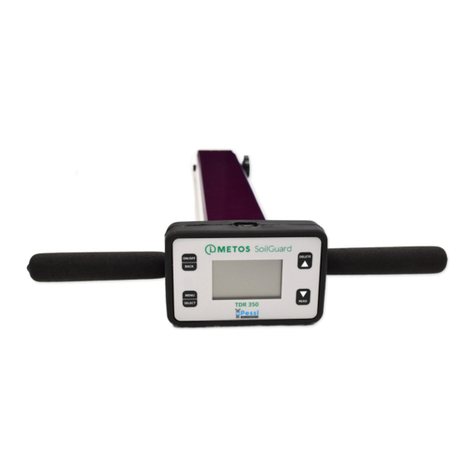
YOUR nMETOS FROST
The nMETOS FROST consists of one plastic casing containing the
electronics, metal holder, the battery, and the wet & dry bulb sensor.
In the package with the nMETOS FROST, you will also nd pole clamps
and a sticker with a unique serial number and the keys that grants you
the access to the FieldClimate platform.
On picture:
nMETOS FROST (wet & dry bulb
sensor and a pole holder)
nMETOS FROST COMMUNICATION MODES:
Measurement
interval (in
minutes)
Logging
interval (in
minutes)
Transmission
interval (in
minutes)
Wet bulb
temperature
value
5 10 60 >= 8° C
1 5 15 =4° C < 8° C
1 1 5 < 4° C > -6° C
1 5 15 <= -6 C > -8° C
5 10 60 <= -8° C
The intervals are xed in the product and are not user congurable.
SUPPORTED TYPES OF COMMUNICATION:
The nMETOS FROST station can be delivered with:
• HL7800
Cat-M1/NB networks
https://www.sierrawireless.com/iot-solutions/products/hl7800/
• HL7802
Cat-M1/NB networks with 2G fallback
https://www.sierrawireless.com/iot-solutions/products/hl7802/
START-UP THE nMETOS FROST
By default, the nMETOS FROST station comes without a battery and
based on your order, it can come with or without a SIM card.
To start up the nMETOS FROST, it requires opening the housing,
inserting the SIM card and in special cases checking the settings via
the USB cable connected to the PC with the PI-Terminal/TeraTerm
application and connecting the battery.
To use the NB-IoT or CAT-M1 connectivity you need a SIM card which
is provisioned for the NB-IoT/Cat-M1 network from the network
provider and sufcient signal from the radio tower.
INSERT THE SIM CARD AND CONNECT THE BATTERY
1. Open the housing by unscrewing the 4 screws on the top.
2. Remove the board cover.
3. Slightly push the cover of the SIM card holder (circled red on the
picture below) rightward to unlock it.
4. Insert the SIM card correctly (contacts should be on the bottom side
and the marking corner in the upper right position).
5. Close the cover and push it gently leftwards so the cover gets locked.
6. Plug the battery cable into the SCAP connector on the PCB.
7. Close the cover to its nal position and tighten the screw.
The installation video is available on:
https://bit.ly/3NA3Q2i
INSTALLING YOUR nMETOS FROST
The nMETOS FROST comes with clamps to
install it on a pole. At the side of the unit
is a metal mounting frame. Push the long
clamp screws through the holes on the
metal mounting frame. Loosen the clamps
so they come around the pole. Tighten
the small nut to x the device in place on
the pole. Remember to ll the bottle with
water before the frost season starts.
USE YOUR nMETOS FROST
To start using services we provide, you need to register on the
FieldClimate platform, which gives you access to the data in graphs or
tables. FieldClimate also provides a powerful decision support system
for growing your crops.
REGISTER AS A NEW USER ON FieldClimate.com
1. Open www.eldclimate.com and log
in as an existing user or register as a
new FieldClimate user.
2. After creating a new account, you will
receive an email with a conrmation
link with which you conrm the
creation of your FieldClimate prole.
ADD YOUR METOS DEVICE TO YOUR ACCOUNT
To add your METOS® device, click on the icon in the top right corner
User Menu > Add/Remove station. It will ask you for the Station Serial
number (SN), the station key and a name of your choosing. Now the
silver sticker which came with your station has to be used.
Key 1 gives you full (admin) access and enables
you to change all the settings and set up the
nMETOS FROST.
With Key 2 the user is not allowed to change the
station parameters, but can access all the data.
DASHBOARD, STATION DATA AND SETTINGS
In the new Dashboard, the user can manage the fast access to the
services of highest interest. On the top right corner, Station List allows
you to choose among all registered devices.
On the navigation bar, the Station data page displays the data
measured by your device. Data can be viewed in detailed graphs and
tables. You can access the structured menu, which allows you to
dene time series-resolution and export data in a chart/table.
