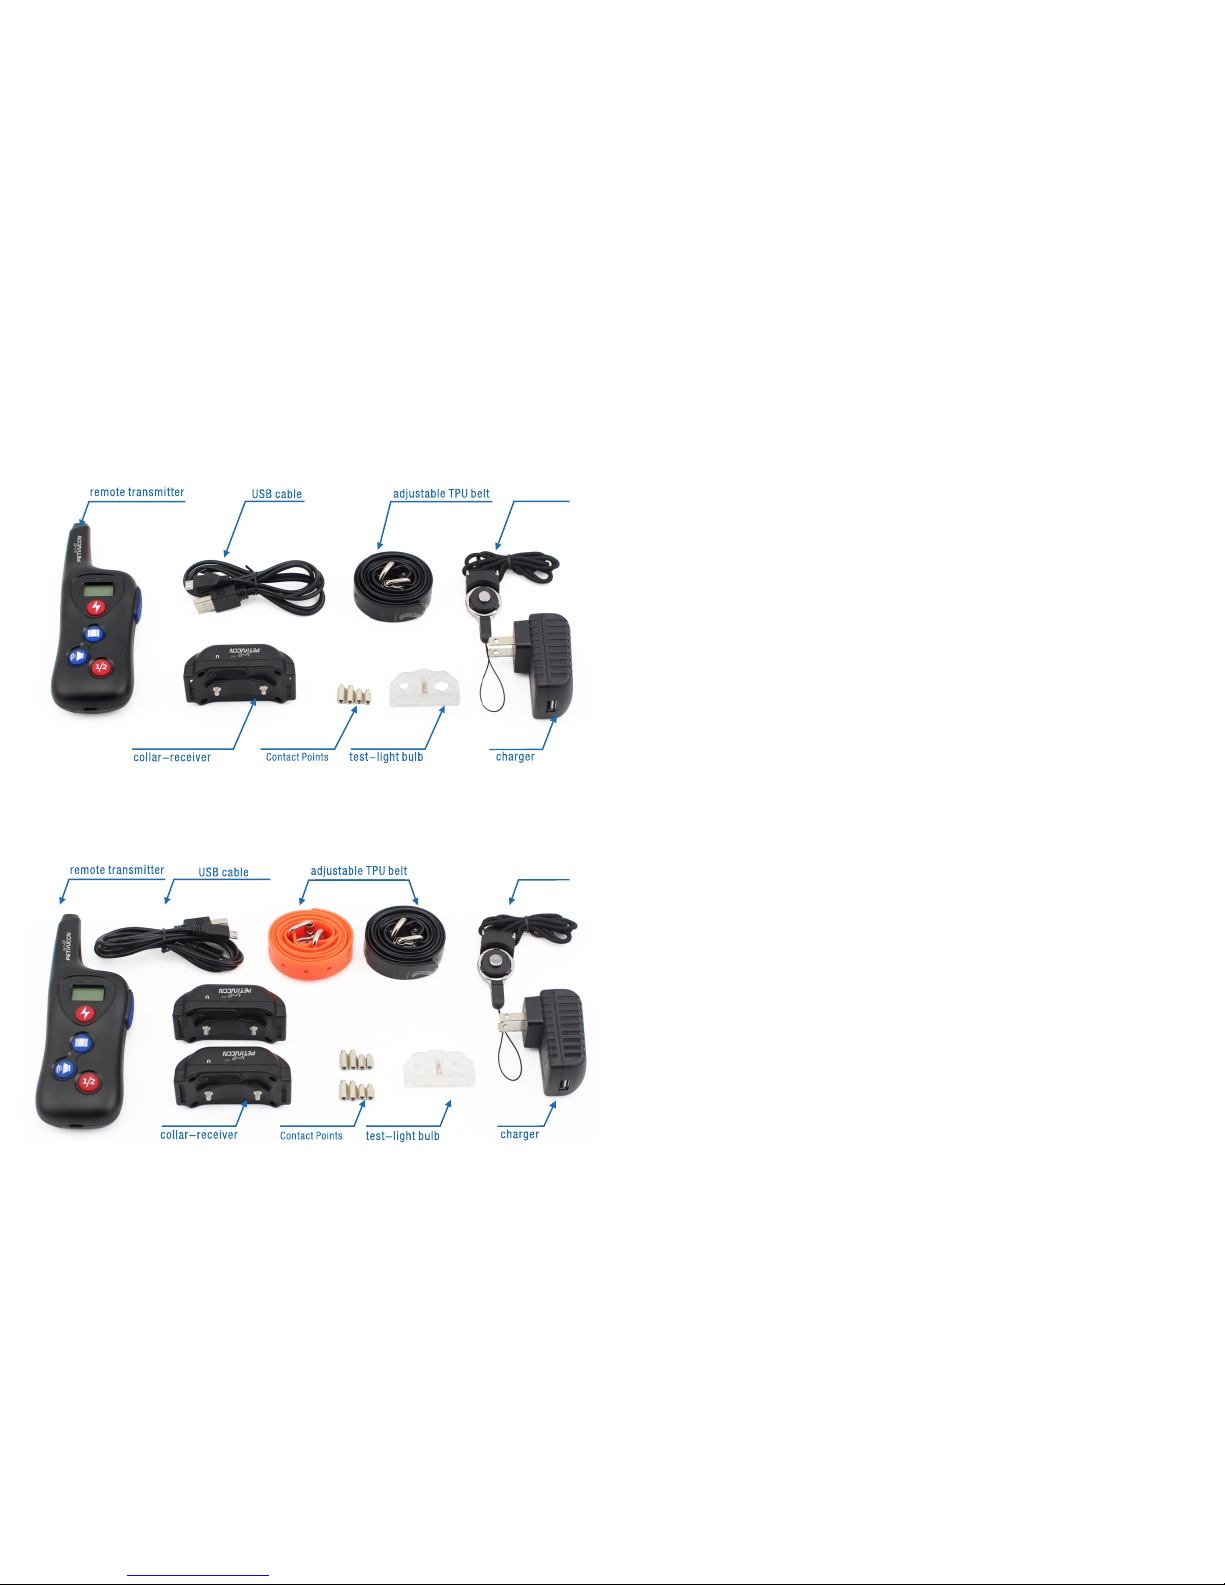
Charge the remote transmitter:
1) Connect the charger connector to the charging jack.
2) Plug the charger into a standard outlet.
Charge the collar receiver:
1) Connect the charger connector to the charging jack.
2) Plug the charger into a standard outlet.
3) The red light will appear on the receiver.
4) After charging is complete, the red light will turn off automatically.
5) When charging is completed, remove the USB charging cable,
and replace the rubber cover to protect the charging jack.
NOTE:
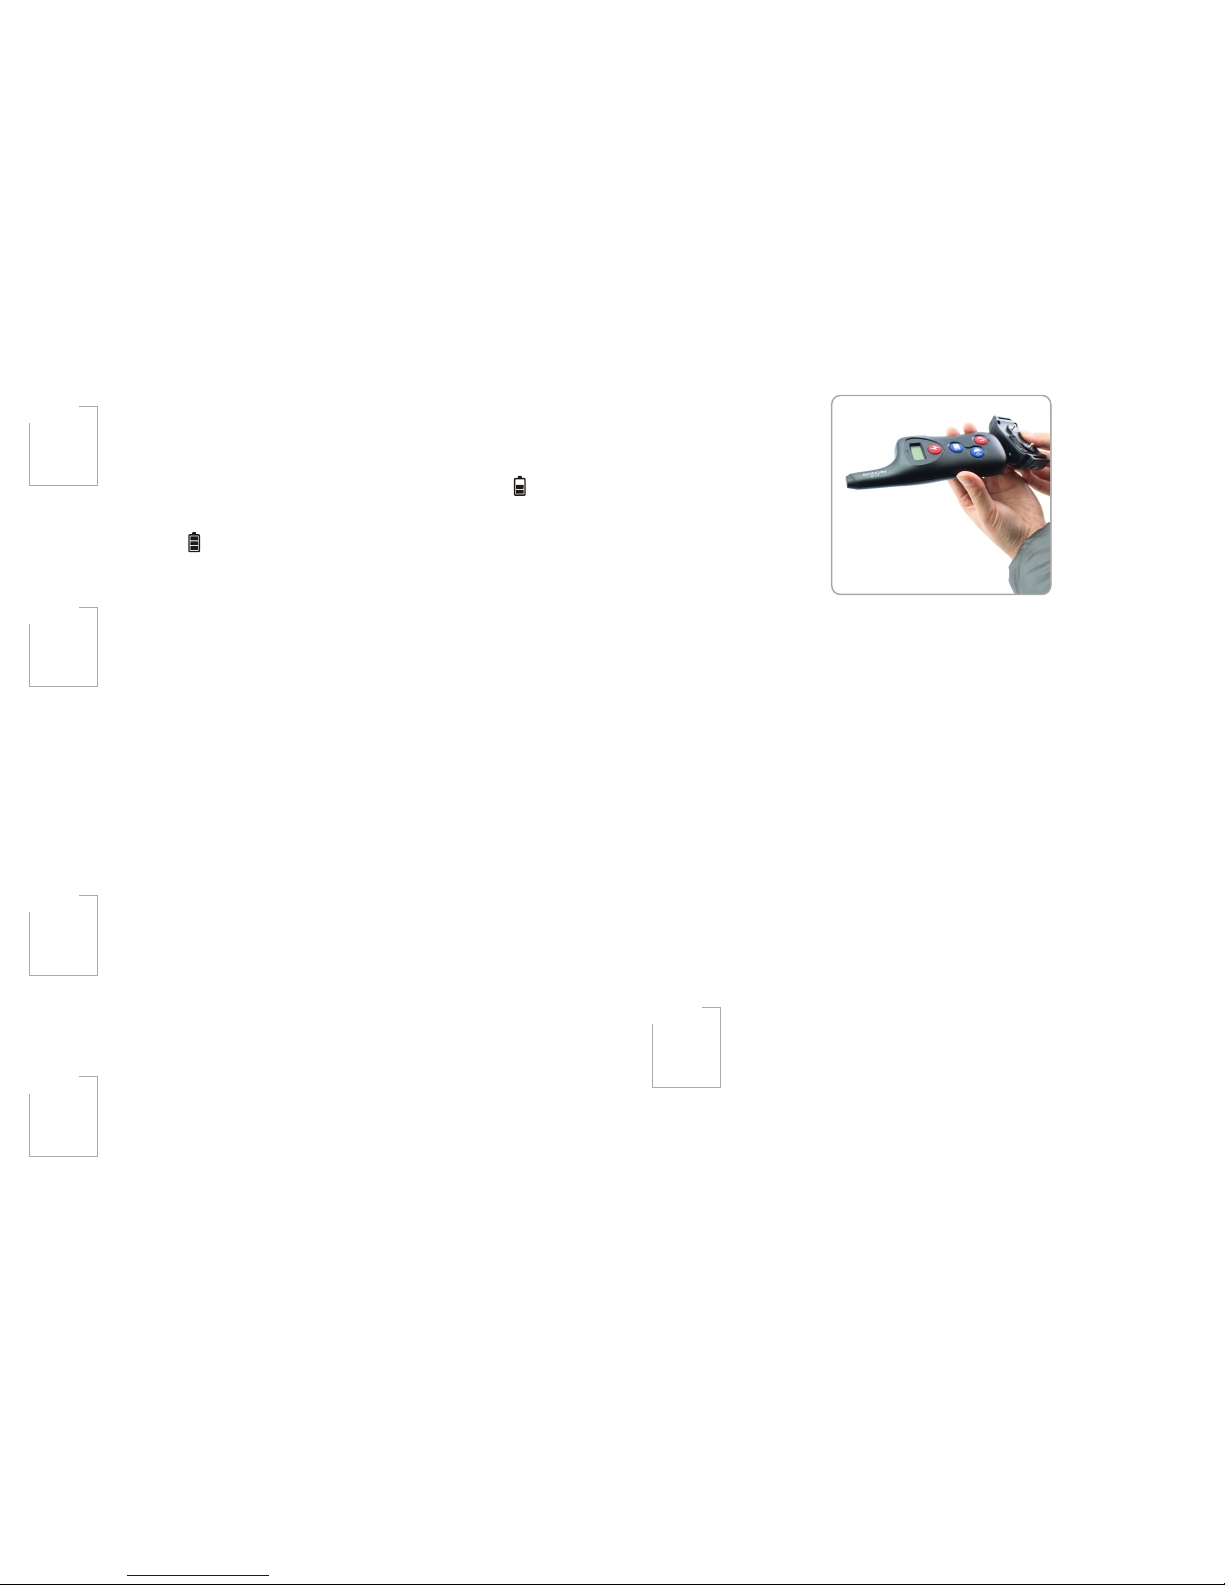
1) The unit has a partial charge when it leaves our facility, upon receipt of the
collar, be sure to give it a 4-hour initial charge before the first use.
2) Don't charge the batteries near any flammable substances.
3) Recharge the unit if the indicator light on the receiver is emitting a orange or
red color or the 3 bars indicator on the Transmitter LCD shows just 1 or 0 bar.
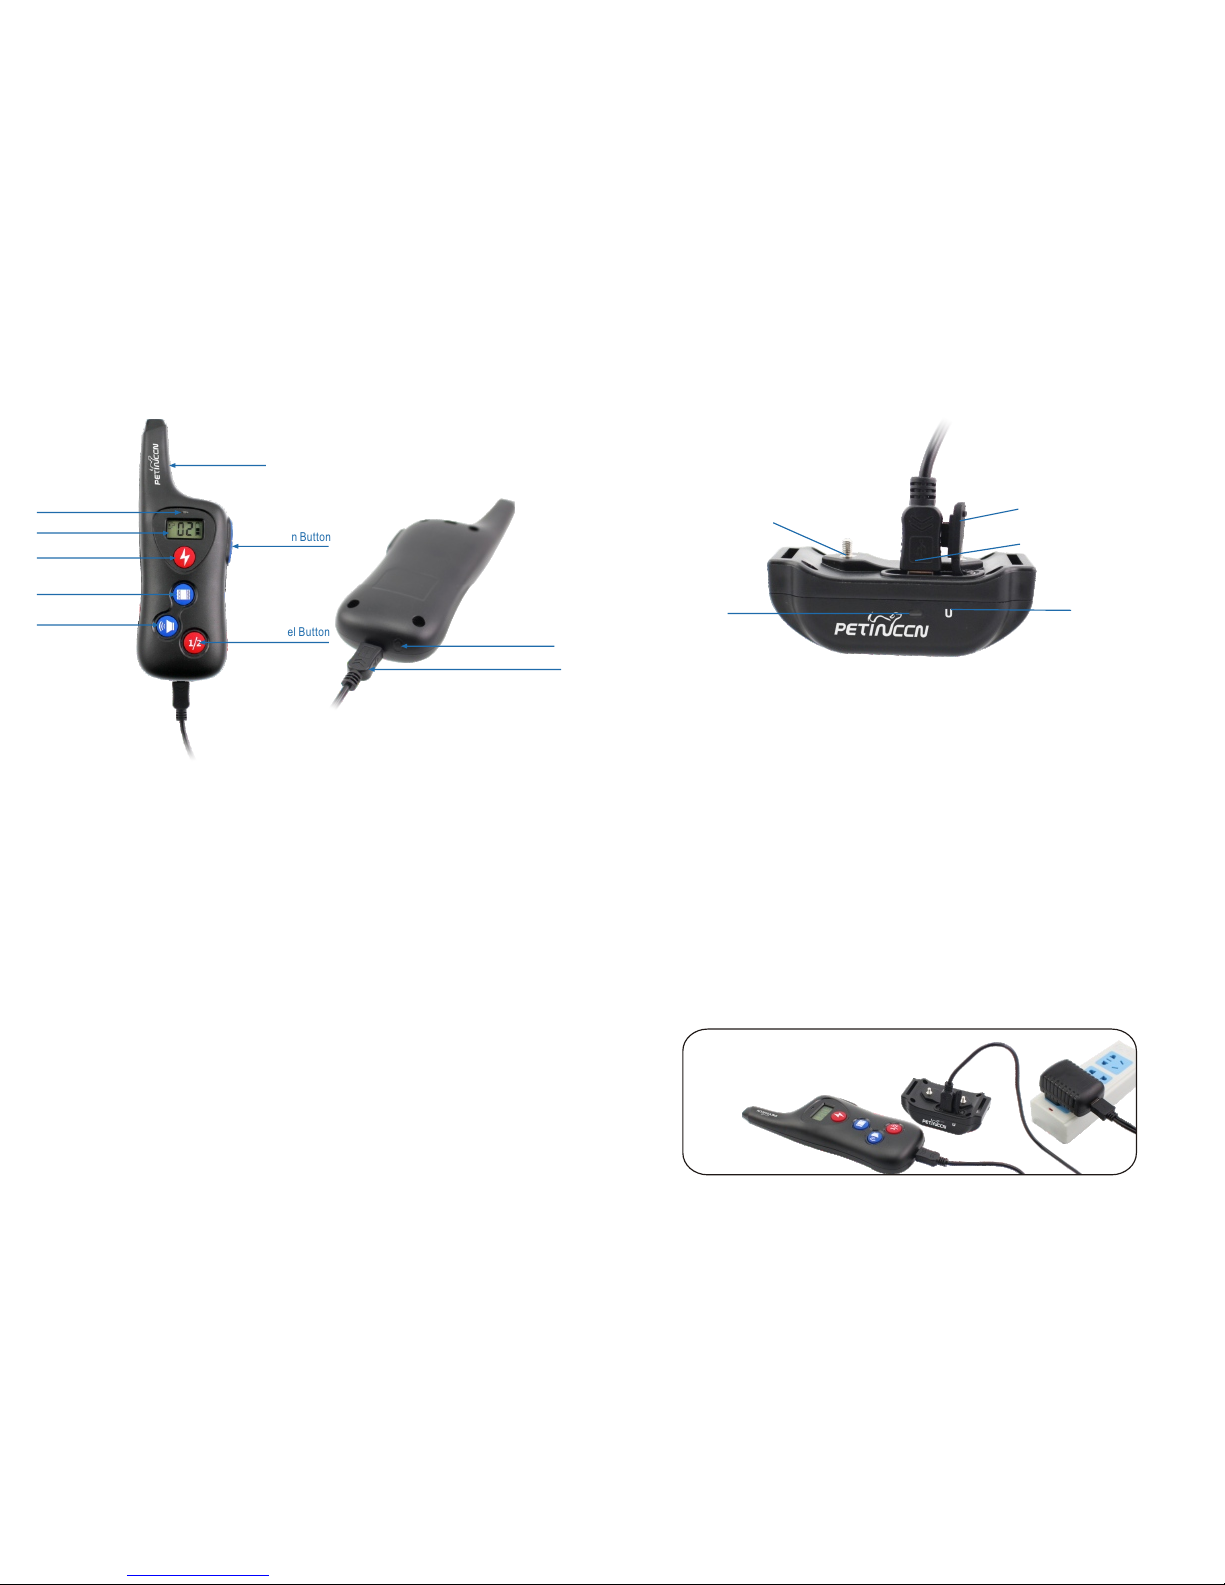
Power on/off the Remote Transmitter:
2) If the Transmitter is power on without any manipulation, the blue
backlight on the display stays on about 10 seconds, and the LCD
display will shut off after 1 minute and then the Transmitter goes
into power saving mode. Pressing any button will turn the display
back on.
1) When the Receiver Collar is power off. Use the magnetic sensor
2) When the Receiver Collar is power on. Use the magnetic sensor
3) When the Receiver Collar is powered on, the indicator light will
4) When the Receiver being power saving mode, the Receiver can
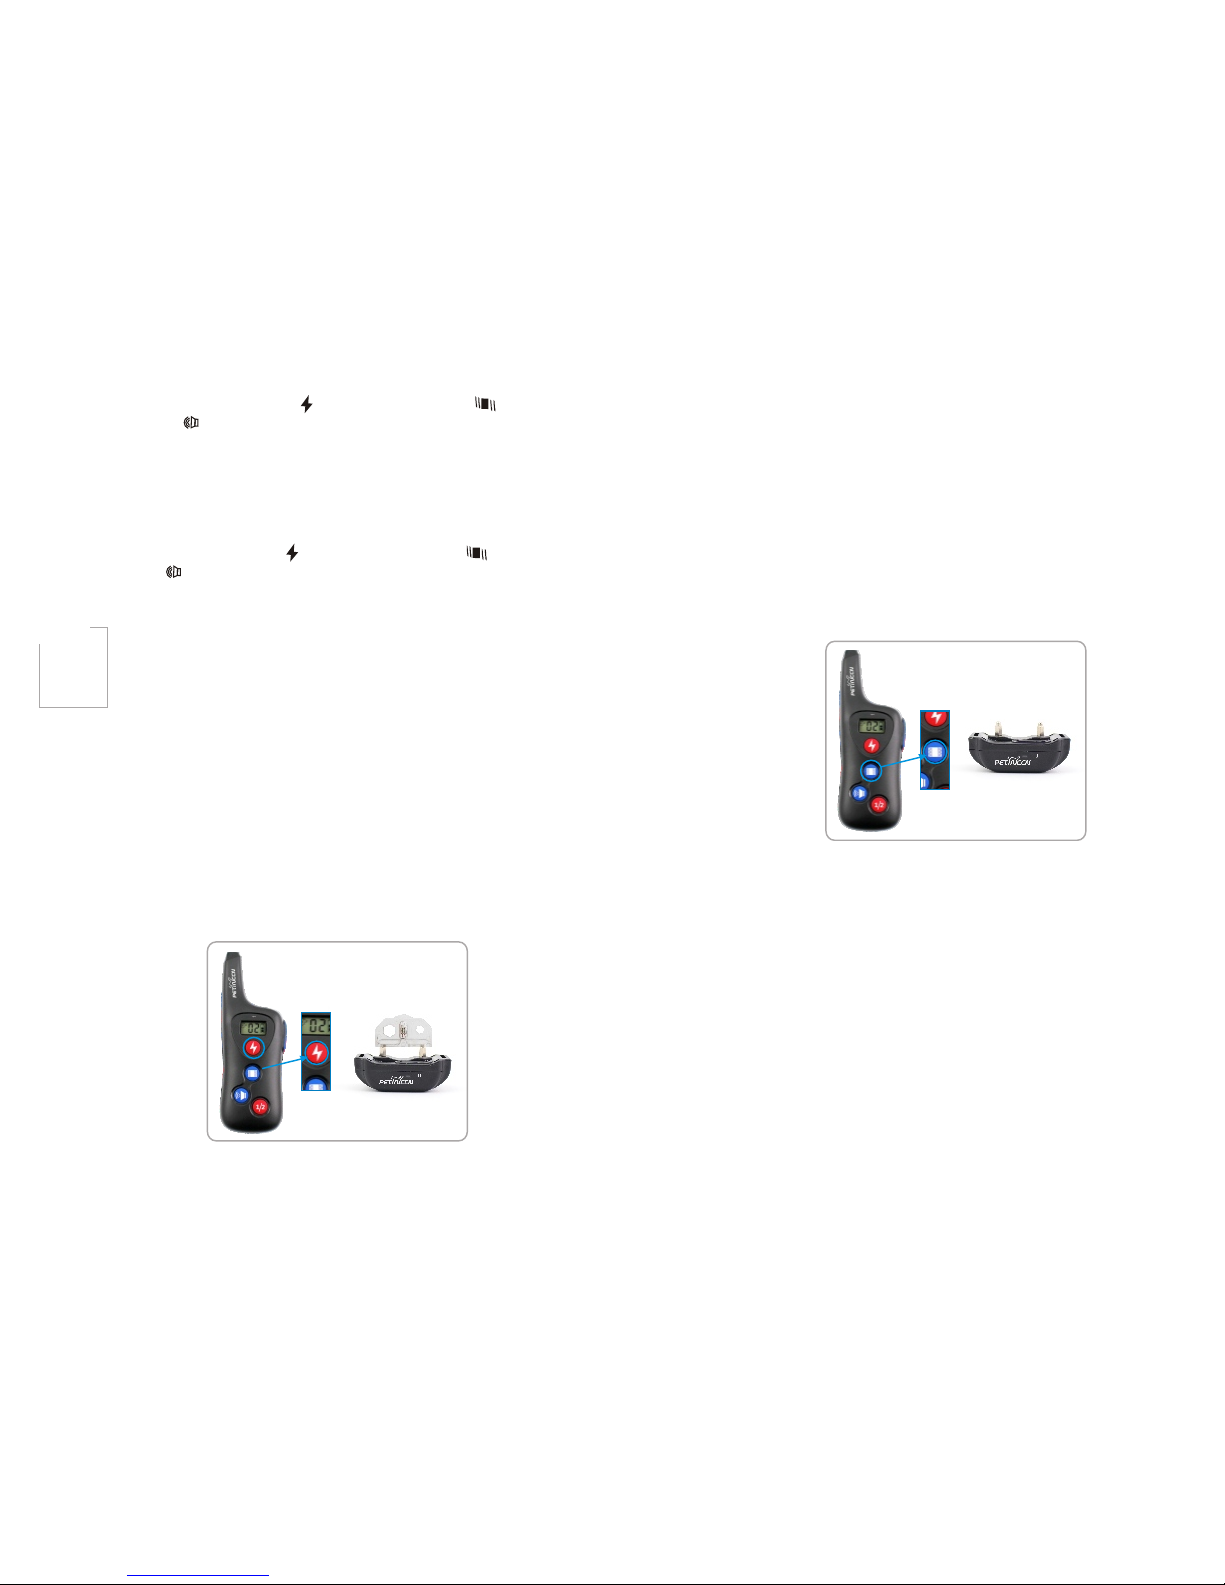
1) Choose channel 1 or 2 by pressing the
the Transmitter.
Channel(1/2) Button on
Step
1
Step
2
Step
3
Step
4
Power on/off the Receiver Collar:
Step
5
Pairing the Remote Transmitter and Receiver Collar:
(Figure 4-1)
3) The red light on the transmitter will light up and the Battery Indicator
on the Transmitter LCD shows will scroll while charging ( ).
4) After charging is complete, the red light will turn off automatically
and the Battery Indicator on the Transmitter LCD shows will become
steady ( ).
5) When charging is completed, remove the USB charging cable.
icon at the bottom of the Transmitter to aim at the magnetic sensor
icon on the Receiver for less than 3 seconds, the indicator light
comes on, then put away the Transmitter immediately, you will hear
a “beep” sound from the Receiver Collar. Meaning the Receiver
Collar is now on.
icon at the bottom of the Transmitter to aim at the magnetic sensor
icon on the Receiver for less than 3 seconds, the indicator light
comes on, then put away the Transmitter immediately, the indicator
light of Receiver is turn off. Meaning the Receiver is now off.
flash every 3 seconds, and the Receiver Collar will go into power
savi ng m ode after 20 se conds i f it does not receive any sign als
from the Transmitter, the indicator light of Recei ver wil l turn off.
still receive signals from the Remote Transmitter and work normally.
2) Use the magnetic sensor icon at the bottom of the Transmitter to
aim at the magnetic sensor icon on the Receiver Collar. At that time,
t he po wer i ndicator on the Receiver Coll ar re main s on. Keep it
m ore t han 3 seco nds, the p ower indic ator ligh t on the Receiv er
C ollar will flash quickly.
-8- -9-
1) Press and hold the “Channel(1/2) Button” for more than 3 seconds
for power on/off.