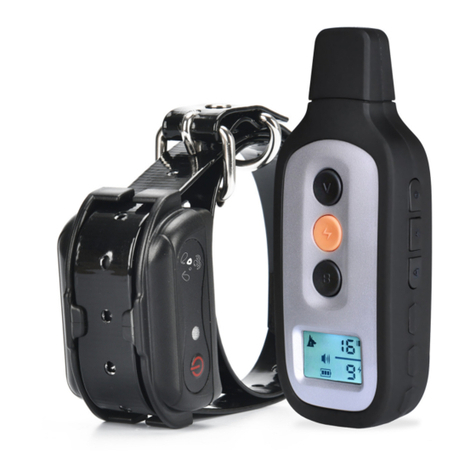
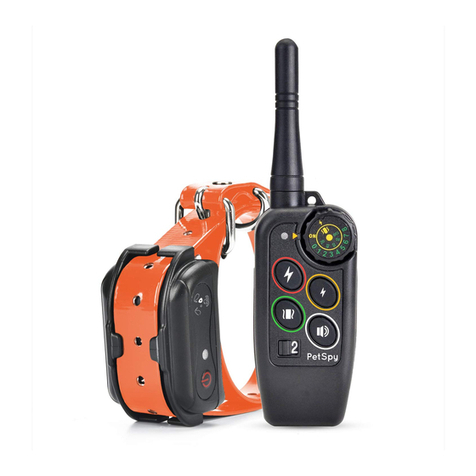
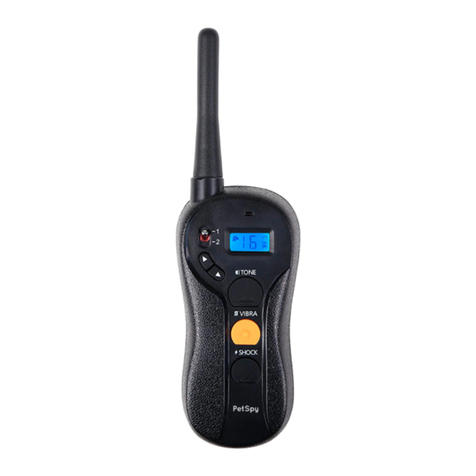
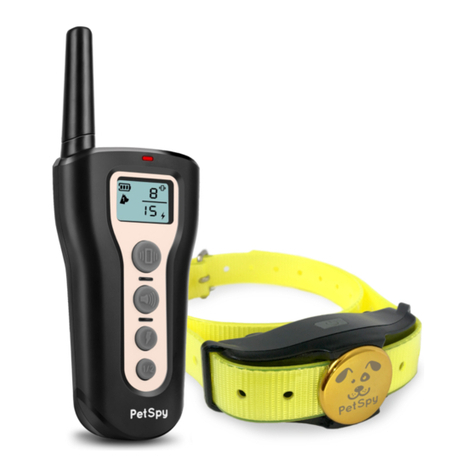
PetSpy M86N User manual


Plastic Contact Points Testing Light Kit Charger and USB Cable
PetSpy Advanced Dog
Training System:
• Remote Transmitter
• Receiver Collar
Frequency: 433.825Mhz
Transmitter: 3.7V 500mA LiPo
Receiver: 3.7V 500mA LiPo
Contact: support@petspystore.com
PetSpy Advanced Dog Training System, Model M86N
What is in the Package:
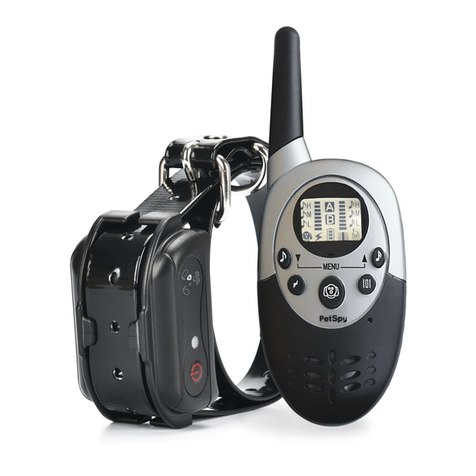
Note: PetSpy has 2 versions of Advanced Dog Training Collars: old M86 model with
metalic contact points (silver remote) and new M86N model with plastic contact points
and no power button (black remote). We also have a Single version with 1 collar, and
Dual version with 2 collars. is manual is designed for all versions.

PETSPY ADVANCED DOG TRAINING COLLAR
1. Charging Port
2. Power Button (old version M86)
3. Receiver Tone Button/Lower
4. Static Shock Button
5. Menu/Mode Button
6. Vibration Button
7. Transmitter Tone Button/Raise
LCD ICONS AND BUTTONS
•Receiver Tone Level: indicates 3 Levels of Receiver Tone.
•Static Shock Level: indicates 8 Levels of Static Shock.
•Battery Charge Indicator: indicates 3 Levels of Battery Charge.
•Vibration Level: indicates 8 Levels of Vibration.
•Transmitter Tone Level: indicates 3 Levels of Transmitter Tone.
•A - Receiver A is being Controlled; B - Receiver B is being Controlled.
•A&B - both Receivers are being Controlled.
Power Button (old version M86)
- Press the button to turn Transmitter on. Press and
hold the button for 2-3 seconds to turn it o. New version M86N is always on.
Receiver Tone Button/Lower
- Press the button to produce a beep in the Receiver Collar
for Sound Training. In Programming Mode, the button is used to LOWER the stimula-
tion level (e.g. Shock).
Static Shock Button
- Press the button to deliver a Static Shock Stimulation to your Dog.
Menu/Mode Button
- Press the button to change control between Receiver A, Receiv-
er B, or Both Receivers A&B. Press and hold the button for 3 seconds to enter/exit
Programming Mode. While in Programming Mode, press the button to conrm your
selected settings (e.g. Static Shock or Vibration Level) and go to another one.
Vibration Button
- Press the button to deliver a Vibration Stimulation to your Dog.
Transmitter Tone Button/Raise
- Press the button to produce a tone in the Transmitter.
In Programming Mode, the button is used to RAISE the stimulation level (e.g. Shock).

FEATURES
1. 3 Training Modes: Static Shock, Vibration, and Sound.
2. Rechargeable Transmitter and Receiver - recharge time is about 30 minutes.
3. Fully waterproof Receiver Collar.
4. Transmitter-Receiver communication range is up to 1100 Yards.
5. 8 correction levels of Static Shock and Vibration Stimulation.
6. Sound training is available on Receiver and Transmitter.
7. e system can be used with 1 or 2 Collars. It gives you a simultaneous control of up
to 2 Dogs with 1 Remote.
8. Power Saving Design with Auto Sleep Mode and Movement Sensor on the Collar.
9. 2 Pairs of metal prong (short and long) for dogs with dierent fur length.
HOW DOES PETSPY DOG TRAINING SYSTEM WORK?
PetSpy Dog Training System can assist you with controlling and training your dog
without a leash in the range up to 1100 yards. Using a Remote Transmitter you can send
a signal to the collar in form of Static Shock, Vibration, or Tone. By using PetSpy Dog
Training System consistently, you can train your dog to eliminate any undesired behav-
ior (jumping up, digging, chasing, etc.) and teach your dog understand many obedience
commands (sit, come, stay, etc).
IMPORTANT NOTES
•e Remote System range goes up to 1100 yards. Hold the Transmitter horizontally
and away from your body to achieve maximum range. Weather condition, terrain,
vegetation, and interference from other electronic devices can aect the maximum
communication distance of the system.
•ere are 8 levels of Static Shock and Vibration Simulation. If you use the strongest
level there is a chance that it can penetrate dog’s fur up to 6mm thick. Do not shave
your Dog’s neck to reduce the risk of skin irritation.
•For comfort, safety, and eectiveness of the system, please start training your pet with
the lowest Static Shock level. It’s ne to have a Vibration level on medium or high.
Please check your dog’s neck aer each training session for skin irritation. If skin irrita-
tion develops, discontinue to use the collar for 48 hours. If condition persist beyond 48
hours, please consult your veterinarian.
•Do not attach a leash to the collar. Use a separate regular collar if there is a need for a
leash.
•We suggest you to use the Vibration Stimulation rst before starting to use the Static
Shock Stimulation. en slowly start with the lowest level of Static Shock Stimulation
Training. If you follow this training method, your dog will learn that the Static Shock
Stimulation will come aer Vibration. Hence, the Vibration alone can eectively cure
unwanted behavior of your dog without a need for Static Shock.
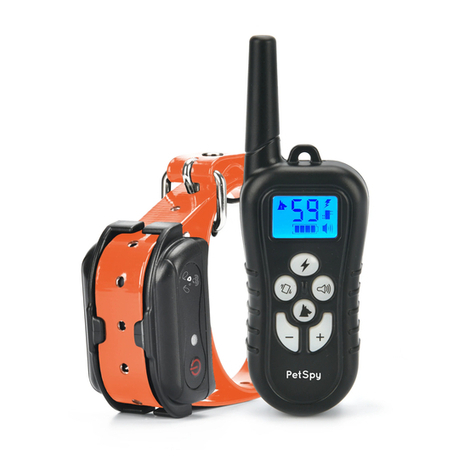
PETSPY ADVANCED DUAL DOG TRAINING COLLAR OPERATION GUIDE
Preparing Remote Transmitter for your rst use:
•Please charge the Remote Transmitter for approximately 30 minutes.
•e Charging Port is located on the top of the transmitter (next to antenna).
•During the charge, the Battery Indicator icon will be ashing. When the battery is fully
charged the indicator will turn solid, notifying you that the charging is completed.
REMOTE TRANSMITTER OPERATION
1. Press the Power Button to turn on the remote. Press and hold the Power Button for
about 3 seconds to turn it o.
2. You can select which Receiver is being controlled (A, B, or A&B) by pressing the
Menu/Mode Button.
3. Press the Vibration Button to deliver the Vibration Stimulation to your dog.
4. Press the Static Shock Button to deliver the Static Shock Stimulation to your dog.
5. Press the Receiver Tone Button to deliver beeping noise to your dog during the
Sound Training.
6. e Remote Transmitter will enter into Standby Mode if not operated for 2 minutes
and will turn O aer 5 minutes.
7. In Standby Mode, press Menu/Mode Button to wake the Transmitter up.
REMOTE TRANSMITTER PROGRAMMING
1. Turn ON the Remote Transmitter by pressing the Power Button
2. Press and Hold the Menu/Mode Button for 3 seconds until you hear a beep to enter
the Programming Mode. e Receiver to be programmed (A, B, or A&B) will start
ashing. If Receiver A is ashing, but you would like to program Receiver B or both Re-
ceivers A&B, simply use 2 Tone Buttons (upper le and upper right) to switch between
the Receivers.
3. When desired Receiver is selected to be programmed (A, B, or A&B), press Menu/
Mode Button to start setting it up. e setup process starts with the Receiver Tone
Level. Use 2 Tone Buttons (upper le and upper right) to adjust its Level and then press
Menu/Mode Button to conrm. Next, it will take you to the Vibration Intensity Level
setup, Static Shock Intensity Level setup, and nally to the Transmitter Tone Level
setup.
4. When Programming is complete, press and hold Menu/Mode button to save your
settings.
5. You can repeat Steps 2-4 to program Receiver A, Receiver B, or both Receivers A&B.

PREPARING RECEIVER COLLAR FOR YOUR FIRST USE:
Make sure that Receiver Collar is charged before proceeding to the training:
1. Carefully open the rubber cover over the charging port and connect the charger.
2. Red LED light will indicate that receiver is charging. It takes about 30 minutes to fully
charge it. Make sure to unplug the collar aer 30 minutes to avoid dammage.
3. Put the rubber cover back over the charging port to ensure collar is fully waterproof.
RECEIVER COLLAR OPERATION
1. When Receiver is charged and turned on, it always stays in the Sleep/Standby Mode
waiting for any movement to activate it.
2. When Receiver is activated by a movement, the green LED will start ashing every
4-5 seconds indicating that it’s ready to receive any command from remote.
3. If receiver does not start ashing aer a movement or it does not respond to any
commands from remote - it needs to be charged.
SYNCHRONIZING REMOTE TRANSMITTER WITH RECEIVER COLLAR
Sometimes the collar can loose connectivity with remote. e x is pretty quick and
simple. Follow these steps to re-synchronize the system:
1. Make sure that Transmitter and Receiver are fully charged. Turn o the Receiver.
2. Press and hold the Power button on the Receiver Collar for about 5 seconds to enter
the Synchronization Mode - the receiver will beep rst and right aer that green LED
will start ashing.
3. While green LED is ashing, send any correction command from remote. We recom-
mend you to send a Vibration command by pressing and holding the Vibration button
on remote until you feel that collar is vibrating. If no command is sent, the ashing will
stop aer 20 seconds.
4. e system is now resynchronized - try to send any command to test it.
If you have 2 collars, repeat the above steps for both collars A and B. Make sure to set
the Remote to mode A when synchronizing the rst collar, and then switch it to B to
synchronize the second collar.

TESTING PETSPY DOG TRAINING SYSTEM
Static Shock Test:
•Take the included Test Light Kit and put its metal wire
on the Receiver Collar’s Contact Points.
•Press the Static Shock Button on the Remote Transmitter.
•e Test Light will light up indicating that Shock is working.
•e higher the Static Shock level is the brighter it should be.
Vibration Test:
•Press the Vibration Button on the Remote Transmitter.
•e Receiver Collar will vibrate indicating that Vibration Stimulation is working.
•Try to adjust the level of vibration using the Knob and see how the intensity is chang-
ing.
Receiver Tone Test:
•Press the Receiver Tone Button on the Remote Transmitter.
•e Receiver Collar will beep indicating that Receiver Tone is working.
COLLAR FITTING:
CAUTION: proper tting and placement of PetSpy Dog Training Collar is important
for eective training. e collar must t your dog secure, but loose enough to allow
one nger space between the collar and your dog’s neck. e Contact Points must have
direct contact with your pet’s skin on the underside of dog’s neck.
Putting the Collar On:
1. Have your dog standing comfortably.
2. Center the Contact Points beneath the dog’s neck and touching the skin.
3. e Collar should t secure, yet loose enough to allow one nger space between the
collar and dog’s neck.
4. Allow your dog to wear the collar for several minutes and check the tment again
when your dog becomes more comfortable wearing the collar.
Please refer to PetSpy Dog Training Guide E-Book for more dog training tips. If for
some reason you don’t have it - just send us an email or visit
www.petspystore.com
to
download it - it is free!

GENERAL TIPS
• PetSpy Dog Training Collar is not design to be worn constantly. We recommend you
to limit collar usage just for active Training Sessions. Always take o the collar when
you leave your dog unattended.
• Most dogs will feel uncomfortable when wearing collar for the rst time. Don’t use
any commands until your dog has gotten used to the collar which will normally take
several days.
• Eliminate one unwanted action or teach one obedience command at a time. If you
move to quickly with training, your dog may become confused.
• Be consistent in your training. Give your dog the same stimulation for each unwanted
action. We suggest you to use Vibration Stimulation before starting the Static Shock
Stimulation. If you follow this training method, your dog will learn that Static Shock
Stimulation might come aer Vibration. Hence, the Vibration Stimulation alone can
eectively cure unwanted behavior of your dog.
• Do not over-correct. Use as few stimulation as possible to train your dog.
• Following a predened scenario in all Training Sessions can dramatically improve
your chances of success.
• Should your dog react to the training by hiding or reacting fearfully, redirect his atten-
tion to a simple command such as “Speak” or “Sit” to calm him down. Use treats to help
your dog understand which commands have been done correctly.
TROUBLESHOOTING
My PetSpy Advanced Dog Training Collar is not working?
•Make sure that both the Remote Transmitter and Receiver Collar are fully charged.
•Move or shake the Receiver Collar to make sure that green LED light starts ashing
every 4-5 seconds.
•Please follow the steps from
Synchronizing Remote Transmitter with Receiver Collar
paragraph to make sure that transmitter is in sync with the collar.
CAUTION: While the Receiver Collar is waterproof, the Remote Transmitter is not and
must be kept in a dry place! Water can irreversibly damage the Remote Transmitter!
REGULAR MAINTENANCE AND STORAGE
•When not used, PetSpy Dog Training System must be kept in a dry place just like any
other electronic devices.
•To prevent batteries from damage, charge both the Transmitter and Receiver regularly
even when it’s not used. Make sure you do not charge it for longer than 30 minutes.
•Clean the receiver and contact points weekly. Make sure that contact points are tightly
attached to the collar
•Check your dog’s neck for irritation weekly.

FREQUENTLY ASKED QUESTIONS
1. Is PetSpy Receiver Collar waterproof?
Answer:
Yes, the Receiver Collar is fully waterproof.
2. Is PetSpy Remote Transmitter waterproof?
Answer:
No, the Remote Transmitter must be kept away from water.
3. Once my pet is trained does he have to continue to wear the collar?
Answer:
You might have to reinforce training with the collar from time to time.
4. How long can I continuously deliver Vibration or Static Shock to my pet?
Answer:
e max amount of time you can deliver the Vibration or Static Shock to you
dog continuously is 10 seconds. e remote transmitter will time out and the Vibration
or Static Shock button must be released and pressed again.
CAUTION: While it is ne to use the Vibration for up to 10 seconds, it is highly recom-
mended to limit the continuous Static Shock delivery to no more than 3 seconds (the
smaller the dog the shorter it should be).
5. What should I do if my dog’s neck becomes red and irritated?
Answer:
Stop using the product immediately for at least 48 hours. If the condition
persists beyond 48 hour please consult your veterinarian.
6. Can I attach a leash to the Receiver collar?
Answer:
No, this can result in pulling the contact points to tightly against your dog’s
neck. Use a separate collar when needed.
7. How long can I leave a Receiver Collar on my dog?
Answer:
e Collar is not design to be worn continuously. We recommend the collar to
be worn only during training sessions or other outdoor activities.
8. How long should the training session be?
Answer:
Training sessions should be kept short and positive (10-15 minutes).
Should you have any questions, feel free to contact us at support@petspystore.com

With PetSpy Advanced Dual Dog Training System you can train up to 2 Dogs in one
session using the same Remote Transmitter. at is how it looks like on the Transmit-
ter’s LCD Screen:

support@petspystore.com
PETSPY INC, 2015-2017
TERMS OF USE AND LIMITATION OF LIABILITY
1. Terms of Use
is Product is designed to be used with dogs where training is desired. e specic
temperament of your dog may not work with the product. We do not recommend you
to use this product if your pet is less than 8 lbs or under 6 months old, or if your pet
is aggressive. If you are unsure whether this is appropriate for your pet, please consult
your veterinarian, or a certied trainer. Proper use includes reviewing the entire User
Manual and Dog Training Guide provided with the product. Pay extra attention to all
Caution statements.
2. No Unlawful or Prohibited Use
is Product is designed for use with dogs only. PetSpy dog training collar is not
intended to harm, injure, or provoke. Using this product in a way that is not intended
could result in violation of Federal, State or local laws.
3. Limitation of Liability
In no event shall we be liable for any direct, indirect, punitive, incidental, special or
consequential damages, or any damages whatsoever arising out of or connected with
the use or misuse of this Product. Buyer assumes all risks and liability from the use of
this Product.
4. Modication of Terms and Conditions
We reserve the right to change the terms, conditions and notices under which this
Product is oered.
WARRANTY
PetSpy Dog Training Collar comes with a
Limited 1-Year Warranty
. If you ever have
any issue with your training collar - please send us an email and we will be happy to
assist you! We also oer an extended customer support program.
Table of contents
Other PetSpy Pet Care Product manuals

PetSpy
PetSpy p-collar 320 User manual

PetSpy
PetSpy M919 User manual

PetSpy
PetSpy M686 User manual

PetSpy
PetSpy M686 User manual

PetSpy
PetSpy M86-1 User manual

PetSpy
PetSpy p-collar 620 User manual

PetSpy
PetSpy p-collar 620 User manual

PetSpy
PetSpy XPro User manual

PetSpy
PetSpy T500 User manual

PetSpy
PetSpy M919 User manual