manuals.online logo
Brands
  1. Home
  2. •
  3. Brands
  4. •
  5. Pfister
  6. •
  7. Plumbing Product
  8. •
  9. Pfister Bacci 8P5-BA User manual

Pfister Bacci 8P5-BA User manual

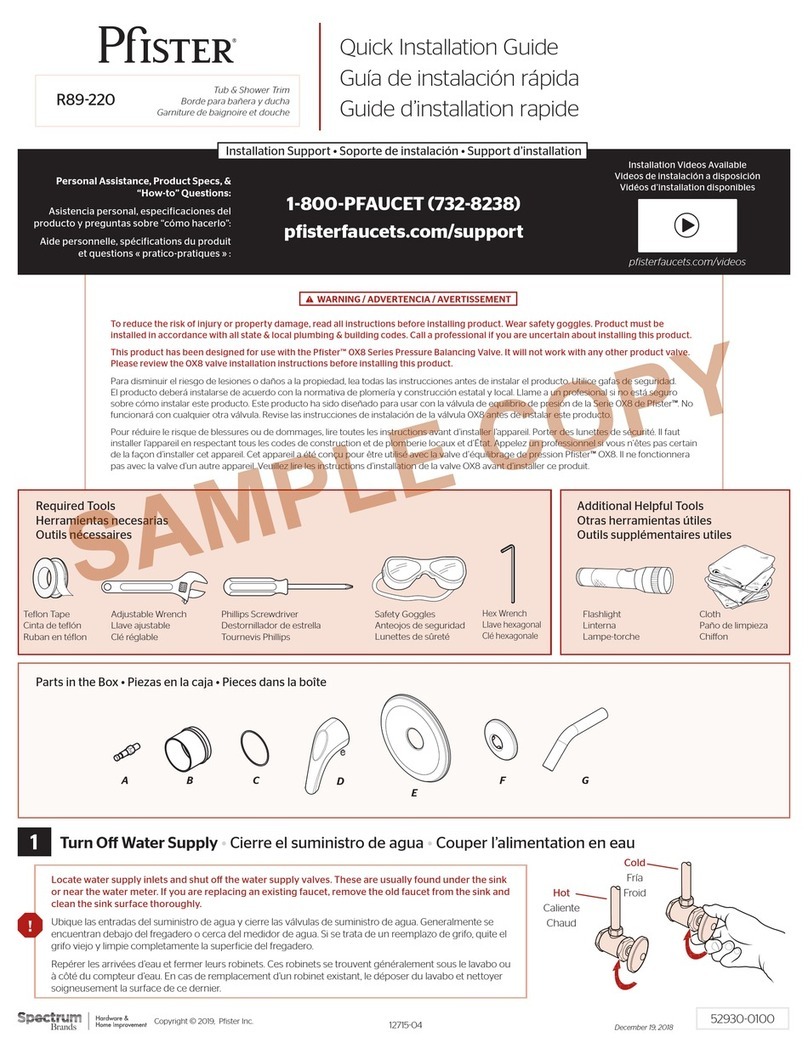
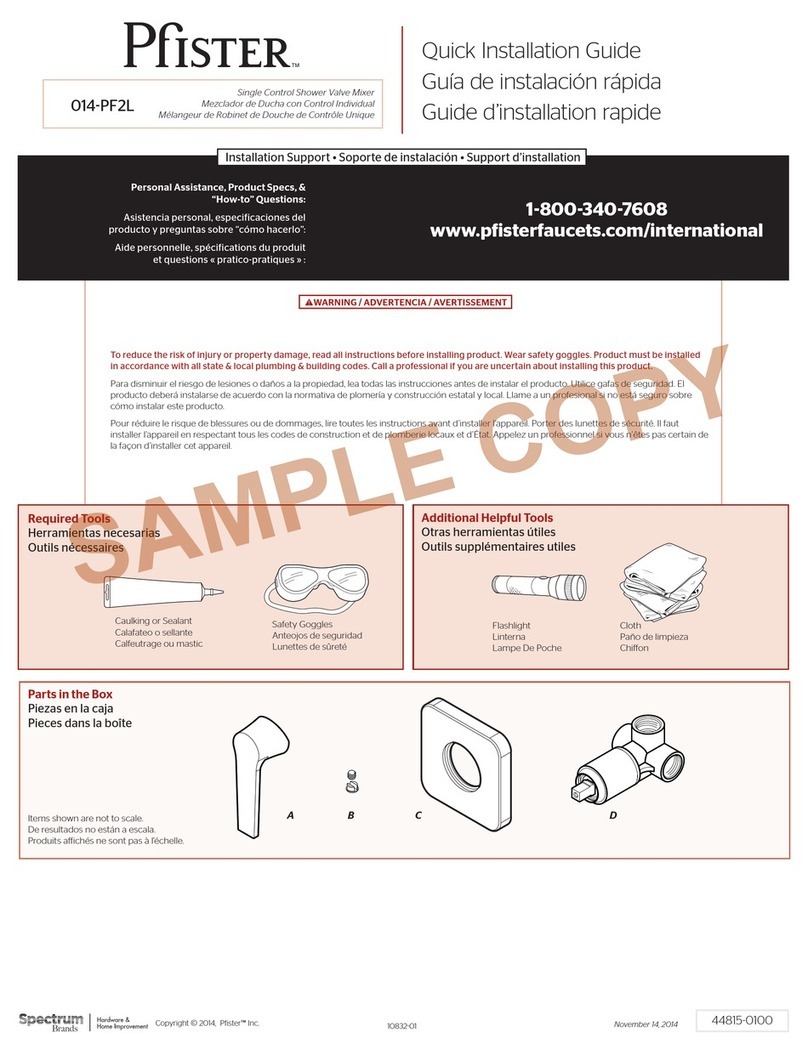
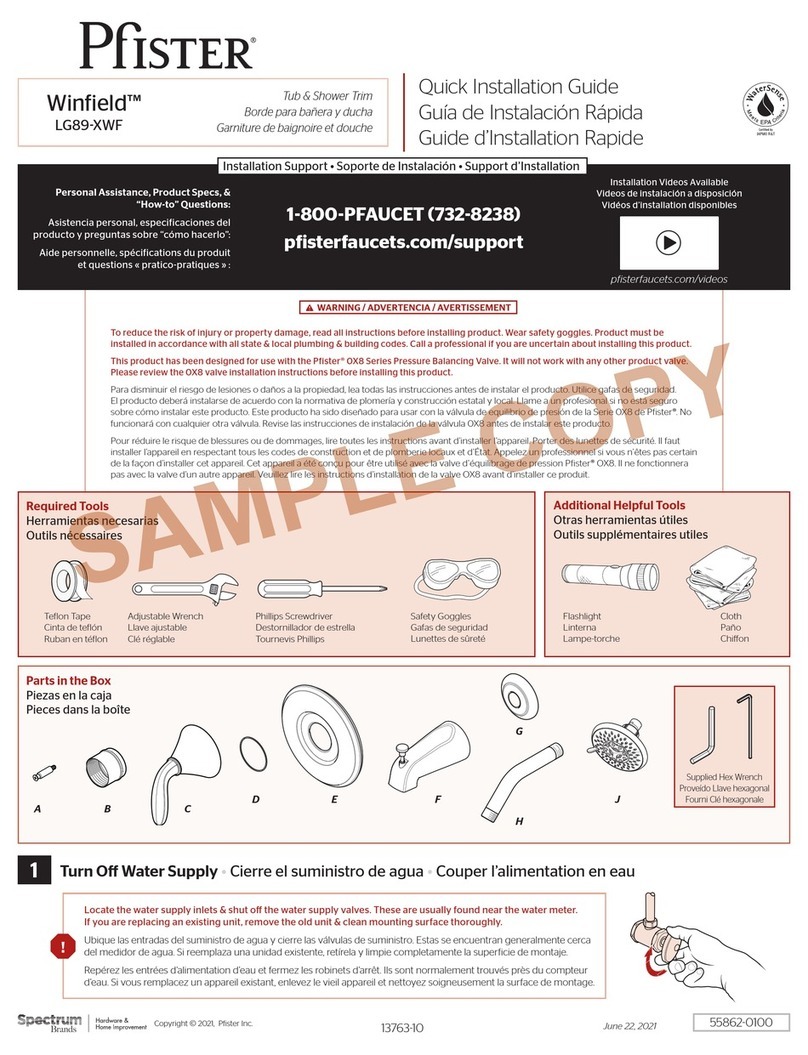
Required Tools
Herramientas necesarias
Outils nécessaires
Additional Helpful Tools
Otras herramientas útiles
Outils supplémentaires utiles
Telon Tape
Cinta de telón
Ruban en télon
Flashlight
Linterna
Lampe-torche
Cloth
Paño de limpieza
Chion
Parts in the Box • Piezas en la caja • Pieces dans la boîte
Adjustable Wrench
Llave ajustable
Clé réglable
Phillips Screwdriver
Destornillador de estrella
Tournevis Phillips
483950200
August 9, 2016
Safety Goggles
Anteojos de seguridad
Lunettes de sûreté
Quick Installation Guide
Guía de instalación rápida
Guide d’installation rapide
8P5BA/ 8P8BA
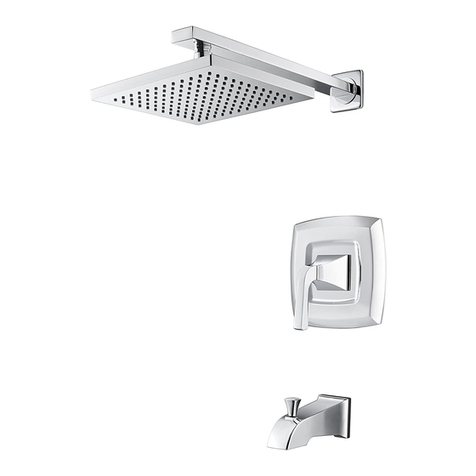
Bacci™Tub & Shower Trim
Borde para bañera y ducha
Garniture de baignoire et douche
To reduce the risk of injury or property damage, read all instructions before installing product. Wear safety goggles. Product must be
installed in accordance with all state & local plumbing & building codes. Call a professional if you are uncertain about installing this product.
This product has been designed for use with the Pister™ 0X8 Series Pressure Balancing Valve. It will not work with any other product valve.
Please review the 0X8 valve installation instructions before installing this product.
Para disminuir el riesgo de lesiones o daños a la propiedad, lea todas las instrucciones antes de instalar el producto. Utilice gafas de seguridad.
El producto deberá instalarse de acuerdo con la normativa de plomería y construcción estatal y local. Llame a un profesional si no está seguro
sobre cómo instalar este producto. Este producto ha sido diseñado para usar con la válvula de equilibrio de presión de la Serie 0X8 de Pister™. No
funcionará con cualquier otra válvula. Revise las instrucciones de instalación de la válvula 0X8 antes de instalar este producto.
Pour réduire le risque de blessures ou de dommages, lire toutes les instructions avant d’installer l’appareil. Porter des lunettes de sécurité. Il faut
installer l’appareil en respectant tous les codes de construction et de plomberie locaux et d’État. Appelez un professionnel si vous n’êtes pas certain
de la façon d’installer cet appareil. Cet appareil a été conçu pour être utilisé avec la valve d’équilibrage de pression Pister™ OX8. Il ne fonctionnera
pas avec la valve d’un autre appareil. Veuillez lire les instructions d’installation de la valve OX8 avant d’installer ce produit.
WARNING / ADVERTENCIA / AVERTISSEMENT
Copyright © 2015, Pister™ Inc.
ADG
1181600
Turn O Water Supply •Cierre el suministro de agua •Couper l’alimentation en eau
1
Locate water supply inlets and shut o the water supply valves. These are usually found under the sink
or near the water meter. If you are replacing an existing faucet, remove the old faucet from the sink and
clean the sink surface thoroughly.
Ubique las entradas del suministro de agua y cierre las válvulas de suministro de agua. Generalmente se
encuentran debajo del fregadero o cerca del medidor de agua. Si se trata de un reemplazo de grifo, quite el
grifo viejo y limpie completamente la supericie del fregadero.
Repérer les arrivées d’eau et fermer leurs robinets. Ces robinets se trouvent généralement sous le lavabo ou
à côté du compteur d’eau. En cas de remplacement d’un robinet existant, le déposer du lavabo et nettoyer
soigneusement la surface de ce dernier.
Hot
Caliente
Chaud
Cold
Fría
Froid
E
C
F
B
Installation Support • Soporte de instalación • Support d’installation
Personal Assistance, Product Specs, &
“How-to” Questions:
Asistencia personal, especiicaciones del
producto y preguntas sobre “cómo hacerlo”:
Aide personnelle, spéciications du produit
et questions « pratico-pratiques » :
18003407608
www.pisterfaucets.com/international
SAMPLE COPY
2
2
No Parts Required for This Step
No se necesitan piezas para este paso
Aucune pièce nécessaire pour cette étape
Phillips Screwdriver
Destornillador de estrella
Tournevis Phillips
Prepare for Installation
Preparación para la instalación
Préparez pour installer
2A Work Area Inspection
Inspección del área de trabajo
Contrôle de la zone de travail
1 1⁄4" (32 mm) Dia.
1 1⁄4" (32 mm) Dia.
8" (203 mm) Min.
4 3⁄4" (121 mm) Dia.
4" (102 mm) Dia. for Thin Wall
Installation • para instalaciones
en paredes delgadas • pour
pose sur cloison mince
30" (76 cm)
Tub & Shower
Tina y ducha
Bain et douche
48" (122 cm)
Tub & Shower
Tina y ducha
Bain et douche
48" (122 cm)
Shower Only
Ducha solamente
Douche seule
30" (76 cm)
Shower Only
Ducha solamente
Douche seule
3
B
C
Place vertical in o position.
Coloque vertical en posición
de apagado.
Placez vertical en position
d’arrêt.
3A 3B
A
A
3Install Valve and Cartridge - Instale la válvula y el cartucho - Installez le robinet et la cartouche
4Install Flange and Handle - Instale la brida y el mango - Installez la bride et gérer
A
No Tools Required for This Step
No se necesitan herramientas para este paso
Aucun outil n’est nécessaire pour cette étape
4B4A
CB
Remove Sleeve and throw it
away after installation.
Retire la manga y tirarlo a la
basura después de la instalación.
Retirer manches et jetez-le après
l’installation.
PTFE plumber's tape
Cinta para plomería PTFE
Ruban PTFE de plombier
Adjustable Wrench
Llave ajustable
Clé à mollette
Pipe Wrench
Llave de tubo
Clé à Tube
Propane Torch
Antorcha de Propano
Torche de Propane
Tools needed will vary • herramientas necesarias variarán • outils nécessaires varieront
4
5A
5B
5
4 1⁄16" – 4 3⁄16" (103 mm – 106 mm)
Telon Tape
Cinta de telón
Ruban en télon
Connect Shower Arm & Spout
Conecte el brazo de la ducha y el surtidor
Branchez le bras de douche & le bec
D E F
E
F
D
5
6
No Tools Required for This Step
No se necesitan herramientas para este paso
Aucun outil n’est nécessaire pour cette étape
Turn On Water & Flush
Active el suministro de agua y enjuague
Ouvrez l’eau et vidangez
6B 6C
6A Shower Functions • Funciones de la ducha • Fonctions de la douche
Hot
Caliente
Chaud
Cold
Fría
Froid
Allow full hot & full cold water to run for at
least 15 seconds each.
Deje correr el agua caliente y fría durante al menos
15 segundos cada una.
Permettez à l'eau chaude et l'eau froide de couler
au moins 15 secondes chacun.
15
sec
Turn on your water supply & check for any leaks.
Active el suministro de agua y revise si hay fugas.
Rétablissez l’alimentation en eau et vériiez s’il y a des fuites.
Pull up to turn on shower.
Hale hacia arriba para activar
la ducha.
Tirez vers le haut pour mettre
la douche en marche.
G
G
Open
Abierta
Ouverte
For Additional Installation Help:
Para la instalación adicionales de ayuda:
Pour aider à l’installation supplémentaires:
1800PFAUCET (7328238)
pisterfaucets.com
SAMPLE COPY

This manual suits for next models

1

Other Pfister Plumbing Product manuals

Pfister Selia F-042-SL User manual

Pfister

Pfister Selia F-042-SL User manual

Pfister Contempra LG89-XNC User manual

Pfister

Pfister Contempra LG89-XNC User manual

Pfister Pasadena R89-7PD User manual

Pfister

Pfister Pasadena R89-7PD User manual

Pfister Cantara F-049-CR User manual

Pfister

Pfister Cantara F-049-CR User manual

Pfister Zeelan LF-042-ZL User manual

Pfister

Pfister Zeelan LF-042-ZL User manual

Pfister Weller R89-1WR User manual

Pfister

Pfister Weller R89-1WR User manual

Pfister Universal Tub and Shower R90-XMNX User manual

Pfister

Pfister Universal Tub and Shower R90-XMNX User manual

Pfister Tegley F-529-7TG User manual

Pfister

Pfister Tegley F-529-7TG User manual

Pfister Marielle LF 46 Series User manual

Pfister

Pfister Marielle LF 46 Series User manual

Pfister Rhen LG6-4RH User manual

Pfister

Pfister Rhen LG6-4RH User manual

Pfister Avalon LG48-CB1 User manual

Pfister

Pfister Avalon LG48-CB1 User manual

Pfister Cassano F-049-CS User manual

Pfister

Pfister Cassano F-049-CS User manual

Pfister Vosa F-529-7VV User manual

Pfister

Pfister Vosa F-529-7VV User manual

Pfister Park Avenue 016-FE0 User manual

Pfister

Pfister Park Avenue 016-FE0 User manual

Pfister Saxton 016-GL1 User manual

Pfister

Pfister Saxton 016-GL1 User manual

Pfister Deckard LG42-DAP User manual

Pfister

Pfister Deckard LG42-DAP User manual

Pfister Venturi LF-042-VN User manual

Pfister

Pfister Venturi LF-042-VN User manual

Pfister JX8-110A User manual

Pfister

Pfister JX8-110A User manual

Pfister Deckard R89-7DA User manual

Pfister

Pfister Deckard R89-7DA User manual

Pfister Raya F-529-7RY User manual

Pfister

Pfister Raya F-529-7RY User manual

Pfister Ashfield LG72 Series User manual

Pfister

Pfister Ashfield LG72 Series User manual

Pfister Halifax LF-048-HL User manual

Pfister

Pfister Halifax LF-048-HL User manual

Pfister Verve LG42-VRV User manual

Pfister

Pfister Verve LG42-VRV User manual

Pfister Tisbury 016-TB1 User manual

Pfister

Pfister Tisbury 016-TB1 User manual

Popular Plumbing Product manuals by other brands

KIBI F202 installation guide

KIBI

KIBI F202 installation guide

PolyJohn PS14 Series Operation & maintenance guide

PolyJohn

PolyJohn PS14 Series Operation & maintenance guide

Tylo Space Vision 200 Assembly instructions

Tylo

Tylo Space Vision 200 Assembly instructions

Grohe 34 308 manual

Grohe

Grohe 34 308 manual

Elkay ELUH2317 Series installation instructions

Elkay

Elkay ELUH2317 Series installation instructions

Price Pfister PARISA 39 Series Instruction sheets

Price Pfister

Price Pfister PARISA 39 Series Instruction sheets

Hans Grohe Focus M41 160 Eco 1jet Instructions for use/assembly instructions

Hans Grohe

Hans Grohe Focus M41 160 Eco 1jet Instructions for use/assembly instructions

Triton Aquatronic manual power shower Installation and operating instructions

Triton

Triton Aquatronic manual power shower Installation and operating instructions

resideo Braukmann MiniPlus FF06 installation instructions

resideo

resideo Braukmann MiniPlus FF06 installation instructions

oventrop Multidis SF operating instructions

oventrop

oventrop Multidis SF operating instructions

Grohe GROHTHERM 1000 COSMOPOLITAN 34 065 manual

Grohe

Grohe GROHTHERM 1000 COSMOPOLITAN 34 065 manual

FM Mattsson FMM Garda Instruction

FM Mattsson

FM Mattsson FMM Garda Instruction

Waterpik Technologies FN 20012813-F AB instruction manual

Waterpik Technologies

Waterpik Technologies FN 20012813-F AB instruction manual

Hans Grohe Marin Thermostat Set 27097000 Instructions for use/assembly instructions

Hans Grohe

Hans Grohe Marin Thermostat Set 27097000 Instructions for use/assembly instructions

BELLOSTA brunsin 5701/4L Installation instruction

BELLOSTA

BELLOSTA brunsin 5701/4L Installation instruction

American Standard Colony pro TU075507 installation instructions

American Standard

American Standard Colony pro TU075507 installation instructions

Spectrum Brands Pfister Kaylon F-048-KY Quick installation guide

Spectrum Brands

Spectrum Brands Pfister Kaylon F-048-KY Quick installation guide

Aito 16 installation, user and maintenance instructions

Aito

Aito 16 installation, user and maintenance instructions

manuals.online logo
manuals.online logoBrands
  • About & Mission
  • Contact us
  • Privacy Policy
  • Terms and Conditions

Copyright 2025 Manuals.Online. All Rights Reserved.