Pfister Sonterra LF-WL2-45 User manual
Other Pfister Plumbing Product manuals

Pfister
Pfister Bacci 8P5-BA User manual

Pfister
Pfister Raya F-529-ERYGS Operating and safety instructions

Pfister
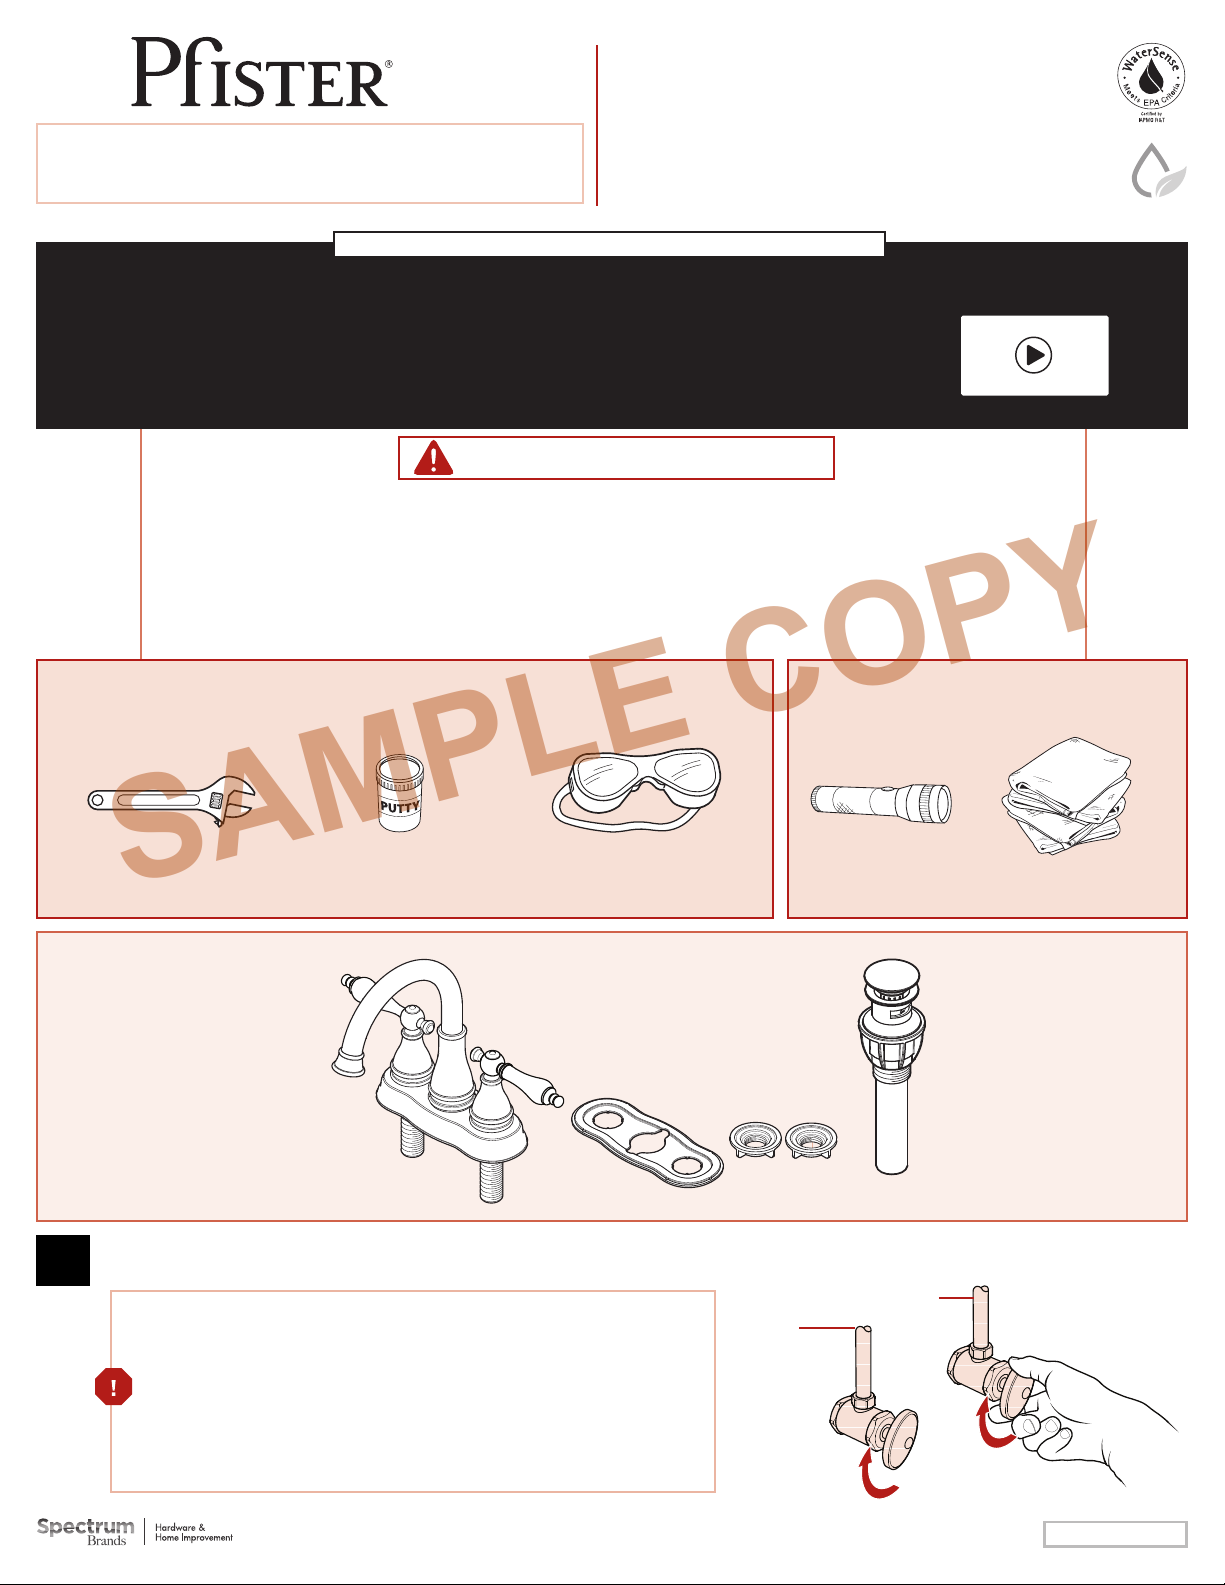
Pfister Hanover 529 Series User manual

Pfister
Pfister HANOVER F-043-TM User manual

Pfister
Pfister Sonterra F-WL8-SNP User manual

Pfister
Pfister Cantara F-048-CR User manual

Pfister
Pfister Traditional LG6-1TF User manual

Pfister
Pfister Zanna F-529-7ZNR User manual

Pfister
Pfister Pasadena LF-048-PDSL User manual

Pfister
Pfister Avalon LG42-CB1 User manual

Pfister
Pfister Tegley F-529-7TG User manual

Pfister
Pfister Contempra R89-SNC User manual

Pfister
Pfister Kenzo RT6-4DF User manual

Pfister
Pfister 0X6-270R User manual

Pfister
Pfister Kaylon F-049-KY User manual

Pfister
Pfister Venturi LF-042-VN User manual

Pfister
Pfister Marielle LF 46 Series User manual

Pfister
Pfister Jovi F-529-7JI User manual

Pfister
Pfister Karci LF-049-KA User manual

Pfister
Pfister PARISA LG42 Series User manual


Popular Plumbing Product manuals by other brands

Weka
Weka 506.2020.00E ASSEMBLY, USER AND MAINTENANCE INSTRUCTIONS

American Standard
American Standard DetectLink 6072121 manual

Kohler
Kohler K-6228 Installation and care guide

Uponor
Uponor Contec TS Mounting instructions

Fortis
Fortis VITRINA 6068700 quick start guide

Kohler
Kohler K-12183 Homeowner's guide


Hans Grohe
Hans Grohe AXOR Citterio E 36702000 Instructions for use/assembly instructions

baliv
baliv WT-140 manual

Kohler
Kohler Mira Eco Installation & user guide

BELLOSTA
BELLOSTA romina 0308/CC Installation instruction

Bristan
Bristan PS2 BAS C D2 Installation instructions & user guide

Crosswater
Crosswater Heir 18-31 installation instructions