manuals.online logo
Brands
  1. Home
  2. •
  3. Brands
  4. •
  5. Phaesun
  6. •
  7. Solar Panel
  8. •
  9. Phaesun Semiflex User manual

Phaesun Semiflex User manual

page 1
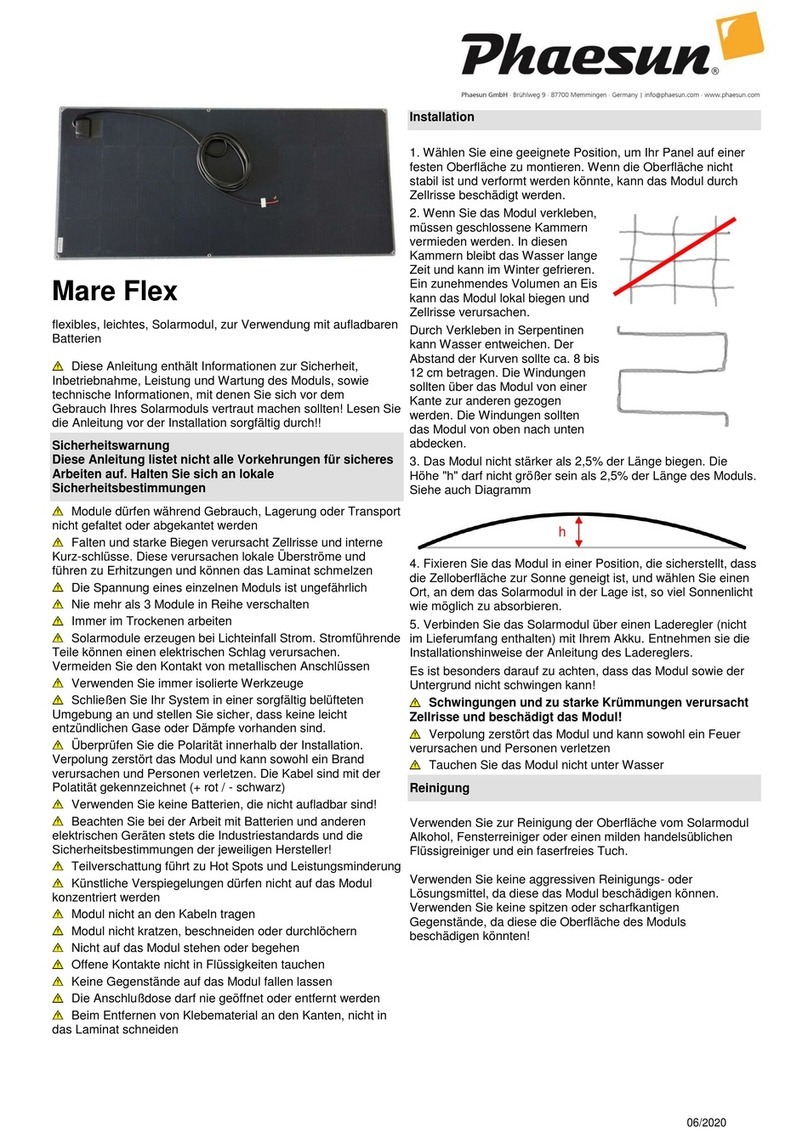
Phaesun Semiflex Modules
flexible, lightweight, solar module 12V, for the use with 12Volt
rechargeable batteries
This manual includes information about safety, operation,
capacity and maintenance of the module, as well as technical
instructions which you should make yourself familiar with before
you use your solar panel! Please read these instructions
carefully before installation!
Safety Warnings
This manual does not list all precautions needed for safe
work. Follow local guidelines.
Modules may not be folded or creased during handling and
storage
Folding and excessive bending will cause cracks and
internal short circuits which will create locally over currents
causing overheat and melting the encapsulation materials
Voltage of a single module is not dangerous
Never connect more than 2 modules in series (24V-systems)
Work under dry conditions with dry tools
Modules exposed to sunlight produce DC electricity. Live
parts may cause electric shock. Avoid contact with the metal
terminal leads in order to reduce the risk of electrical shock
Use electrically insulated tools when wiring modules
Connect your system in a carefully vented environment and
make sure there are no highly inflammable gases or vapours
existing
Observe proper polarity when connecting the module into an
electrical circuit. Reverse connection will damage the module
and may result in fire and/or personal injury (Figure1)
Do not use non-rechargeable batteries!
Please observe during work with batteries and electrical
equipment the industrial standards and safety instructions of
respective manufacturers!
Avoid partially shading modules under load to prevent hot
spots and/or reduction in power.
Artificially concentrated sunlight shall not be directed onto
the module.
Do not carry the module by the wires.
Do not cut, scratch, or puncture the Module.
Do not stand or walk on the module.
Do not immerse unconnected connectors in liquid
Do not drop or allow objects to fall onto the Module.
Do not attempt to open, or otherwise dismantle the junction
box
Installation
1. Choose an appropriate position to assemble your panel on a
solid surface. If the surface is not stable and could be deformed
the module can be damaged by cells cracks.
2. if you glue the module is will be
important to avoid closed
chambers. Water will stay in those
chambers for a long time and can
freeze in winter. Increasing volume
of ice can bend module locally and
cause cell cracks.
If you glue in serpentines water can escape. The distance of the
turns should be about 8 to 12 cm.
The turns should be pulled across
the module from one edge to the
other. The turns should cover the
module from the top to the bottom.
3. never bend the module more
than 13% of length. the hight “h”
should be max. 13% of length of
the module. see also diagram 1
4. underground has to be solid and stable. Mechanical
deformation will cause cell cracks in the glued module
5. Fix the module in a position that ensures the cell surface is
inclined towards the sun and choose a location where the solar
module is able to absorb as much sunlight as possible. Direct
the panel to the south side to achieve the best possible
charging performance.
6. Connect the solar panel over a charge controller (not
included in delivery) with your battery
Mind the correct polarity (+) and connect the terminal of the
extension cable correspondingly with the positive battery pole,
the charge controller, or any other optional 12V device and the
(-) terminal with the negative pole
Reverse connection will damage the module and may result
in fire and/or personal injury
Cleaning
Clean module surfaces only with alcohol, window cleaner, or a
mild soap & water solution and a lint-free cloth
Do not use any aggressive cleansing agents or solvents since
they may damage the module. Neither use any pointed, or
sharp-edged items on it since they might damage the panel
surface!
h
page 2
Troubleshooting
1. Function: You can check the solar panel output with a
multimeter.
2. Connections: Check the cabling for loose wires or corrosion.
Check the polarity!
3. Voltage: Check the open-circuit voltage between the positive
(+) and the negative (-) connections by means of a voltmeter
4. Battery: Make sure your battery is efficient and rechargeable.
In case of need consult your battery trader to get the exact
details and instructions of battery testing.
5. Capacity: Make sure your system is properly dimensioned
and consult your dealer to get more information and advice.
plus +
minus -
Figure 1
Diagram 1
Warranty
The legal period of warranty shall be applied. In case the
product is defect, please consult your manufacturer or dealer.
For warranty processing, or repair, please forward an invoice
copy and the reason for rejection and/or a description of
malfunction.
Phaesun GmbH grants a warranty of two years from the original
date of purchase of the new product on provided that it can be
excluded that the product has been used inappropriately.
Limitation of Warranty
The warranty does not include any damages to assembly
components caused by inappropriate use, handling or
assembly, repair, loss in transit, or damages through a
mischance or caused by fire, the intervention of third parties or
acts of God.
Disclaimer
The liability shall be limited to the repair of the defective product
or a replacement delivery for faulty workmanship respectively.
The liability of this warranty shall not include damages of any
other kind, any loss of profits or any other consequential loss,
liability for income which can customarily be achieved with the
product(s) sold, shall be ruled out.

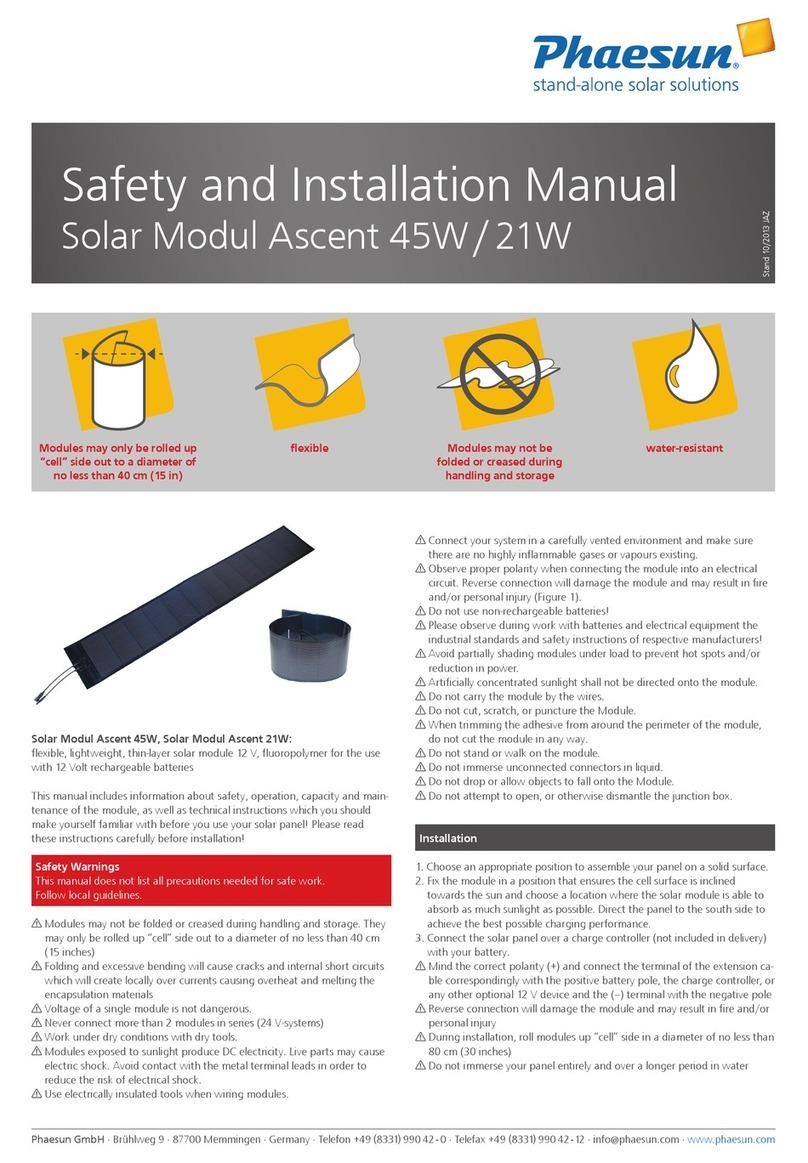
Other Phaesun Solar Panel manuals

Phaesun Sun Peak SPR Series Setup guide

Phaesun

Phaesun Sun Peak SPR Series Setup guide

Phaesun Solar Modul Ascent 45W Setup guide

Phaesun

Phaesun Solar Modul Ascent 45W Setup guide

Phaesun Mare Flex Series User manual

Phaesun

Phaesun Mare Flex Series User manual

Popular Solar Panel manuals by other brands

Technaxx TX-248 user manual

Technaxx

Technaxx TX-248 user manual

GÖLZ BL-400M user manual

GÖLZ

GÖLZ BL-400M user manual

Viessmann VITOSOL SERIES operating instructions

Viessmann

Viessmann VITOSOL SERIES operating instructions

wagner solar TRIC F duo installation instructions

wagner solar

wagner solar TRIC F duo installation instructions

Sharp NU-U240F1 Installation and user manual

Sharp

Sharp NU-U240F1 Installation and user manual

Sanyo HIP-215NKHE5 General installation manual

Sanyo

Sanyo HIP-215NKHE5 General installation manual

SolarPath SPSF Series installation manual

SolarPath

SolarPath SPSF Series installation manual

CanadianSolar CS Series installation manual

CanadianSolar

CanadianSolar CS Series installation manual

SOMFY 3.2W Solar Panel instructions

SOMFY

SOMFY 3.2W Solar Panel instructions

Kyocera KD130GX-LPU installation manual

Kyocera

Kyocera KD130GX-LPU installation manual

Sealey SPP01 instructions

Sealey

Sealey SPP01 instructions

Worcester FKS Series installation instructions

Worcester

Worcester FKS Series installation instructions

solarwatt Vision 60P style Packaging guide

solarwatt

solarwatt Vision 60P style Packaging guide

Sunforce 50039 manual 

Sunforce

Sunforce 50039 manual 

Technaxx TX-212 user manual

Technaxx

Technaxx TX-212 user manual

SereneLife SLSPNL10 user manual

SereneLife

SereneLife SLSPNL10 user manual

TP-Link Tapo A200 quick start guide

TP-Link

TP-Link Tapo A200 quick start guide

ULTRA BRIGHT SOLAR POST CAP manual

ULTRA BRIGHT

ULTRA BRIGHT SOLAR POST CAP manual

manuals.online logo
manuals.online logoBrands
  • About & Mission
  • Contact us
  • Privacy Policy
  • Terms and Conditions

Copyright 2025 Manuals.Online. All Rights Reserved.