8© 2018 Phase Holographic Imaging PHI AB | All rights reserved | www.phiab.se |support@phiab.se
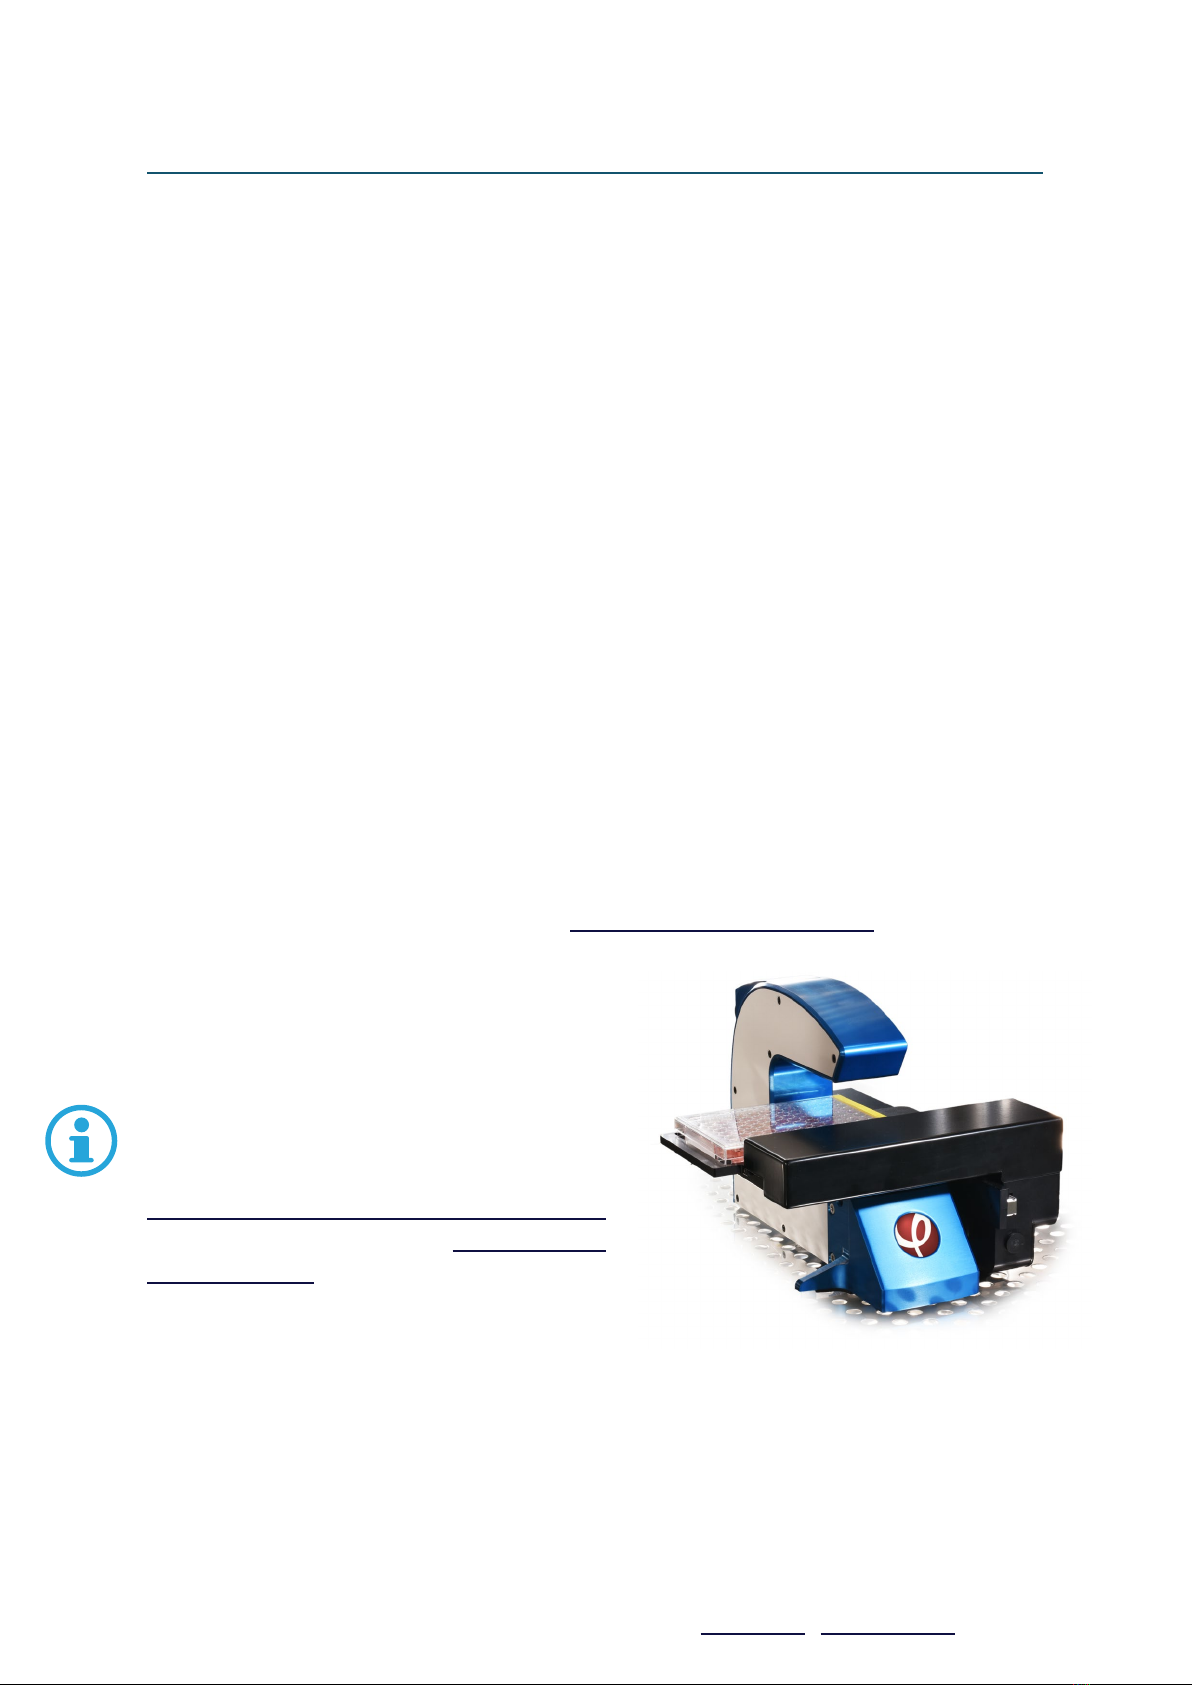
Introducon to HoloMonitor® M4
HoloMonitor M4 is a live cell imaging me-lapse cytometer, providing imaging and quan-
caon of unstained living adherent cells directly in their culture vessels. It can be used for
a wide range of applications, including:
• Cell count and proliferaon
• Cell culture quality assessment
• Cell morphology
• Cell molity and migraon
• Cell division/mitosis
• Toxicology
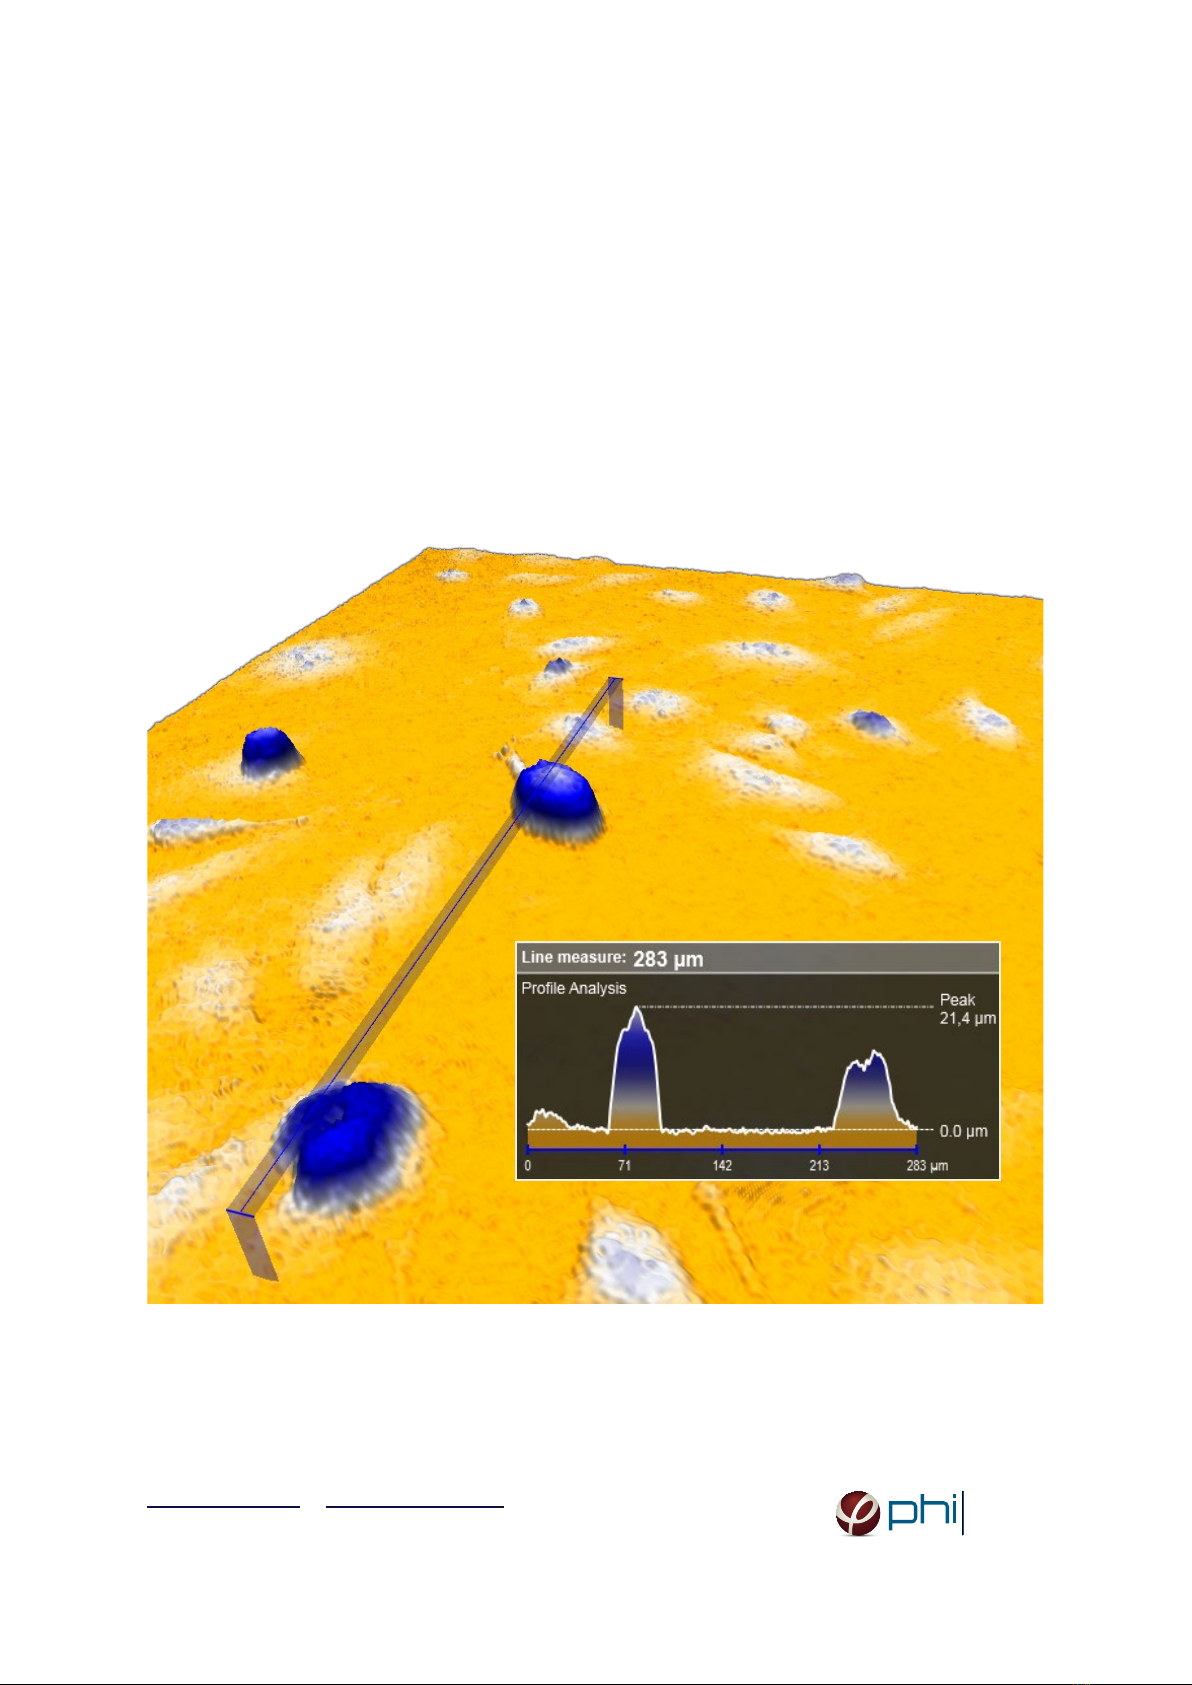
HoloMonitor is based on digital holography microscopy. This technique is based on measure-
ments of how the cells shi the phase of light that passes through the cells, and does not
require any kind of labeling or staining.
HoloMonitor is incubator compatible, allowing experiments to be performed in a cell culture
incubator or a hypoxia chamber. The cells can be analyzed while growing undisturbed in a
range of different cell culture vessels, see www.phiab.se/support/vessel.
HoloMonitor is equipped with a fixed sample
stage, or with a computer-controlled motorized
XYZ-stage.
Applicaons are described in applicaon notes,
such as cell molity, cell death, cell cycle and
toxicology. Applicaon notes are available at
and associated protocols at www.phiab.se/
support/protocol.