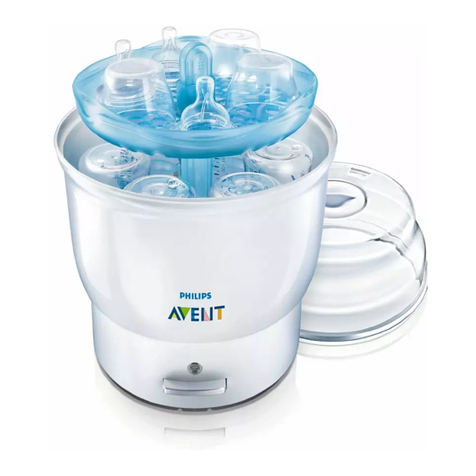
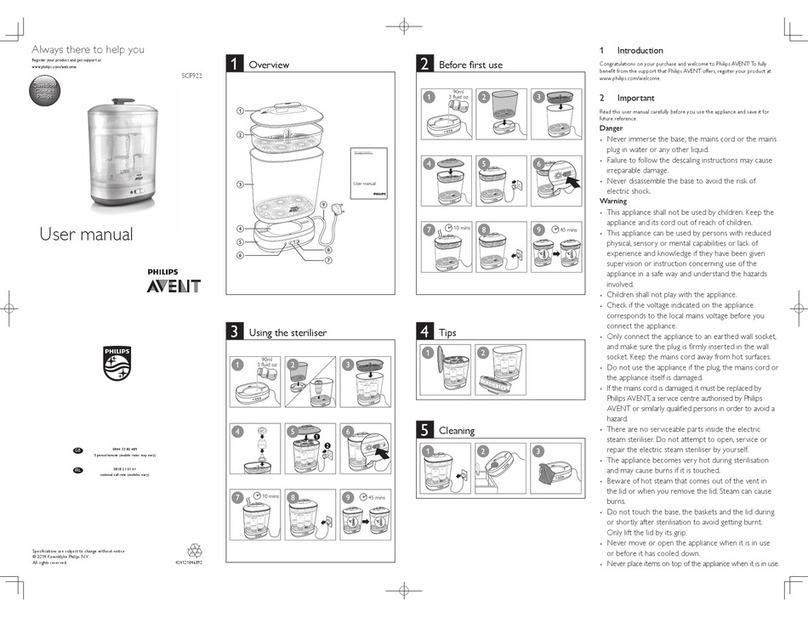
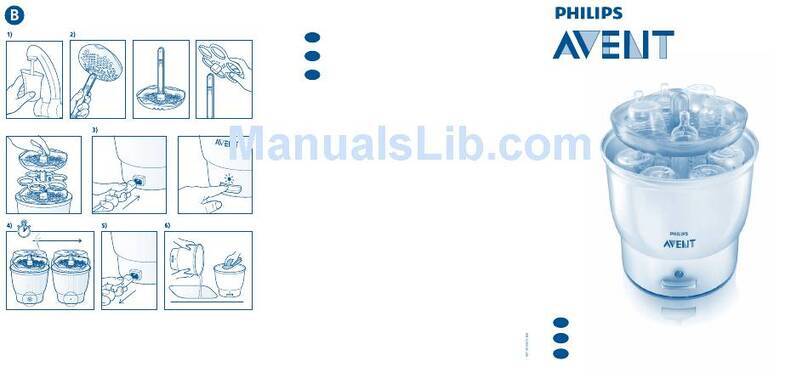
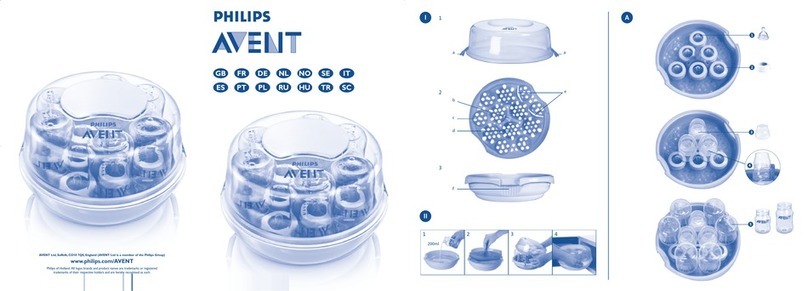
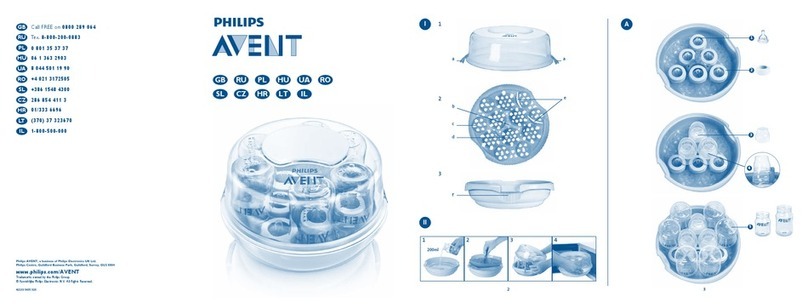
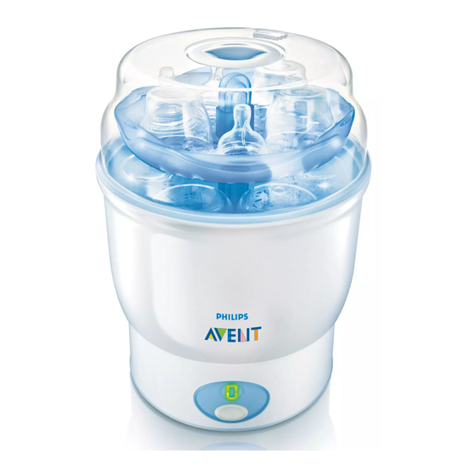
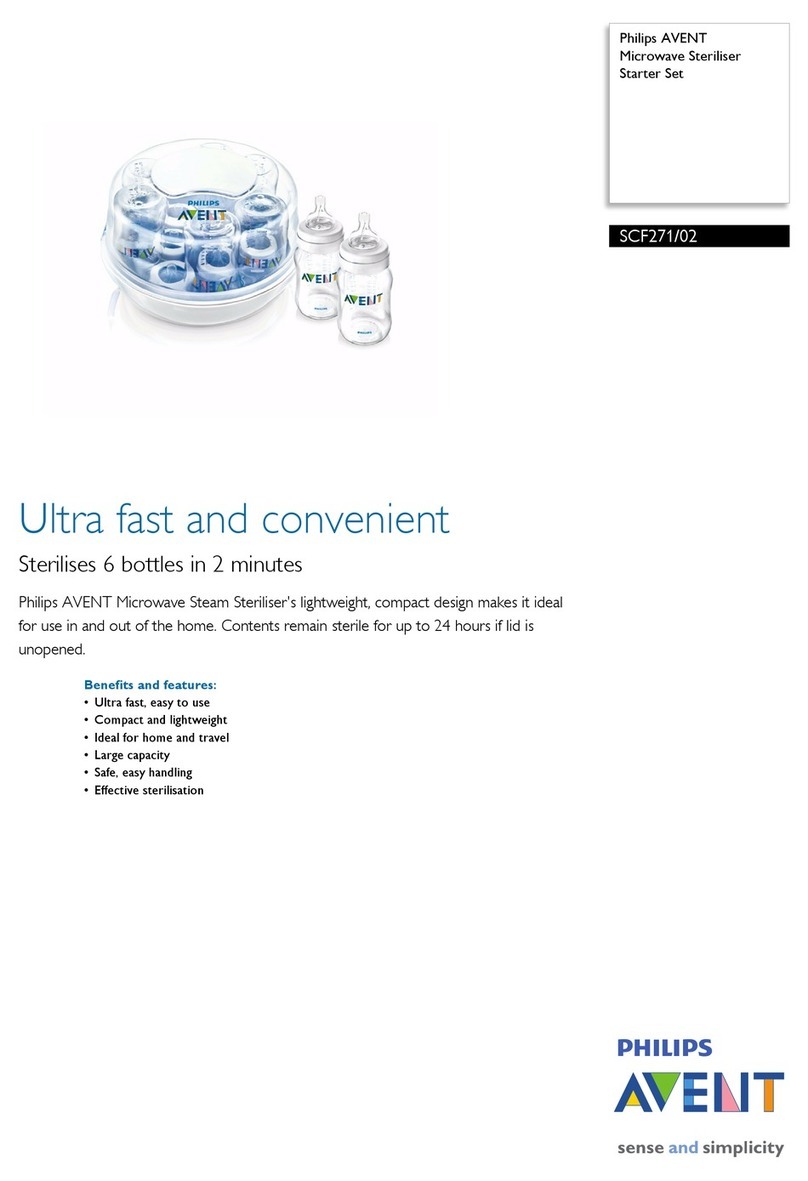
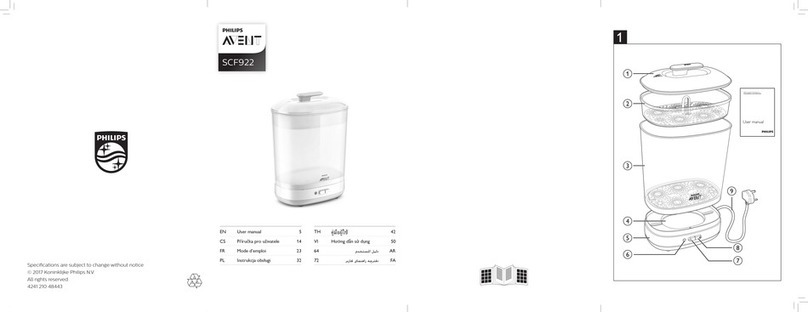
Philips AVENT SCF283 User manual

лчиттничюнльтцию.
глтчн.Бзвыдны
www.sotmarket.ru
дбняинфмциятв,
тзывы,бзыиы
Инструкция
Philips AVENT SCF281/02
Перейти в карточку товара
8 800 775 98 98

SCF283, SCF282, SCF281
Register your product and get support at
www.philips.com/welcome


1


SCF283, SCF282, SCF281
ENGLISH 6
10
15
19
23
27
31
36
40
44
49
53
58
62
66
70

6
Introduction
Congratulations on your purchase and welcome to Philips!To fully benefit from the support that
Philips offers, register your product at www.philips.com/welcome.
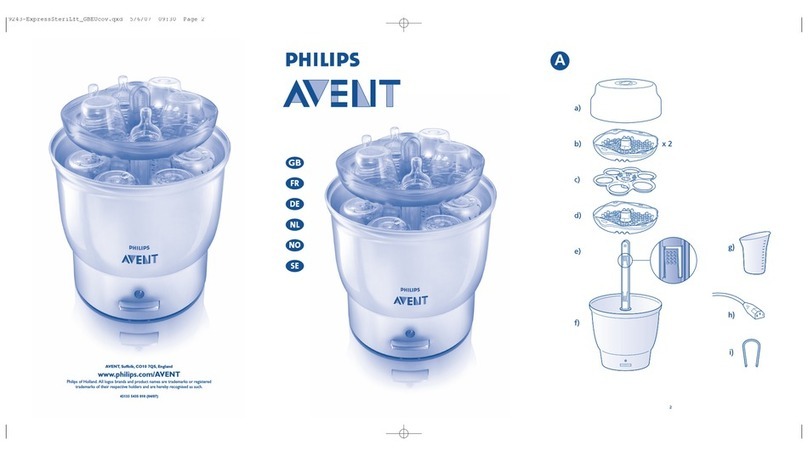
General description (Fig. 1)
1Lid
2Clips
3Basket
4Base
5Bottle cavities
6Teat cavities
7Dome cap holders
8Slots for large bottles
9Slots for breast pumps
Important
Read this user manual carefully before you use the microwave steriliser and save it for future
reference.
Warning
- Let the steriliser cool down before you remove it from the microwave. Be careful when you
move or open the steriliser, because the water in it can still be hot.
- Do not remove the lid from the steriliser immediately after sterilising, as the steam that comes
out is very hot. Let the steriliser cool down, as steam can cause burns.
- Only use water without any additives.
- Always make sure that the base is filled with water when you use the steriliser in the microwave.
- Do not put bleach or other chemicals in the steriliser.
- Do not place metal items in the steriliser, as this may cause damage to the microwave.
- Do not overload the steriliser, otherwise the items are not sterilised properly.
- Only sterilise baby bottles and other items that are suitable for sterilisers. Check the user
manual of the items you want to sterilise, to make sure they are suitable for sterilisers.
- This steriliser is intended for household use only.
Caution
- Children should be supervised to ensure that they do not play with the steriliser.
- Always make sure the base is filled with 200ml water before you start sterilising.
- After each use, pour any remaining water out of the steriliser after the water has cooled down.
- Always let the steriliser cool down before you store it.
- Always wash your hands before you touch the sterilised items.
- Do not expose the steriliser to extreme heat or direct sunlight.
- Do not place the steriliser on a hot surface.
- If you use a combination oven (with grill function), make sure that the oven or grill is switched
off and has cooled down before you put the steriliser in it.
Before first use
Before you use the steriliser for the first time, clean it thoroughly as described below.
1 Remove the basket from the base.
2 Fill a baby bottle or a measuring cup with exactly 200ml tap water and pour this into the
base (Fig. 2).
ENGLISH

The amount of water needs to be exactly 200ml.When the base contains too much water, the
items will not be sterilised properly.When the base does not contain enough water, this can
cause damage to the steriliser or microwave.
3 Place the basket in the base (Fig. 3).
4 Put the lid on the steriliser (1) and push down the clips to lock the lid into place (2). (Fig. 4)
5 Place the steriliser in the microwave. (Fig. 5)
Note: Make sure that the microwave is clean and dry before you start sterilising.
Note: If you have a combination oven, make sure that the oven or grill is switched off and has cooled
down before you put the steriliser in it.
6 Select the appropriate microwave wattage and time (see the table in chapter ‘Using the
microwave steriliser’) and let the microwave operate.
7 After the microwave has finished, open it and let the steriliser cool down before you remove
it from the microwave.
8 Pull open the clips (1) and remove the lid (2) (Fig. 6).
9 Pour out the remaining water and rinse the base and basket thoroughly.
Preparing for use
Filling the basket
Before you put the items to be sterilised in the basket, clean them thoroughly in the dishwasher or
clean them by hand with hot water and some washing-up liquid. Make sure you remove all milk residues.
Note: Make sure all items to be sterilised are completely disassembled and place them in the basket with
their openings pointing downwards, to prevent them from filling with water.
Note: Do not stack the items too closely together.The steam has to be able to circulate around the items
to ensure effective sterilisation.
There are several ways to fill the basket:
1 Place the bottles upside down in the bottle cavities. (Fig. 7)
2 Place the teats in the teat cavities (Fig. 8).
3 Place the screw rings loosely on top of the teats (Fig. 9).
Note: Larger screw rings only fit if placed in slanted position over the teats.
4 Place the dome caps in the dome cap holders (Fig. 10).
1 Insert the rim of the bottles into the slots for large bottles (Fig. 11).
2 Place the teats in the teat cavities (Fig. 12).
3 Place the screw rings loosely on top of the teats (Fig. 13).
Note: Larger screw rings only fit if placed in slanted position over the teats.
4 Place the dome caps in the dome cap holders (Fig. 14).
ENGLISH 7
1 Place the storage cups upside down in the basket (Fig. 15).
2 Place the lids vertically around the bottles. (Fig. 16)
Do not place the electrical parts in the steriliser.
1 Fully disassemble the breast pump.
2 Insert the rim of the pump body in the breast pump slots in the bottom of the
basket (Fig. 17).
3 Place the bottles upside down in the bottle cavities (Fig. 18).
4 Place the remaining non-electrical parts of the breast pump in any unobstructed space in the
basket (Fig. 19).
Note: Make sure steam can circulate around these parts.
Only place items in the steriliser that are suitable for sterilising. Do not sterilise your bottle
brush or items that are filled with liquid, e.g. teethers filled with cooling fluid.
Note: Before you sterilise bottles and other items, clean them first.
1 Remove the basket from the base.
2 Fill a baby bottle or measuring cup with exactly 200ml tap water and pour this into the
base (Fig. 2).
The amount of water needs to be exactly 200ml.When the base contains too much water, the
items will not be sterilised properly.When the base does not contain enough water, this can
cause damage to the steriliser or microwave.
3 Place the basket in the base (Fig. 3).
4 Place the items to be sterilised in the basket (see chapter ‘Preparing for use’).
5 Put the lid on the steriliser (1) and push down the clips to lock the lid into place (2) (Fig. 4).
6 Place the steriliser in the microwave. (Fig. 5)
Note: Make sure that the microwave is clean and dry before you start sterilising.
7 Select the appropriate microwave wattage and time (see table below) and let the microwave
operate.
Note: If you have a combination oven, make sure that the oven or grill is switched off and has cooled
down before you put the steriliser in it.
Note: Do not exceed the sterilising time indicated in the table.
ENGLISH8

Wattage Sterilising time Cool-down time
1200W-1850W 2min. 2min.
850W-1100W 4min. 2min.
500W-800W 6min. 2min.
8 After the microwave has finished, open it and let the steriliser cool down before you remove
it from the microwave.
Be careful, hot steam may come out of the microwave.
9 Remove the steriliser from the microwave.
Note: Make sure you keep the steriliser level to avoid leaking or spilling hot water.
Note:The sterilised items remain sterile for up to 24 hours in the microwave steriliser if you do not
remove the lid.
10 Pull open the clips (1) and remove the lid (2) (Fig. 6).
11 Remove the bottles and other items from the basket. Use the tongs to remove the smaller
items.
Be careful, hot steam may come out of the steriliser and the sterilised items may still be hot.
12 When you have removed the sterilised items, pour out the remaining water, rinse the base
and basket thoroughly and wipe all parts dry.
Cleaning
Clean the lid, the basket and the base after every use, to prevent scale from building up.
Never use scouring pads, abrasive cleaning agents or aggressive liquids such as bleach, petrol or
acetone to clean the steriliser.
Note: Let the steriliser cool down before you clean it.
1 Clean the steriliser parts in hot water with some washing-up liquid.
Note:You can also clean the steriliser parts in the dishwasher.
2 After cleaning, dry all parts properly.
Note:After cleaning, store the steriliser in a clean, dry place.
If you need service or information or if you have a problem, please visit the Philips website at
www.philips.com or contact the Philips Consumer Care Centre in your country (you find its
phone number in the worldwide guarantee leaflet). If there is no Consumer Care Centre in your
country, go to your local Philips dealer.
ENGLISH 9

10
Philips!
Philips ,
www.philips.com/welcome.
1
2
3
4
5
6
7
8
9
,
.
- , .
, ,
.
- ,
. ,
.
- .
- ,
.
- .
- ,
.
- , ,
.
- , .
,
, .
- .
- , .
- , , 200 .
- , .
- , .
- , .
- .
- .
- ( ), , ( )
, .

, , -
.
1 .
2 200
(.2).
200.,
.
,.
3 (.3).
4 (1),
(2).(.4)
5 .(.5)
: , ,
.
: , , ( )
, .
6 (
“”).
7 ,
,.
8 (1),,(2)(.6).
9 .
,
.
.
: , , ,
, , .
: .
, .
.
1 .(.7)
2 (.8).
3 (.9).
: -
.
11

4 (.10).
1 (.11).
2 (.12).
3 (.13).
: -
.
4 (.14).
1 (.15).
2 .(.16)
.
1 .
2
(.17).
3 (.18).
4
(.19).
: .
,.
,,
.
: , .
1 .
2 200
(.2).
200.,
.
,.
3 (.3).
4 (“
”).
12

5 (1),
(2).(.4)
6 .(.5)
: , ,
.
7 (-
).
: , , ( )
, .
: , .
1200-1850 W 2 2
850-1100 W 4 2
500 W – 800 W 6 2
8 ,
,.
-.
9 .
: ,
.
: 24
, .
10(1),,(2)(.6).
11.,
-.
–
.
12,,
.
13

, ,
.
,
,,.
: , .
1 .
: .
2 .
: , .
,
Philips www.philips.com
Philips (
).
, Philips.
14

15
Blahopejeme vám knákupu a vítáme vás vespolenosti Philips. Abyste mohli pln využít podpory,
kterou Philips poskytuje, zaregistrujte svj výrobek naadrese www.philips.com/welcome.
1 Víko
2Spony
3Koš
4 Základna
5 Otvory na lahviky
6 Otvory na dudlíky
7 Držáky na víka lahví
8 Otvory pro vtší lahviky
9 Otvory pro odsávaky
Ped použitím sterilizátoru do mikrovlnné trouby si peliv pette tuto uživatelskou píruku a
uschovejte ji pro budoucí použití.
- Než sterilizátor vyjmete zmikrovlnné trouby, nechte jej vychladnout. Pi manipulaci se
sterilizátorem nebo jeho otevírání bute opatrní, protože voda uvnit mže být stále horká.
- Nesundávejte víko sterilizátoru ihned po dokonení sterilizace, protože znj uniká velmi horká
pára. Aby nedošlo kopaení, nechte sterilizátor nejprve vychladnout.
- Používejte pouze vodu bez pídavku dalších prostedk.
- Když vkládáte sterilizátor do mikrovlnné trouby, vždy zkontrolujte, zda je vzákladn voda.
- Do sterilizátoru nevkládejte blidlo ani jiné chemikálie.
- Nedávejte do sterilizátoru kovové pedmty. Mohlo by dojít kpoškození mikrovlnné trouby.
- Nevkládejte do sterilizátoru píliš mnoho pedmt, jinak nelze zaruit dokonalou sterilizaci.
- Sterilizujte pouze lahve a jiné pedmty, které jsou vhodné pro sterilizaci. Ped sterilizací si
prostudujte návod kdaným pedmtm a ujistte, že jsou pro sterilizaci vhodné.
- Sterilizátor je uren výhradn pro použití vdomácnosti.
- Dohlédnte na to, aby si se sterilizátorem nehrály dti.
- Ped každou sterilizací zkontrolujte, zda je vzákladn 200ml vody.
- Po každém použití vykejte, až sterilizátor vychladne, a poté zbývající vodu vylijte.
- Ped uložením vždy nechte sterilizátor vychladnout.
- Ped manipulací se sterilními pedmty si vždy umyjte ruce.
- Nevystavujte sterilizátor extrémnímu horku nebo pímému slunenímu svtlu.
- Sterilizátor nepokládejte na horkou podložku.
- Pokud máte kombinovanou troubu (sfunkcí grilu a peení), ped vložením sterilizátoru do
trouby zkontrolujte, zda je gril vypnutý a studený.
Ped prvním použitím sterilizátor dkladn vyistte podle následujících pokyn.
1 Vyjmtekošíkzezákladny.
2 Odmtenapíkladpomocídtskélahvikyneboodmrkypesn200mlvodyanalijteji
dozákladny(Obr.2).

Objemvodymusíbýtpesn200ml.Je-livzákladnpílišmnohovody,sterilizaceneprobhne
správn.Pokudjevodynaopakpílišmálo,mohlobydojítkpoškozenísterilizátorunebo
mikrovlnnétrouby.
3 Vložtekošíkdozákladny(Obr.3).
4 Sterilizátorzakryjtevíkem(1)azatlaenímsponvíkoupevntevesprávnépozici(2).(Obr.4)
5 Vložtesterilizátordomikrovlnnétrouby.(Obr.5)
Poznámka: Ped sterilizací zkontrolujte, zda je trouba istá a suchá.
Poznámka: Pokud máte kombinovanou troubu, ped vložením sterilizátoru do trouby zkontrolujte, zda je
gril vypnutý a studený.
6 Nastavteodpovídajícívýkonaas(viztabulkavkapitole„Používánísterilizátorudo
mikrovlnnétrouby“)atroubuzapnte.
7 Podokoneníprocesutroubuoteveteapokejte,nežsterilizátorvychladne.Teprvepotéjej
ztroubyvyjmte.
8 Otevetespony(1)asundejtevíko(2)(Obr.6).
9 Vylijtezbývajícívoduadkladnopláchntezákladnuikošík.
Než do košíku vložíte pedmty urené ke sterilizaci, dkladn je umyjte vmyce nebo je umyjte
run vhorké vod spídavkem mycího prostedku. Odstrate všechny zbytky mléka.
Poznámka: Ujistte se, že jsou všechny souásti urené ke sterilizaci zcela rozebrané. Vkládejte je do koše
otvorem smrem dol, aby se nenaplnily vodou.
Poznámka: Nedávejte jednotlivé pedmty píliš blízko ksob. Aby byla sterilizace úinná, musí pára
cirkulovat kolem pedmt.
Košík mžete plnit nkolika rznými zpsoby:
1 Lahveumísttednemnahorudootvorprolahve.(Obr.7)
2 Dudlíkyumísttedootvorprodudlíky(Obr.8).
3 Šroubovacíkroužkypoložtevolnnaddudlíky(Obr.9).
Poznámka: Vtší šroubovací kroužky je nutné naklonit, aby se nad dudlíky vešly.
4 Víkalahvívložtedodržáknavíka(Obr.10).
1 Lahvevložteokrajemdootvornavtšílahve(Obr.11).
2 Dudlíkyumísttedootvorprodudlíky(Obr.12).
3 Šroubovacíkroužkypoložtevolnnaddudlíky(Obr.13).
Poznámka: Vtší šroubovací kroužky je nutné naklonit, aby se nad dudlíky vešly.
4 Víkalahvívložtedodržáknavíka(Obr.14).
16

1 Úložnépohárkyvložtednemvzhrudokošíku(Obr.15).
2 Víkavložtesvislemezipohárky.(Obr.16)
Elektrickéástiodsávaeknevkládejtedosterilizátoru.
1 Odsávakukompletnrozeberte.
2 Hlavníástodsávakyvložteokrajemdootvorunaodsávakuvdolníástikošíku(Obr.17).
3 Lahveumísttednemnahorudootvorprolahve(Obr.18).
4 Ostatníneelektrickéástiodsávakyvložtedovolnéhomístavkošíku(Obr.19).
Poznámka: Zkontrolujte, zda mže kolem jednotlivých pedmt cirkulovat pára.
Dosterilizátoruvkládejtepouzetakovépedmty,kteréjsouprosterilizacivhodné.
Nesterilizujtekartáeknalahvenebopedmtynaplnnévodou,napíkladkousátkaschladivou
tekutinou.
Poznámka: Lahve a ostatní pedmty ped sterilizací vyistte.
1 Vyjmtekošíkzezákladny.
2 Odmtenapíkladpomocídtskélahvikyneboodmrkypesn200mlvodyanalijtejido
základny(Obr.2).
Objemvodymusíbýtpesn200ml.Je-livzákladnpílišmnohovody,sterilizaceneprobhne
správn.Pokudjevodynaopakpílišmálo,mohlobydojítkpoškozenísterilizátorunebo
mikrovlnnétrouby.
3 Vložtekošíkdozákladny(Obr.3).
4 Vložtedokošíkupedmtyurenékesterilizaci(vizkapitola„Pípravakpoužití“).
5 Sterilizátorzakryjtevíkem(1)azatlaenímsponvíkoupevntevesprávnépozici(2)(Obr.4).
6 Vložtesterilizátordomikrovlnnétrouby.(Obr.5)
Poznámka: Ped sterilizací zkontrolujte, zda je trouba istá a suchá.
7 Nastavteodpovídajícívýkonaas(viztabulkaníže)atroubuzapnte.
Poznámka: Pokud máte kombinovanou troubu, ped vložením sterilizátoru do trouby zkontrolujte, zda je
gril vypnutý a studený.
Poznámka: Nikdy nepekraujte maximální dobu sterilizace uvedenou vtabulce.
17

Píkon Dobasterilizace Dobachladnutí
1200W až 1850W 2min. 2min.
850W až 1100W 4min. 2min.
500W až 800W 6min. 2min.
8 Podokoneníprocesutroubuoteveteapokejte,nežsterilizátorvychladne.Teprvepotéjej
ztroubyvyjmte.
Buteopatrní,protožezmikrovlnnétroubymževycházethorkápára.
9 Vyjmtesterilizátorzmikrovlnnétrouby.
Poznámka: Držte sterilizátor rovn, abyste nevylili horkou vodu.
Poznámka: Pokud nesundáte víko sterilizátoru, pedmty uvnit zstanou sterilní po dobu až 24hodin.
10Otevetespony(1)asundejtevíko(2)(Obr.6).
11Vyjmtezkošíkulahveaostatnípedmty.Malépedmtyvytáhntekleštmi.
Buteopatrní,protožezesterilizátorumževycházethorkápáraasterilizovanépedmty
mohoubýtvelmihorké.
12Povyjmutísterilizovanýchpedmtvylijtezbývajícívodu,dkladnopláchntezákladnui
košíkavšechnyástivytetedosucha.
Po každém použití vyistte víko, košík i základnu, aby nedošlo kusazování vodního kamene.
Kištnísterilizátorunikdynepoužívejtedrátnky,abrazivníisticíprostedkyaniagresivní
tekutépípravky,jakojenapíkladblidlo,benzínneboaceton.
Poznámka: Ped ištním nechte sterilizátor vychladnout.
1 Jednotlivéástisterilizátoruumyjtevhorkévodspídavkemmycíhoprostedku.
Poznámka: Jednotlivé ásti sterilizátoru mžete umývat i vmyce na nádobí.
2 Povyištnívšechnyástivytetedosucha.
Poznámka: Po vyištní uložte sterilizátor na istém a suchém míst.
Pokud budete potebovat servis, informace nebo pokud dojde kpotížím, navštivte webové stránky
spolenosti Philips www.philips.com nebo se obrate na stedisko pée ozákazníky spolenosti Philips
ve své zemi (telefonní íslo na stediska najdete vletáku scelosvtovou zárukou). Pokud se ve vaší
zemi stedisko pée ozákazníky nenachází, obrate se na místního dodavatele výrobk Philips.
18

19
Õnnitleme teid ostu puhul ning tere tulemast kasutama Philipsi tooteid! Philipsi klienditoe
tõhusamaks kasutamiseks registreerige toode veebilehel www.philips.com/welcome.
1Kaas
2Klambrid
3Korv
4 Alus
5Pudeli õõnsused
6Luti õõnsused
7Lutipudeli korgi hoidikud
8 Avad suurte pudelite jaoks
9 Avad rinnapumpade jaoks
Enne mikrolaineahju sterilisaatori kasutamist lugege seda kasutusjuhendit hoolikalt ja hoidke see
edaspidiseks alles.
Hoiatus
- Laske sterilisaatoril enne mikrolaineahjust eemaldamist maha jahtuda. Olge sterilisaatori
liigutamisel või avamisel ettevaatlik, kuna sterilisaatoris olev vesi võib veel kuum olla.
- Ärge eemaldage sterilisaatori kaant koheselt pärast steriliseerimist, kuna eralduv aur on väga
kuum. Laske sterilisaatoril maha jahtuda, kuna aur võib põhjustada põletusi.
- Kasutage üksnes lisanditeta vett.
- Sterilisaatorit mikrolaineahjus kasutades veenduge, et alus on täidetud veega.
- Ärge pange sterilisaatorisse valgendit ega muid kemikaale.
- Ärge asetage sterilisaatorisse metallesemeid, kuna see võib mikrolaineahju kahjustada.
- Ärge koormake sterilisaatorit üle, kuna vastasel juhul ei steriliseerita esemeid korralikult.
- Steriliseerige üksnes beebipudeleid ja muid esemeid, mida võib steriliseerida. Lugege
kasutusjuhendist esemete kohta, mida te soovite steriliseerida, et kontrollida, kas need sobivad
steriliseerijas kasutamiseks.
- Sterilisaator on mõeldud kasutamiseks vaid kodumajapidamises.
- Lapsi tuleb valvata, et nad sterilisaatoriga ei mängiks.
- Veenduge alati enne steriliseerimist, et alus on täidetud 200 ml veega.
- Pärast iga kasutamist valage allesjäänud vesi pärast selle jahtumist sterilisaatorist välja.
- Enne sterilisaatori hoiustamist laske sel alati jahtuda.
- Enne steriliseeritud esemete puudutamist peske käed alati puhtaks.
- Ärge jätke sterilisaatorit väga kuuma kohta või otsese päikesepaiste kätte.
- Ärge asetage sterilisaatorit tulisele pinnale.
- Kui kasutate kombineeritud ahju (millel on grillifunktsioon), veenduge, et ahi või grill on enne
sterilisaatori ahju asetamist välja lülitatud ja maha jahtunud.
Enne esimest kasutamist
Enne sterilisaatori esmakordset kasutamist puhastage see korralikult vastavalt allpool kirjeldatule.
1 Võtke korv alusest välja.
2 Täitkebeebipudelvõimõõtenõutäpselt200mlkraaniveegajavalageseealusesse(Jn2).
Other manuals for SCF283
1
This manual suits for next models
2
Table of contents
Languages:
Other Philips AVENT Steriliser manuals

Philips AVENT
Philips AVENT SCF274/30 User manual

Philips AVENT
Philips AVENT Avent SCF922 User manual

Philips AVENT
Philips AVENT AVENT SCF271/02 User manual

Philips AVENT
Philips AVENT AVENT SCF271/02 User manual

Philips AVENT
Philips AVENT SCF271/20 User manual

Philips AVENT
Philips AVENT SCF274/34 User manual

Philips AVENT
Philips AVENT AVENT SCF271/02 User manual

Philips AVENT
Philips AVENT SCF274/31 User manual

Philips AVENT
Philips AVENT SCF274/26 User manual

Philips AVENT
Philips AVENT Avent SCF922 User manual